If you’re just getting to grips with your camera’s settings and have noticed a dial marked “S” or “Tv”, this is what we call Shutter Priority mode.
This setting can transform your photography once you understand how it works.
From freezing action-packed moments to capturing ethereal long exposures, Shutter Priority (also known as “Time Value” on some cameras) puts you in control of shutter speed and lets the camera automatically adjust other settings to match.
But what does all of this actually mean? And how do you use Shutter Priority to take better photos? In this post, I’ll give you a thorough look at Shutter Priority, explaining it in clear, straightforward language so that you’re not too overwhelmed.
What Is Shutter Priority Mode?
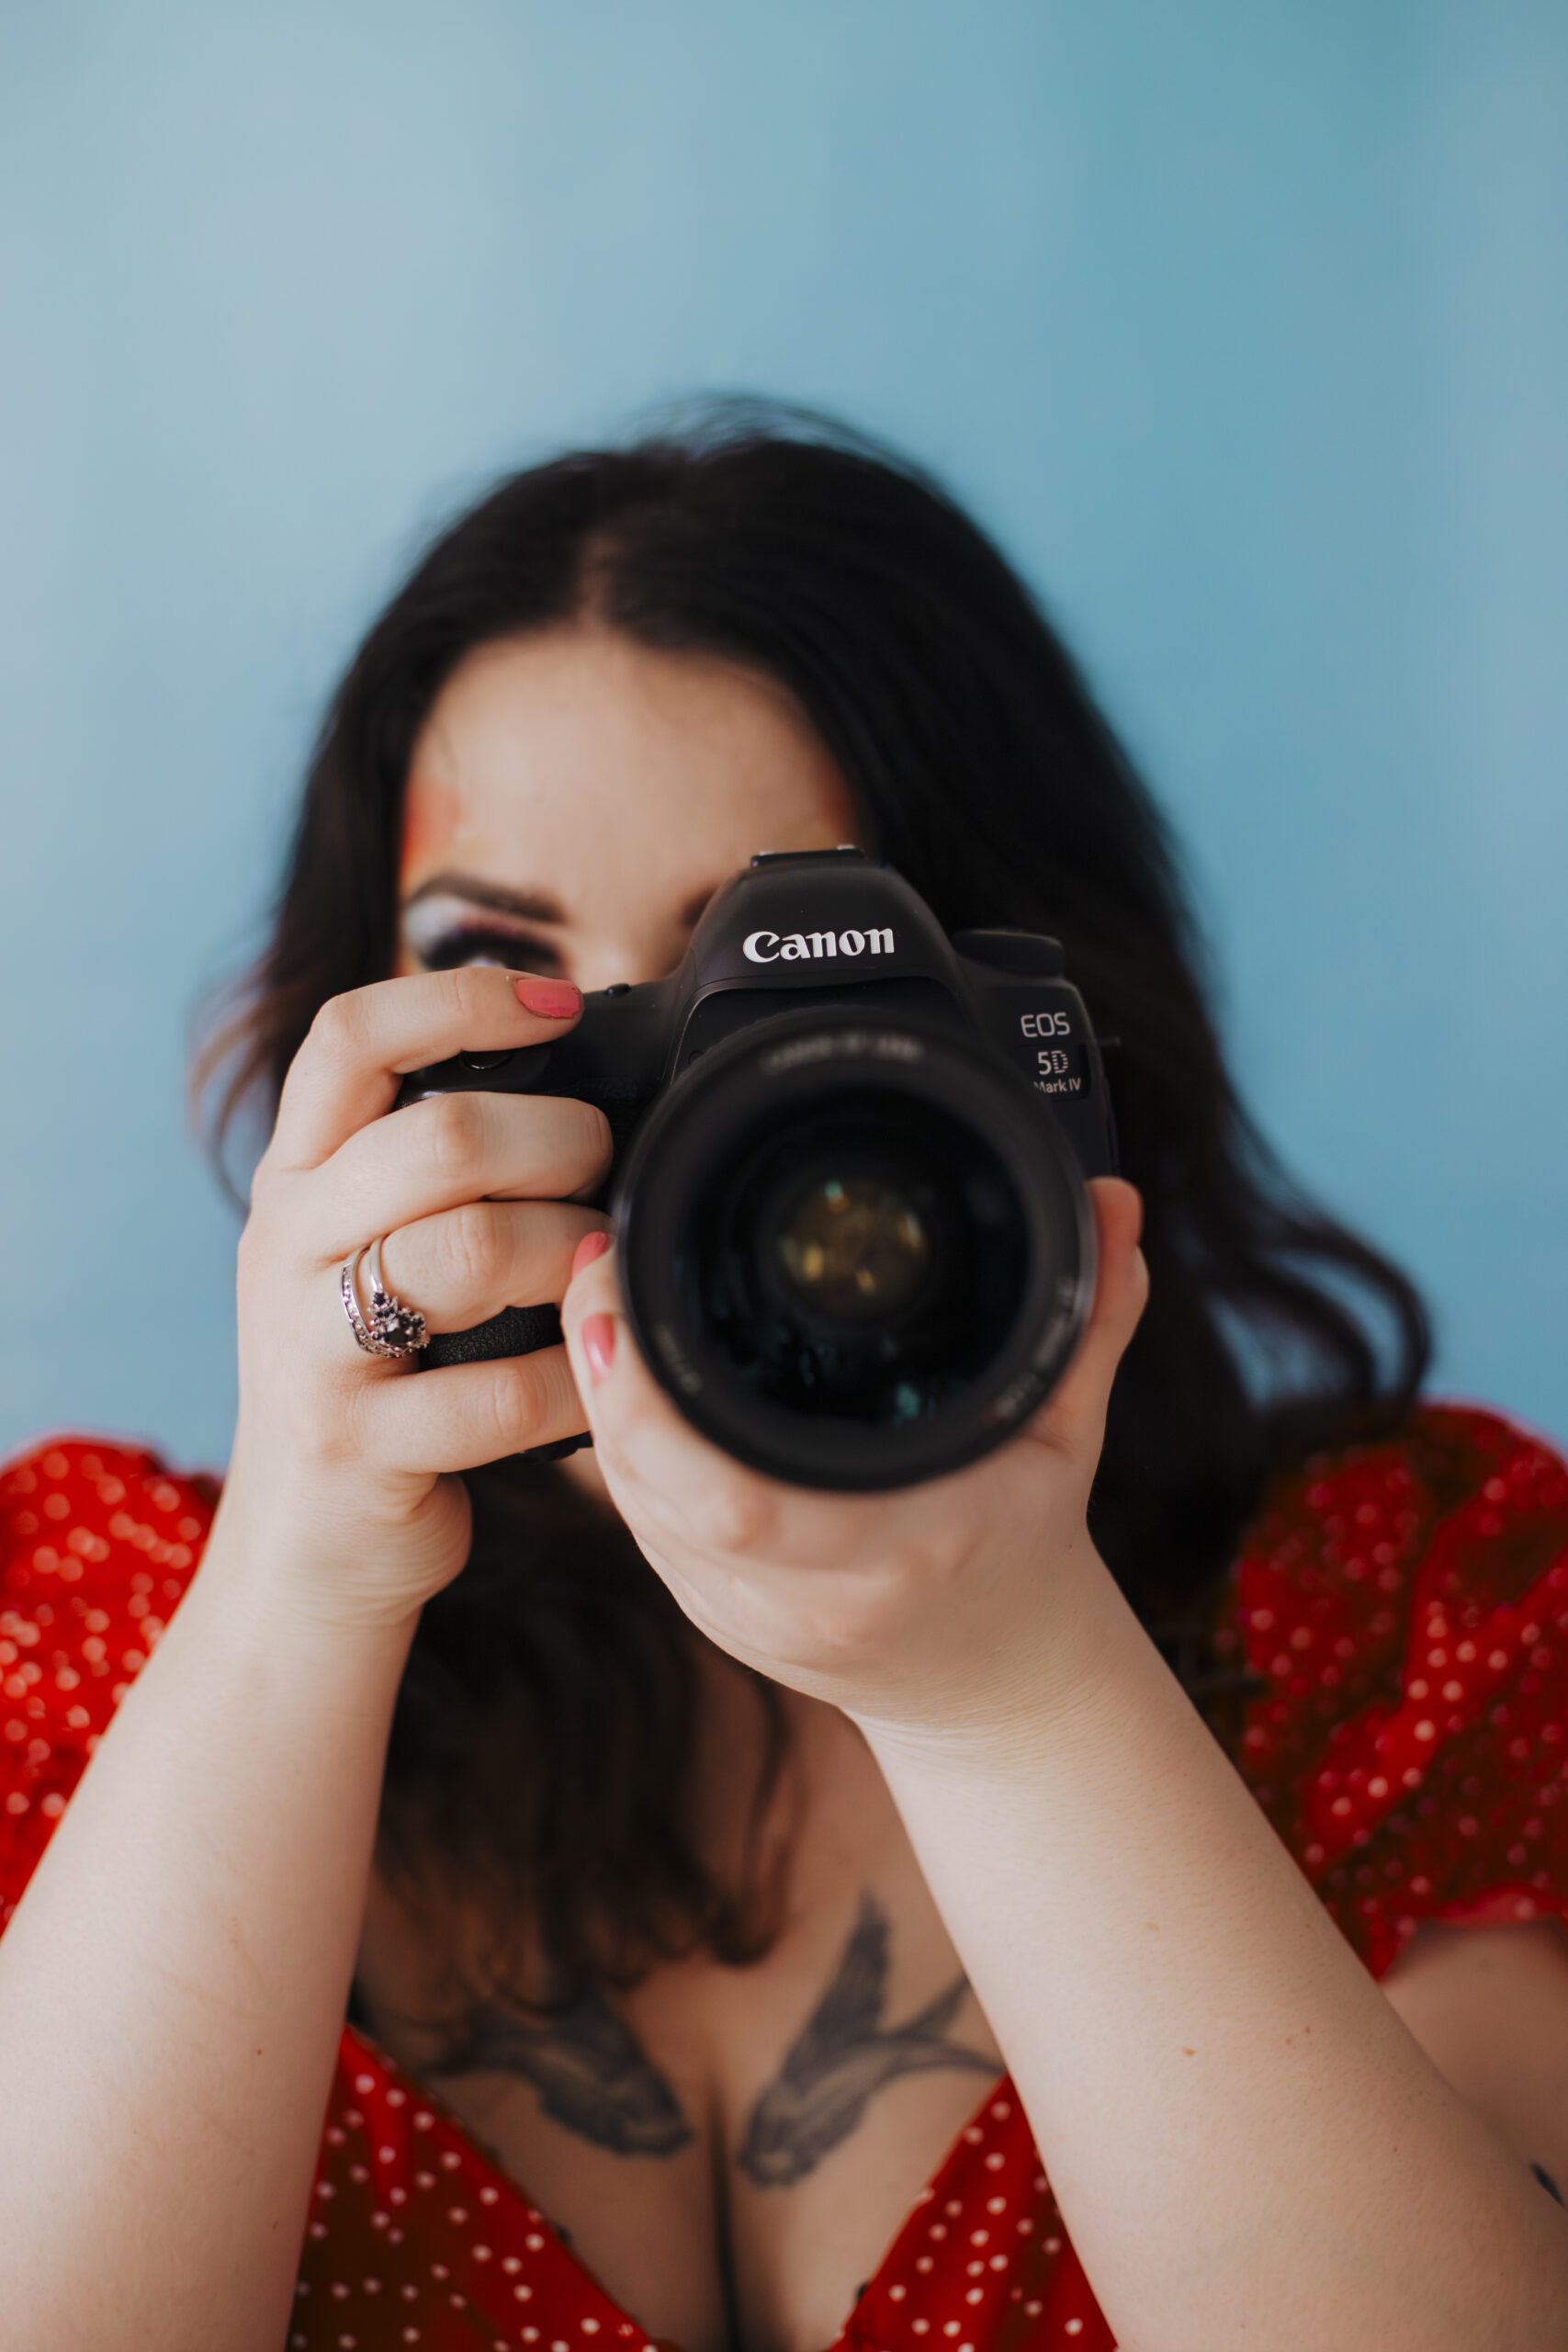
Shutter Priority is a semi-auto shooting mode found on most DSLR and mirrorless cameras.
If you look at your camera’s mode dial, you might see an “S” (for Nikon, Sony, Fuji, and some others) or “Tv” (for Canon). Selecting this tells the camera that you, the photographer, want to control the shutter speed, while letting the camera decide other settings like the aperture.
Why is this so useful? Well, the shutter speed can make or break a photograph if you’re dealing with fast-moving subjects or low-light situations.
In Shutter Priority, you get to pick exactly how fast or slow the shutter remains open, which determines whether you freeze motion or make it blurry.
Your camera will then automatically pick an aperture (and, if you’ve set it to Auto ISO, possibly an ISO) that it believes will achieve a the correct exposure. You remain in charge of one aspect of the exposure (shutter speed), while the camera handles the rest.
This mode sits between fully manual (where you control everything) and full auto (where the camera controls everything).
It offers a nice balance because you make a key creative decision about how time is recorded in your image, and the camera does the heavy lifting with the rest of the settings to make sure the shot isn’t too bright or too dark – at least in theory.
Why Choose Shutter Priority Over Other Modes?
You might be thinking, “Isn’t Aperture Priority more popular? Why not just use that?” Yep, Aperture Priority is another semi-auto mode, used for controlling depth of field. However, Shutter Priority is the the one you need when movement is your main priority.
Choose Shutter Priority if you want to:
- Freeze fast action: Imagine you’re photographing a football match at your local pitch, or your dog racing across a field. Choosing a quick shutter speed (like 1/1000 second or above) in Shutter Priority makes the subject look pin-sharp without motion blur.
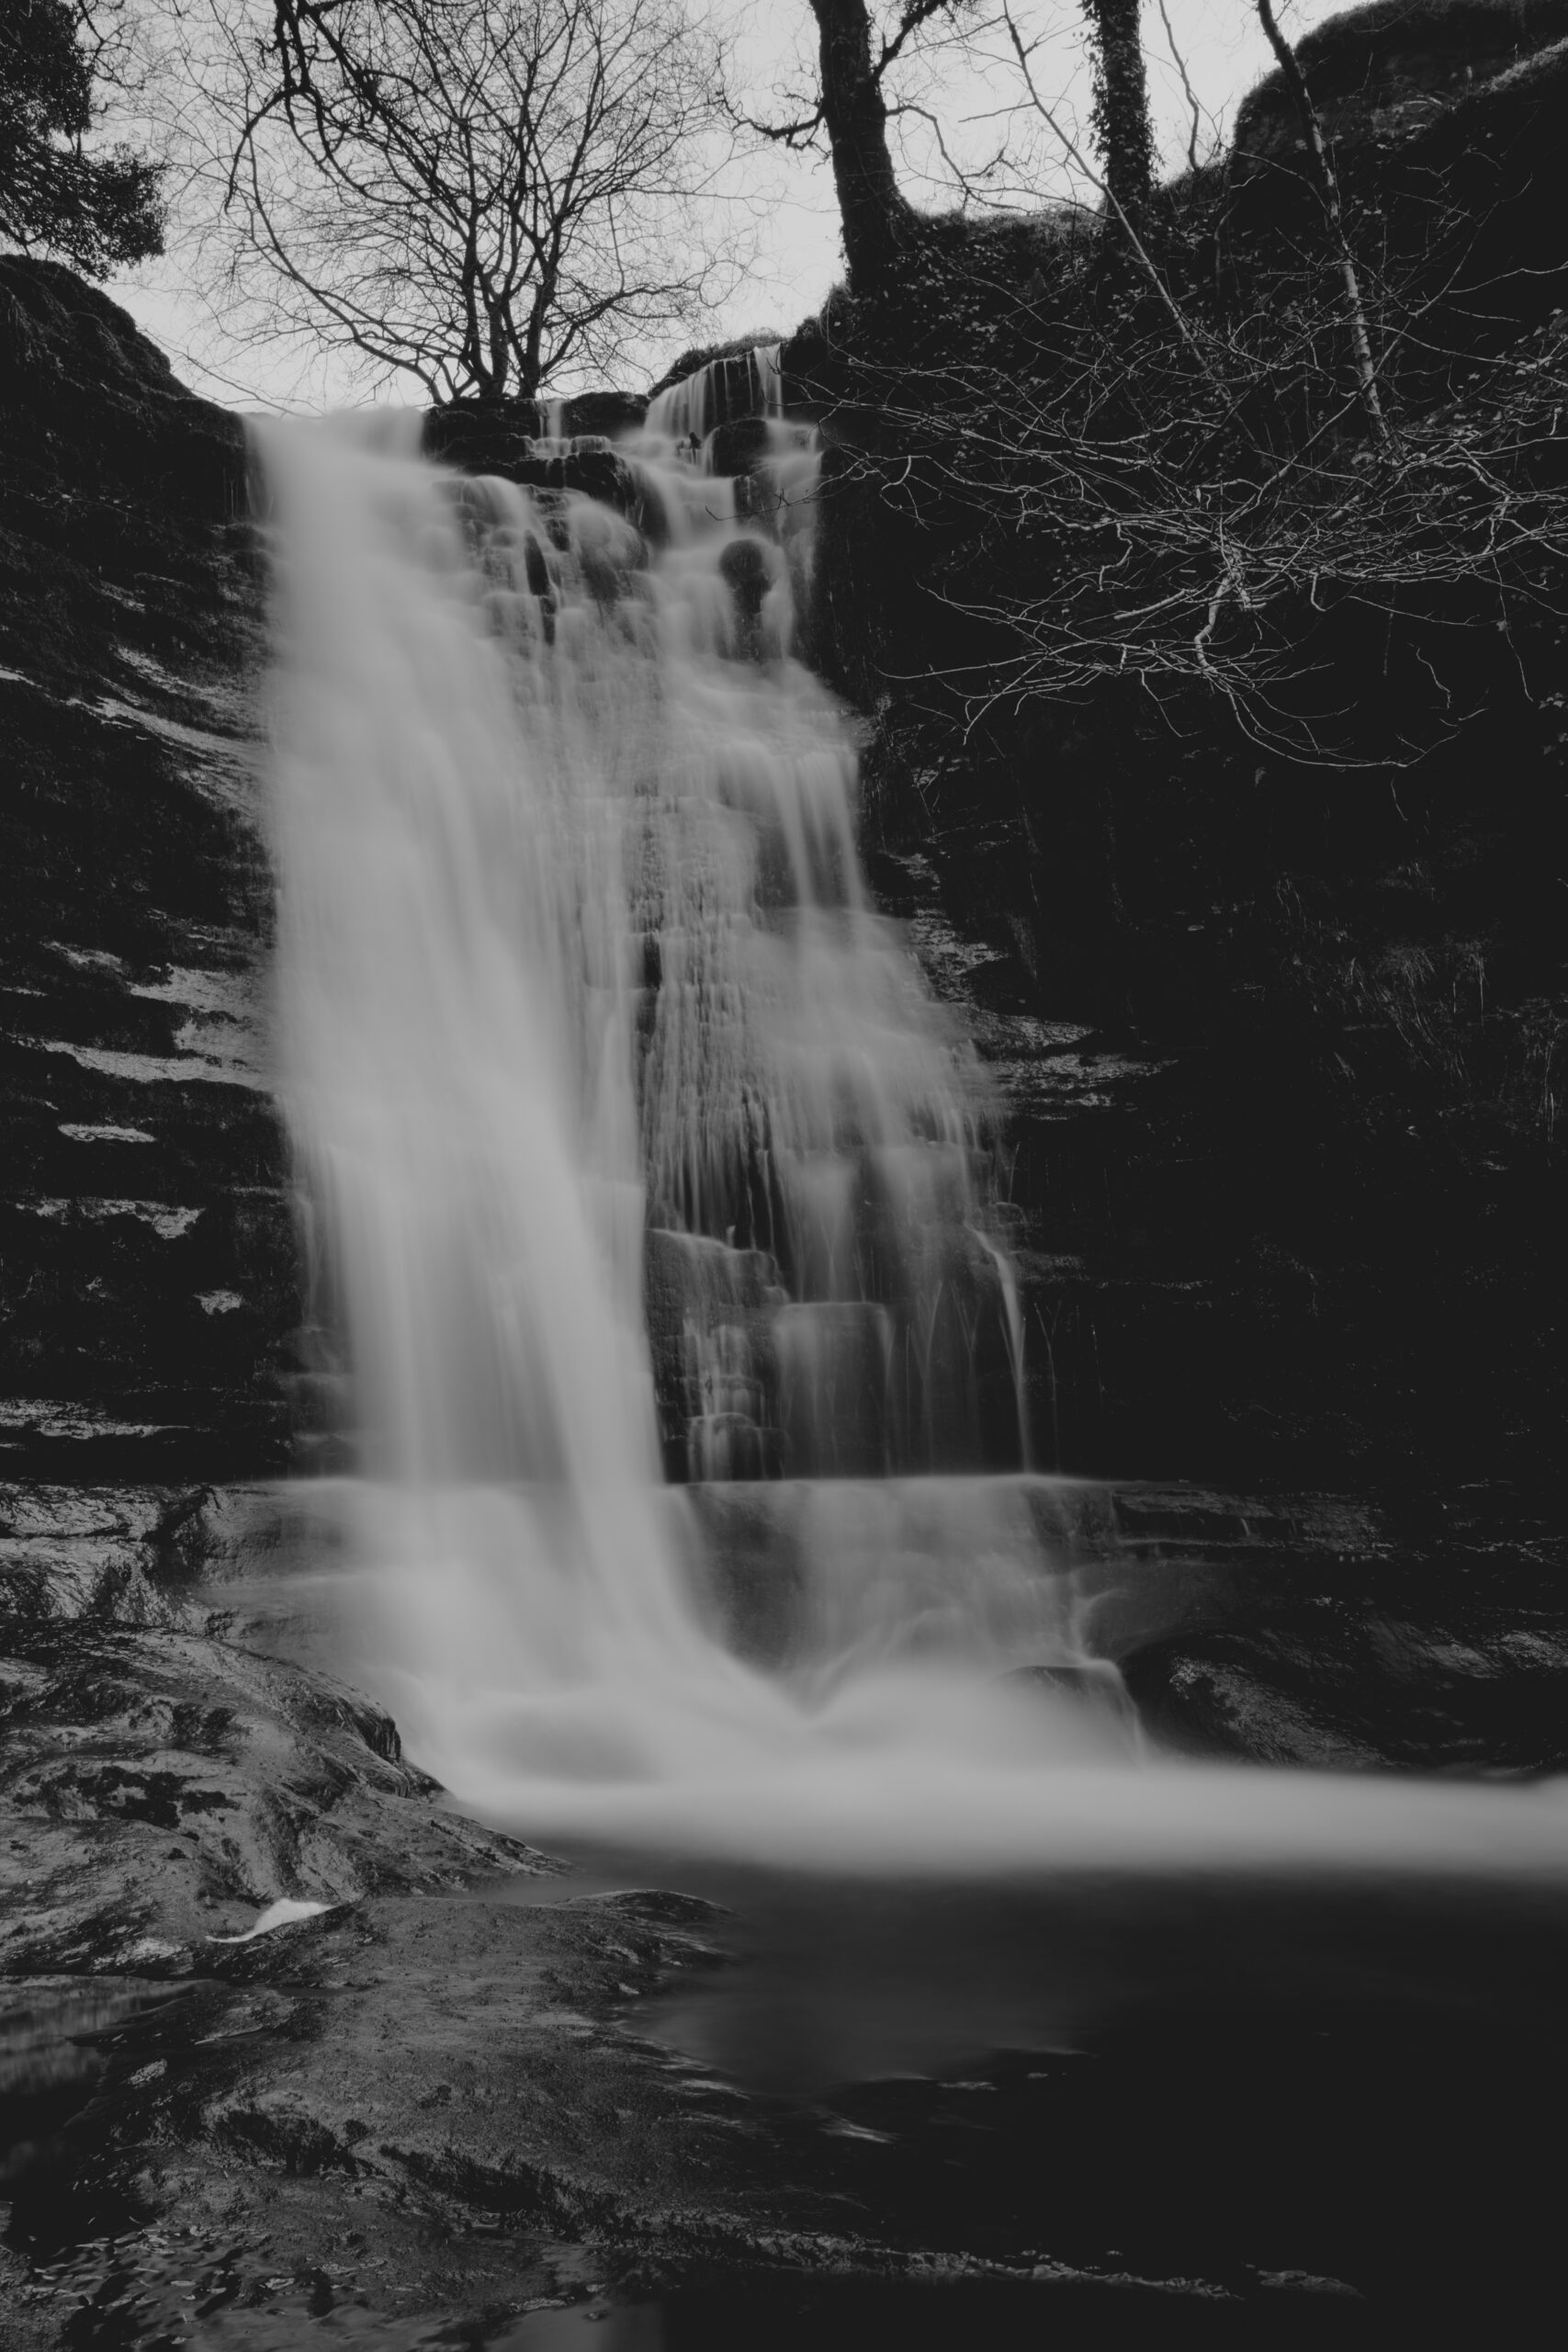
- Introduce motion blur: On the other hand, if you want those silky-smooth waterfalls, you can dial down the shutter speed (like 2 seconds or longer) to blur the water. The camera will pick the aperture to keep the exposure balanced, freeing you to focus on the effect you want. I’ve written more about taking long-exposure water photos here.
- Control changing light: If you’re in a setting where the light fluctuates (a partly cloudy day, for example), Shutter Priority adapts automatically. You don’t have to fiddle with your aperture each time the sun ducks behind a cloud.
- Capture split-second moments: Some events (wildlife, sports, children playing) require you to be quick and flexible. If you’re not yet confident in full manual mode, you might miss the shot if you’re constantly adjusting two or three settings. Shutter Priority cuts your tasks in half so you only worry about shutter speed, and the camera does the rest.
In short, it’s brilliant if you’re looking to control how motion appears in your shots without going full manual just yet.
A Quick Refresher on Shutter Speed
Before we jump further into Shutter Priority specifics, let’s remember exactly what shutter speed does.
The shutter in your camera is like a little curtain that opens and closes to let light hit the sensor. The length of time it stays open is the shutter speed. It’s usually measured in fractions of a second, though it can be extended to whole seconds (and even minutes with “Bulb” mode).
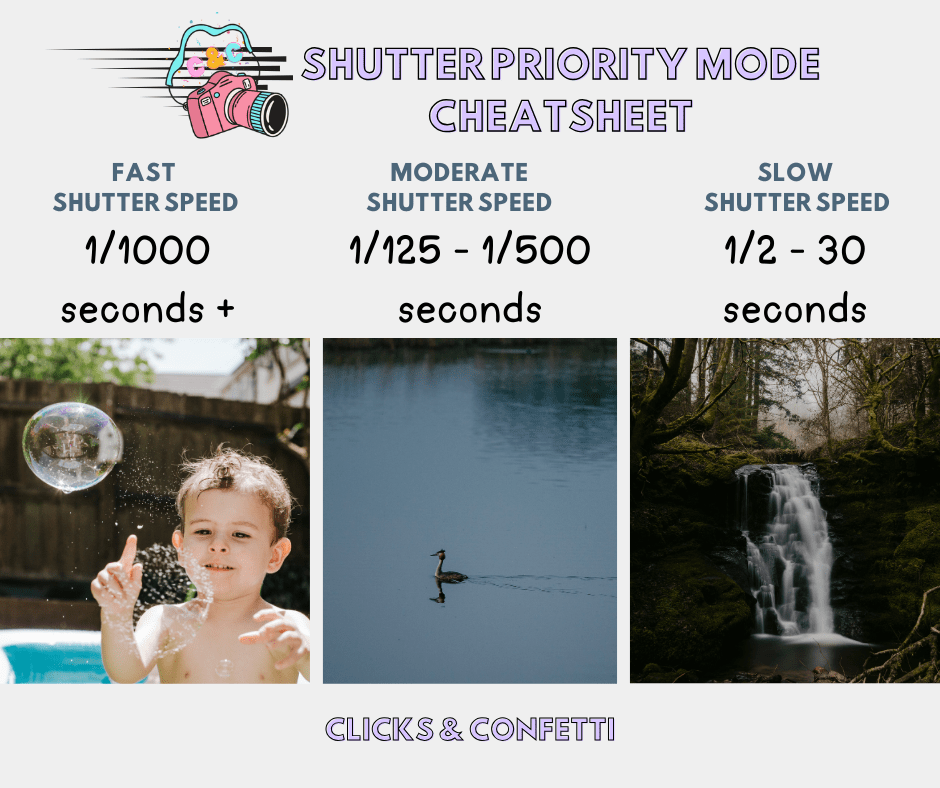
- Fast Shutter Speeds (e.g., 1/1000 s, 1/2000 s): Great for freezing motion. You’ll see every detail of a water splash or a diving bird, captured in sharp detail.
- Moderate Shutter Speeds (e.g., 1/125 s, 1/500 s): Useful for everyday snaps where there’s not too much movement or for handheld shots in average light.
- Slow Shutter Speeds (e.g., 1/2 s, 1 s, multiple seconds): Perfect for photos where you want to blur movement (such as water, star trails, or light trails) and capture more ambient light in darker environments.
When you pick a shutter speed in Shutter Priority mode, you’re effectively telling the camera, “This is how I’d like to capture motion.” The camera’s job is to select the aperture that ensures a proper overall exposure. If you choose a very high shutter speed, the aperture might need to open wide to let in enough light; if you choose a slower shutter speed, the camera might narrow the aperture to prevent the photo from becoming too bright.
How Shutter Priority Works in Practice
Let’s say you want to photograph your child playing in the garden. You know children rarely stand still, so you switch your camera to Shutter Priority (“S” or “Tv”), dial in a shutter speed of 1/500 second, and start clicking.
Your camera’s light meter reads the scene, sets the aperture, and if you’re on Auto ISO, it may adjust ISO as well. The result is a properly exposed image where the child’s movement is nice and sharp (assuming your chosen shutter speed is high enough).
On the flip side, if you’re near a river and want a dreamy, flowing water effect, you’d move to Shutter Priority, pick something like 2 seconds, and let the camera do the rest.
If it’s a bright, sunny day, the camera will likely narrow the aperture significantly (high f-number) to compensate for the slower shutter speed. It might also reduce the ISO if you’ve left that on automatic. Some cameras may even indicate that there’s too much light for the chosen shutter speed and aperture combination – meaning you might need a neutral density (ND) filter to cut down the light.
The beauty of Shutter Priority is that you can adjust shutter speed on the go.
Say the child in the garden starts running more quickly, and 1/500 second isn’t quite enough to freeze them mid-leap. You can instantly push the shutter speed to 1/1000 second. Or if you’re not seeing enough motion blur in that water, you can slow it further to 20 seconds, provided you have a steady tripod and the camera can still find a narrow enough aperture to balance the exposure.
Ideal Situations for Shutter Priority
While Shutter Priority can be used in countless scenarios, there are a few that stand out as prime examples:
- Sports and action photography: Football matches, tennis serves, motorsport events, or any scenario where your subject is moving quickly. You’ll want to crank that shutter speed high (1/1000 second or faster) to freeze the action.
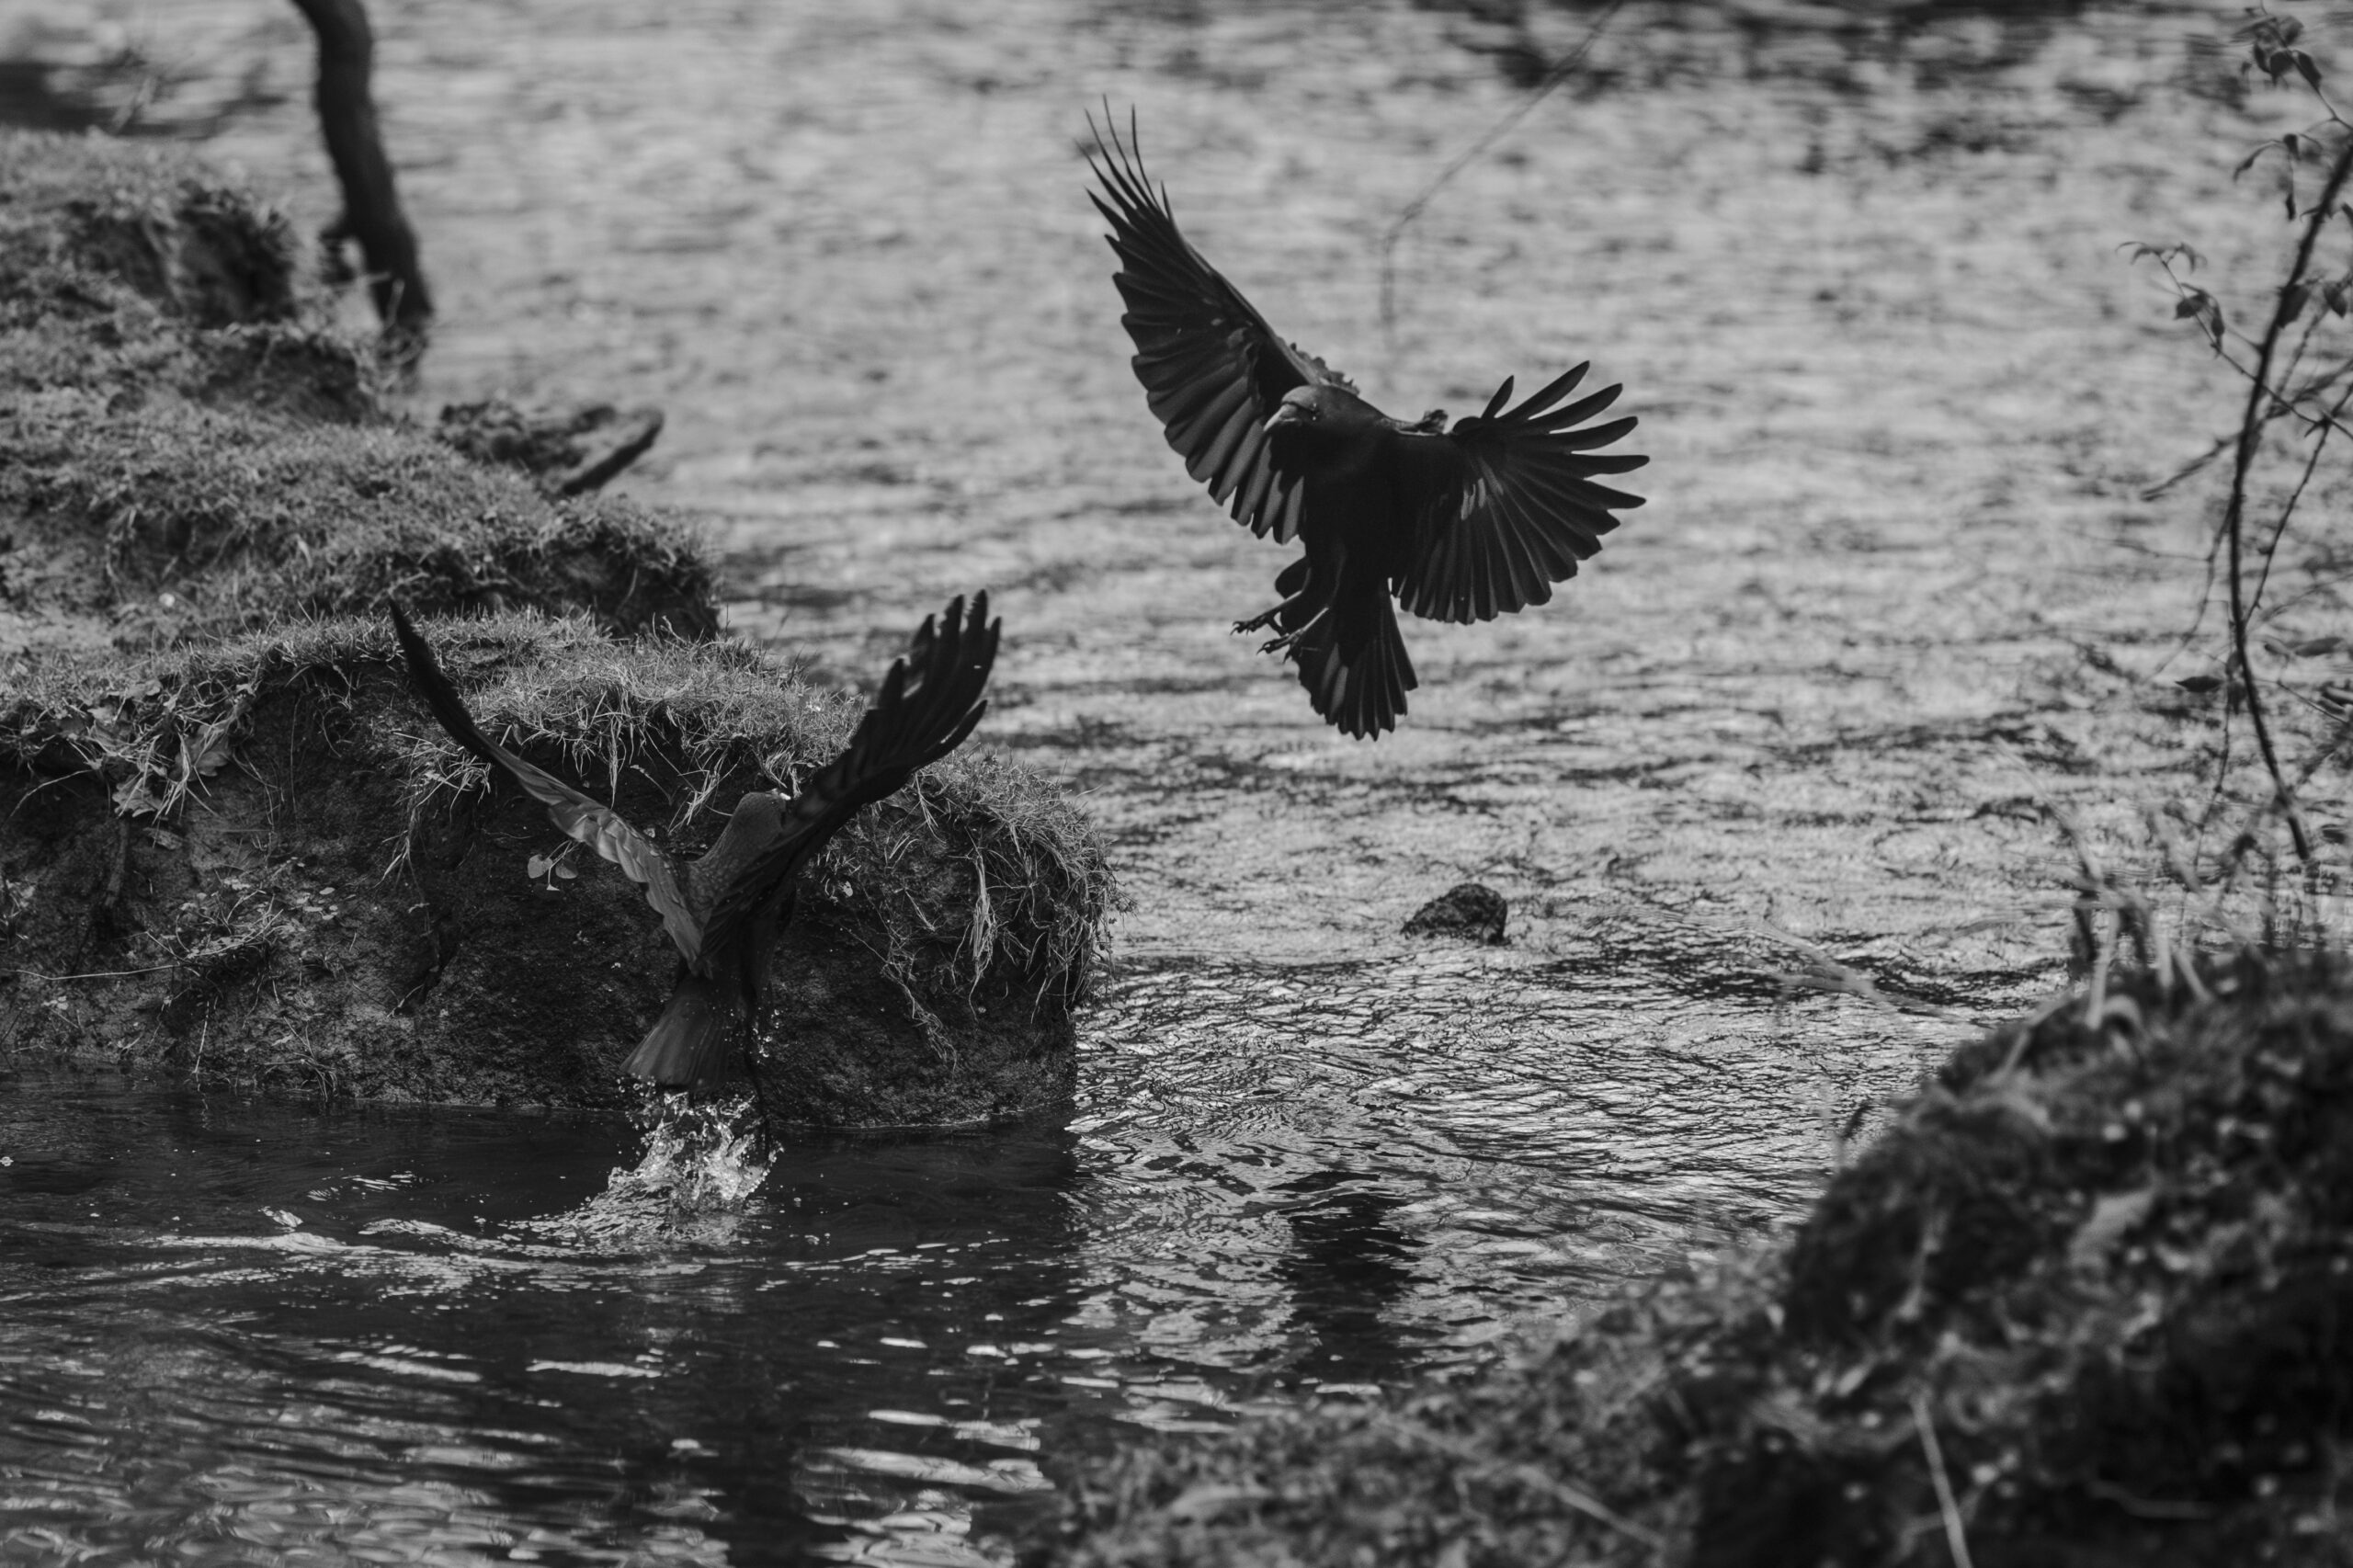
- Fast-moving wildlife: Birds in flight, horses galloping, or squirrels darting through the park. Again, a high shutter speed is your friend.
- Events with unpredictable movements: Children’s parties, weddings (especially the dancing portion or candid photos), or street photography can all benefit from the quick reactivity of Shutter Priority.
- Panning shots: If you’re capturing a moving subject while panning the camera, you might pick a moderately slow speed (like 1/30 s) to blur the background while keeping your subject relatively sharp. Shutter Priority helps you maintain that consistent shutter speed even if lighting changes.
- Deliberate motion blur: Waterfalls, flowing rivers, star trails, or city lights at night. Here, a slow shutter speed is key. Shutter Priority ensures you keep that slow speed while the camera handles aperture to maintain proper exposure.
Remember that if you’re going for very slow speeds in daylight, your camera may max out its smallest aperture, and you could end up with overexposure. That’s where a neutral density filter can be essential.

Common Mistakes and How to Avoid Them
While Shutter Priority is straightforward, a few challenges can catch you out:
1. Using a Shutter Speed That’s Too Slow (Unintended Blur)
If you set a shutter speed that’s too slow to handhold, your images might come out blurry.
This can happen especially in low light or indoors. The camera might select a wide-open aperture, but if the light isn’t sufficient, you could still get camera shake.
Consider raising the ISO or using a tripod if you want to avoid blur from slower shutter speeds.
2. Forgetting to Check Aperture Limits
Your camera has a maximum and minimum aperture range, determined by your lens.
If you select an extremely high shutter speed in a dimly lit environment, your lens might not be able to open wide enough to produce a properly exposed shot.
Some cameras will warn you, while others will just produce an underexposed image. Keeping an eye on your aperture can help you spot if you’re hitting these limits.
3. Overexposure in Bright Conditions
If you want a slow shutter speed on a bright sunny day, you might find your camera can’t stop down the aperture enough to avoid overexposure.
You’ll end up with a washed-out or fully white image that you won’t be able to recover in post. An ND filter or adjusting your ISO to a lower value can help.
Some cameras also have an inbuilt ND filter setting, though this feature is more common on compact or mirrorless systems than on traditional DSLRs.
4. Relying Too Heavily on Auto ISO
While Auto ISO can be incredibly handy, it might push your ISO higher than you’d like, resulting in grainy (noisy) images.
Keep an eye on your ISO levels and set an upper limit if your camera allows it. This ensures that while the camera might adjust ISO, it won’t go so high as to make your photos excessively noisy.
5. Ignoring Image Stabilisation
If your lens or camera body has image stabilisation (IS or VR), it can help offset minor camera shake at slower shutter speeds. However, it won’t freeze fast-moving subjects that require a genuinely high shutter speed.
Don’t rely on stabilisation alone if you really want tack-sharp images of moving objects.

Understanding ISO and Aperture in Shutter Priority
Shutter Priority effectively sets your shutter speed first, leaving the camera to juggle aperture (and possibly ISO) to nail the exposure.
However, it’s worth understanding how these interact so you can make more informed decisions:
Aperture (f-stop):
This is the opening in your lens that allows light to pass through. In Shutter Priority, the camera decides your aperture.
If you’ve dialled in a very fast shutter speed, the camera may need to open the aperture wider to let enough light in, resulting in a shallower depth of field. This means that not all of your image will be in focus.
If you select a slower shutter speed, the camera may narrow the aperture to avoid letting in too much light, which increases depth of field and more of your image will be in focus.
It helps to be aware that you don’t have total control over depth of field in Shutter Priority.
If you desperately want a specific aperture, you might be better off switching to Aperture Priority (or using Manual mode). But if your main focus is controlling motion, you should expect the depth of field to vary depending on how bright or dark your subject is.
ISO:
This adjusts your camera’s sensitivity to light. When set to Auto, the camera will raise or lower the ISO depending on the lighting conditions and the shutter speed you’ve chosen.
Higher ISO values make your sensor more sensitive, allowing you to shoot with faster shutter speeds in lower light. However, higher ISO can introduce more image noise.

Creative Techniques with Shutter Priority
Now you know how to freeze or blur motion, there are a few creative ideas to try when using Shutter Priority
1. Panning for Artistic Motion
If you want that sense of speed for a moving subject (like a cyclist racing past a background) try a shutter speed around 1/30 second to 1/60 second. Track the subject smoothly with your camera as you press the shutter. Done well, the background will blur horizontally, while the subject remains relatively sharp. Shutter Priority ensures you keep that shutter speed consistent even if the light changes.
2. Capturing Light Trails
In an urban setting at night, set your shutter speed to a few seconds and let the camera choose the aperture. Cars will leave glowing trails of red and white lights across your frame. This technique is often used for cityscape photography, capturing the energy of passing traffic. A tripod is a must to keep everything else in the image sharp, and you might also want a remote shutter release to avoid camera shake when pressing the shutter.
3. Water Photography
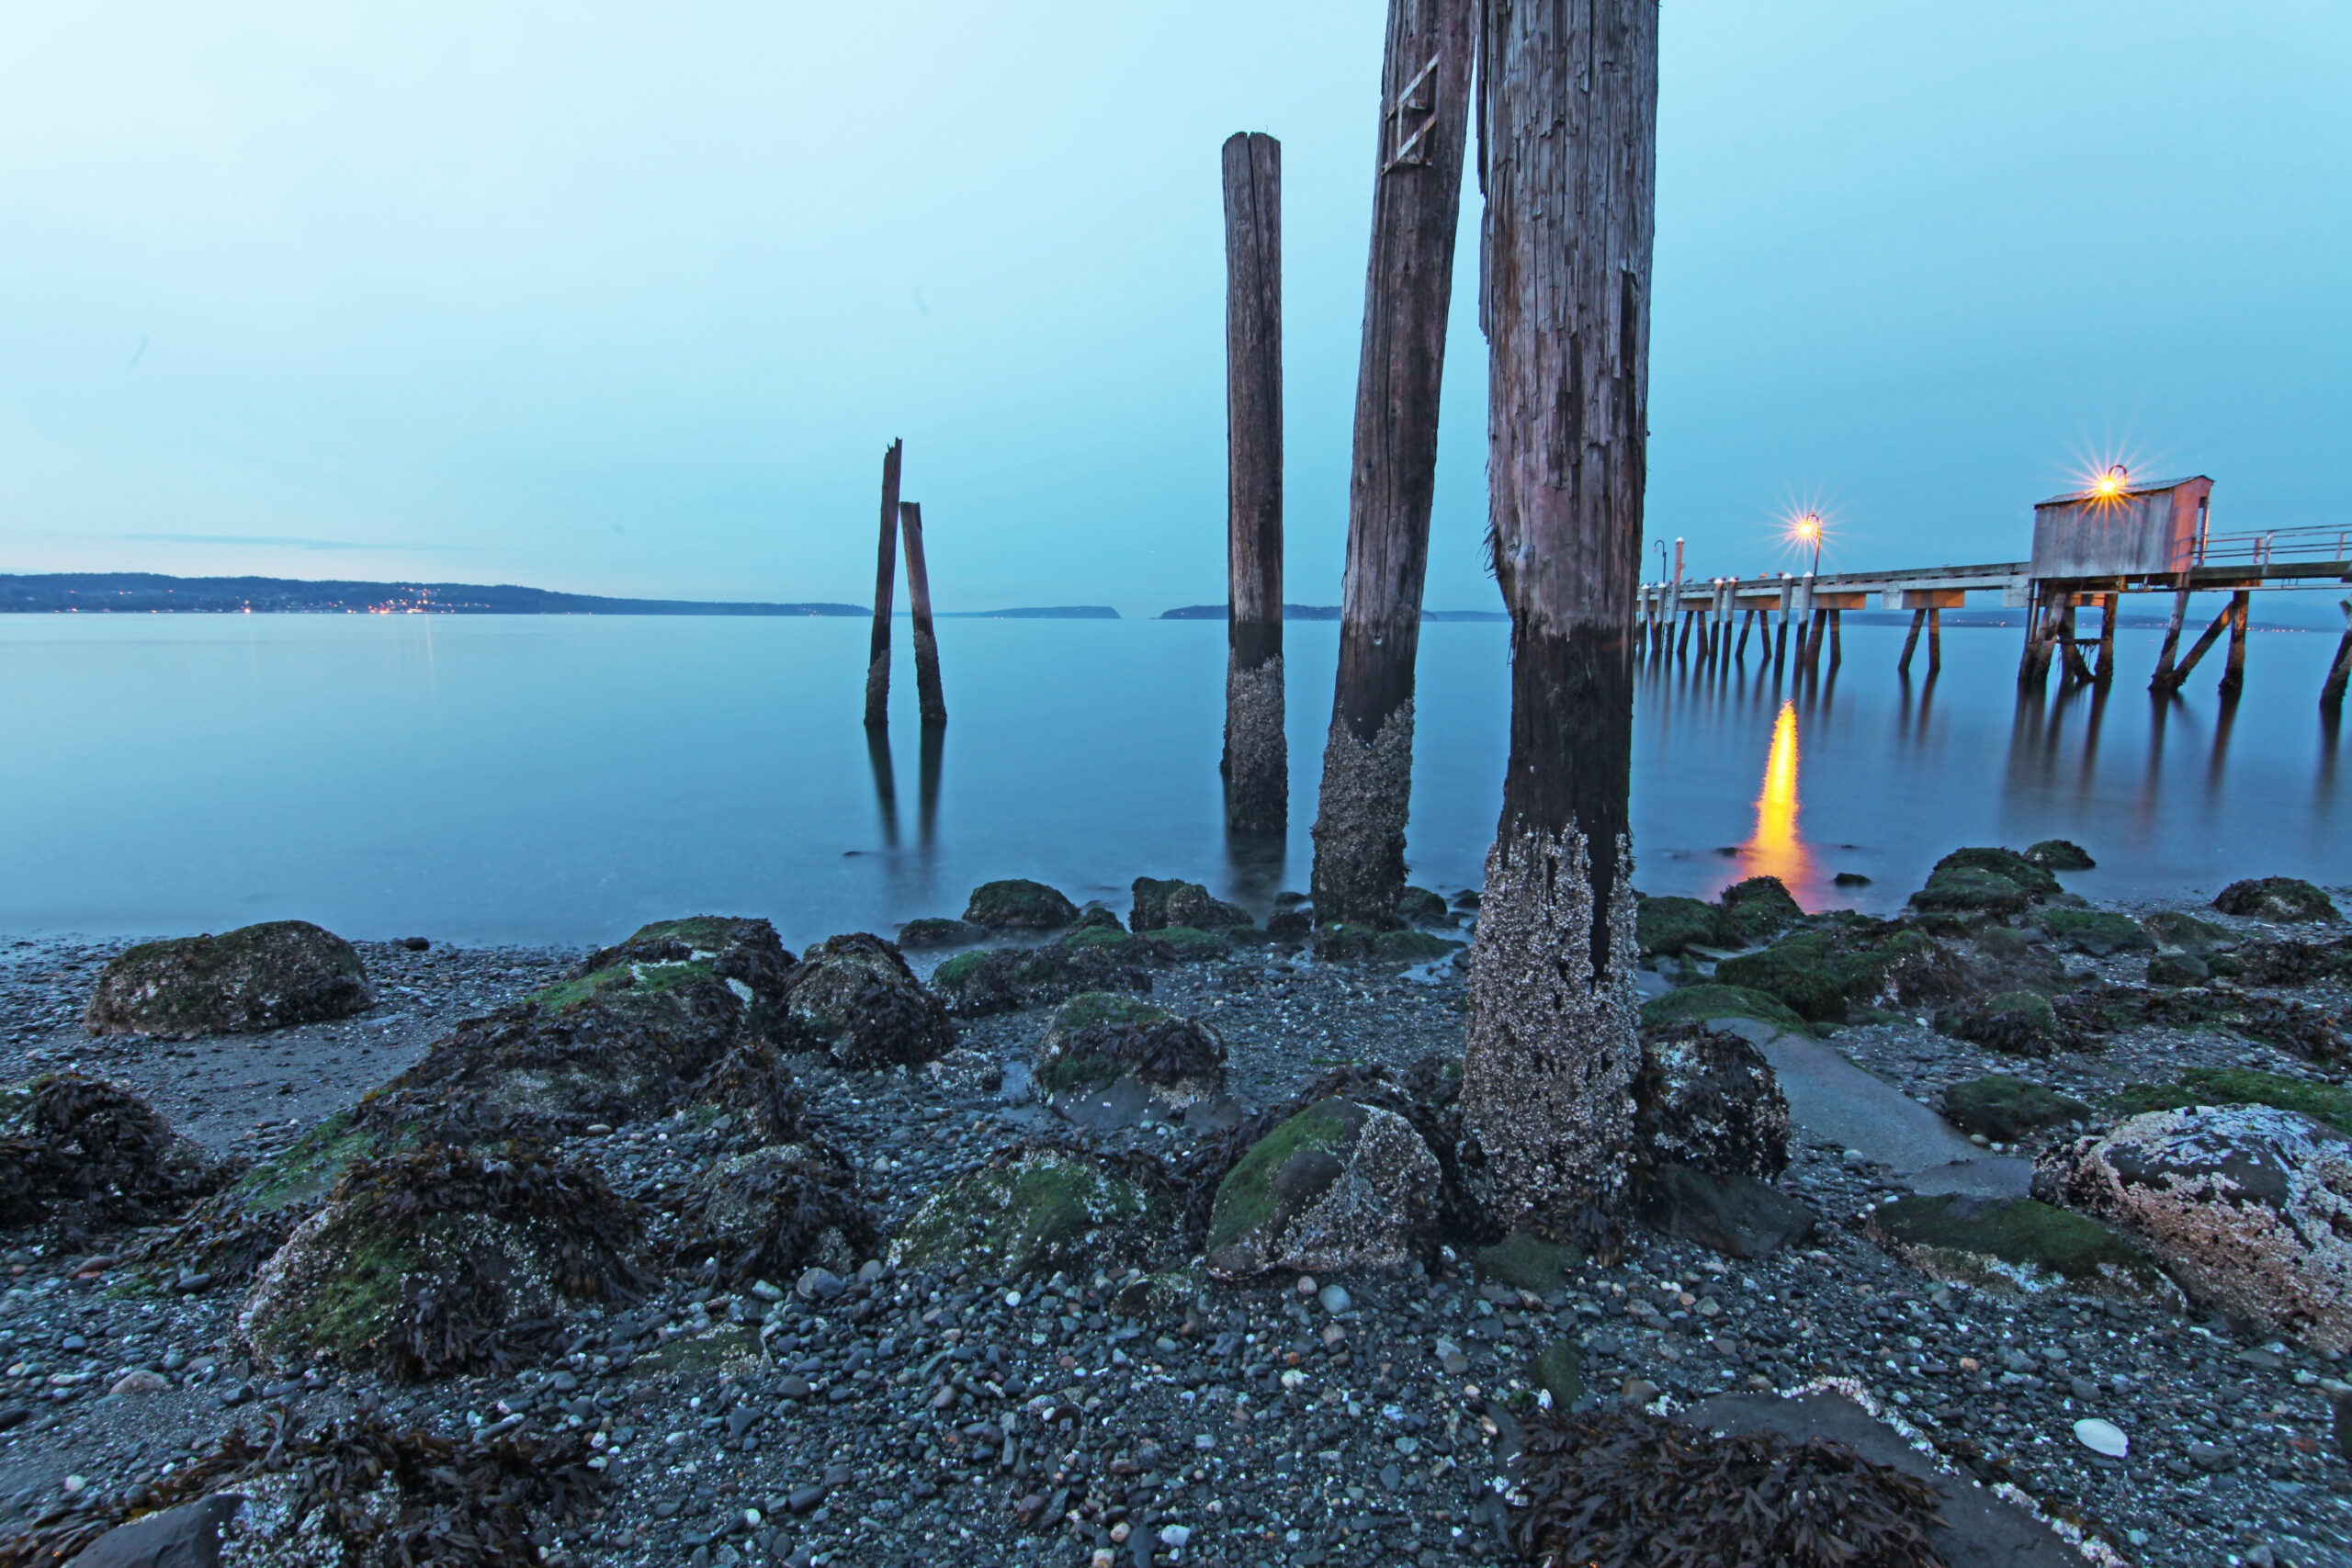
Waterfalls, fountains, waves – these can all look super dramatic when blurred just the right amount. Experiment with slower shutter speeds (1 second, 4 seconds, or even longer) for a misty/dreamy effect. Shutter Priority makes it easy to dial in that speed, but remember that the camera might struggle to pick a small enough aperture if you’re shooting in daylight. Check out my full guide on long-exposure water photography.
4. Intentional Camera Movement (ICM)
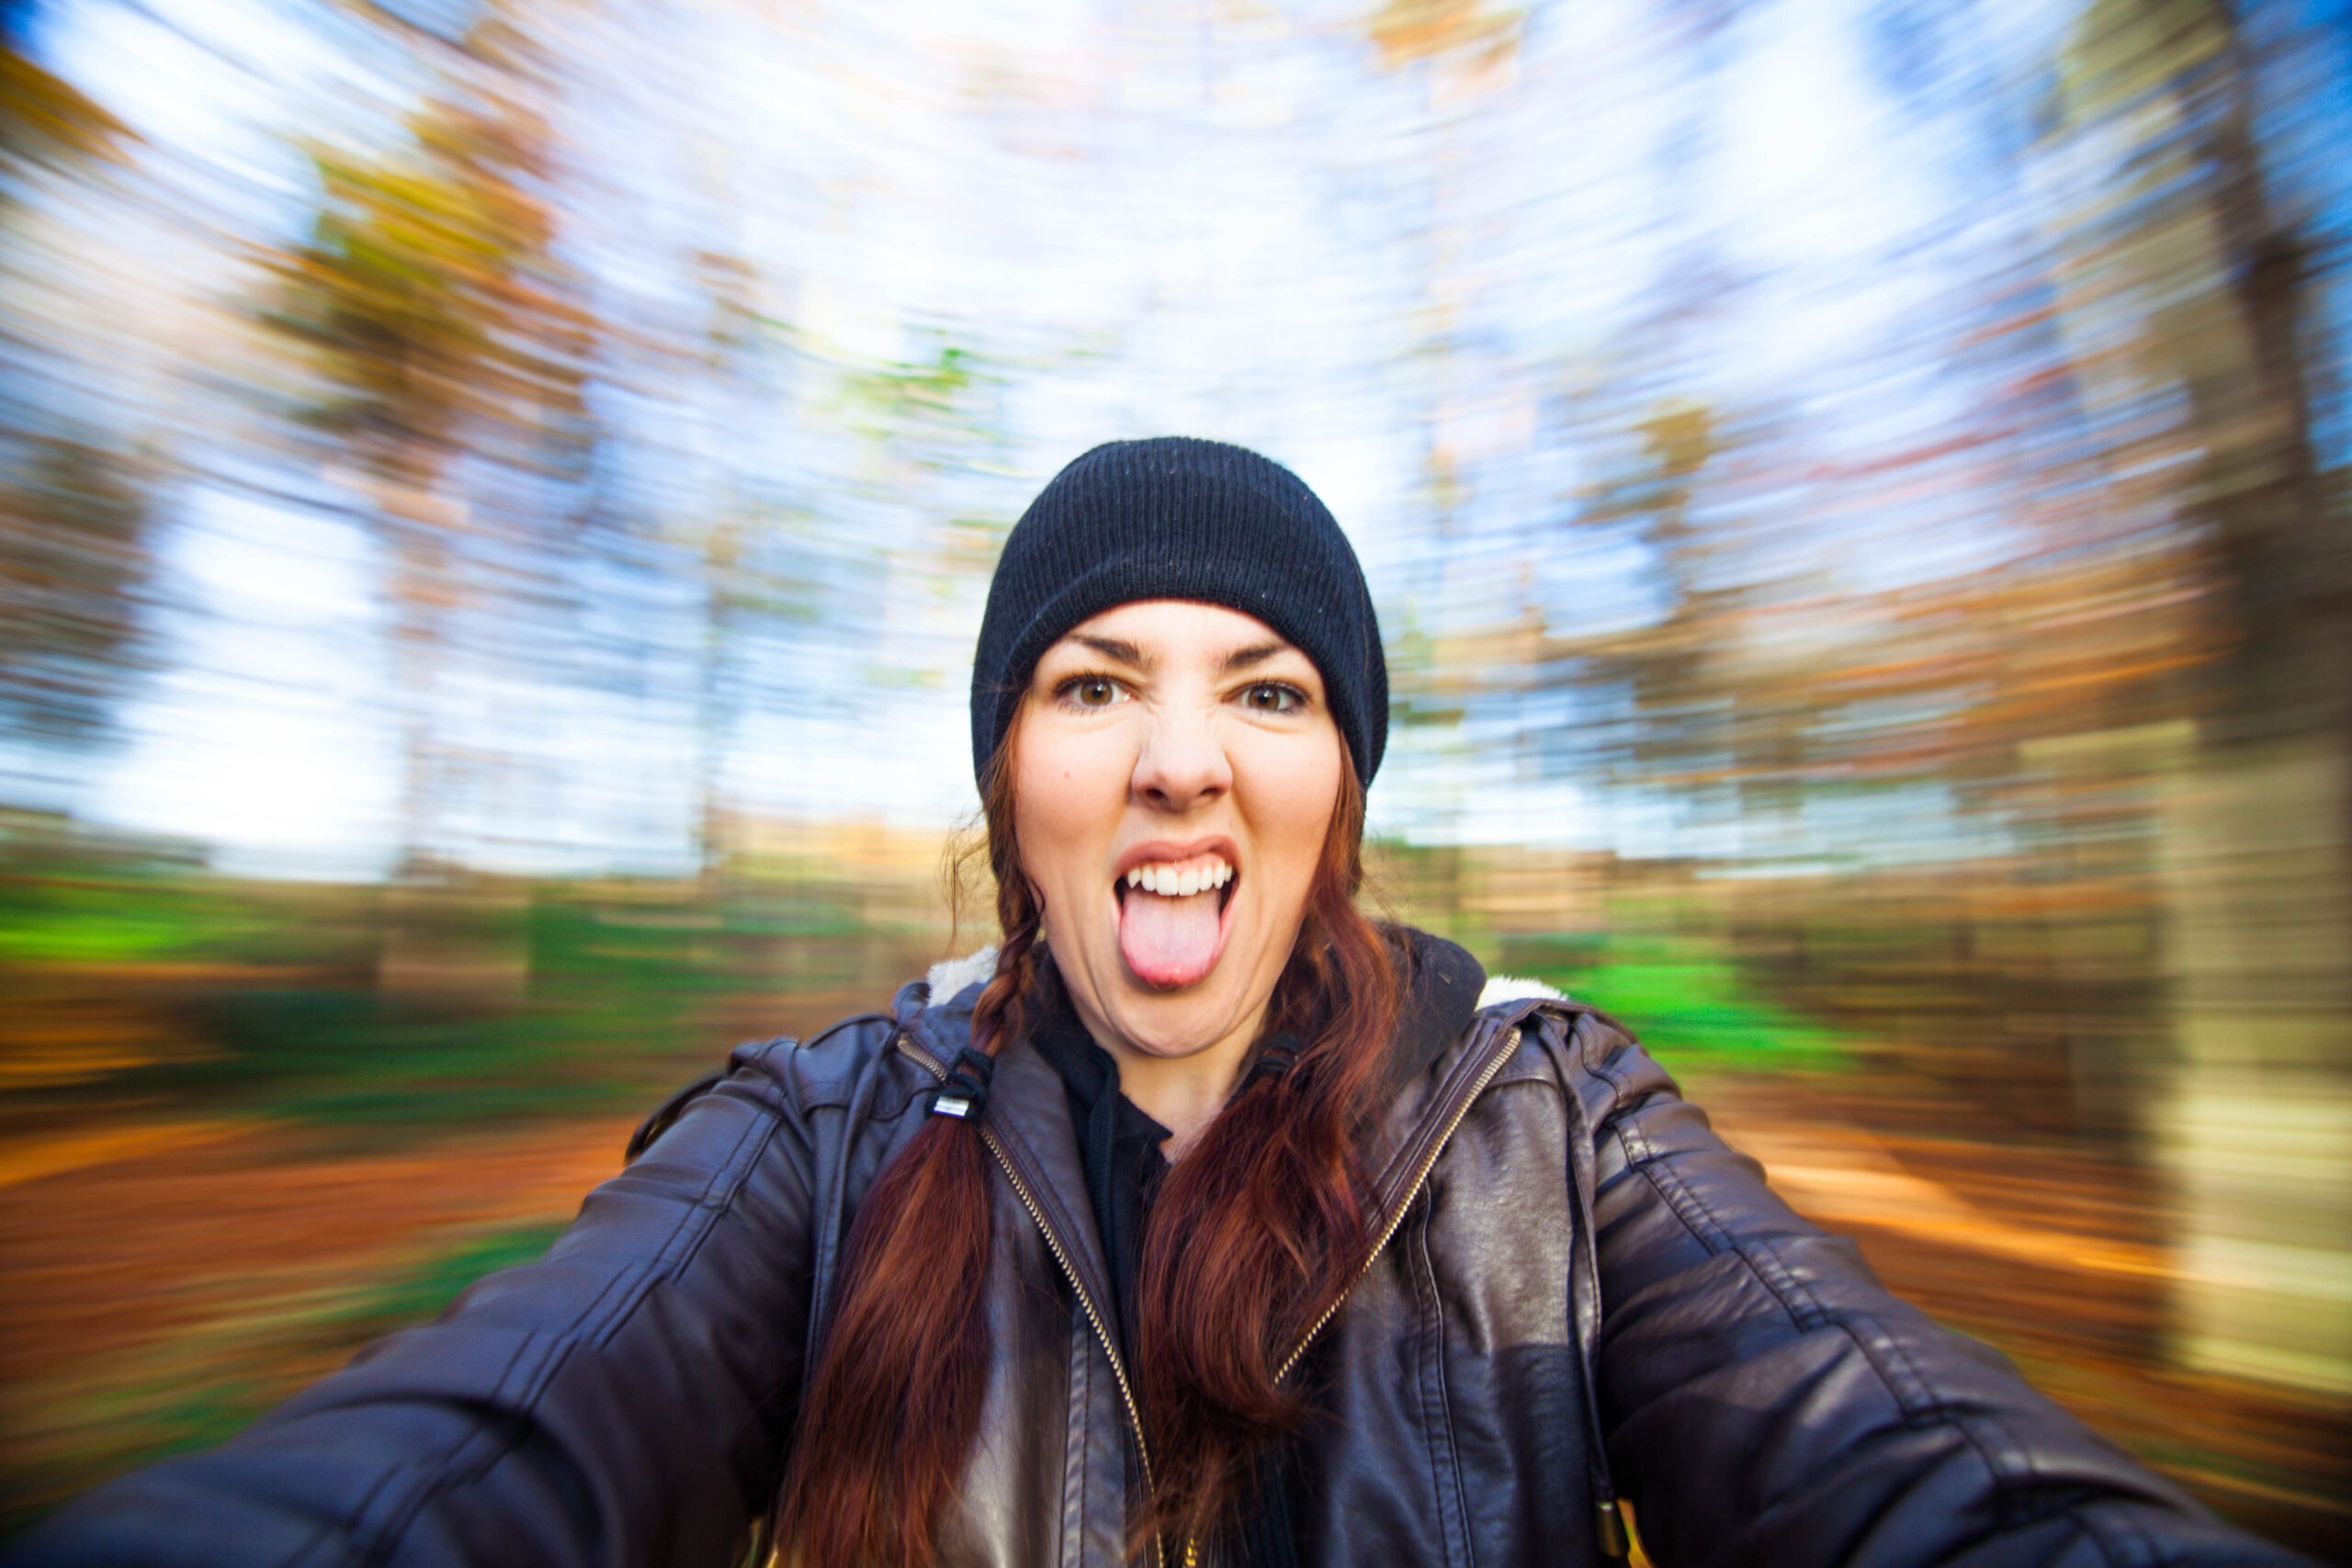
For abstract, painterly effects, you can move your camera during a longer exposure to create streaks or swirls of colour. This is called “Intentional Camera Movement.” Select a shutter speed between 1/2 second and a few seconds, then deliberately move or rotate the camera. While this might not be everyone’s cup of tea, it can produce uniquely expressive photographs that almost look like watercolour paintings.
Frequently Asked Questions
Q1: Can I manually adjust the aperture in Shutter Priority?
A: Not directly. In Shutter Priority, you select the shutter speed and the camera chooses the aperture. However, many cameras let you use “exposure compensation” to nudge the camera’s chosen aperture or ISO. If you want full control over aperture and shutter speed, switch to Manual mode.
Q2: Why do my photos sometimes come out underexposed or overexposed in Shutter Priority?
A: The camera’s meter might be fooled by tricky lighting conditions (e.g., a very bright background or an extremely dark setting). Try using exposure compensation to correct the camera’s guess. For instance, dial in +1 if your shots are consistently too dark, or -1 if they’re too bright.
Q3: Do I need a tripod for Shutter Priority?
A: It depends on the shutter speed. For fast shutter speeds (1/500 s or faster), you can usually shoot handheld. If you’re venturing into slower speeds (like 1/30 s or below), a tripod or other stabilisation method is strongly recommended to keep your shots sharp.
Q4: Can Shutter Priority be used for portrait photography?
A: Absolutely. If your subject is moving, such as children running around in a park, Shutter Priority ensures their movements are captured sharply. However, if you’re going for a specific depth of field to blur the background in a more controlled way, Aperture Priority or Manual might be more suitable.
Q5: Are there differences across camera brands for Shutter Priority?
A: The core concept is the same, but the label might differ. Nikon, Sony, and Fuji typically use “S,” while Canon uses “Tv” (Time Value). The functionality is essentially identical. I have mostly shot with Canon and started on TV mode to learn shutter speed back in the day.
Shutter Priority Final Thoughts
Shutter Priority is one of those camera modes that can elevate your photography once you learn its function.
By dedicating your attention to the speed of the shutter, you learn how shutter speed affects motion in photographs. You also learn how the camera chooses other settings to compliment the shutter speed you have chosen. This will help you move to manual mode once you’re ready.
There will be plenty of times when Aperture Priority or even full Manual might feel more natural. But for those moments when timing is everything and when you don’t want to risk missing a shot because you’re not confident at juggling too many settings – Shutter Priority is an absolute lifesaver.
If you’re new to it, why not take your camera out and practise with different shutter speeds? Aim to freeze a passing car, then slow the shutter to blur the traffic. Experiment at a local stream or waterfall, seeing how different speeds transform the look of rushing water. If you get underexposed or overexposed images, that’s part of the learning curve. Check your settings, tweak the exposure compensation, and keep going.
After a bit of experimentation, you’ll find Shutter Priority quickly becomes second nature. You’ll recognise when it’s the best choice (and when it isn’t), and that’s the real key to becoming a versatile photographer. Ultimately, the camera is just a tool. Knowing how to wield that tool – whether you’re in Shutter Priority, Aperture Priority, or fully manual – puts the power in your hands to capture life’s fleeting moments just the way you see them.