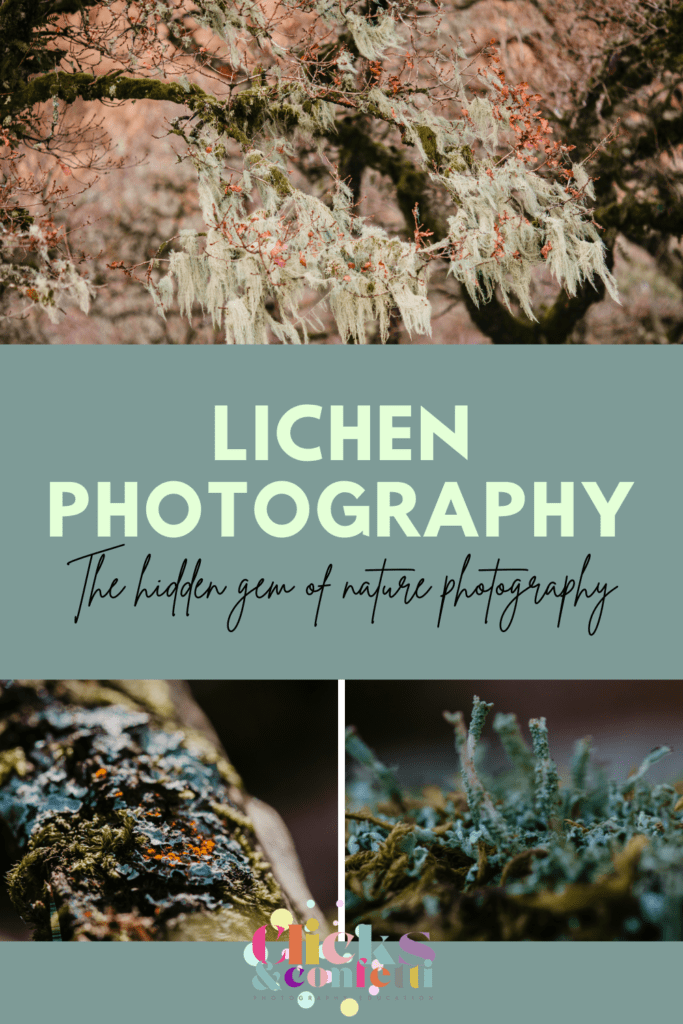
Lichen photography is a little hidden gem that combines elements of macro, landscape, and botanical work into one.
You might walk past lichen every single day without giving it a second thought. It grows on walls, tree trunks, rocks, and sometimes even abandoned buildings, clinging to surfaces in plain sight.
Yet, for those of us who choose to look a bit closer, lichens can be a really fun and interesting photography subject.
This guide will walk you through everything you need to know about lichens, where to find them, how to photograph them, and the equipment that can help you do it well.
Why Lichen Photography?
I only recently discovered lichen photography. It’s been a bit of an extension from my love of photographing mushrooms, as well as my forest-dwelling ways.
Lichens can seem mundane at a quick glance. Some people might even mistake them for a type of mould or a simple discolouration on a surface.
But if you inspect them closely, you’ll see just how diverse and surprisingly beautiful they can be to photograph.
Lichens are actually a mixture of fungus and algae (or sometimes a cyanobacterium), working together to sustain life where neither could thrive alone. This means they come in an amazing variety of shapes and colours, which is perfect for anyone who love detail-oriented photography.
A Micro-Environment
Lichens often support micro-habitats for tiny creatures like insects and snails. So if you’re a keen macro photographer, lichen might be a great new place to look for tiny subjects.
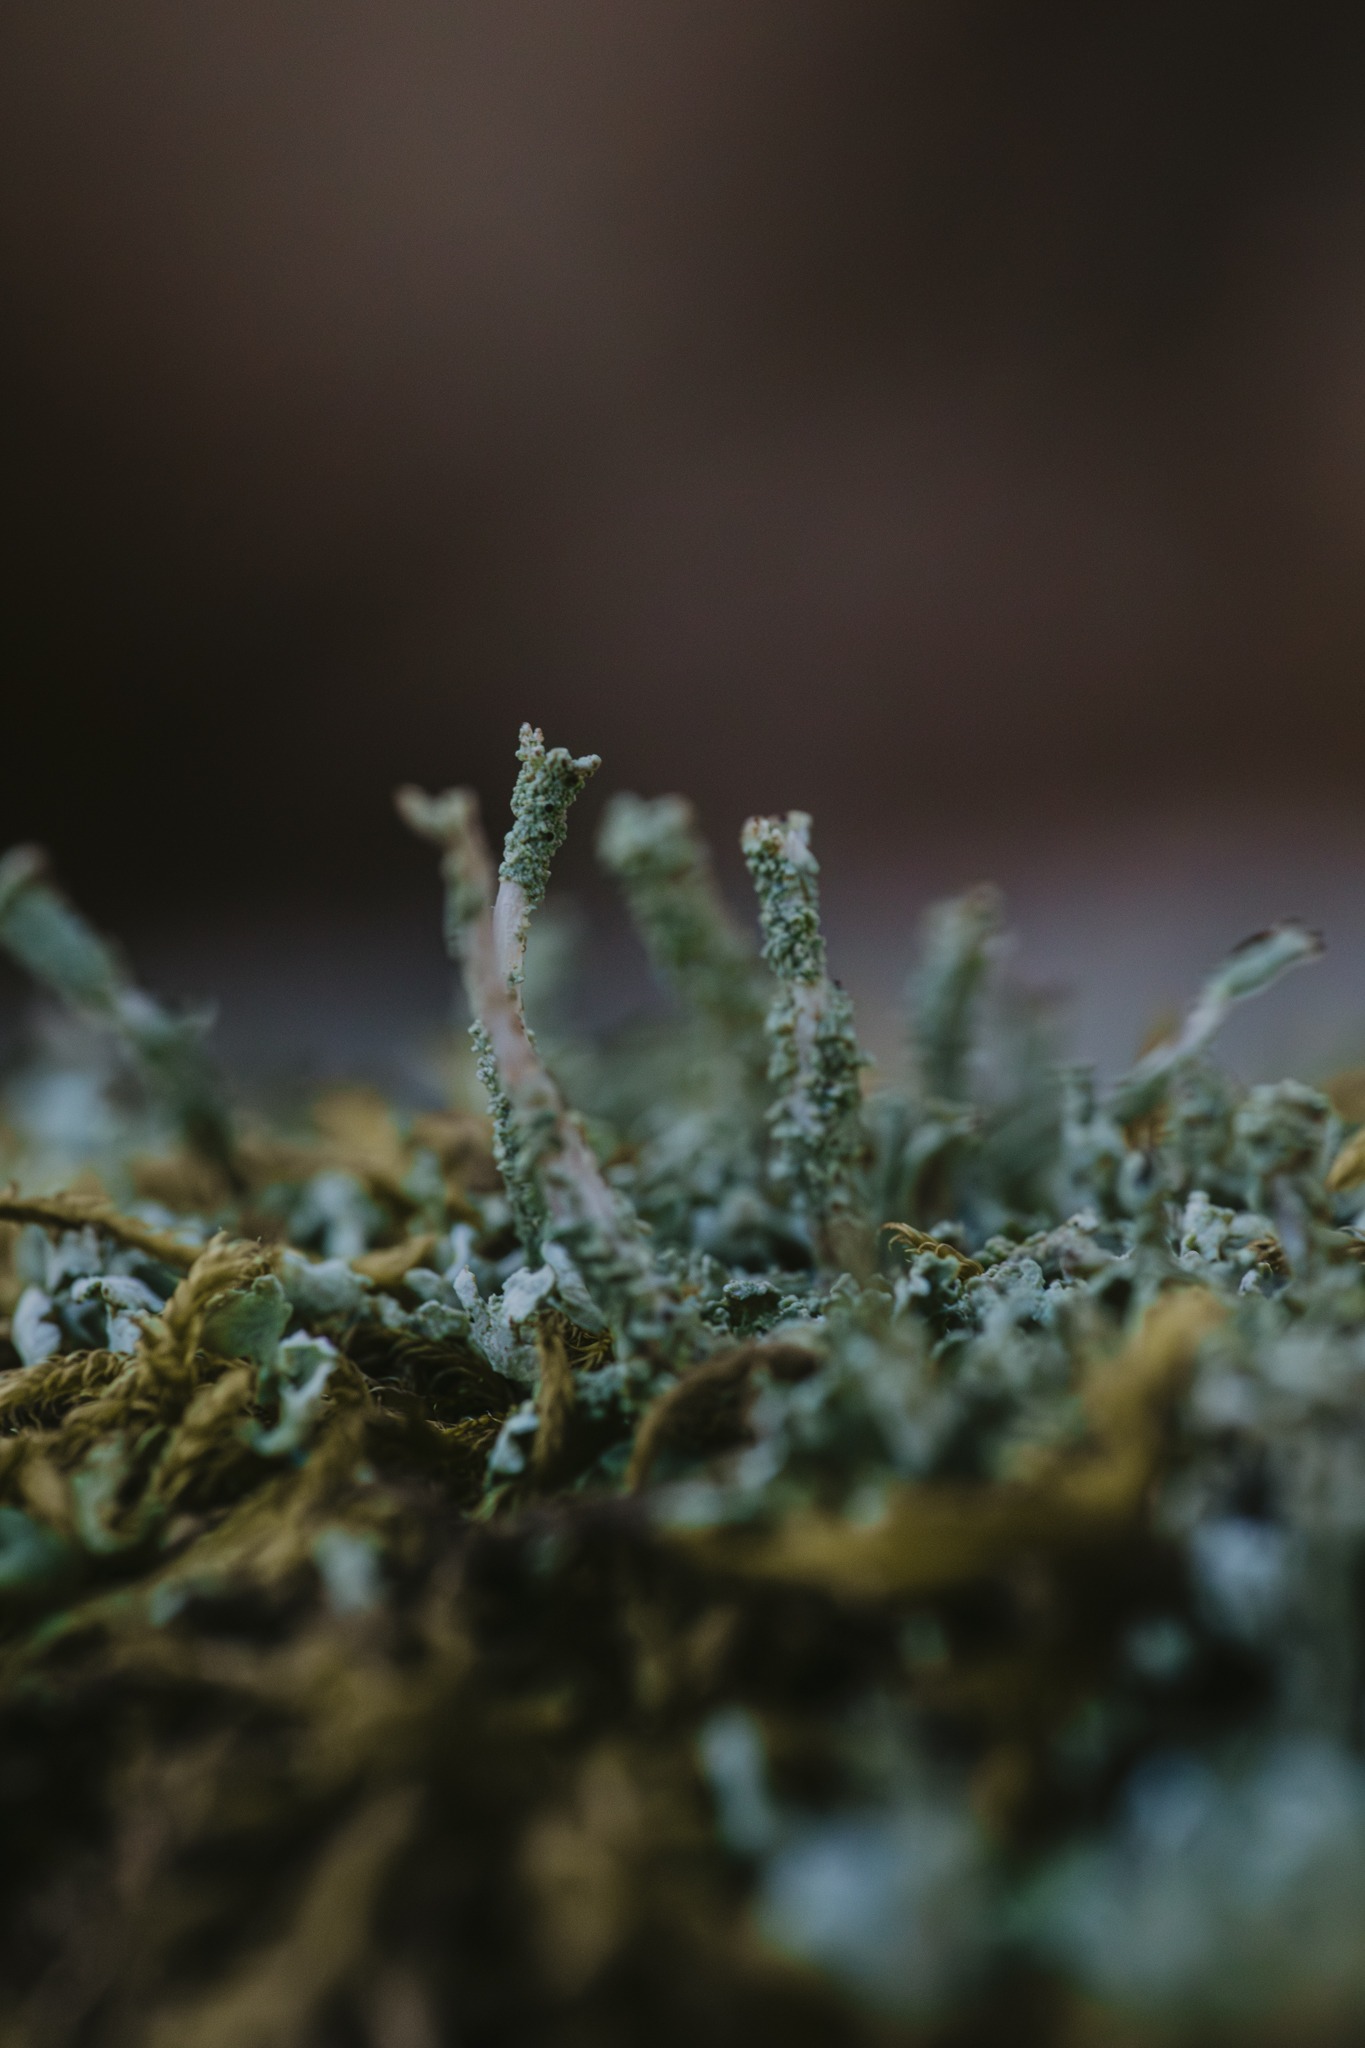
Different Types of Lichens and Where They Grow
To better appreciate lichen photography, it helps to know a bit about the main types of lichens you might encounter:
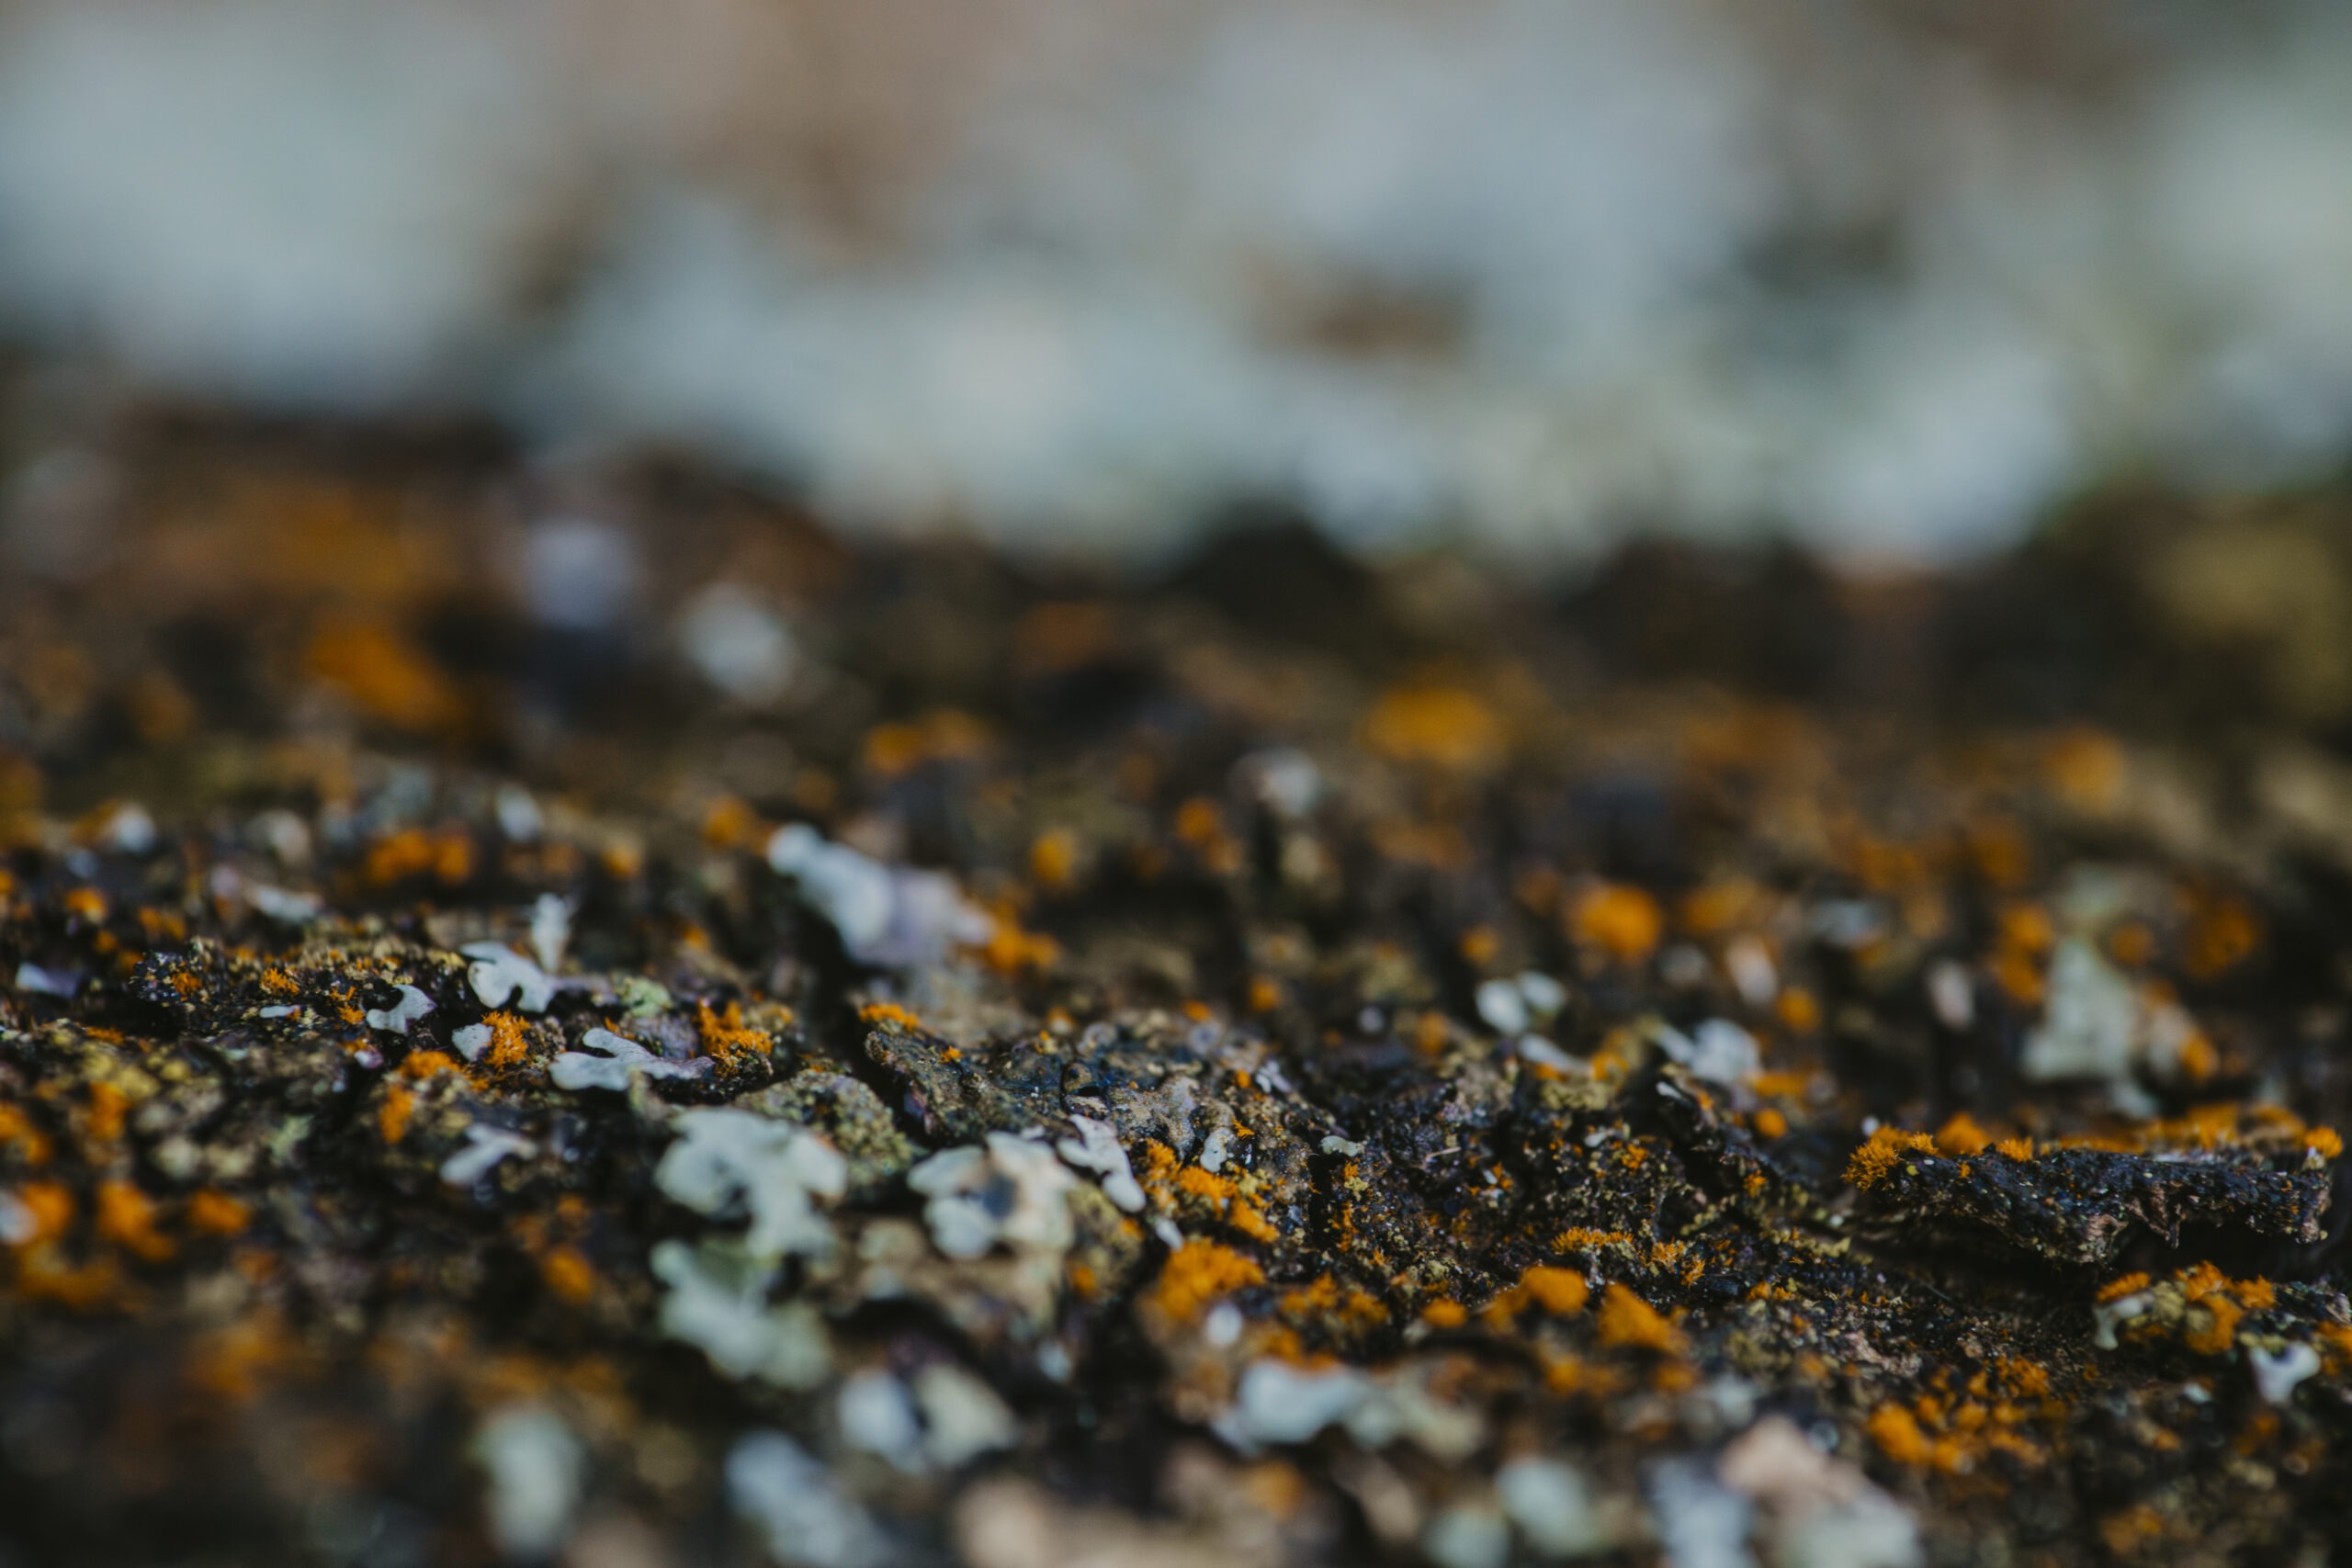
- Crustose: These lichens form a thin crust that’s tightly bound to a surface (like rock or tree bark), making them difficult to remove without harming them. They often appear as paint-like patches or cracked, mosaic patterns.
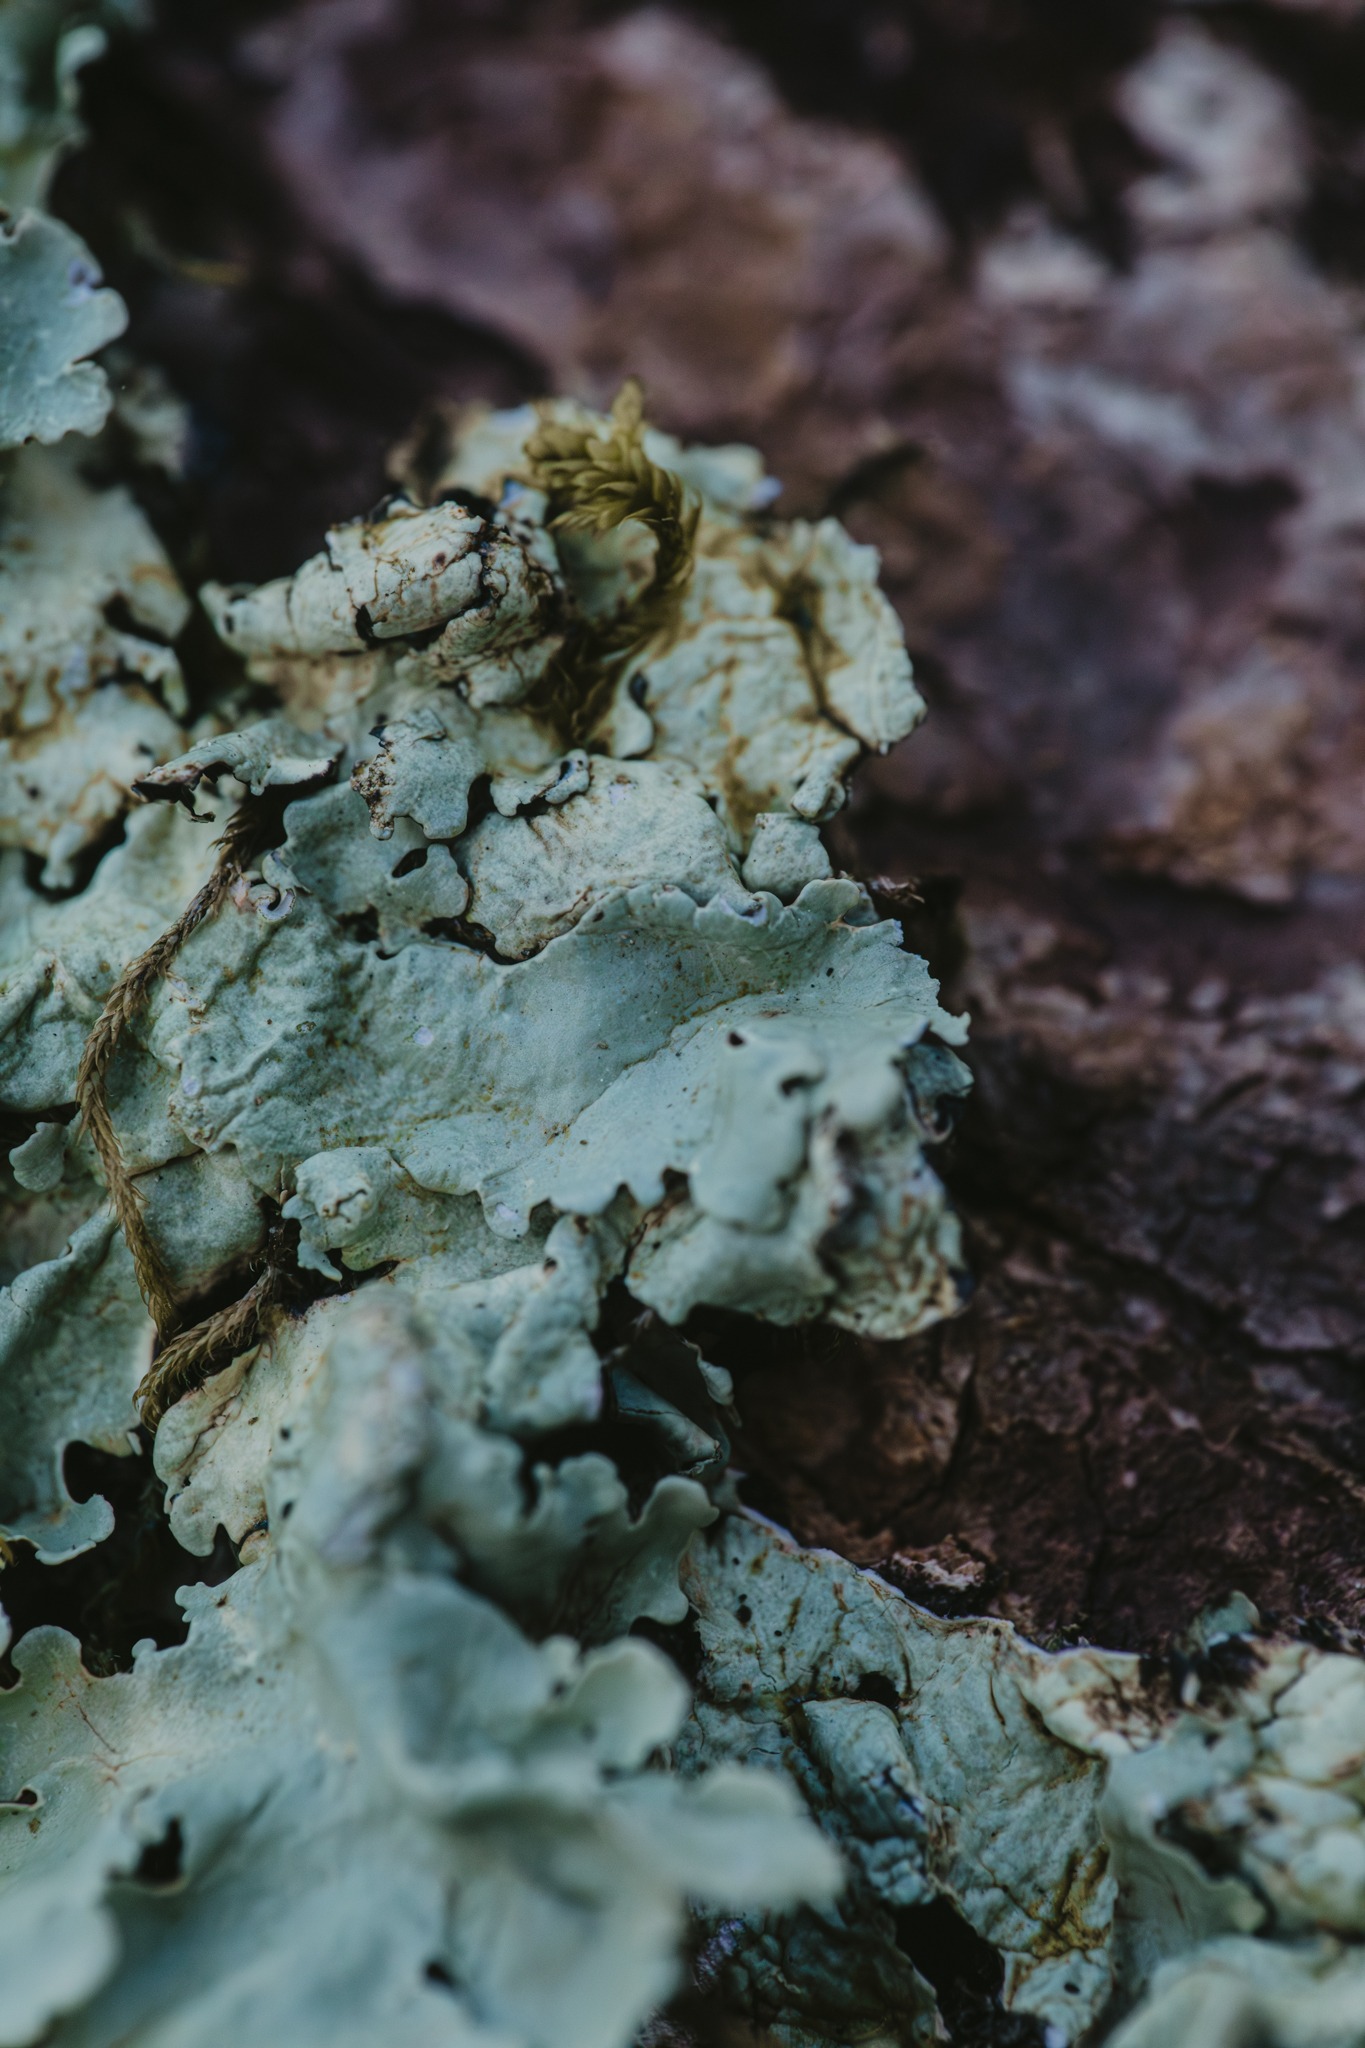
- Foliose: Foliose lichens look like flattened leaves or overlapping lobes that can lift slightly off their substrate. They have a more three-dimensional appearance than crustose lichens.
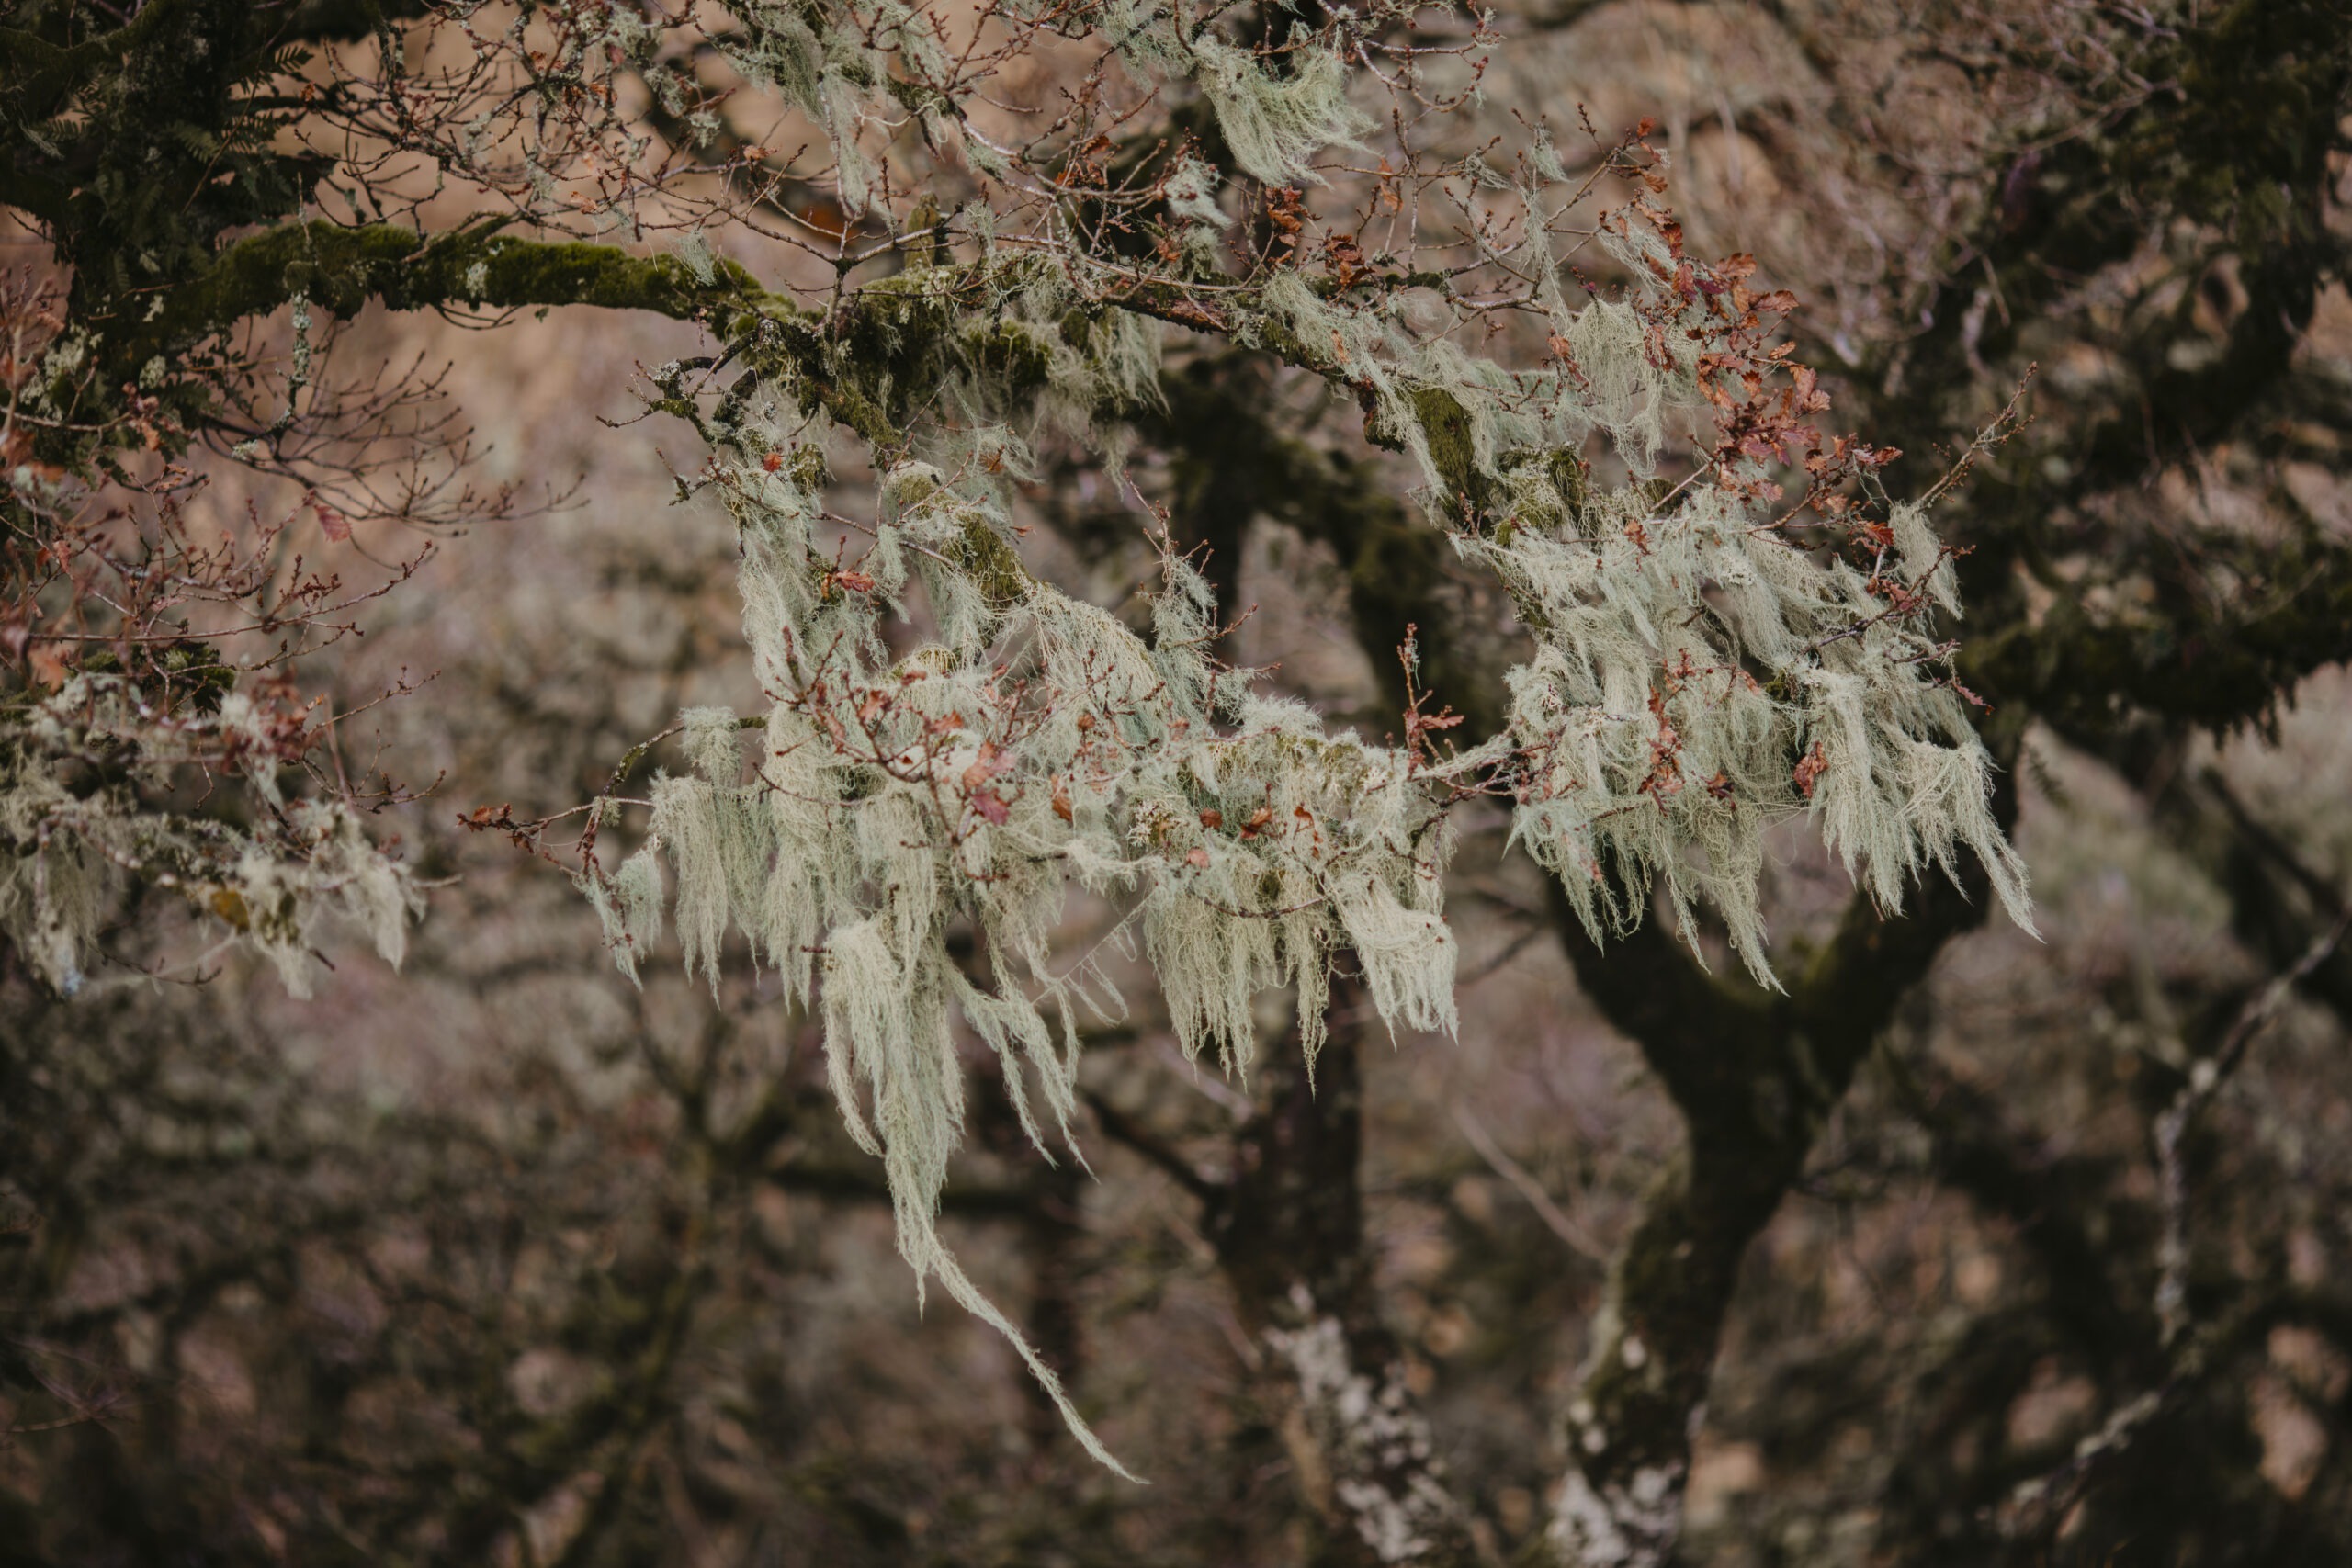
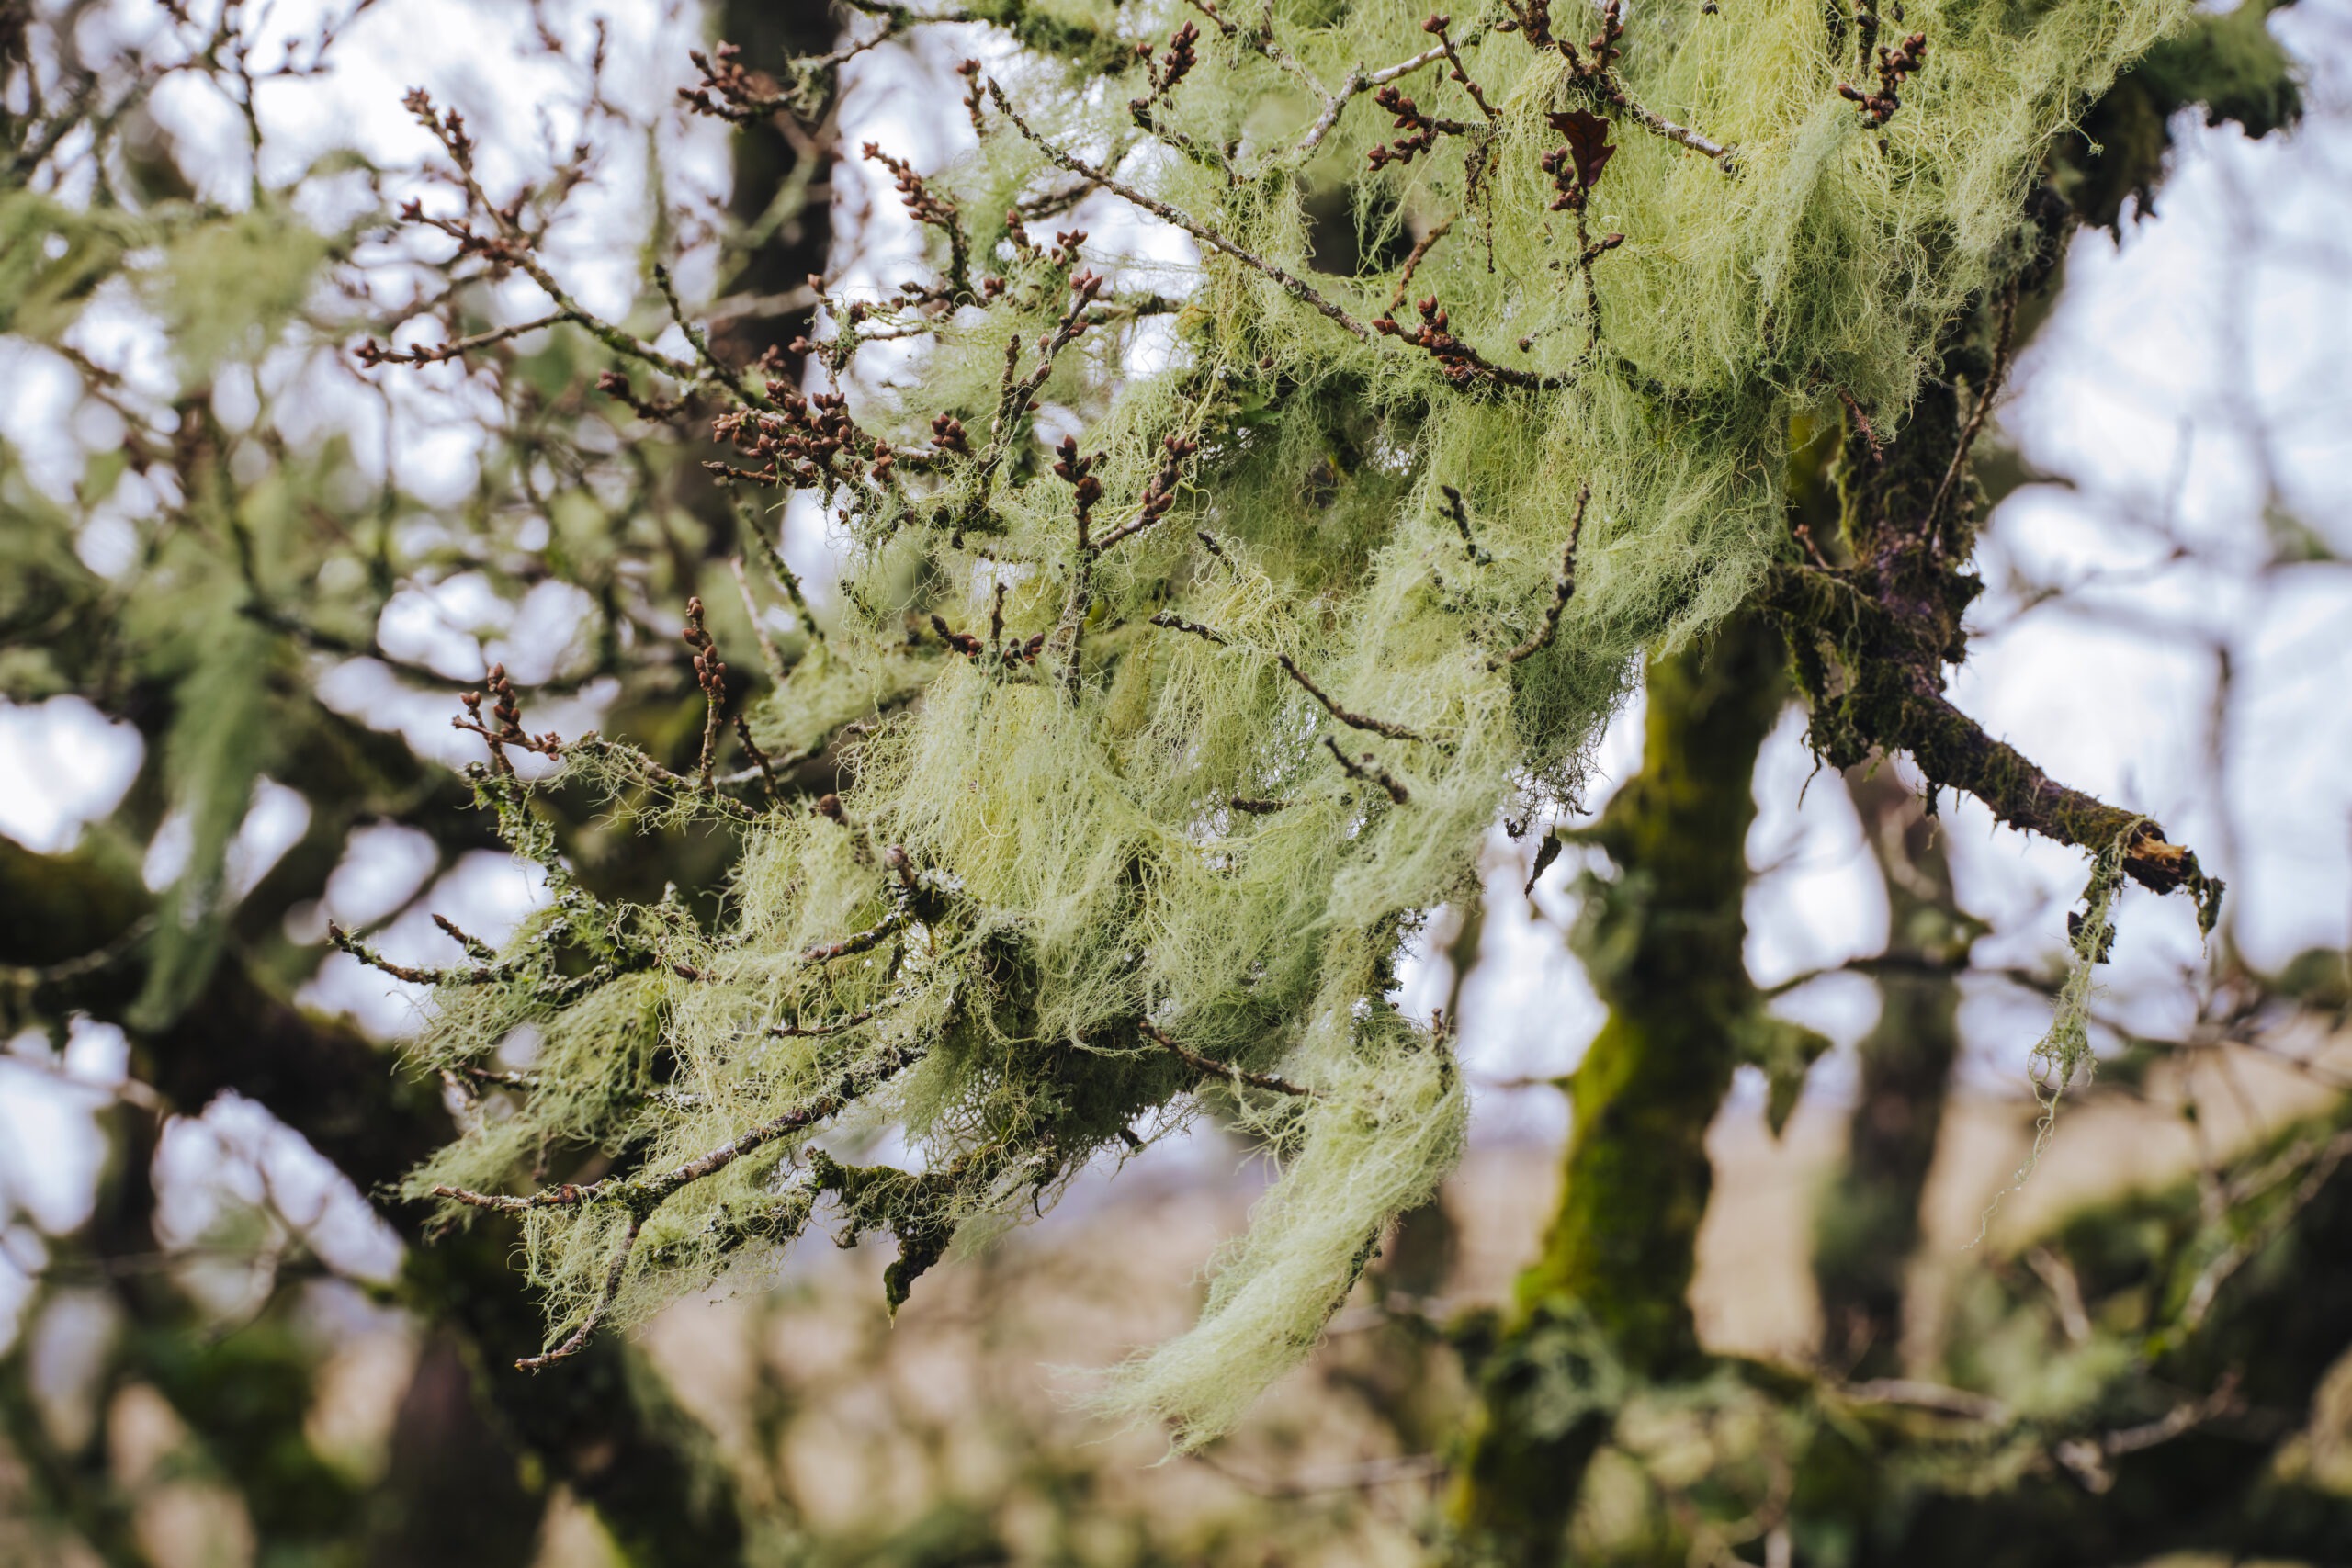
- Fruticose: Known for their branching, bushy, or hair-like structures. These can hang from tree branches in long strands (like “old man’s beard”) or form upright tufts on rocks.
- Squamulose: Less common to the casual observer, these lichens have small, scale-like lobes that can be tricky to spot unless you’re really looking closely.
Each type of lichen tends to favour specific environments.
Crustose lichens, for instance, might dominate bare rock faces in high sunlight, while fruticose forms often appear in moist, shaded forests.
Here in the UK, you could find bright orange crustose lichens on seaside cliffs or delicate foliose lichens on older, shaded stone walls. Keep an eye out wherever you go; If there’s a stable surface and suitable environmental conditions, there’s likely to be lichen.
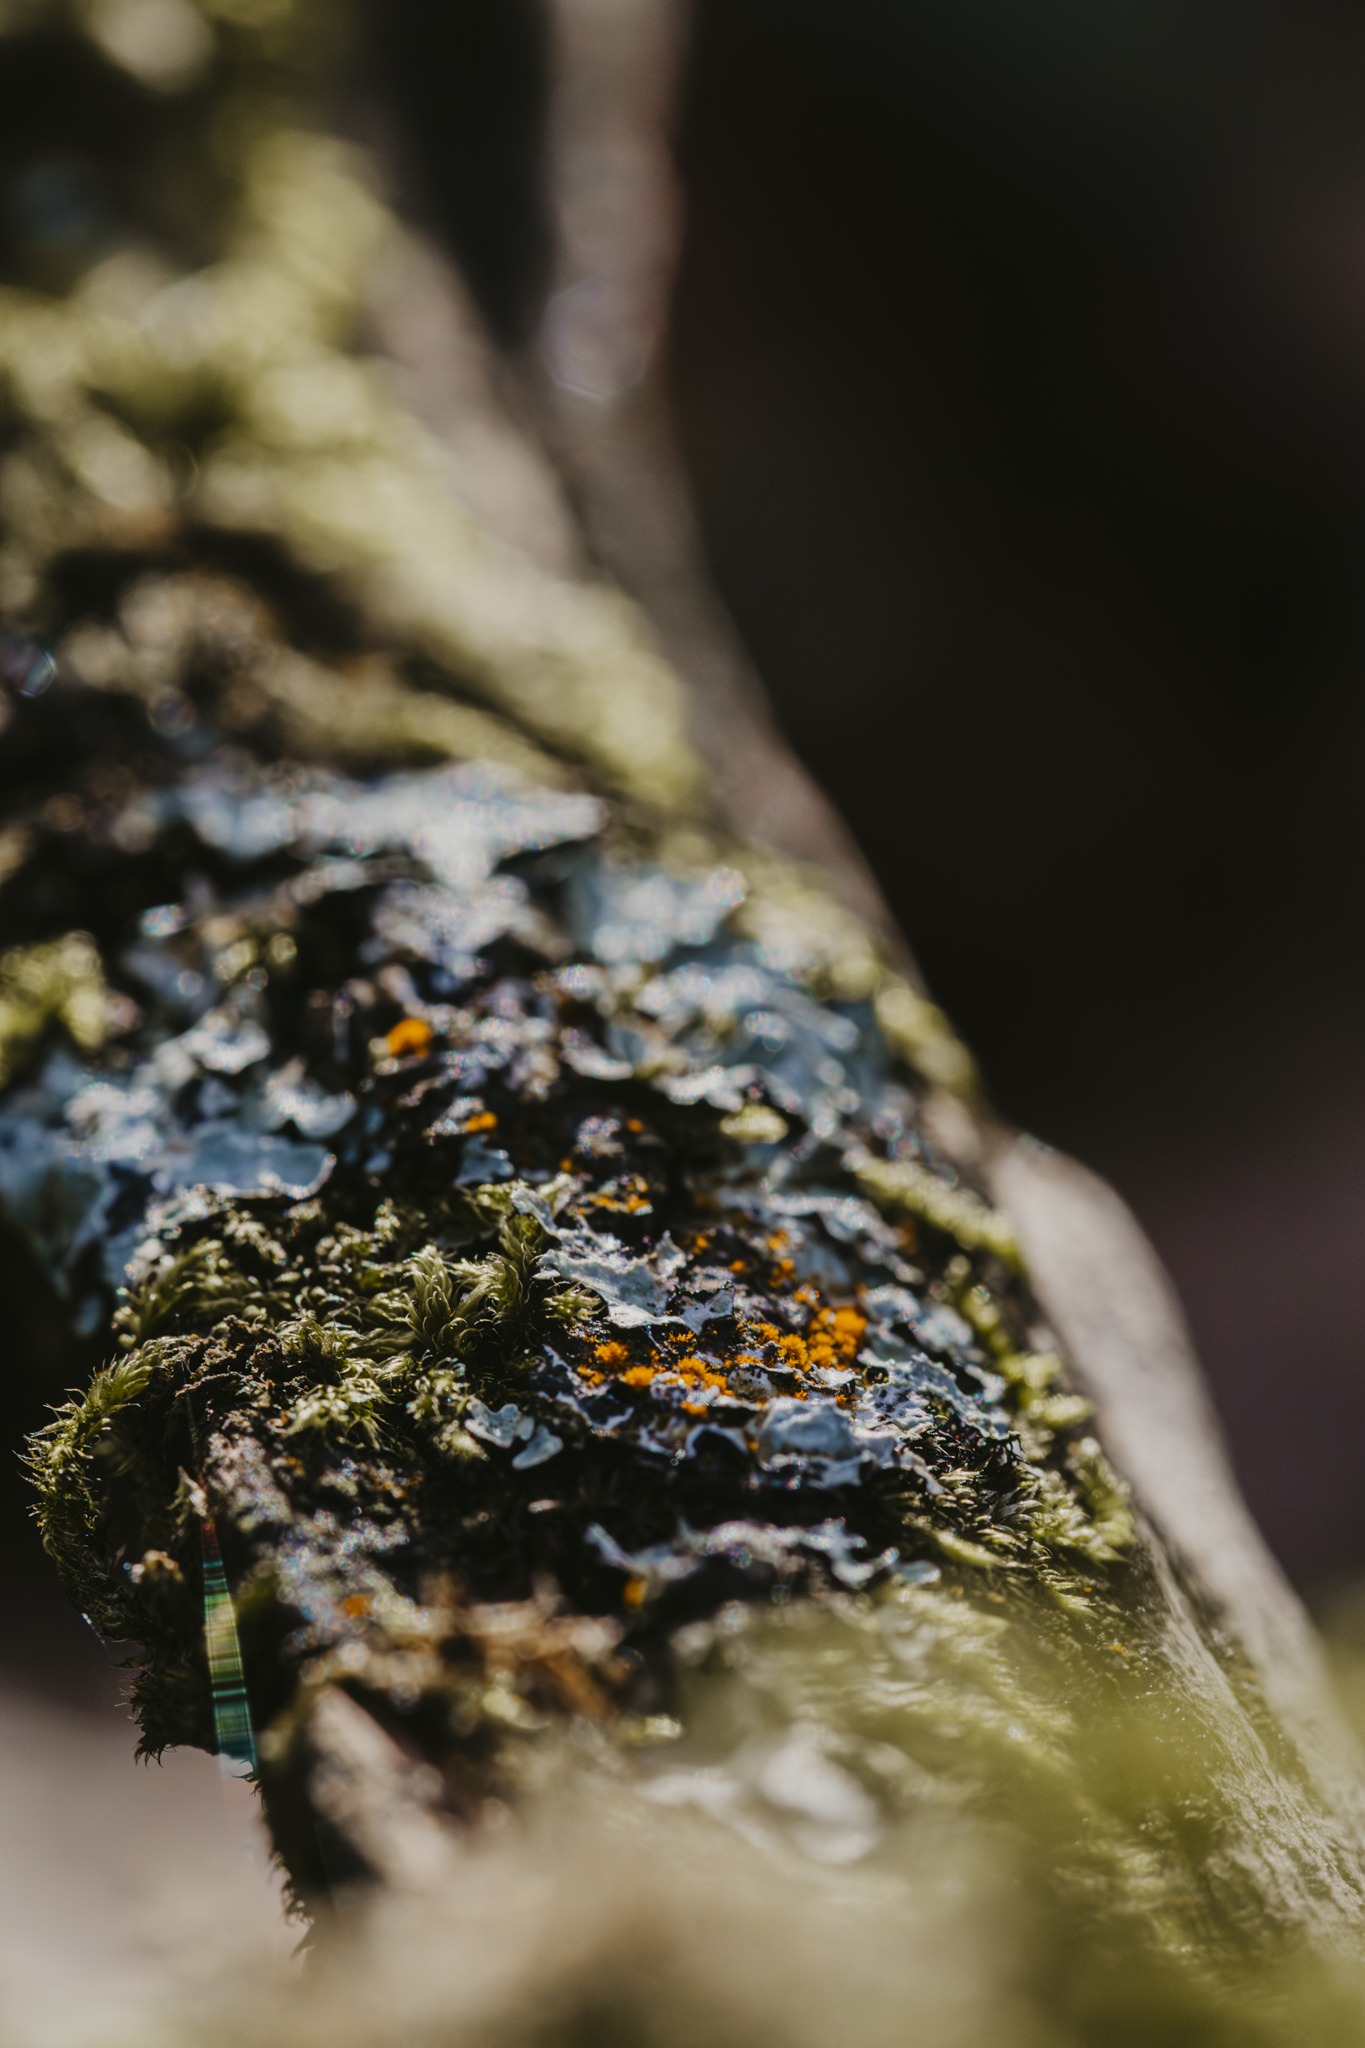
Where to Find Lichens
Lichens are everywhere, but some environments are better than others for finding a good variety.
Woodland and forests: Tree trunks and branches are perfect for a variety of foliose and fruticose lichens. Ancient woodlands, in particular, may have more rare species.
Coastal areas: Rugged cliffs and seaside rocks often have crustose lichens with vivid colours (think bright orange or yellow). The combination of salt spray and sea breeze suits specific lichen communities.
Moors and heathland: Open moorland with exposed rocks can be rich in lichens adapted to harsher conditions.
Urban areas: If you’re in a city and don’t have as much access to the woods, seaside and heathland, there is still plenty of opportunity to find lichen. Old stone walls, rooftops, gravestones and abandoned buildings can be great spots for lichen, especially if they aren’t frequently cleaned or painted.
Gardens: Even your own back garden might feature lichen on fence posts, plant pots, or old garden furniture. These easily accessible spots are perfect for practising close-up lichen photography before venturing out.
If you’re feeling adventurous, you can join local wildlife or natural history groups to learn where unusual or noteworthy lichens can be found. Certain nature reserves or National Trust properties might be known for lichen diversity, so it’s always worth asking around.
This post may contain affiliate links, where I make a commission on purchases made through affiliate sites at no extra cost to you.
Essential Equipment for Lichen Photography
The beauty of lichen photography is that you don’t need a massive kit. However, a few pieces of gear can make a big difference in the quality of your shots:
- Camera: A DSLR or mirrorless camera with manual controls is ideal, but you can also experiment with a high quality compact camera or even a smartphone that has macro capabilities. The key is the ability to focus closely or attach some form of macro add-on.
- Macro lens: For detailed shots, a dedicated macro lens is preferable. If that’s out of your budget, extension tubes or close-up filters can help your existing lens focus more closely.
- Tripod: Because you’ll often be shooting tiny details, any camera shake can blur the image. A lightweight but sturdy tripod is invaluable, allowing you to compose carefully and use slower shutter speeds if needed.
- Remote shutter release or timer: Pressing the shutter can cause micro-vibrations. A remote release or even the camera’s self-timer helps eliminate that for sharper results.
- Reflector or diffuser: Natural lighting is usually lovely for lichens, but you might want to reduce harsh shadows or redirect a bit of light onto the subject. A small reflector or diffuser can work wonders.
- Kneeling pad or waterproof clothing: Lichens often grow in damp, mossy, or awkward places. Having something to keep you comfortable and dry while kneeling or crouching is a bonus.
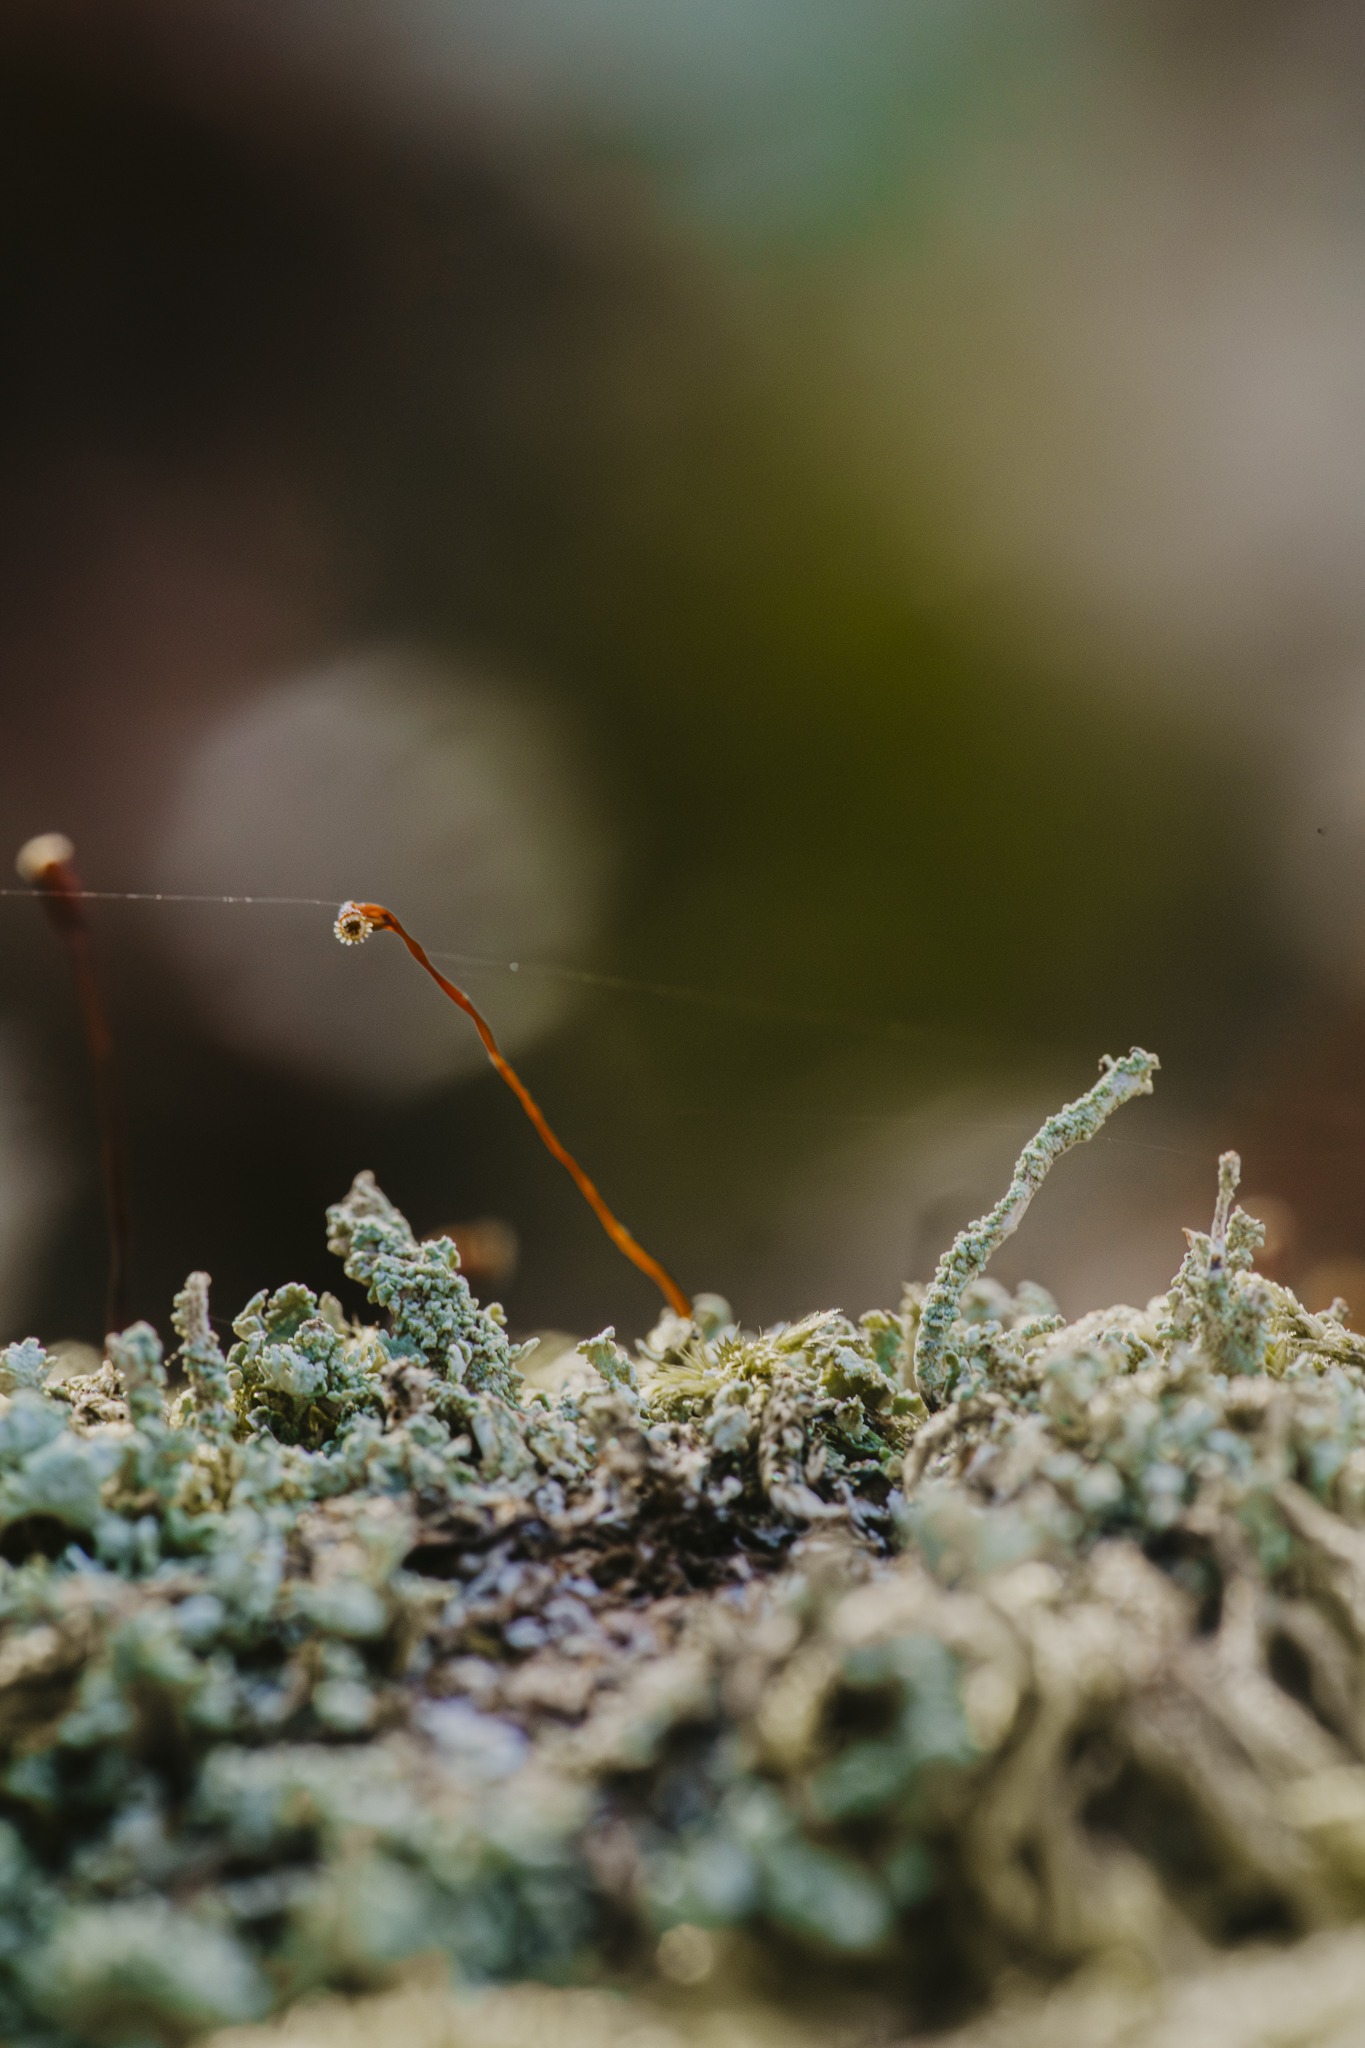
Techniques for Stunning Lichen Photography
A) Composition
Think about how to make your lichen images more aesthetically pleasing:
- Rule of thirds: While not a hard rule, placing a focal point (a particularly vibrant patch or interesting shape) along the thirds line can create an appealing balance.
- Filling the frame: With macro shots, filling the entire frame with the texture or pattern can create an abstract image. For lichen with flatter surfaces, this could be an ideal composition.
- Contextual shots: Sometimes, it’s nice to show the lichen in context. Perhaps a wider shot that reveals the environment (like a rocky coastline) before you move in for close ups.
B) Lighting Tips
- Soft light: Overcast days or the shade of a tree are good for diffused lighting. This prevents blown-out highlights and harsh shadows.
- Morning or late afternoon: Golden hour light can add warmth and depth to your lichen shots. Try backlighting a fruticose lichen to make it more dramatic.
- Additional lighting: Some lichen grow in dark, damp environments. You may need to add additional light, especially with macro where you often need to use a smaller aperture.
C) Depth of Field
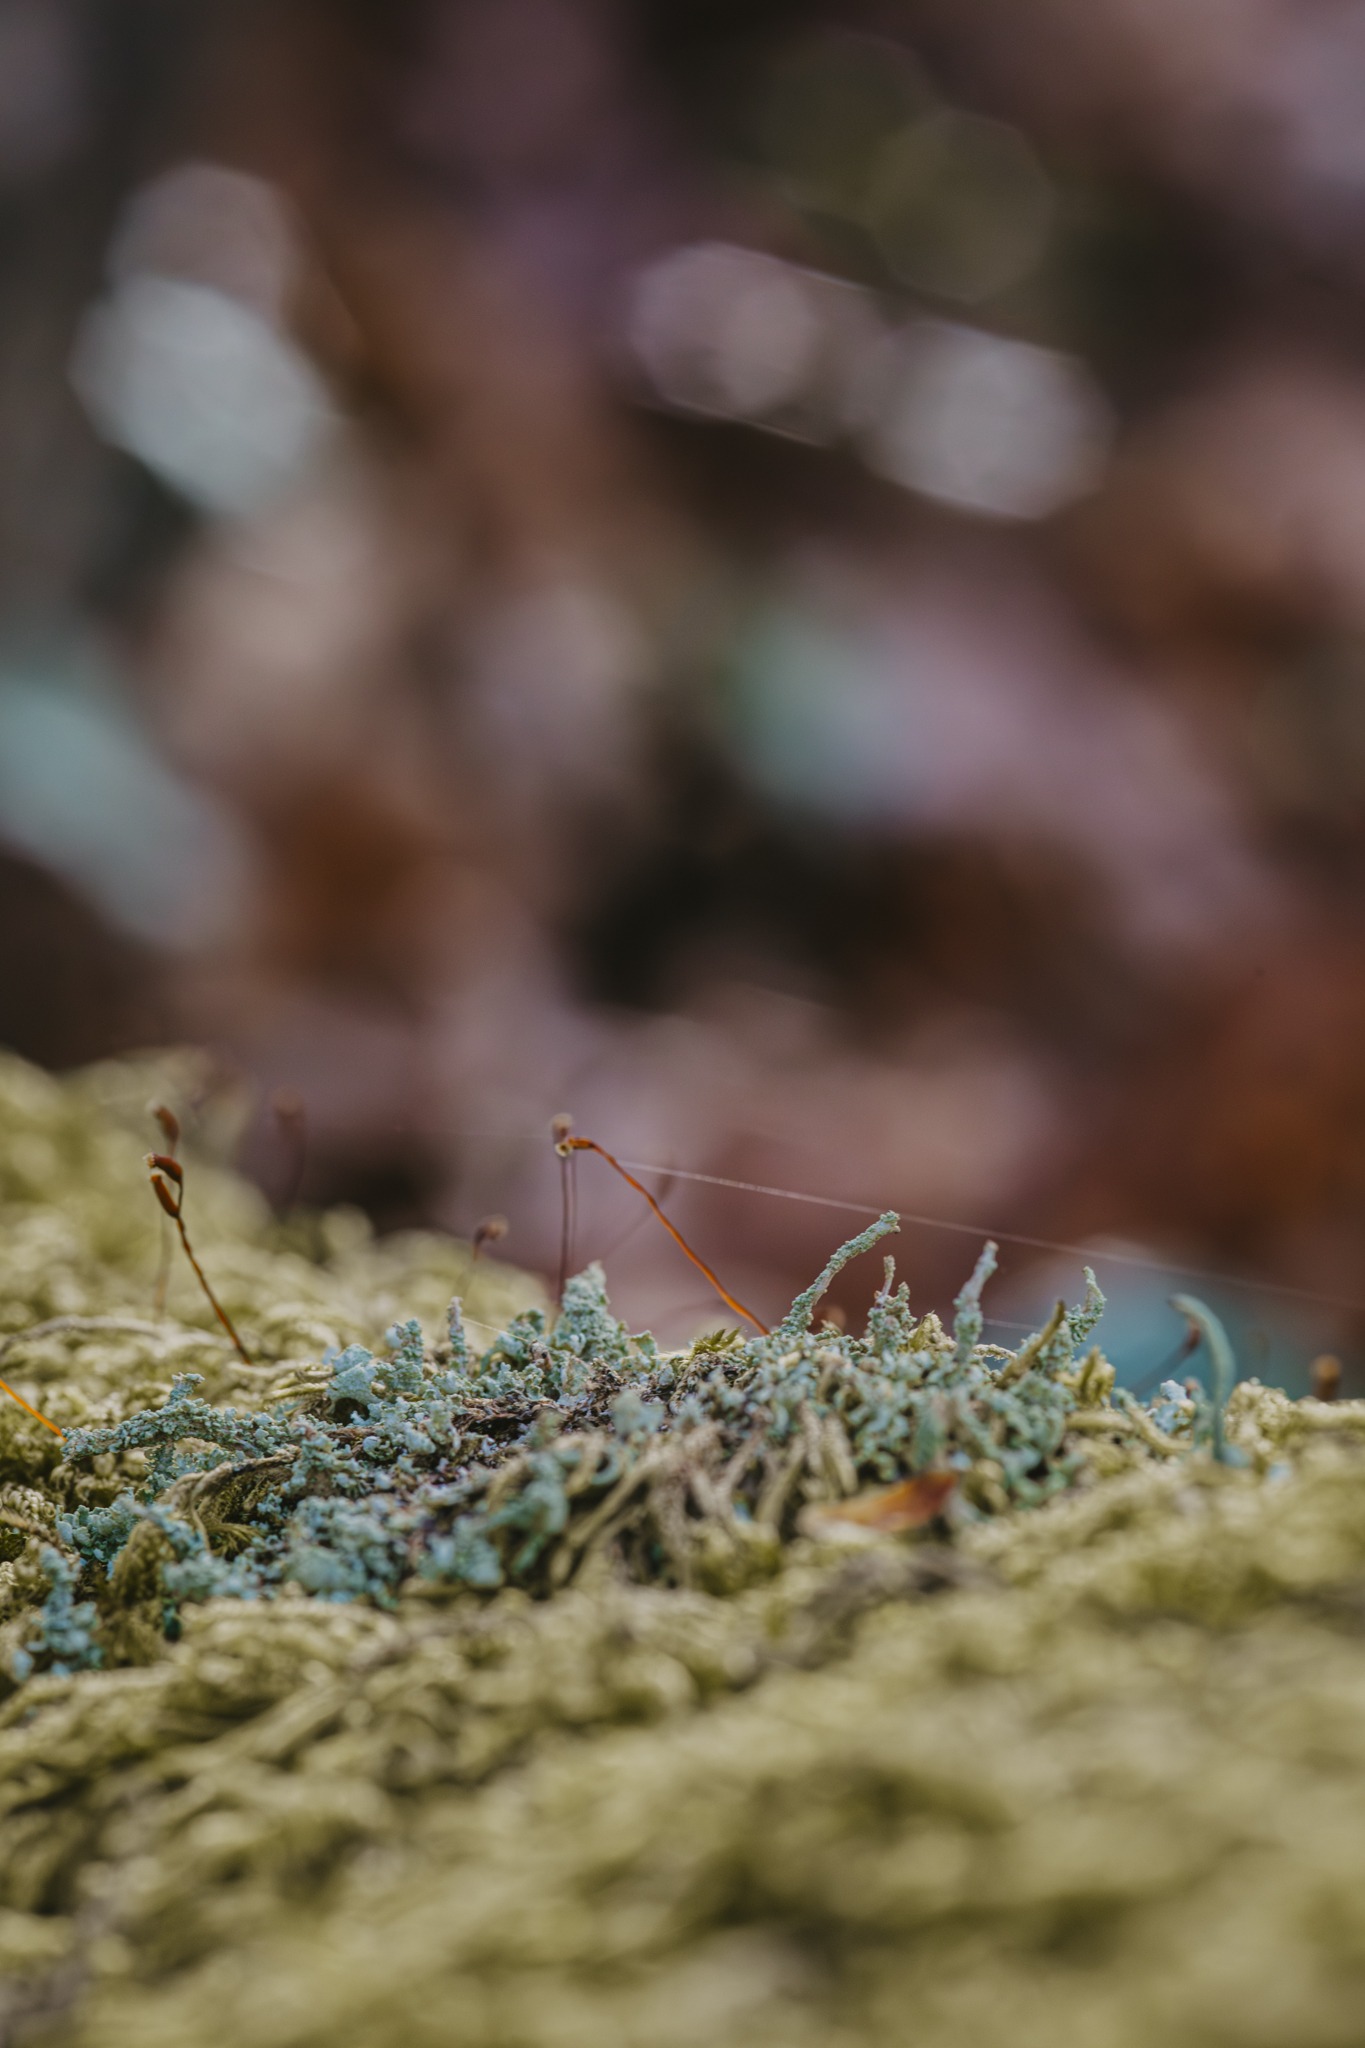
- Shallow Depth of Field (Wide Aperture): By using something like f/2.8 or f/4, you can isolate a small part of the lichen in focus, creating a dreamy, soft background. This can look artistic but requires precise focusing.
- Larger Depth of Field (Smaller Aperture): If you want to showcase all of the details, try f/8, f/11, or even f/16. Keep in mind you’ll need lots of light or a slower shutter speed.
D) Focus Stacking
If you’re keen on capturing lichen macro photos with every detail in razor-sharp clarity, focus stacking is a more advanced technique to consider. You’ll take multiple images at slightly different focal planes, then merge them in editing software. The result is a composite with greater depth of field than a single exposure could achieve.
Dealing with Environmental Factors in Lichen Photography
Lichens are often found in damp, shaded, or breezy locations. Here’s how to cope with environmental challenges:
- Wind: Even if the lichen itself is stuck firmly in place, surrounding plants might sway into your frame. You can use a bit of cardboard as a windbreak. Alternatively, wait for a calm in the breeze before pressing the shutter.
- Moisture: Some lichens become more vivid when damp, revealing colours that aren’t obvious when dry. Embrace light rain if you’re happy to shield your camera. Here are some tips on how to shoot in the rain.
- Cold conditions: Lichens can tolerate a range of temperatures, but if you’re heading to a frosty woodland or high-altitude site, bring extra camera batteries (cold drains them faster) and dress warmly. Your comfort affects how long you can stay and take photos.
Respecting Nature
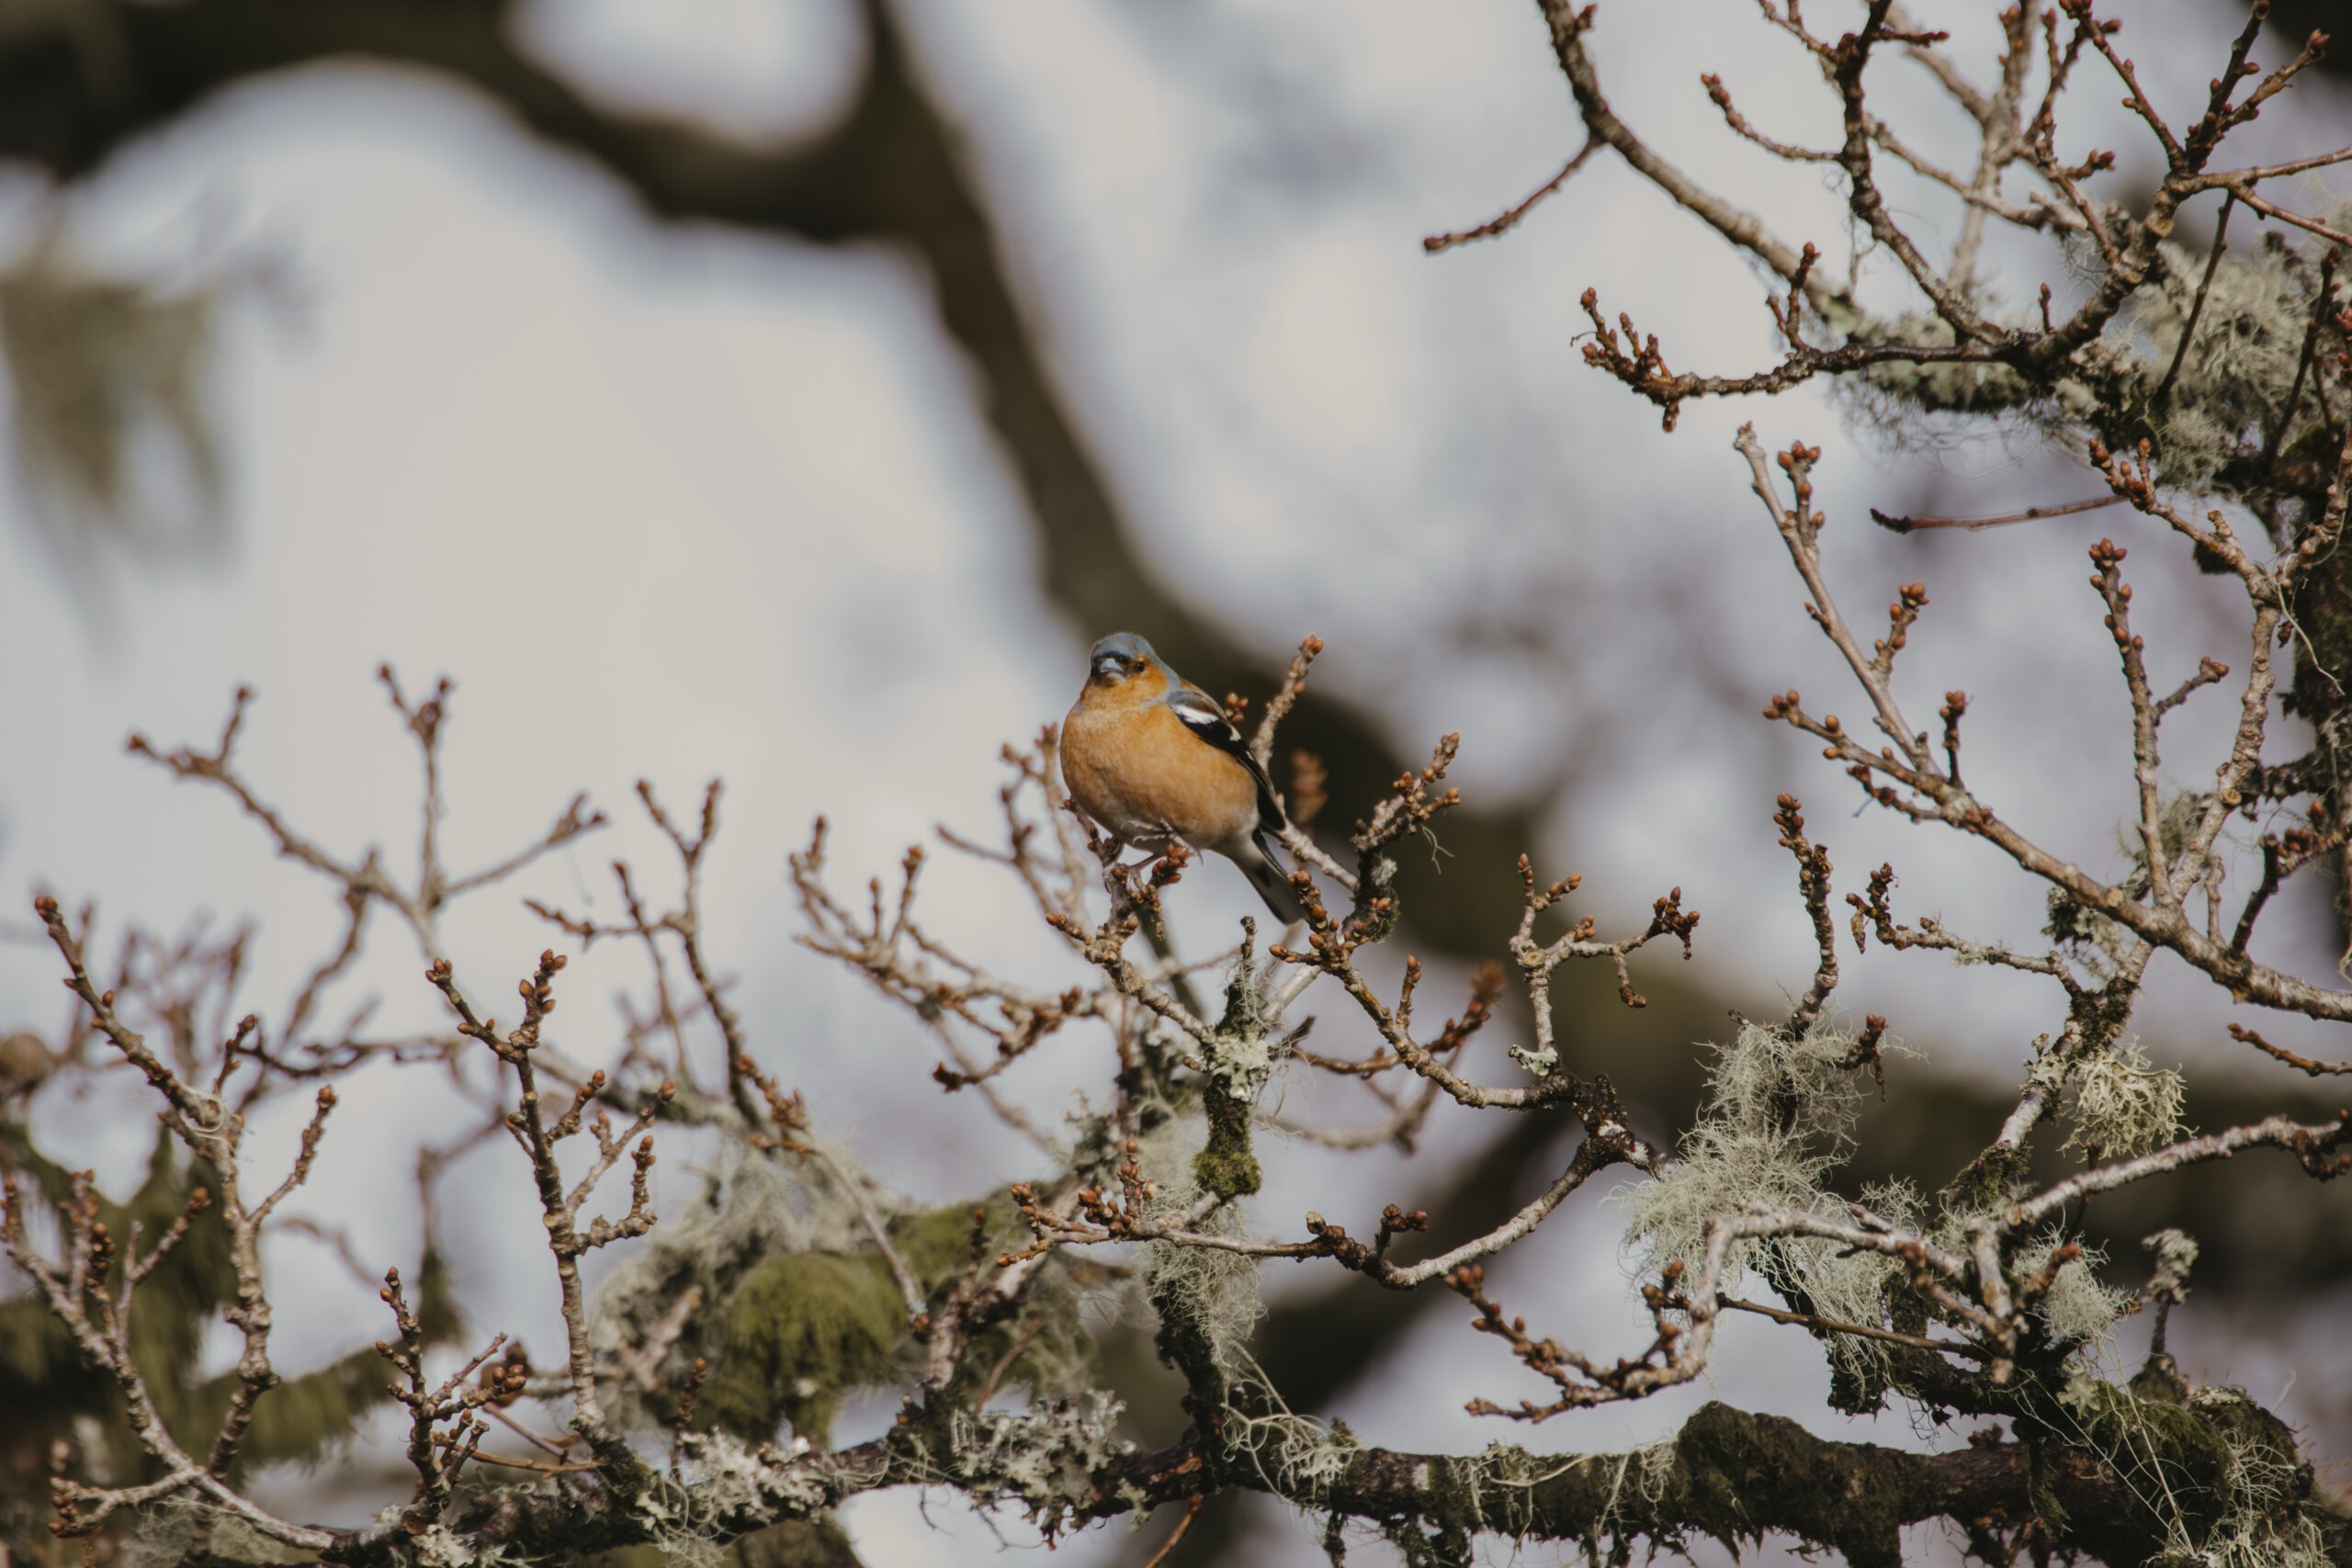
While lichens might seem plentiful, they grow slowly, sometimes just a few millimetres per year. Some rare species are protected under conservation laws (s), or they serve as indicators of air quality and ecological health.
As a responsible photographer avoid damaging habitats. Don’t scrape or peel lichens off surfaces for the sake of a shot. Work with what’s naturally accessible.
If you’re on sensitive ground (like peat bogs or nature reserves), stick to paths or designated walking areas whenever possible.
Leave no trace by avoiding using harsh chemicals or leaving behind rubbish. If you use props (like a small background card), remove them afterwards.
Always go by the rule “leave nothing but footprints, take nothing but pictures”.
How to take photos of lichen?
The key to successful lichen photography is to slow down and look for the subtle textures and colours that often go unnoticed. Focus on a macro approach to highlight the intricate details, use diffused or soft lighting to avoid harsh shadows, and stabilise your camera with a tripod for crisp shots. Whether it’s the crusty patches on a weathered rock or the frilly growths along a tree bark, lichen bursts into photographic life when you capture its complex shapes and amazing colours.
Final Thoughts on Lichen Photography
Lichen photography is an underrated subject that’s great for macro and nature photographers.
With just a few basic tools (a camera & lens capable of close focusing, a sturdy tripod, and the patience to actually look) you can photograph some real hidden gems.
You’ll find yourself savouring the smallest details and realising that remarkable beauty often lies just a few inches away from our usual line of sight.
If you’d like more tips on macro photography, try this guide on macro photography ideas for beginners.