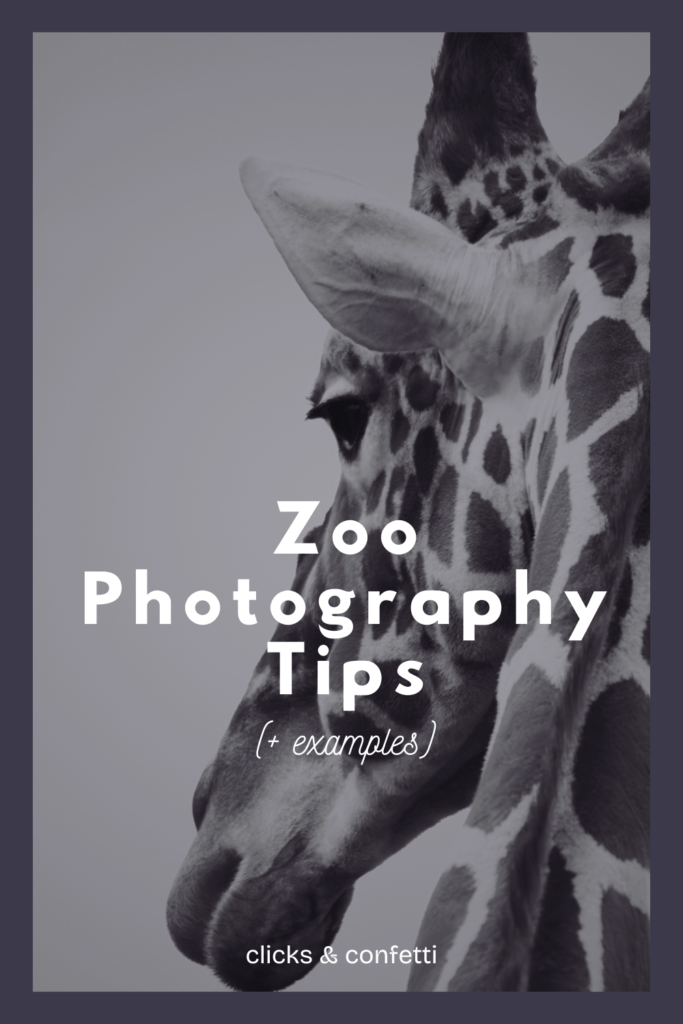
Zoo photography is a great way to learn how to photograph animals before capturing them out in the wild. You can practice photographing animals in a safe and slightly more predictable environment but sometimes through fences, sometimes battling bad lighting, and often trying to avoid stray people with bright pink coats wandering into your frame.
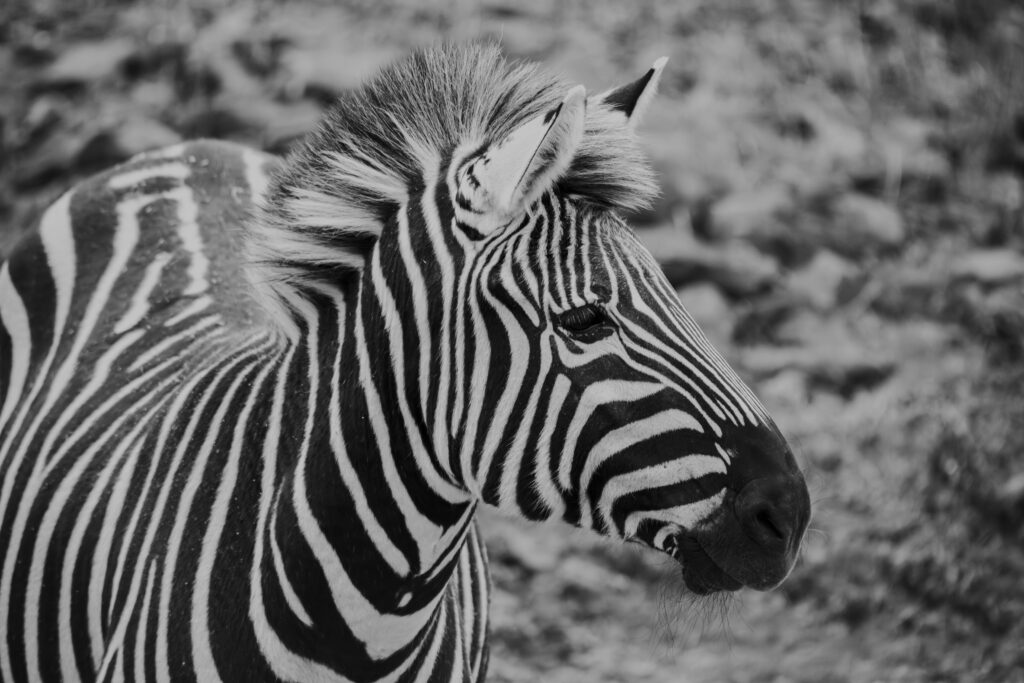
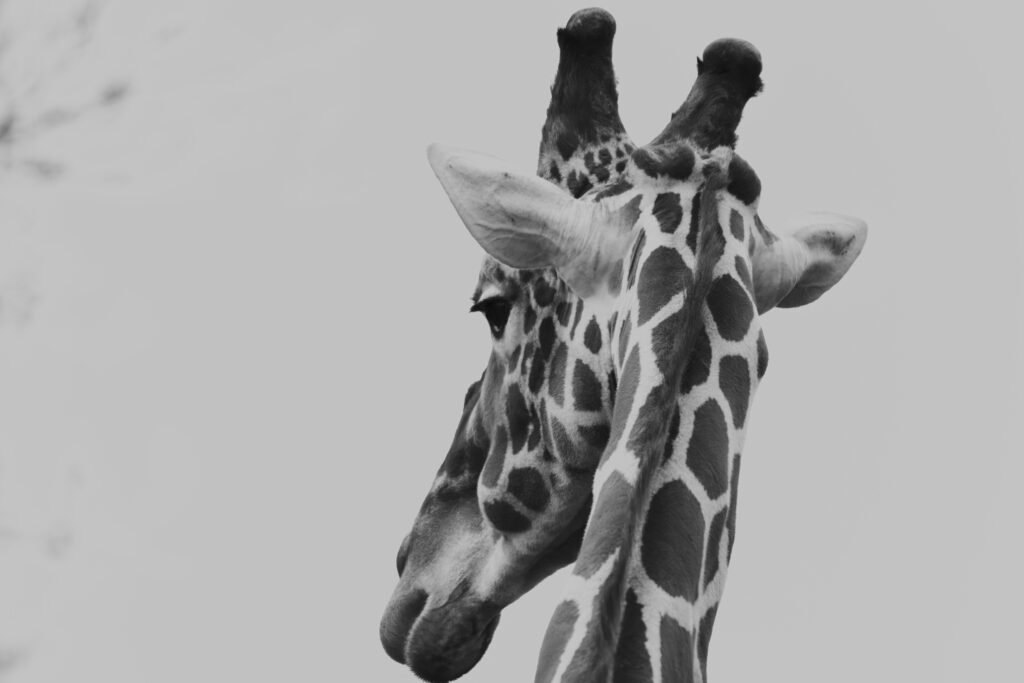
In my early photography days, when I lived back in North Wales, I used to take my camera to Chester Zoo. I fell in love with photographing the Lions and Giraffes.
More recently however, I went to the Bristol Zoo Project with my camera and just one lens. It was a strange experience being back in a zoo, considering I am usually photographing animals in the New Forest these days, or out on the Somerset levels.
I found it a lot more difficult to get the right background due to some of the unnatural surroundings but it was easier to get close up shots of animals without having to be some kind of ninja in the forest.
In this post, I want to share some of the zoo photography tips that I’ve acquired, so you can also elevate your zoo photography game!
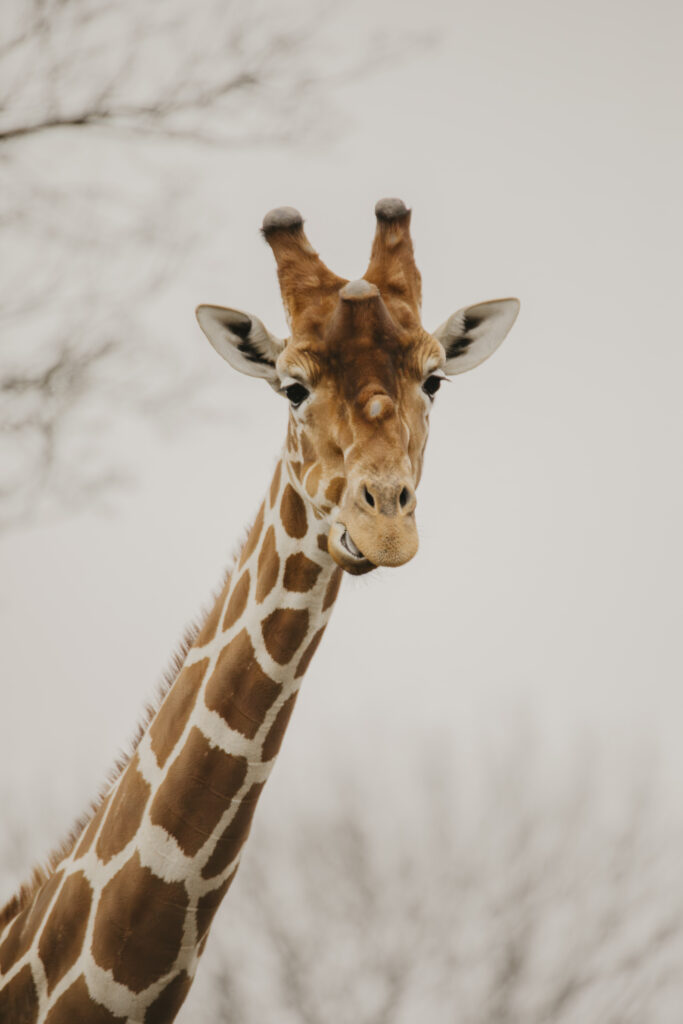
Why Zoo Photography is Great Practise
Zoo photography offers the chance to photograph exotic animals without needing to travel halfway across the globe. For me, the zoo was the perfect training ground for wildlife photography back in the day.
While the setting isn’t the wild, zoos challenge you to work with constraints like fences, crowds, and sometimes difficult lighting. This is the perfect way to teach yourself patience and problem-solving while out in the field, which will come in massively handy later on down the line.
Best Times For Zoo Photography
Off-peak dates like winter week days are going to be your best bet, as kids are in school and the cold weather might put people off. You don’t want to be struggling to get a spot to photograph from, when all the kids are off on half-term.
Early morning and late afternoon are the golden hours for zoo photography. Not only is the light softer and more flattering, but the animals are often more active during these times. Midday can be tricky; the harsh sunlight creates strong shadows, and many animals retreat to shaded areas for naps.
Overcast days are ideal for zoo photography. The diffused light eliminates harsh shadows, meaning you can get a well exposed shot from any angle.
On sunny days, you can use shaded areas or find a spot where you can shoot with the sun behind the animals, acting as a backlight.
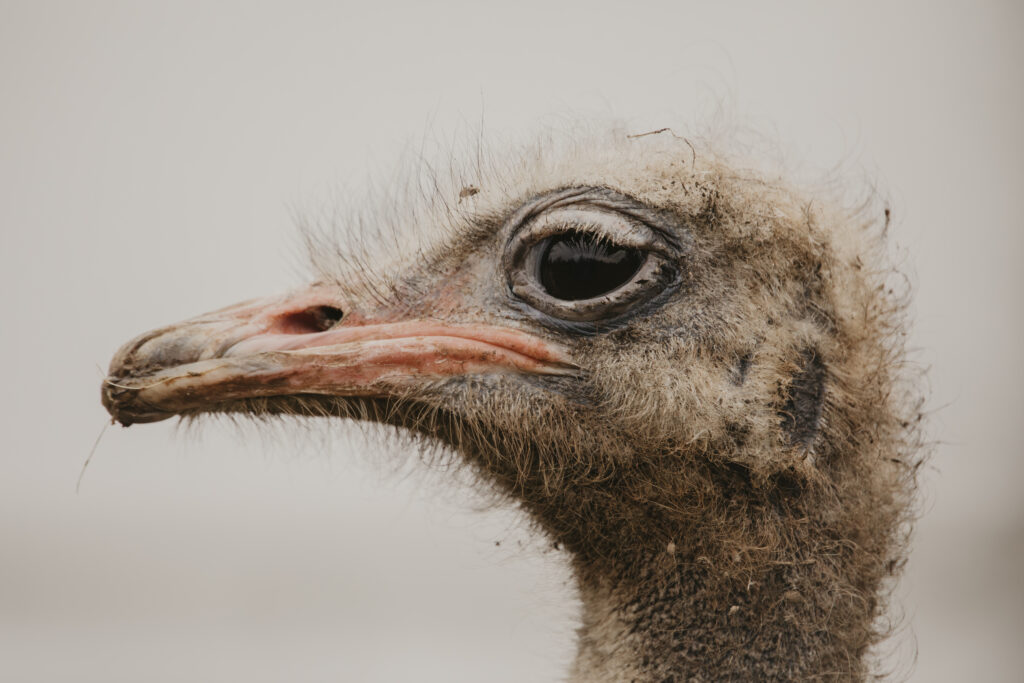
What Gear You Need for Zoo Photography
When it comes to zoo photography, your gear can make or break your experience. For example; A wide-angle lens isn’t going to be ideal, as you’ll not be able to get many shots without fences.
I realise if you’re a beginner, you may be on a limited budget or you might not want to spend a lot on gear that you’re not sure you’ll get too much use out of.
Here’s some kit I recommend as a beginner:
Telephoto lens:
You’ll want to be able to capture animals that are far away or have enough separation so you can shoot through fences. That’s where a telephoto lens comes in.
Back in the day, I didn’t have much of a budget for a fancy telephoto lens, so this was the one I used and I loved it. It was kind on the bank balance but it did a tidy job for a beginner lens.
If you have a bigger budget, one of these bad boys will give you double the focal length and it still counts as a budget lens (I know, I know, photography is wildly expensive).
Macro lens:
You may want to get close-ups of smaller animals, like insects and amphibians. You need a macro lens for this. Believe it or not, my first macro lens was also the telephoto lens I mentioned above. It does both. It may not get you as close as you want but it’s a great starting point.
If you want a dedicated macro lens, then I highly recommend this Sigma 105mm Macro to start you off with. In fact, it’s still part of my kit after all these years.
Polarising filter:
A polarising filter like this one will come in handy if you want to shoot through glass at the zoo. It will help reduce glare and reflections. Just make sure you get the correct size filter for your lens.
Best Settings For Zoo Photography
Mastering your camera settings is essential for overcoming the unique challenges of zoo photography but it can be a little overwhelming at first.
Shooting through barriers and dealing with unpredictable animals will be a couple of the issues you’ll face and it’ll be a good opportunity to get to grips with your settings in real-time.
Here are some of the settings you will need to work with:
Aperture (f-stop)
Use a wide aperture (f/2.8 – f/5.6 if your lens is capable) to blur the background and make the animal stand out. A wider aperture will help you blur out the fences in the foreground as well as the background, enabling you to shoot through them.
I get that if you’re using a budget lens, your aperture may not go as wide as the f-numbers suggested but in that case, make your aperture as wide as your lens will possibly go.
Shutter Speed
Set a fast shutter speed (1/1000s or higher) to freeze motion, especially for really active animals like monkeys or birds. This will help you capture some interesting moments, especially funny facial expressions, without getting any motion blur. The wider aperture letting more light in, should allow you to use a faster shutter speed.
ISO
If the wider aperture doesn’t let enough light in for you to use the fast shutter speed you need, then adjust your ISO. A good starting point in bright conditions is ISO 100 but without enough light you may want to boost it and go for a higher number. Just be careful of creating more grain/digital noise. Have a practice to check what your camera can handle.
Focus Mode
Switch to continuous autofocus (AF-C) to track moving subjects properly. Use single-point focus to pinpoint specific features.
How to Position Yourself for Great Zoo Photography
Positioning is everything in zoo photography. There’s a few things to consider when picking the best place to stand.
Avoid the Fence
Get Close: If you can get your lens close to the fence and use a wide aperture, the fence will blur into the background, becoming nearly invisible. Unless the animal has their face right against the fence of course.
Angle Matters: Align your camera parallel to the fence so that you’re able to get it out of focus.
Work With Openings: Some zoo enclosures have areas without fences, like glass panels or open viewing. Make the most of these spots, they are the perfect locations.
Work Around the Glass
Press Your Lens Against the Glass: This reduces reflections and glare.
Use a Polarising Filter: A small accessory that helps reduce reflections. Also good for any shots with water in.
Watch for Smudges: Clean glass surfaces with a cloth or position your lens away from marks.
Watch the Background
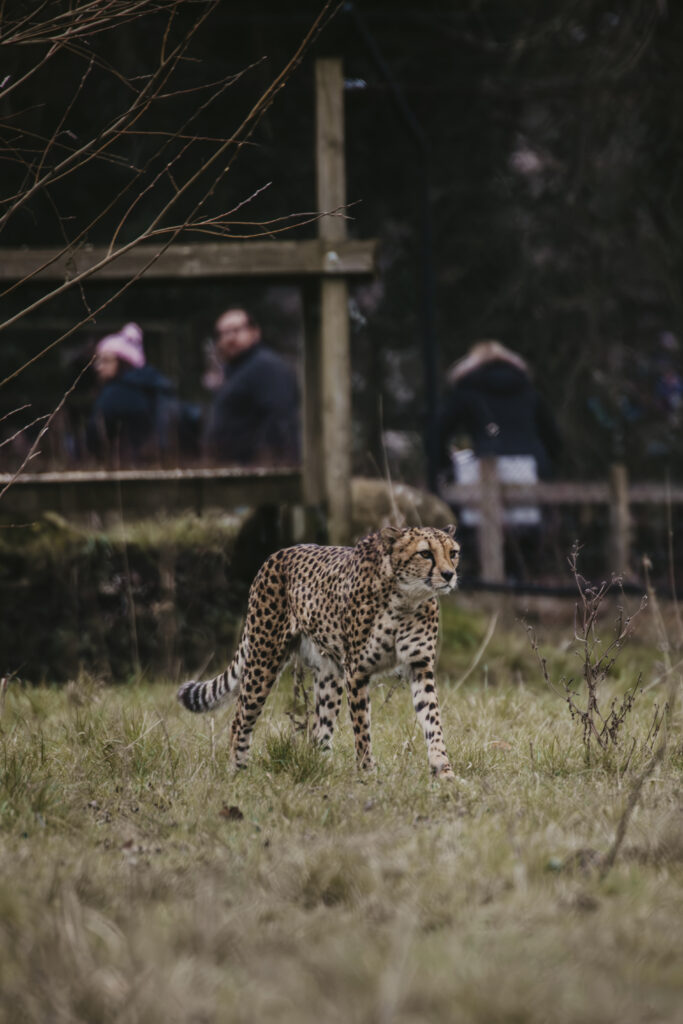
Be mindful of what’s behind your subject: A photo of a Lion loses impact if there’s people with bright clothes on in the background. Move around until you find a clearer composition or use a wider aperture to blur the background.
This image of a cheetah for example, is ruined by the background…
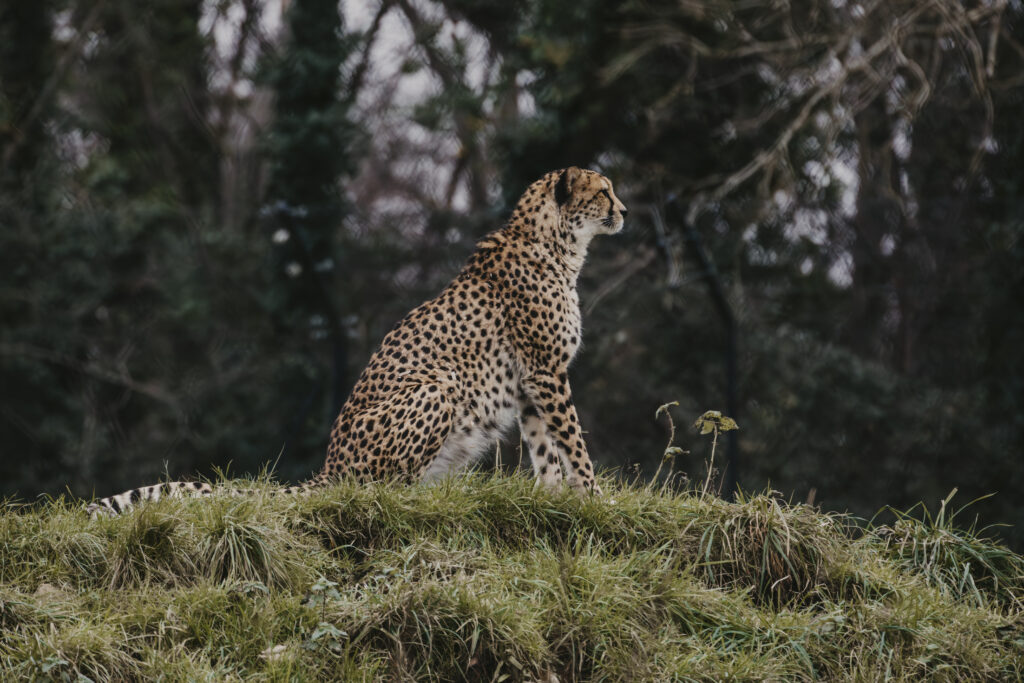
This one is better, as the background is less cluttered and while it has been shot through the fence, the wide aperture has nearly blurred it out…
The Art of Waiting and Being Patient
Patience is perhaps the most important skill in zoo photography, in fact it’s the most important skill in photographing animals full stop. Animals move at their own pace and getting the perfect shot can often mean waiting around even sometimes for hours.
Tips for Patience
- Study Behaviour: Spend time observing an animal’s routine. Knowing when they’re likely to move, what path they take, what their characteristics are, can help you anticipate a great moment.
- Settle In: Find a good spot and stay there for a while. The more relaxed and non-intrusive you are, the more natural the animals’ behaviour will be.
- Use Burst Mode: Capture a sequence of shots to ensure you don’t miss the perfect moment.
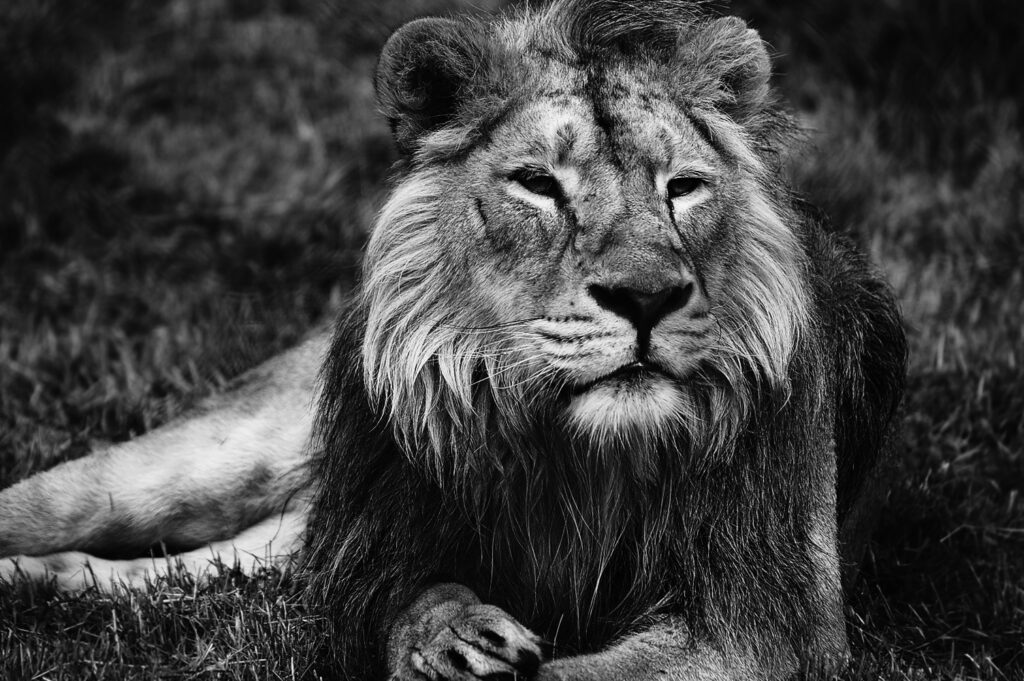
The black and white Lion picture from further up the post was a perfect example of how long you have to wait for a great shot. The Lion was napping and I stood there for absolutely ages until he popped his head up. I took the shot and not even 30 seconds later, he went back to sleep. I waited so long just for a 30 second opportunity and that is the art of animal photography.
Capturing Emotion and Interaction
Some of the most compelling zoo photos are images with emotion, movement or interaction because it tells a story.
Here’s a few tips on photographing these moments:
Focus on the Eyes: The eyes are the window to emotion. A sharp focus on an animal’s eyes can make your photo feel more alive.
Look for Interaction: Observe animals interacting with each other or their environment, learn their behaviour.
Be Ready: Always have your camera settings dialled in. Animals don’t wait for you to get ready.
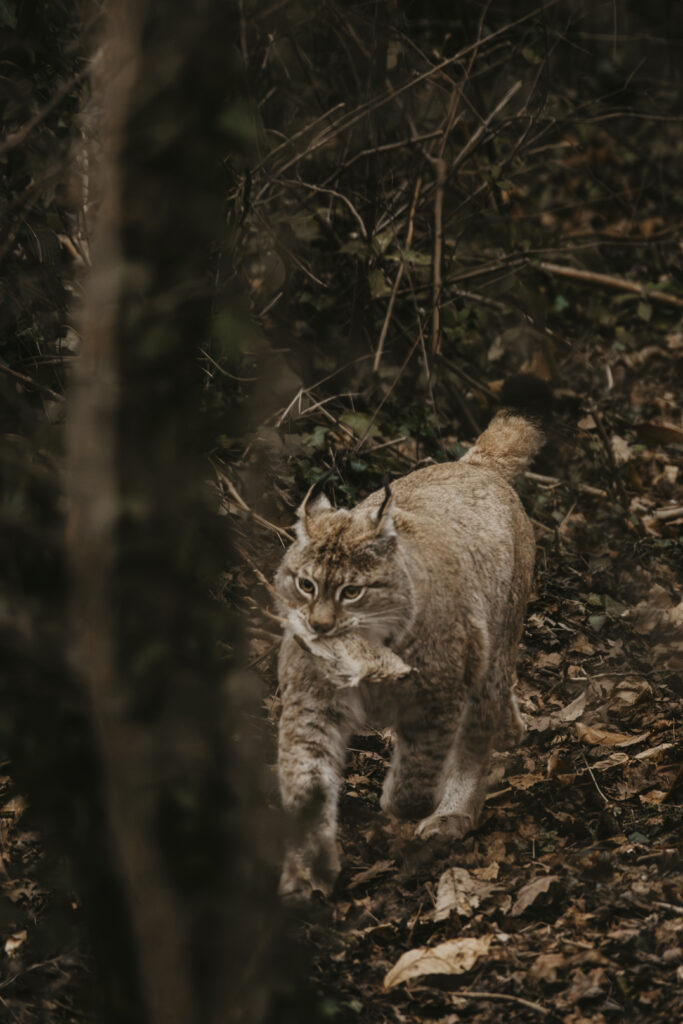
Examples of What to Avoid in Zoo Photography
Not every photo will be a winner, but being mindful of common pitfalls can help.
Here are some of the “don’ts” of zoo photography:
Fences in Focus
Problem: You can see the fence in the picture or the fence is sharp, and the animal is blurred.
Fix: Use a wide aperture and position your lens close to the fence to blur it out.
Crowds and Distractions
Problem: Other people cluttering the background.
Fix: Wait for a quieter moment or reposition yourself to avoid including them in the frame.
Poor Lighting
Problem: Harsh shadows or overblown highlights.
Fix: Shoot early morning or late afternoon when the sun is lower or on an overcast day. You could even use the sun as a backlight or wait for an animal to go in the shade.
Lack of Connection
Problem: The animal looks disinterested, or the shot feels lifeless.
Fix: Wait for movement or for the animal to look up/at the camera. Pictures of animals grazing or napping aren’t always the most interesting. Be patient and wait for something to happen, then when something happens, wait a little longer.
Best Spots for Zoo Photography
Some zoos have intimate enclosures where you can get close to animals.
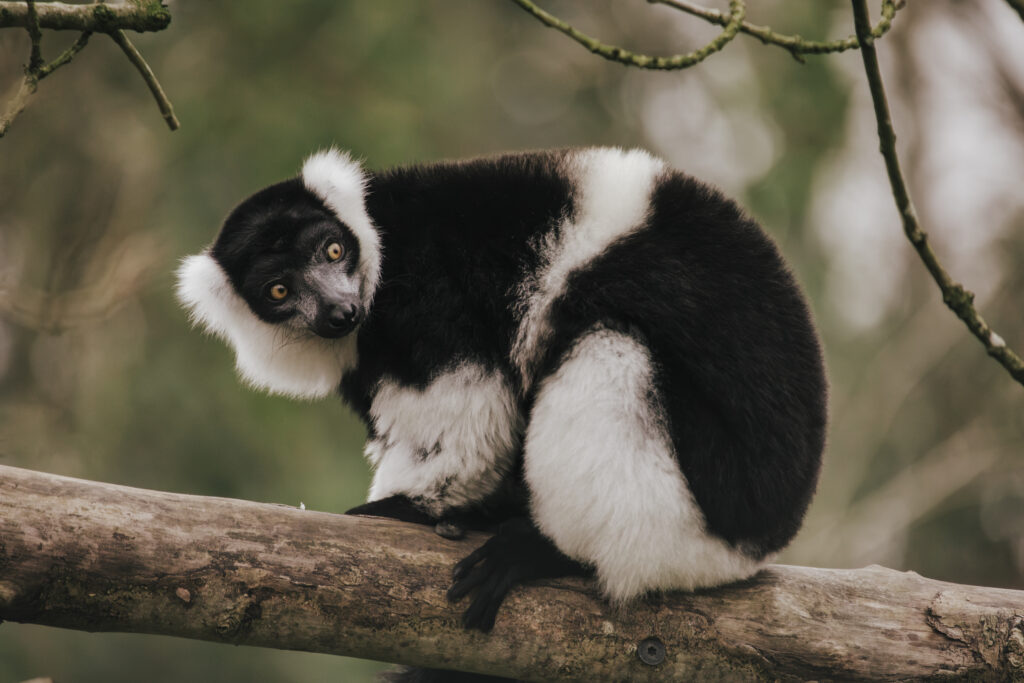
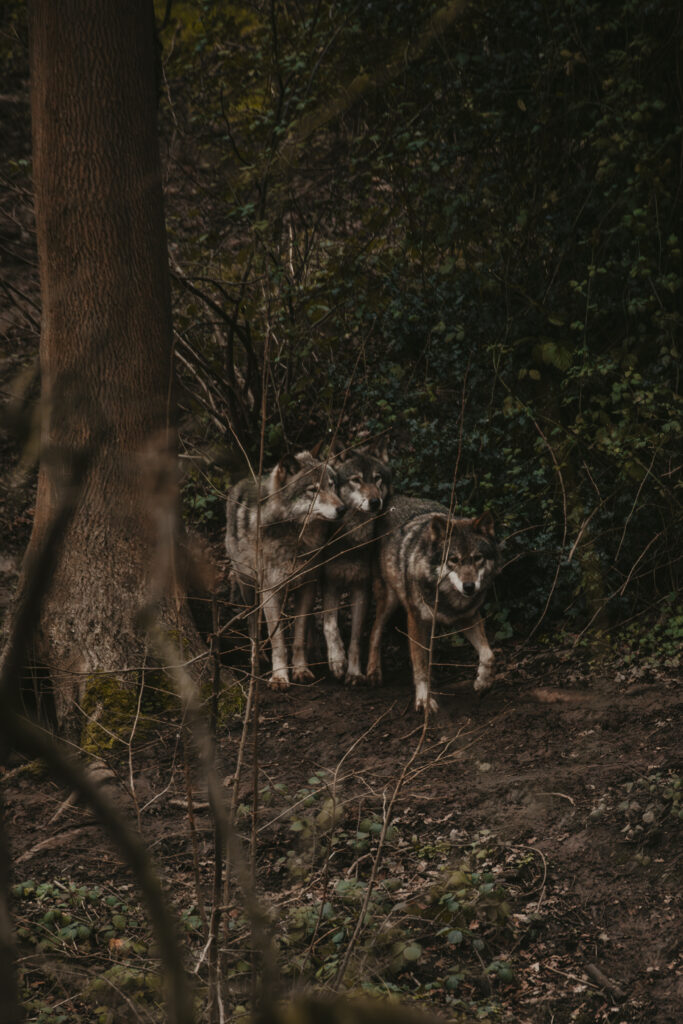
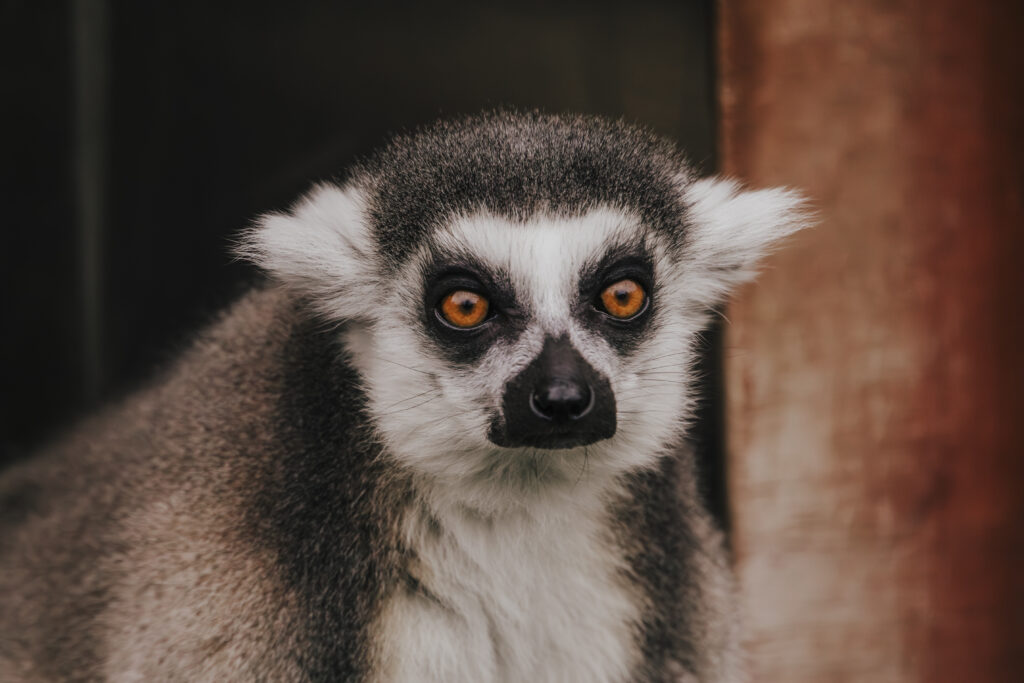
A butterfly house is a treat for macro photography, while an open aviary allows for stunning bird shots. The Bristol Zoo Project in particular has a Lemur walkthrough which was amazing for getting close up images of their incredible eyes. They also have a Bear wood where you can walk across an elevated platform and see Bears (apart from winter when they hibernate) and Wolves together, as well as other parts of the woods where they have Lynx and Wolverines.
Research the zoo you intend to visit and see if they have any walkthrough enclosures or special exhibits that might get you closer to the animals.
Ethical Considerations in Zoo Photography
While zoos provide incredible opportunities for photographers, it’s essential to approach your work with respect for the animals.
Do
- Respect Barriers: They exist for your safety and the animals’ well-being.
- Minimise Stress: Avoid banging on glass or making loud noises to get an animal’s attention. Just leave them be.
- Support Conservation: Many zoos are involved in conservation efforts. Pick a zoo that puts animal welfare as their priority. I know that a zoo isn’t ideal regardless of it’s conservation efforts. Unfortunately however, we live in a world where humans have devastated habitats and poached for profit. Conservation zoos are important for endangered species but there’s still an argument as to whether a zoo can ever be ethical. It’s up to you to make up your own mind but please avoid zoos that make little effort in conservation and don’t rate highly in animal welfare.
Don’t
- Use Flash: It can startle or distress animals.
- Overstay your welcome: If an animal shows signs of discomfort with your presence being so close, move on to another exhibit or take a break. Their well-being should always come first.
Zoo Photography Final Thoughts
How do you take better zoo photos?
To take better zoo photos, use a telephoto lens to focus on animals while blurring fences and backgrounds. Shoot during early morning or late afternoon for soft, natural light. Position yourself close to the fence or glass, and use a wide aperture to minimise distractions. Patience and observation are key to capturing natural and emotive moments.
Zoo photography is more than just taking pictures of animals. It’s an art form that teaches you patience and how to work under constraints, while still creating stunning images.
With these zoo photography tips, you’ll be able to fine-tune your animal photo skills before taking them out in the field.
If you have any questions about improving your zoo photography skills, feel free to ask in the comments. Share your best zoo shots and tips too, there’s always more to learn!