There’s something addictive about stepping into the wild with a camera in hand. The moment I leave behind the laundry pile and set foot into a forest, the noise in my head quiets down, and the only thing that matters is the scenery and the achievement I feel after a big hike. Outdoor adventure photography is all about preserving how you feel on your adventures.
It doesn’t matter if you’re an experienced hiker scaling peaks or just someone who likes a good walk in nature, you can tell a story through your lens in a way that resonates with anyone who has mega outdoor wanderlust.
In this blog post, I’ll go through what I’ve learned about preparing for an outdoor photography adventure.
I’ll talk about the gear and accessories that might help you keep your camera safe and your images sharp.
You’ll learn about different angles to consider and how you can document the story of your trip.
I’ll also share a few ideas about what to shoot, so you’ll never be stuck staring at an incredible view with no clue how to capture it.
I hope this helps you head out on your next adventure feeling confident and prepared, and come back with amazing images.

Why Outdoor Adventure Photography?
First, let me say that outdoor adventure photography can mean different things to different people.
For some people, it’s snapping dramatic shots of mountain peaks above inverted clouds. For others, it’s documenting a hike across a coastal path.
What matters is the desire to capture the mood and also the challenges that come with your adventure.
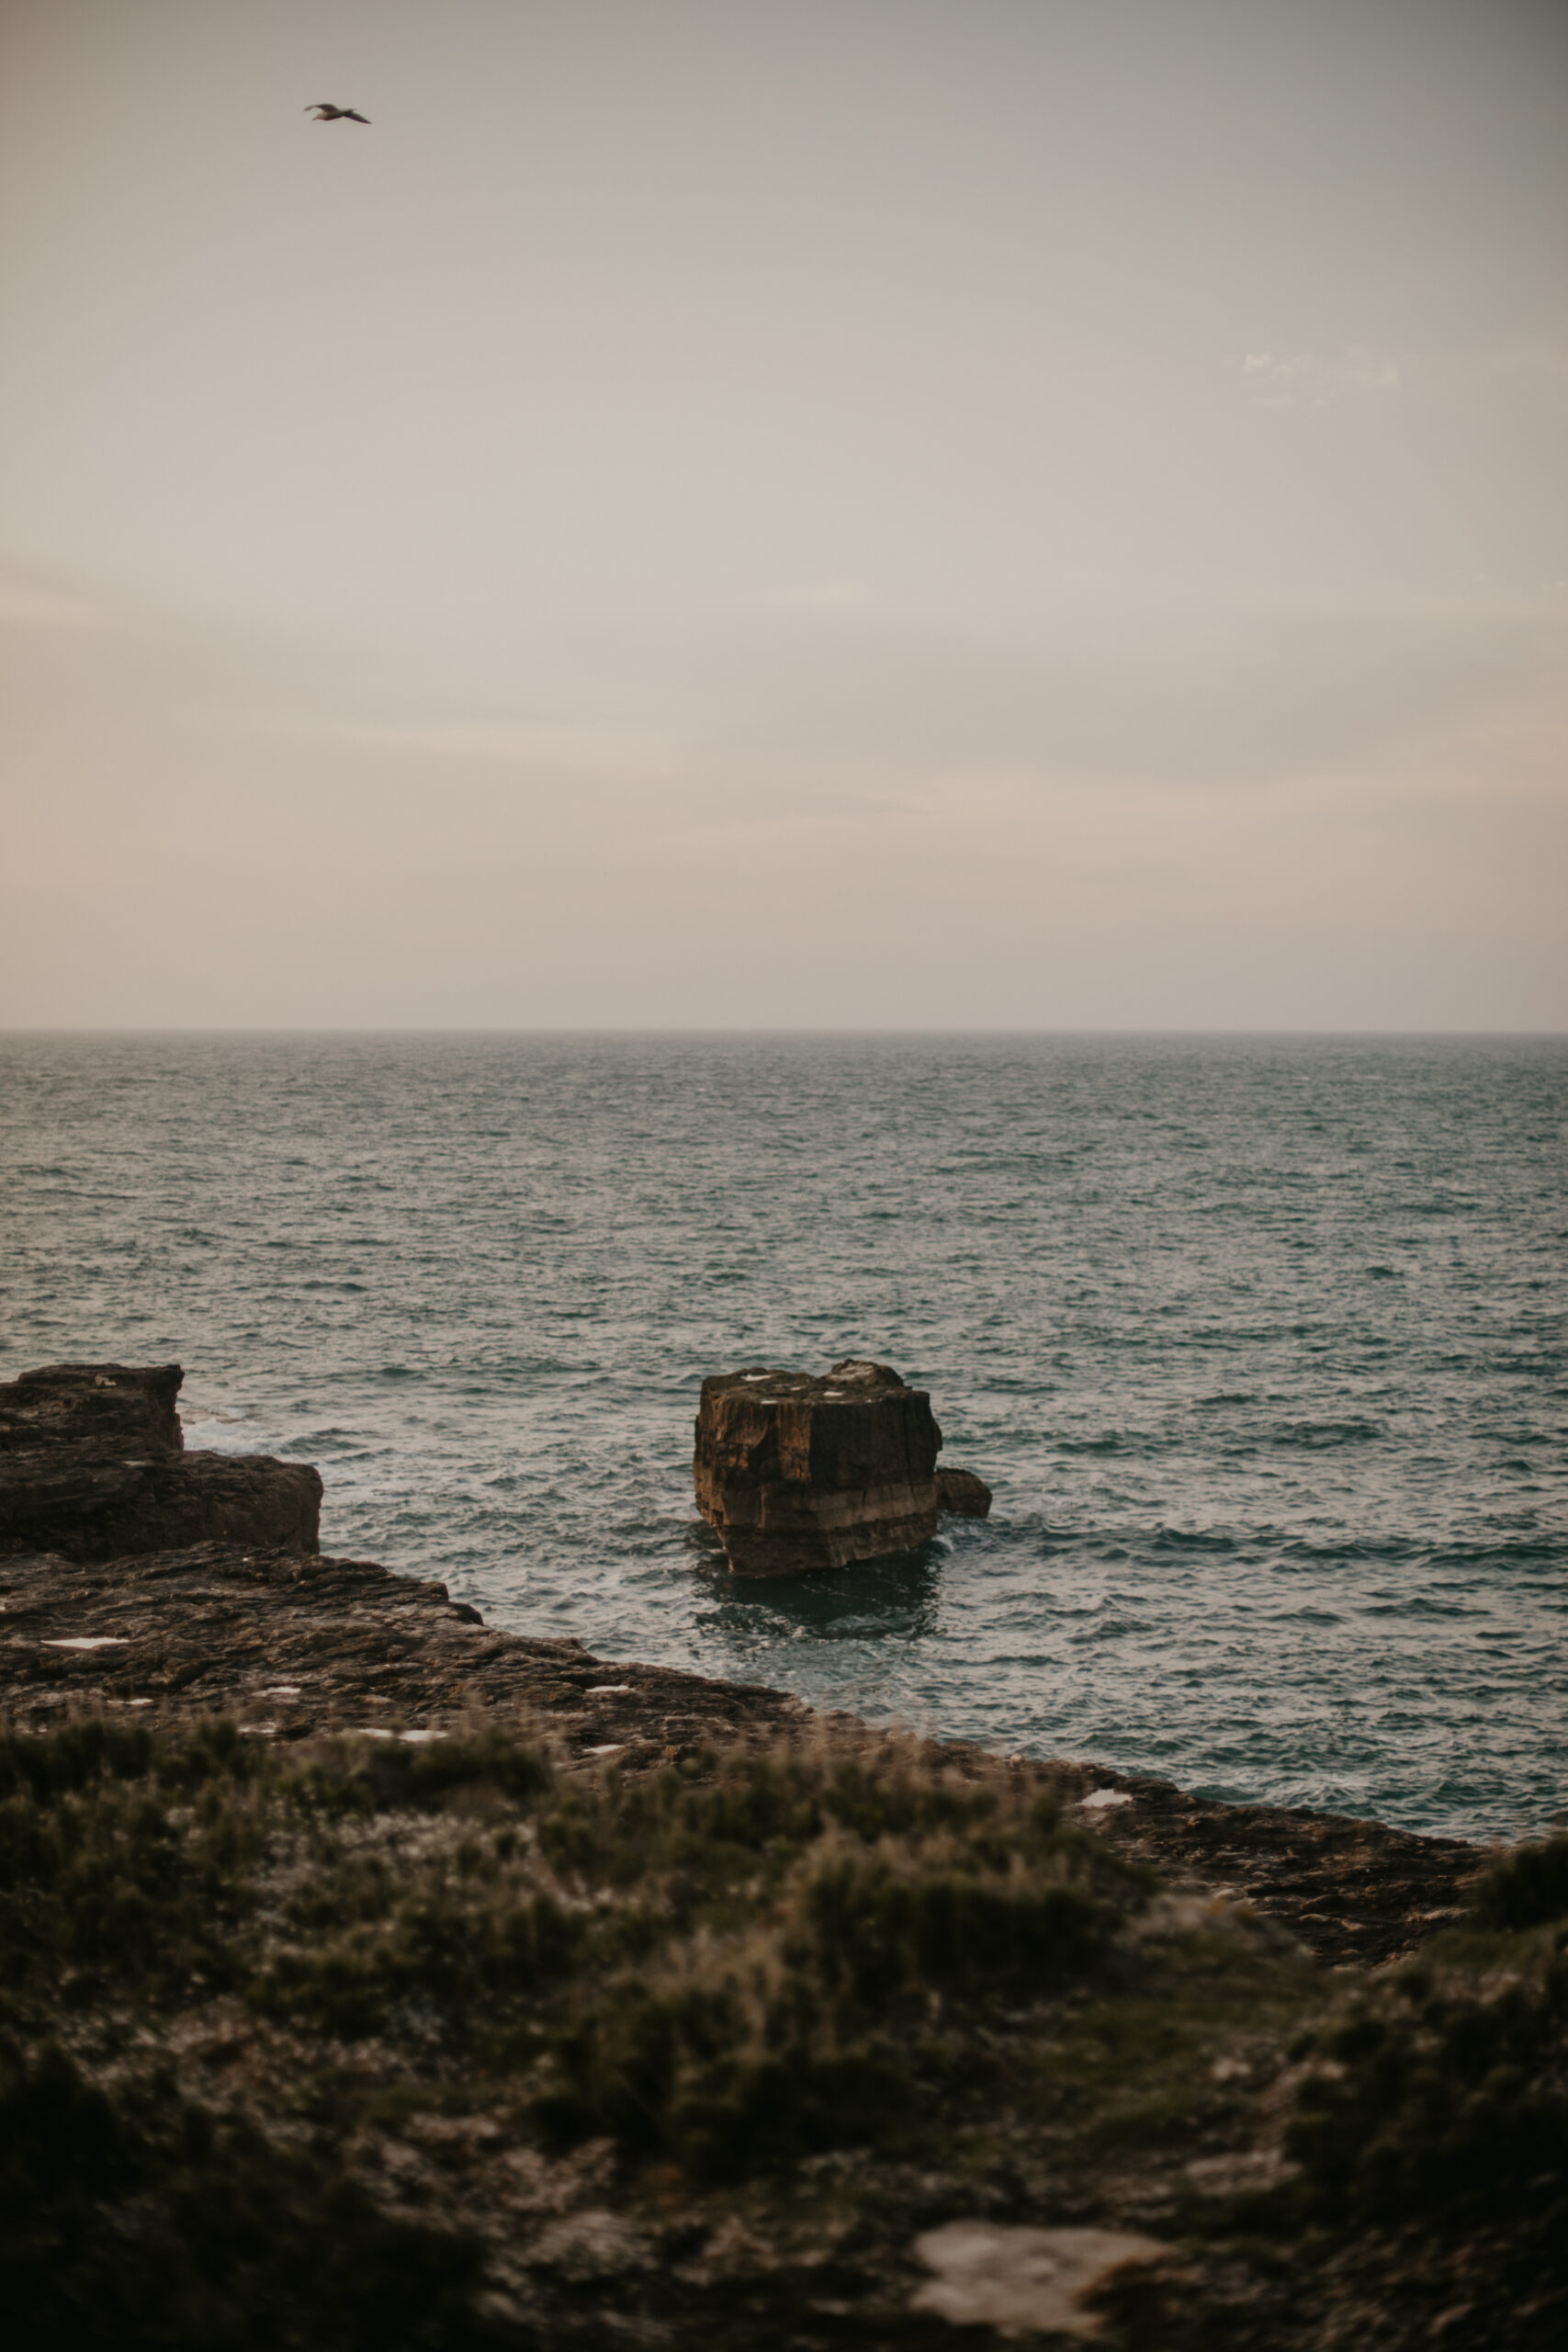
I find it addictive because it combines my love of photography with my love of nature/hiking.
I get to test my creativity in environments where the light might change rapidly or the weather could turn in a heartbeat.
Plus, there’s a satisfaction in capturing a moment that reminds me, months later, of how the air smelled that morning or how my legs ached after a steep ascent.
Outdoor Adventure Photography Tips: Gear & Accessories
Selecting the right gear is vital for any outing, but it becomes even more important for outdoor adventure photography.
You need equipment that won’t weigh you down too much yet is rugged enough to cope with elements like dust, moisture, and unexpected knocks.
This post may contain affiliate links, where I make a commission on purchases made through affiliate sites at no extra cost to you.
Camera & Lenses:
I tend to pack one camera body along with one or two versatile lenses. A wide-angle lens is brilliant for capturing landscapes and big skies, while a medium zoom (something around 24-70mm) can handle a variety of subjects, from portraits to details of interesting bits of scenery.
If I have the energy and space, I might bring a not-so-massive telephoto lens (135mm) for wildlife or distant peaks. But if I’m hiking long distances, I’ll often prioritise going light and stick with a single lens that covers a broad focal range.
Accessories:
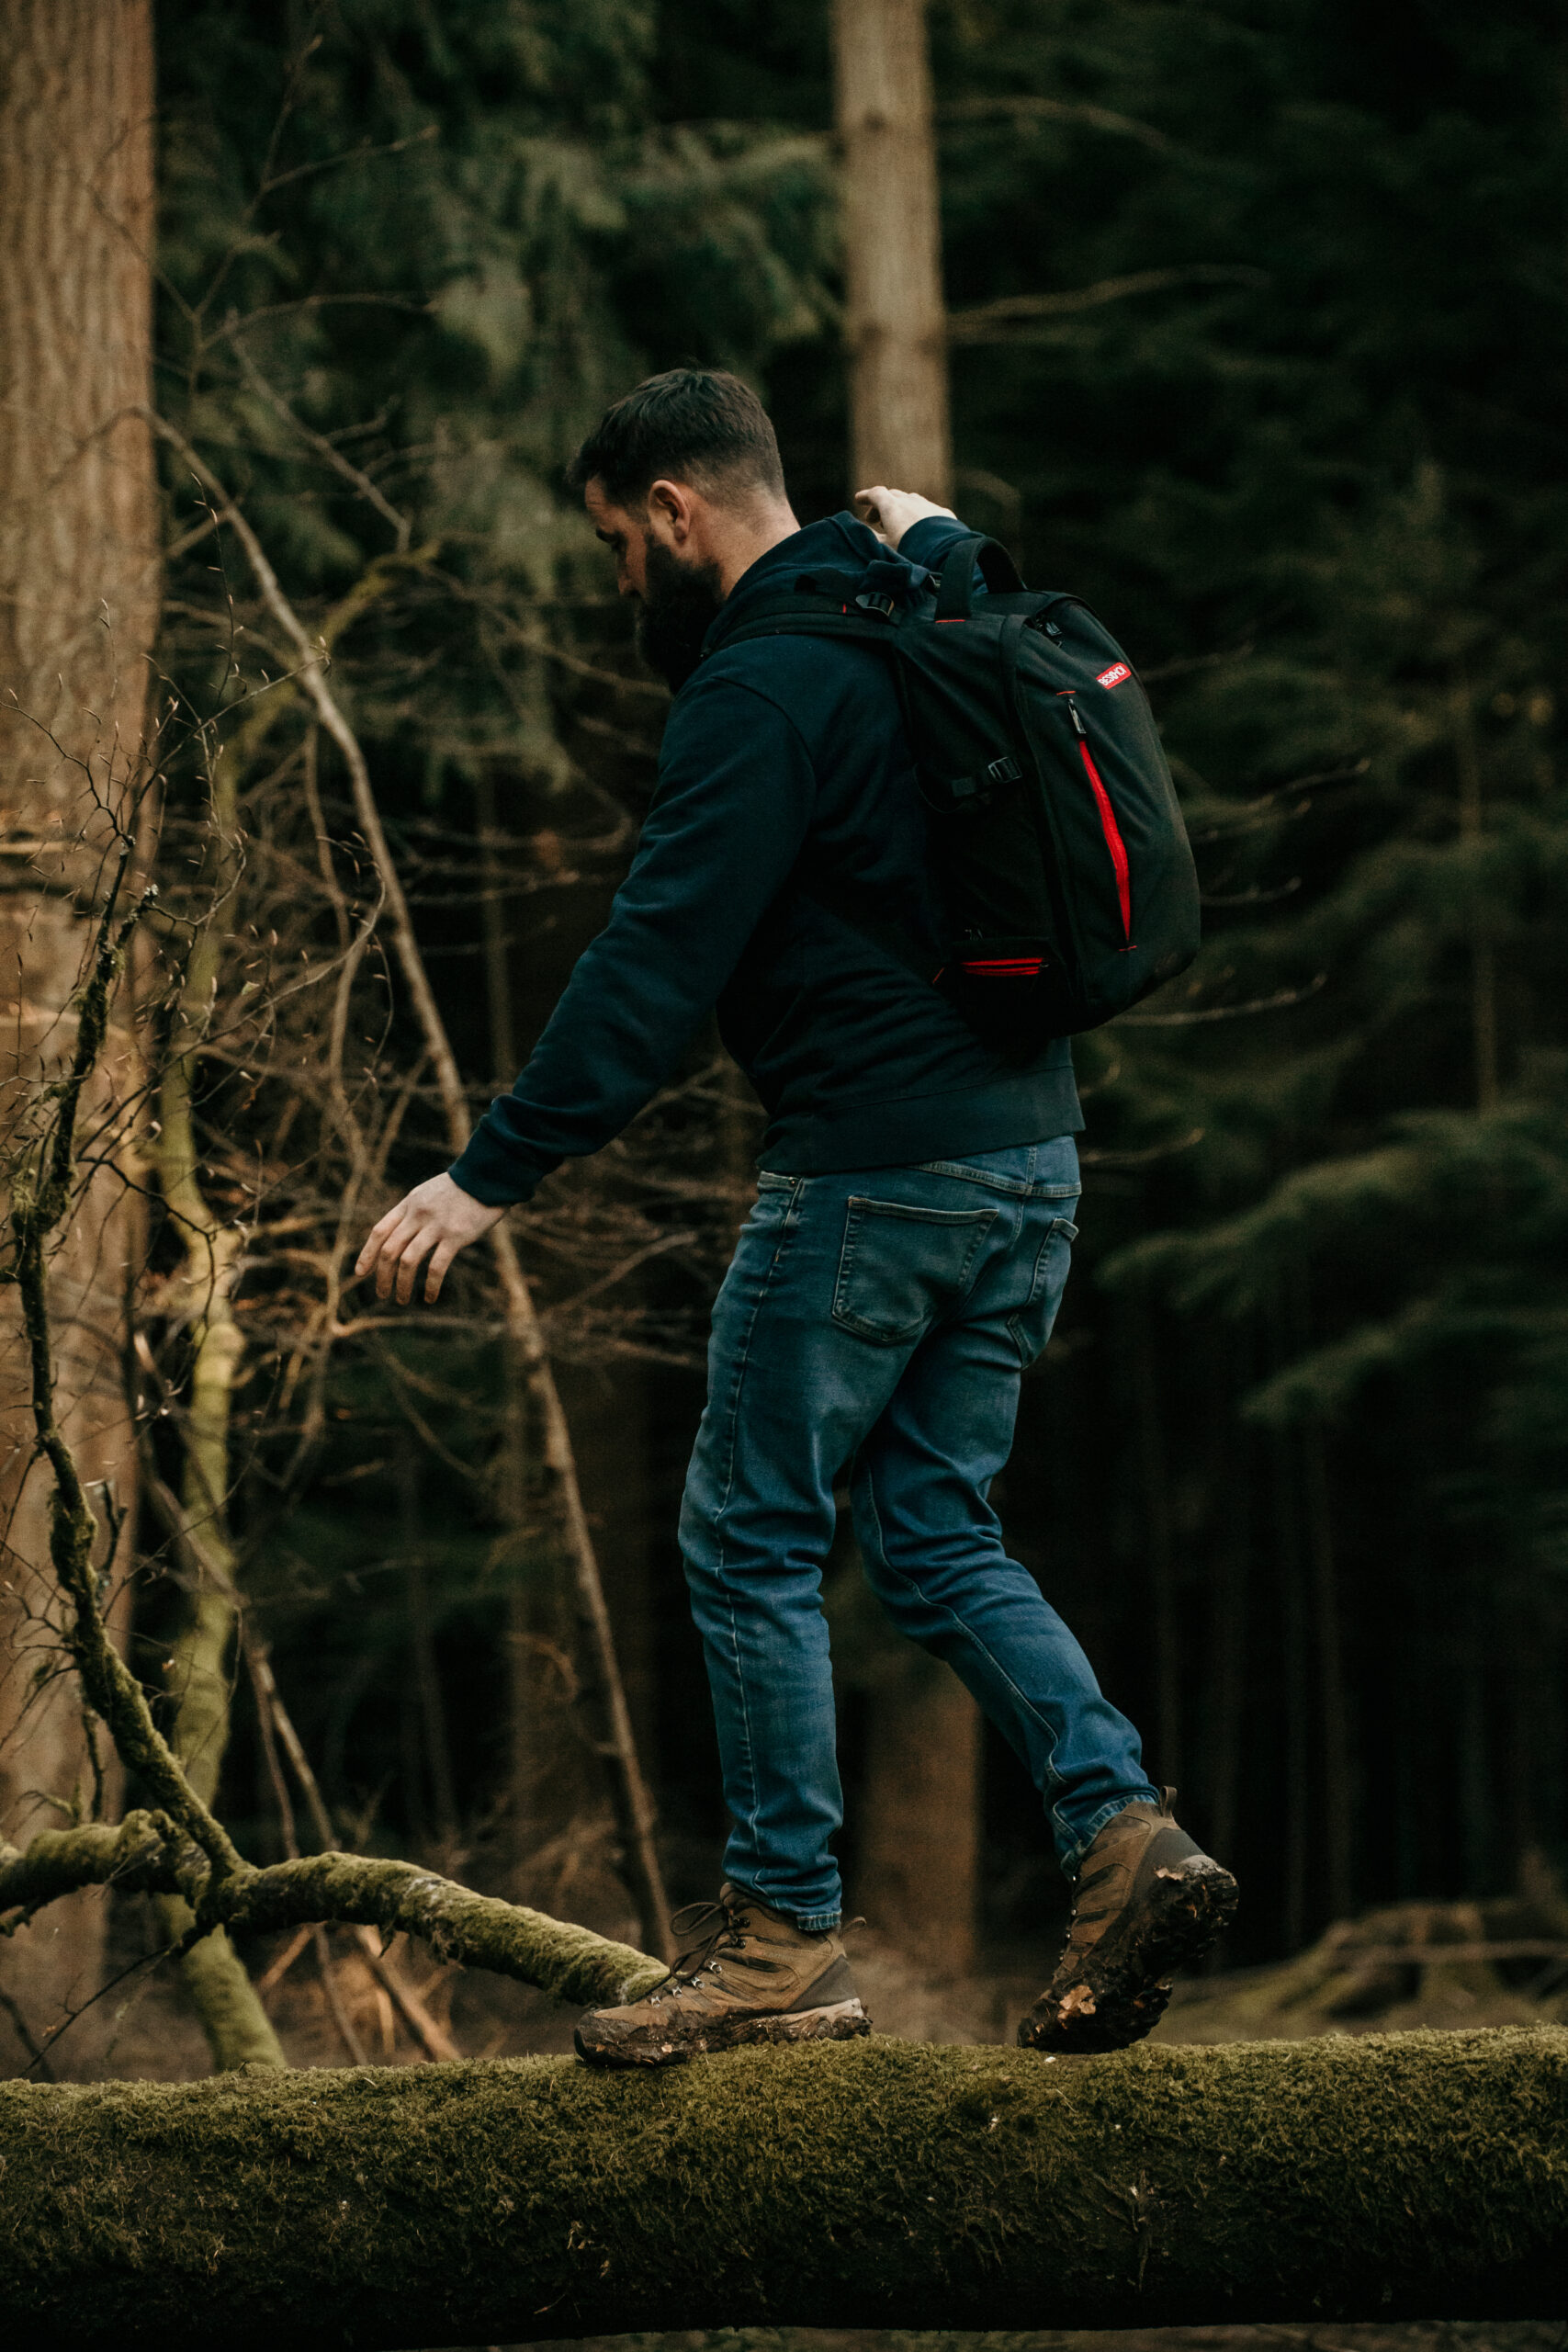
A few accessories I consider indispensable include a lightweight, sturdy tripod, which comes in handy for long exposures, self portraits, or stable composition in low light. I attached mine to my backpack, so I only need to get it out when necessary.
I also keep a few spare batteries in a waterproof compartment and memory cards in a sealed case to protect them from moisture. A lens cloth or blower brush is a must, especially if you’re dealing with dusty trails or salty sea spray.
For carrying my camera, I prefer a backpack-style bag with decent padding, so it’s comfortable enough to carry.
Some people swear by a camera holster or a sling strap, which I do have both of but prefer the backpack for hiking.
The main thing is to find a system that feels secure and doesn’t hamper your movement. If you plan to be near water, a waterproof cover or a dry bag can be invaluable, as I can imagine there’s nothing worse than watching your expensive kit take a dunk and float away.
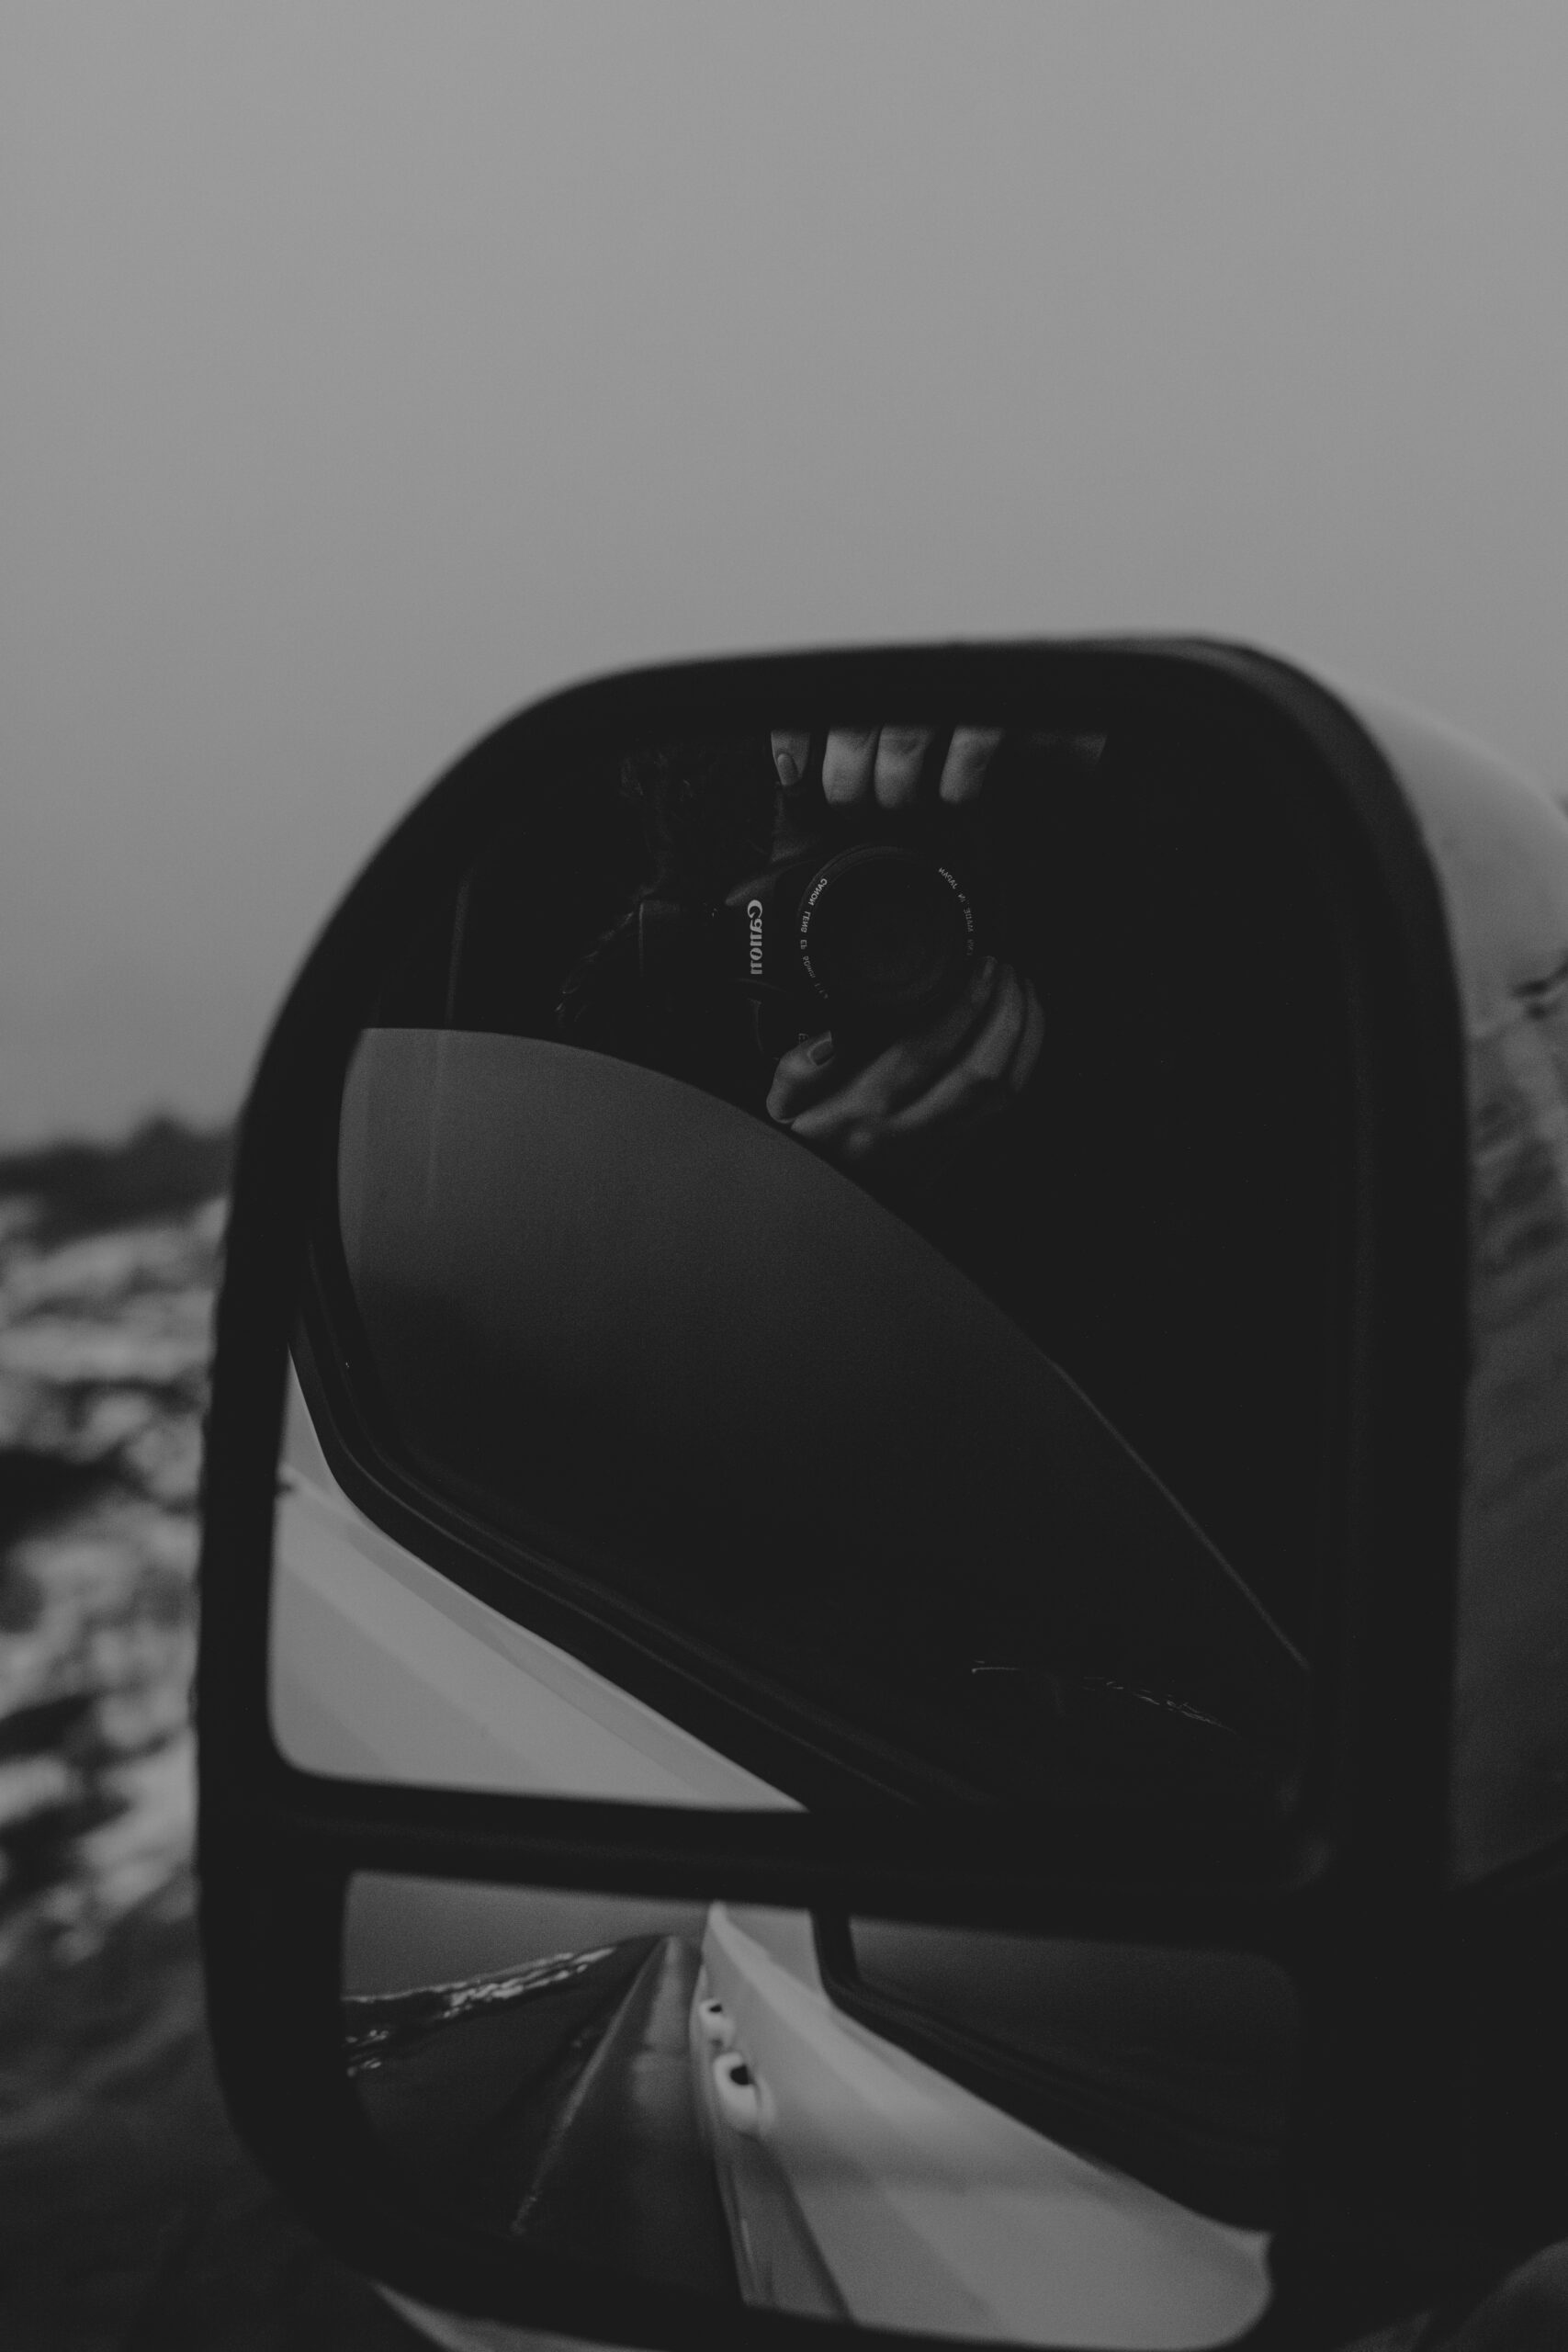
Tips for Documenting the Story of Your Outdoor Adventure
Another great thing about outdoor adventure photography is that you can go beyond landscape photographs.
You can capture a whole visual narrative of your entire trip.
You could start by taking a few establishing shots right from the get-go. Maybe the moment you and your mates load your backpacks into the car, or an image of the map laid out with a marked route (or a photo of someone holding their phone with OS maps because paper maps are becoming obsolete *sigh*).
These small, behind-the-scenes details are a good build up to the final photo set.
As you move along, remember to capture the candid moments too.
I find it helps to keep my camera readily accessible, so I’m not missing fleeting expressions or spontaneous moments.
I also like to take note of the changing atmosphere. Early morning mist, midday glare, and evening golden hour all shape the tone of your journey.

Ideas of What to Shoot
When I started taking outdoor adventure photography more seriously, I sometimes found myself looking at the view in awe and thinking: This is incredible, but where do I begin?
Over time, I discovered a few focal points and subjects that help structure my shooting process.
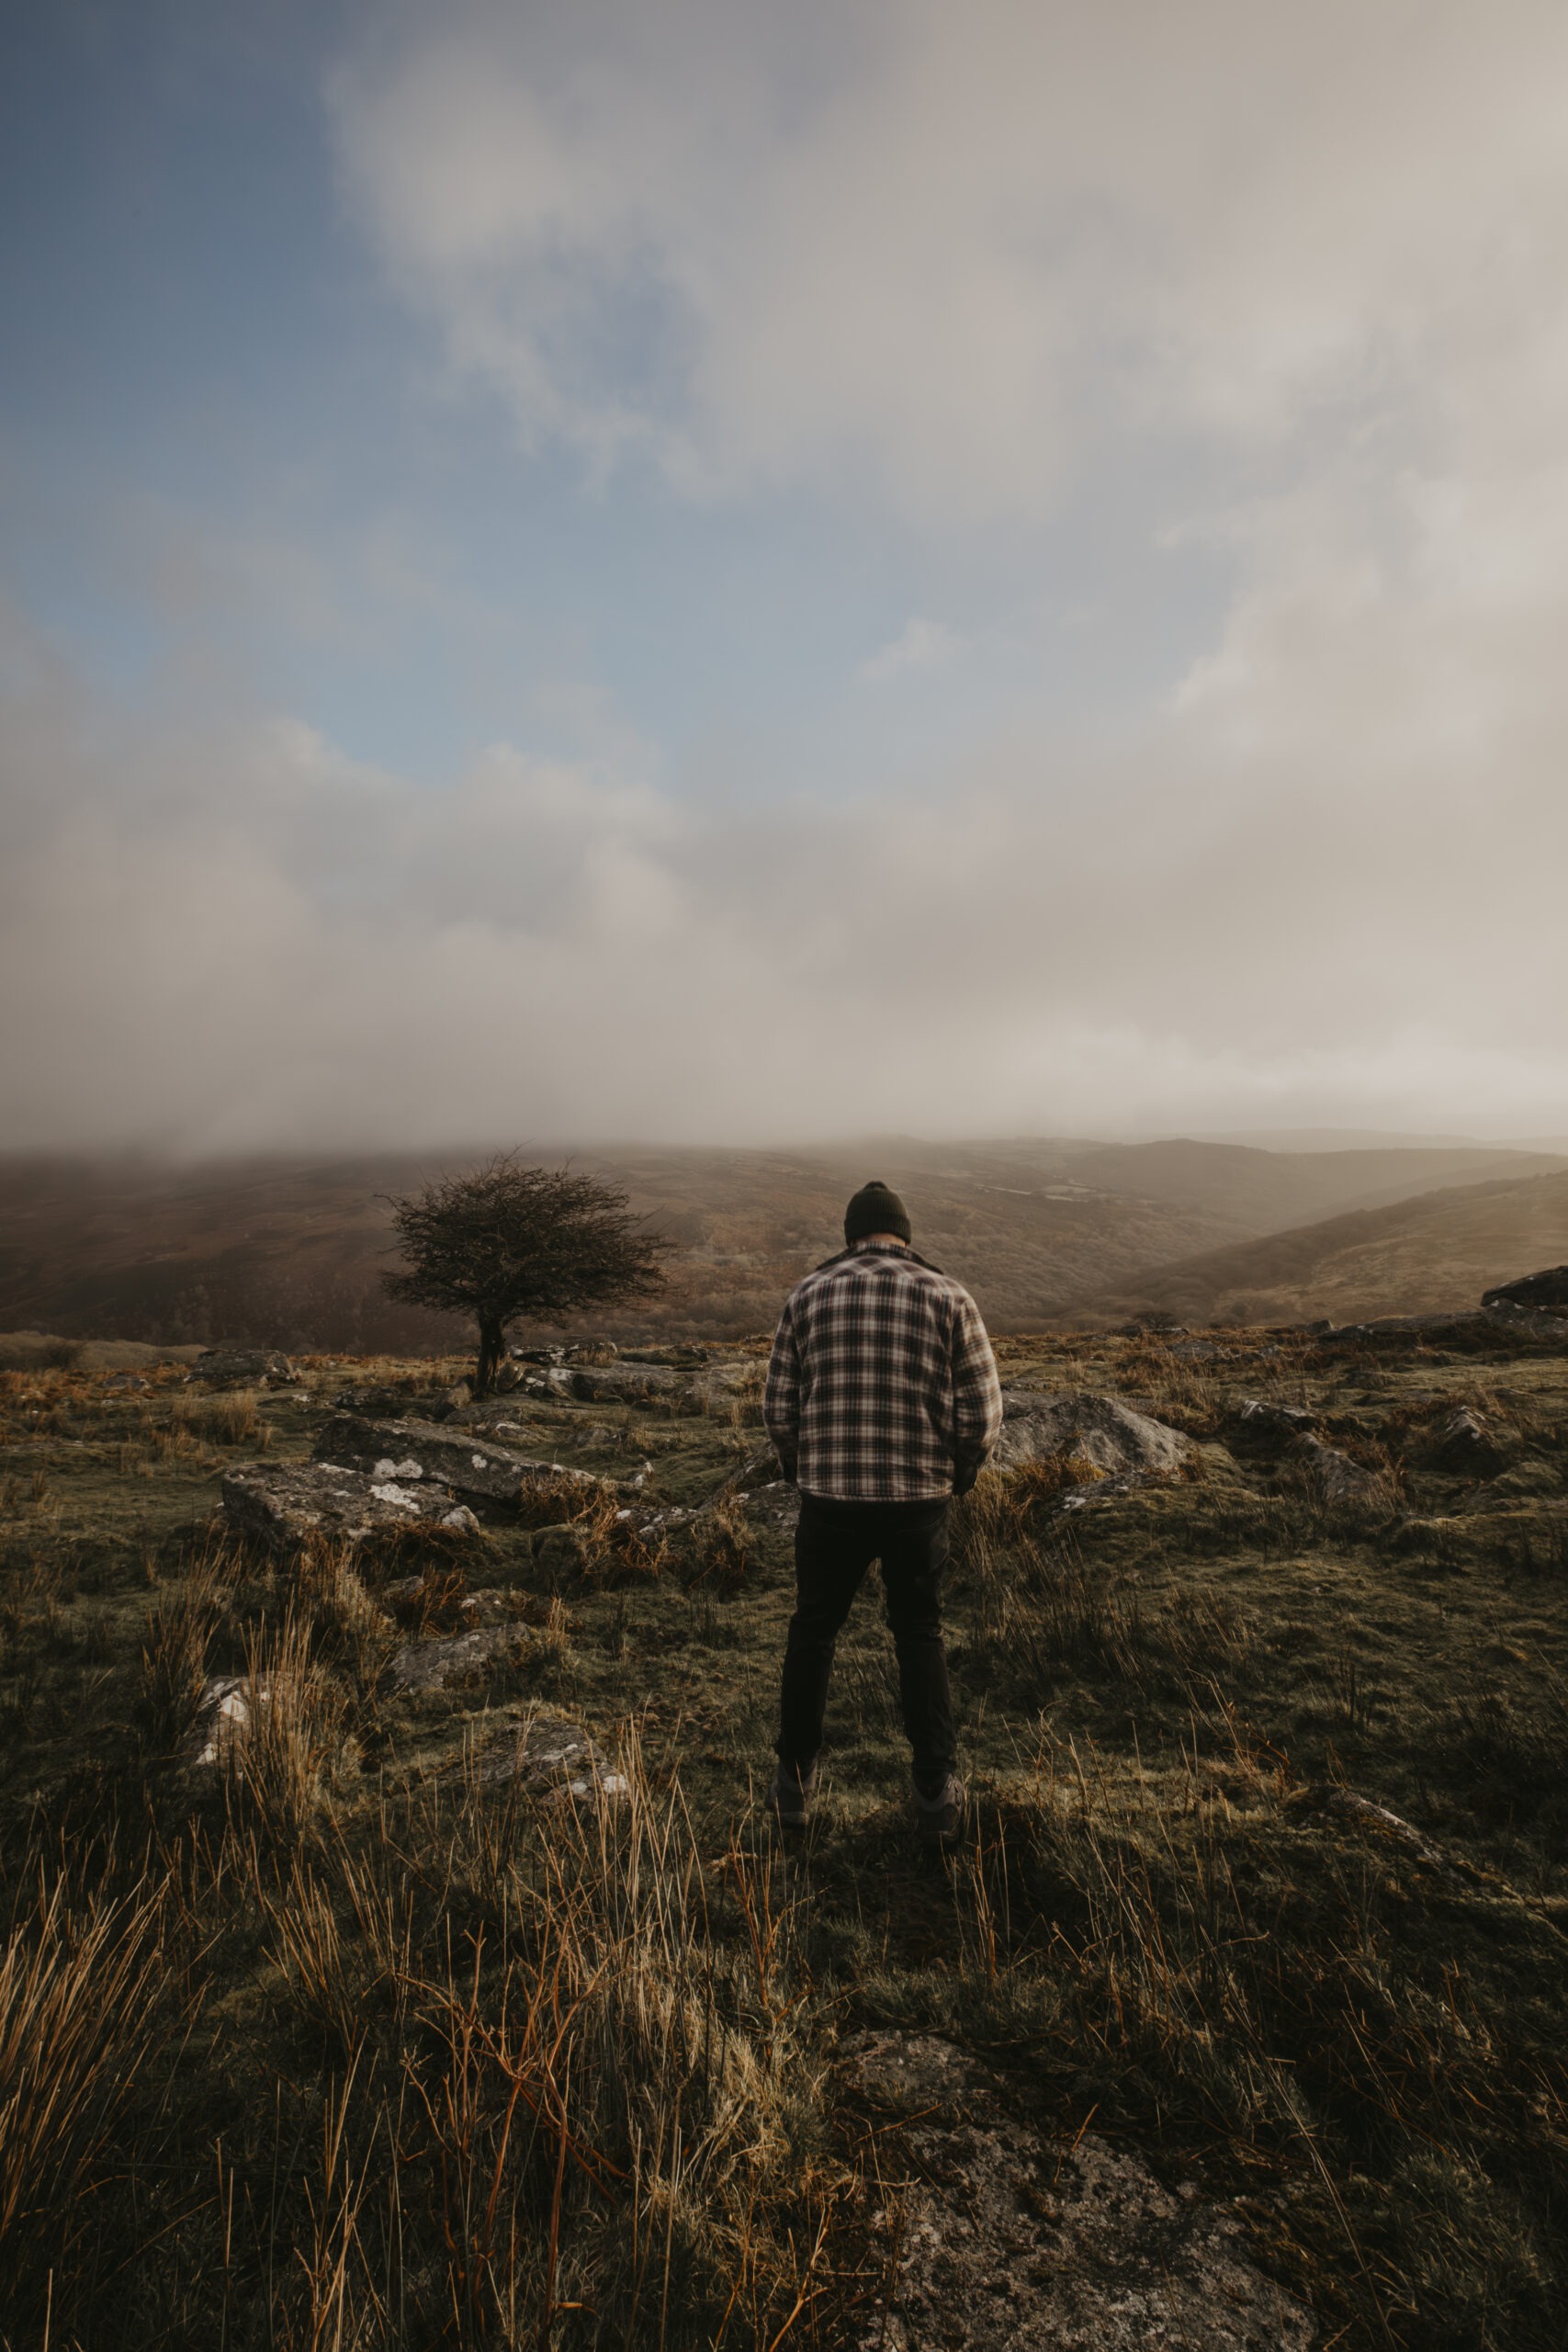
I often begin with the wide view (some might call it the hero shot) showing the scale of the landscape and any noteworthy elements like mountains, valleys, or lakes.

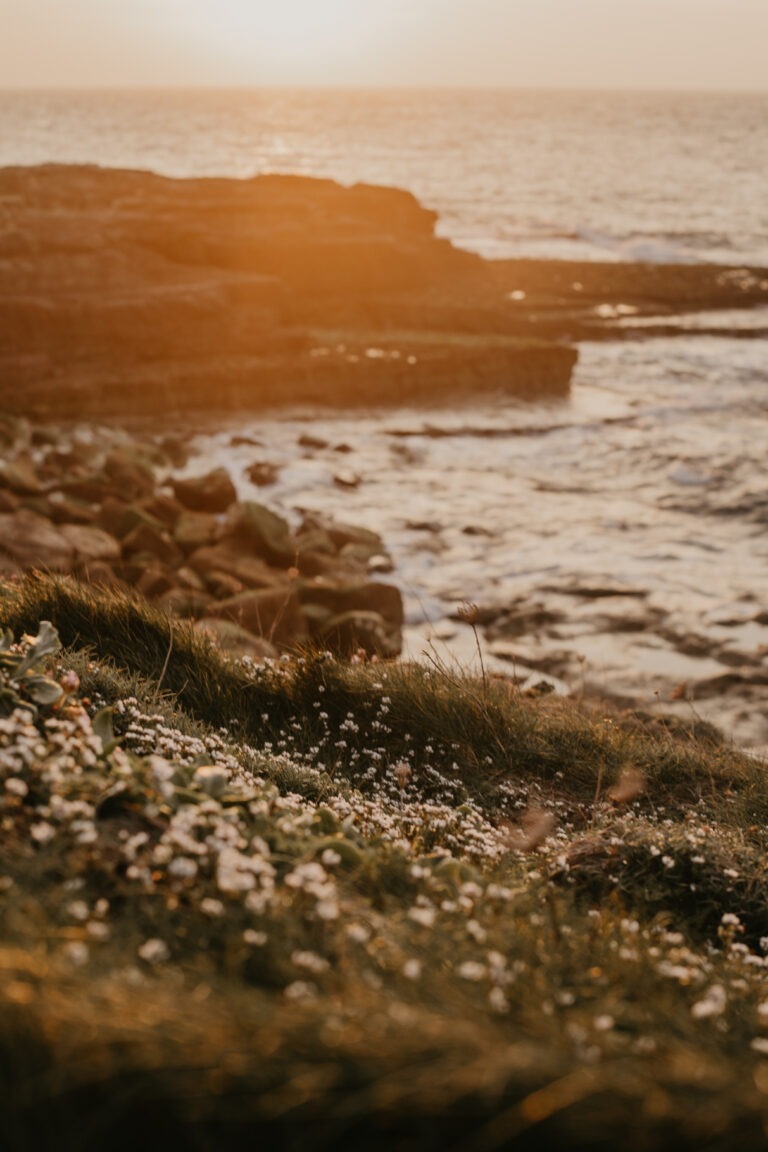
Then I zoom in to highlight the smaller details: any flowers, tree tops, wooden signs.

Contrasting these large-scale and small-scale images can bring balance to your photo set.
If you’re into action, trying capturing your friends on a difficult scramble.
Alternatively, if you’re by yourself, you might use a tripod and timer (or a remote shutter release) to include yourself in the shot, whether it’s a mid-hike portrait or a pose at the summit.
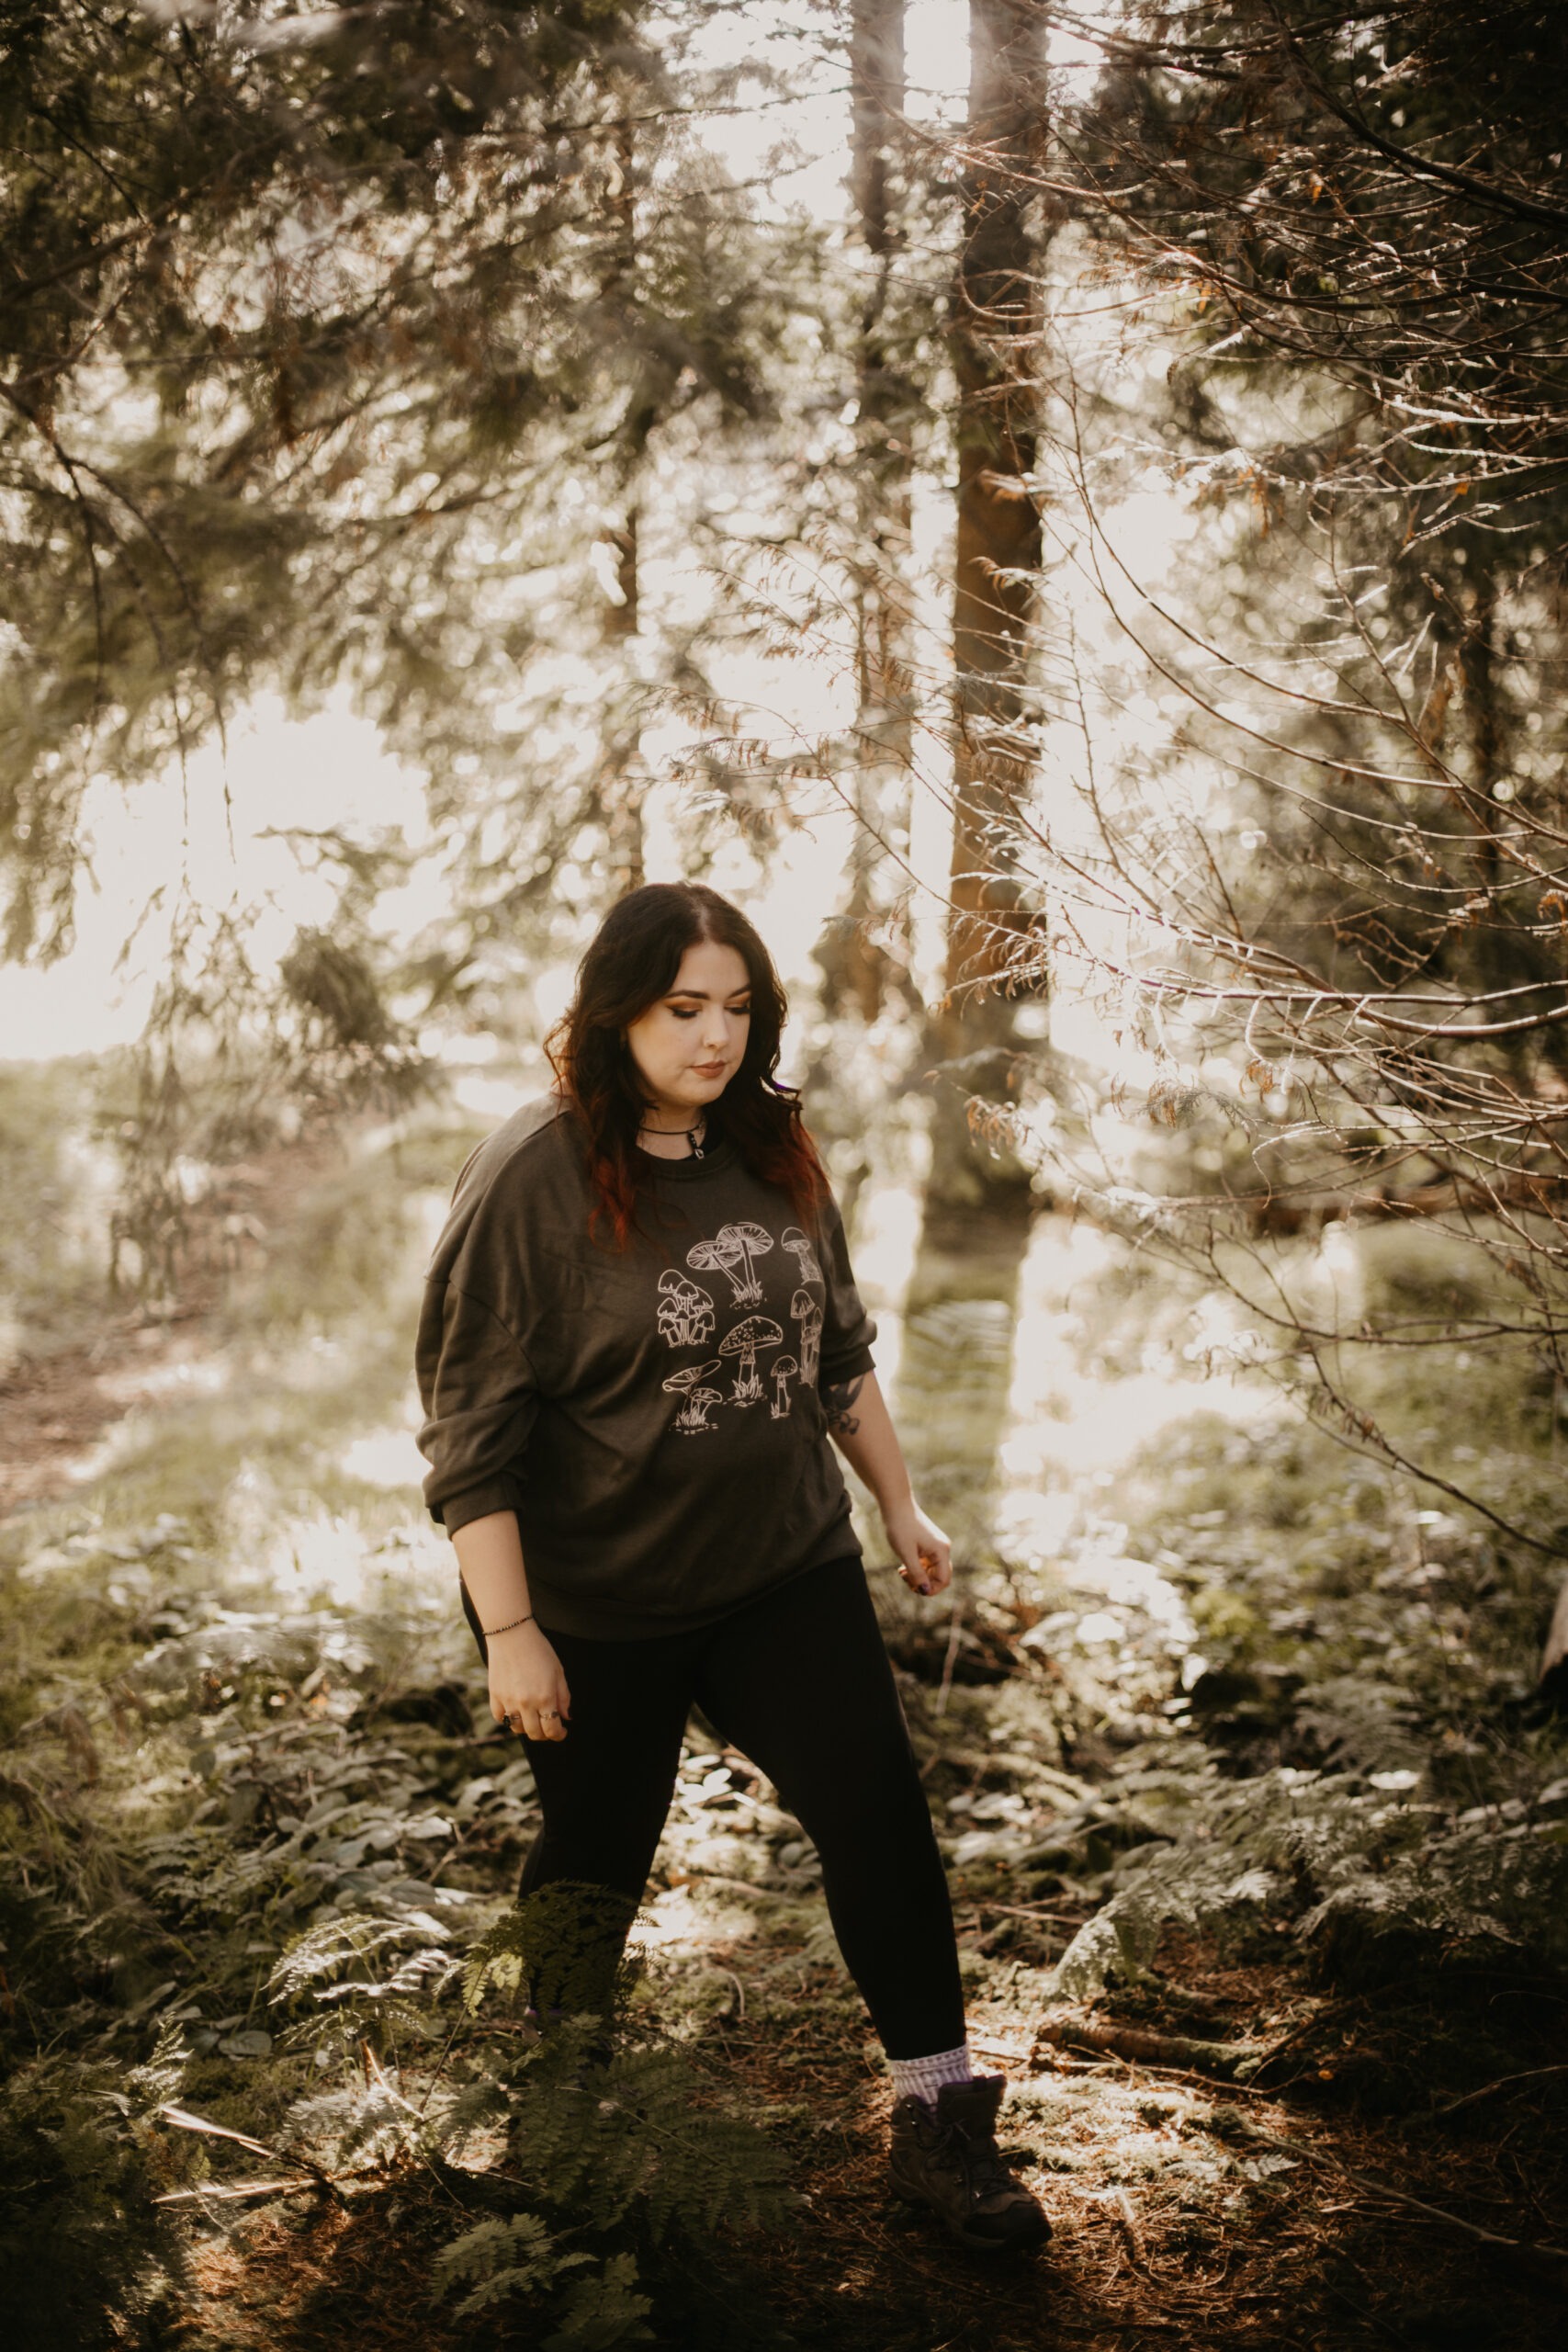
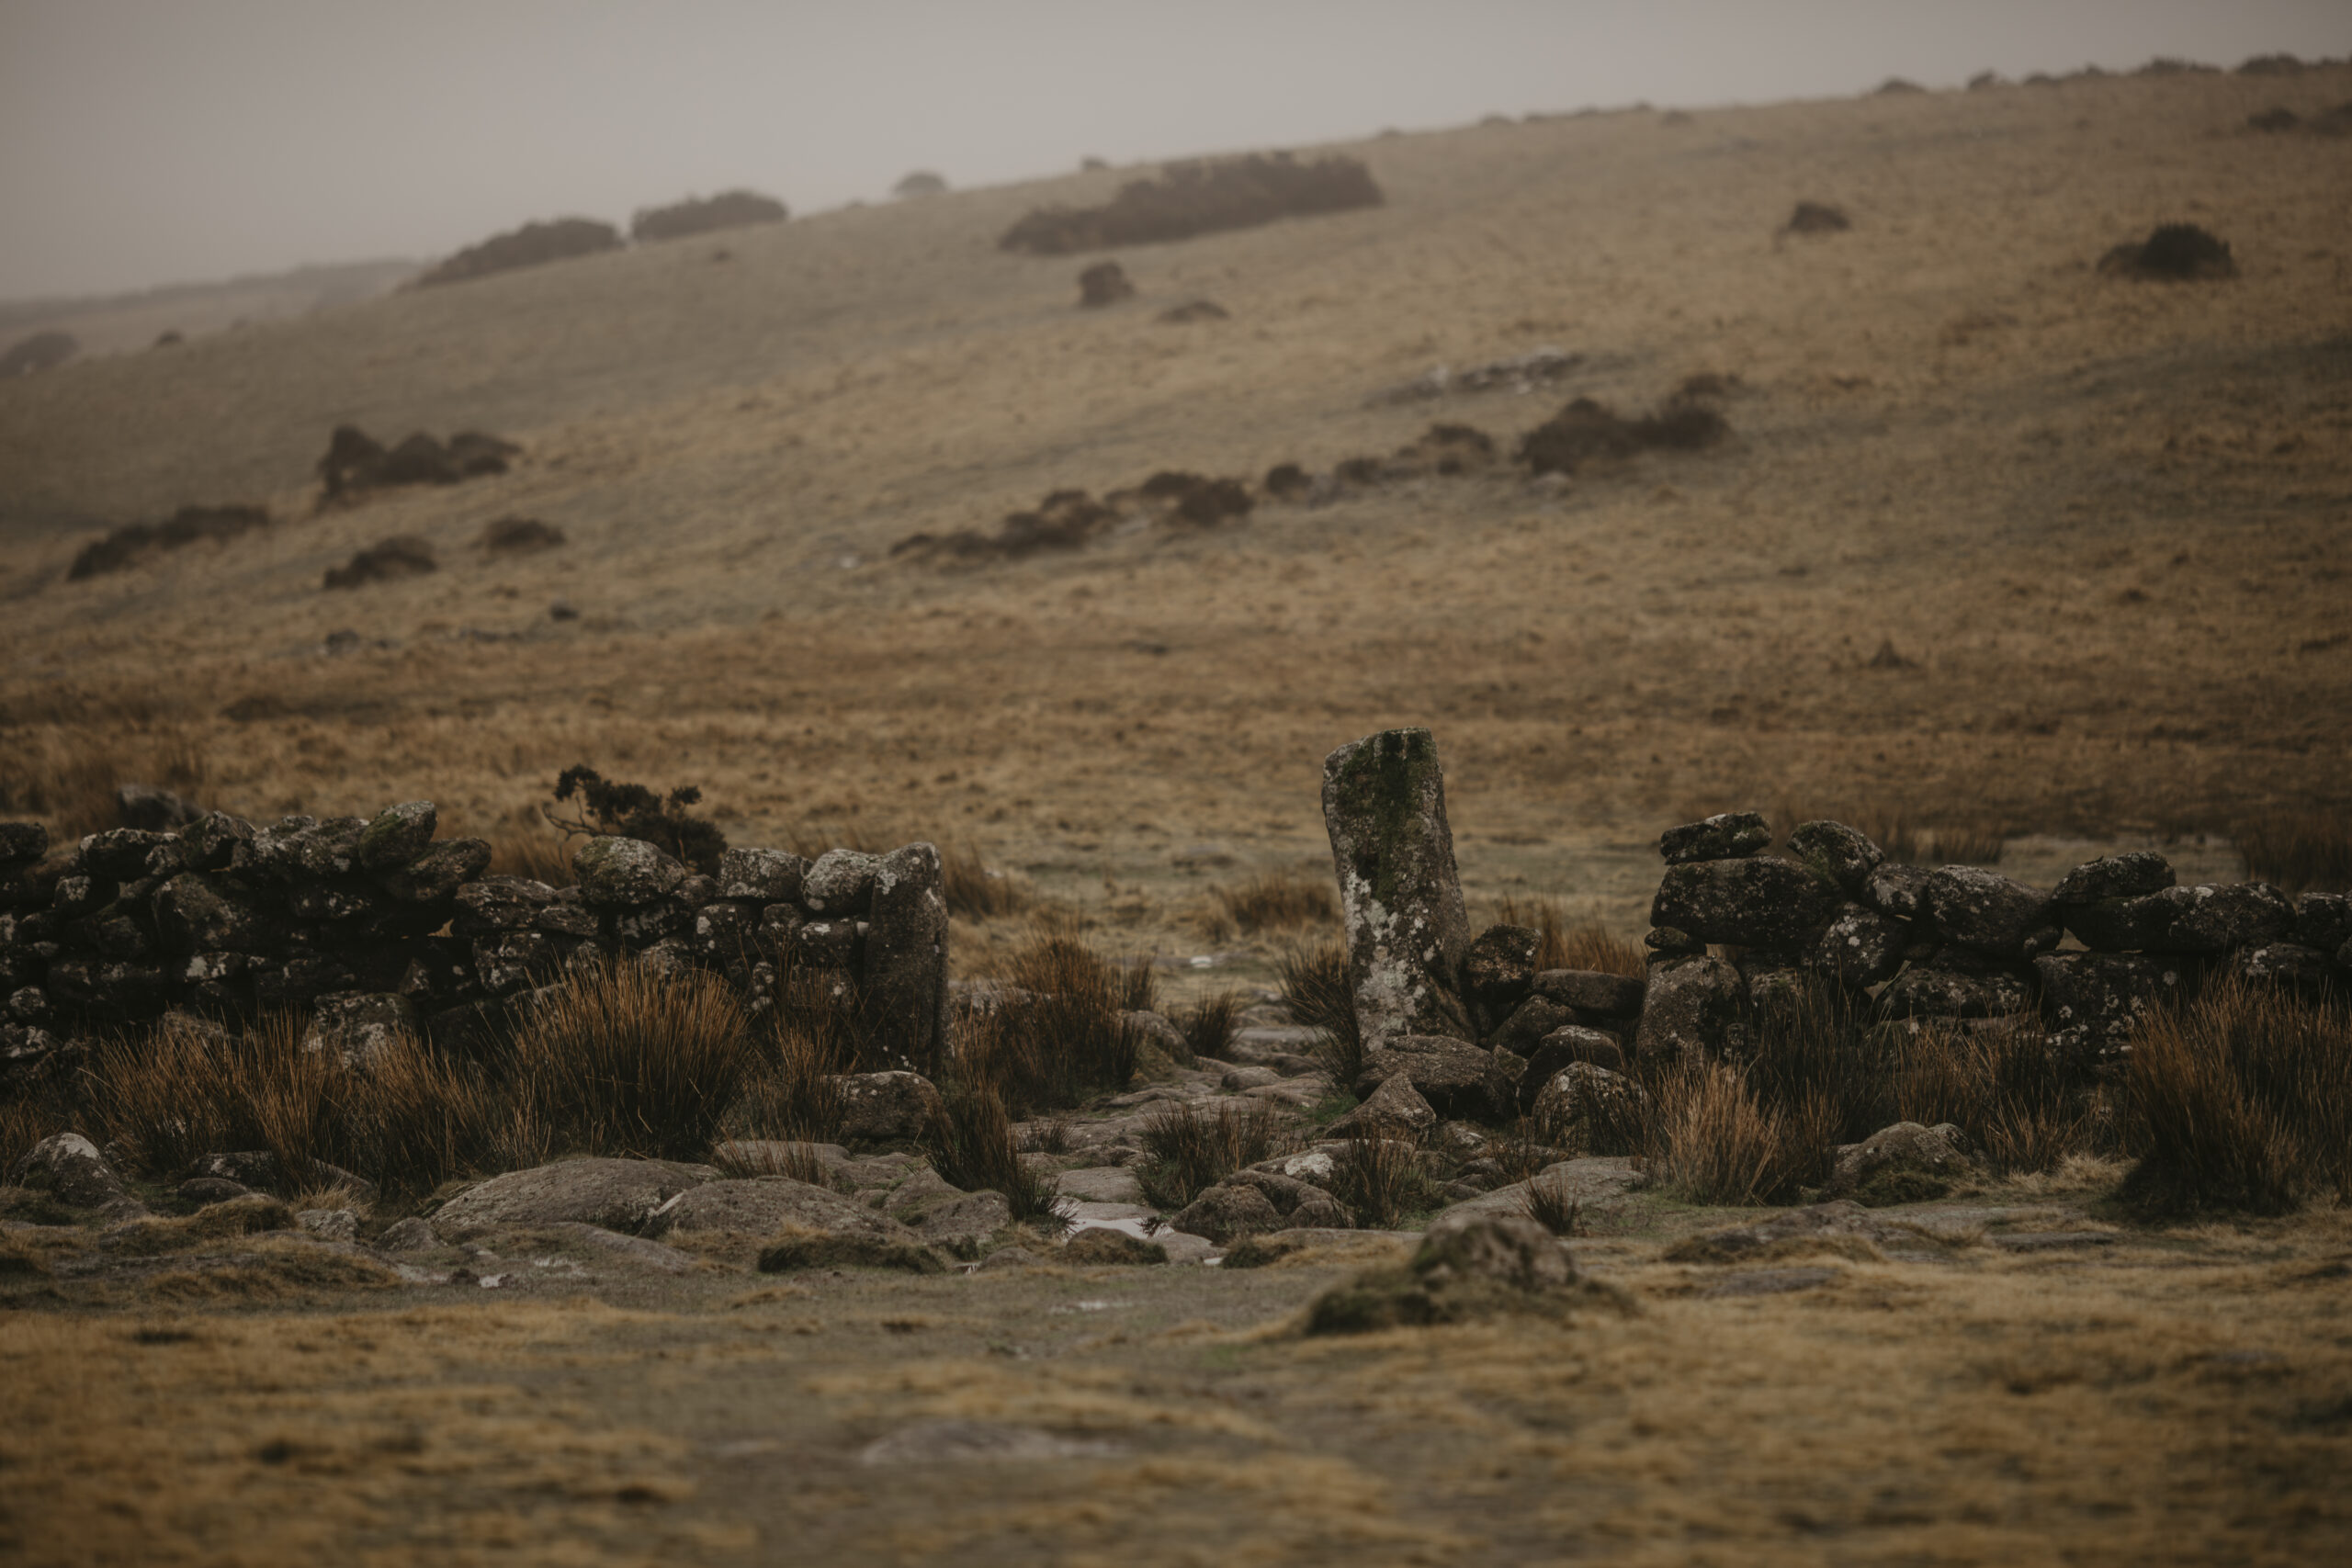
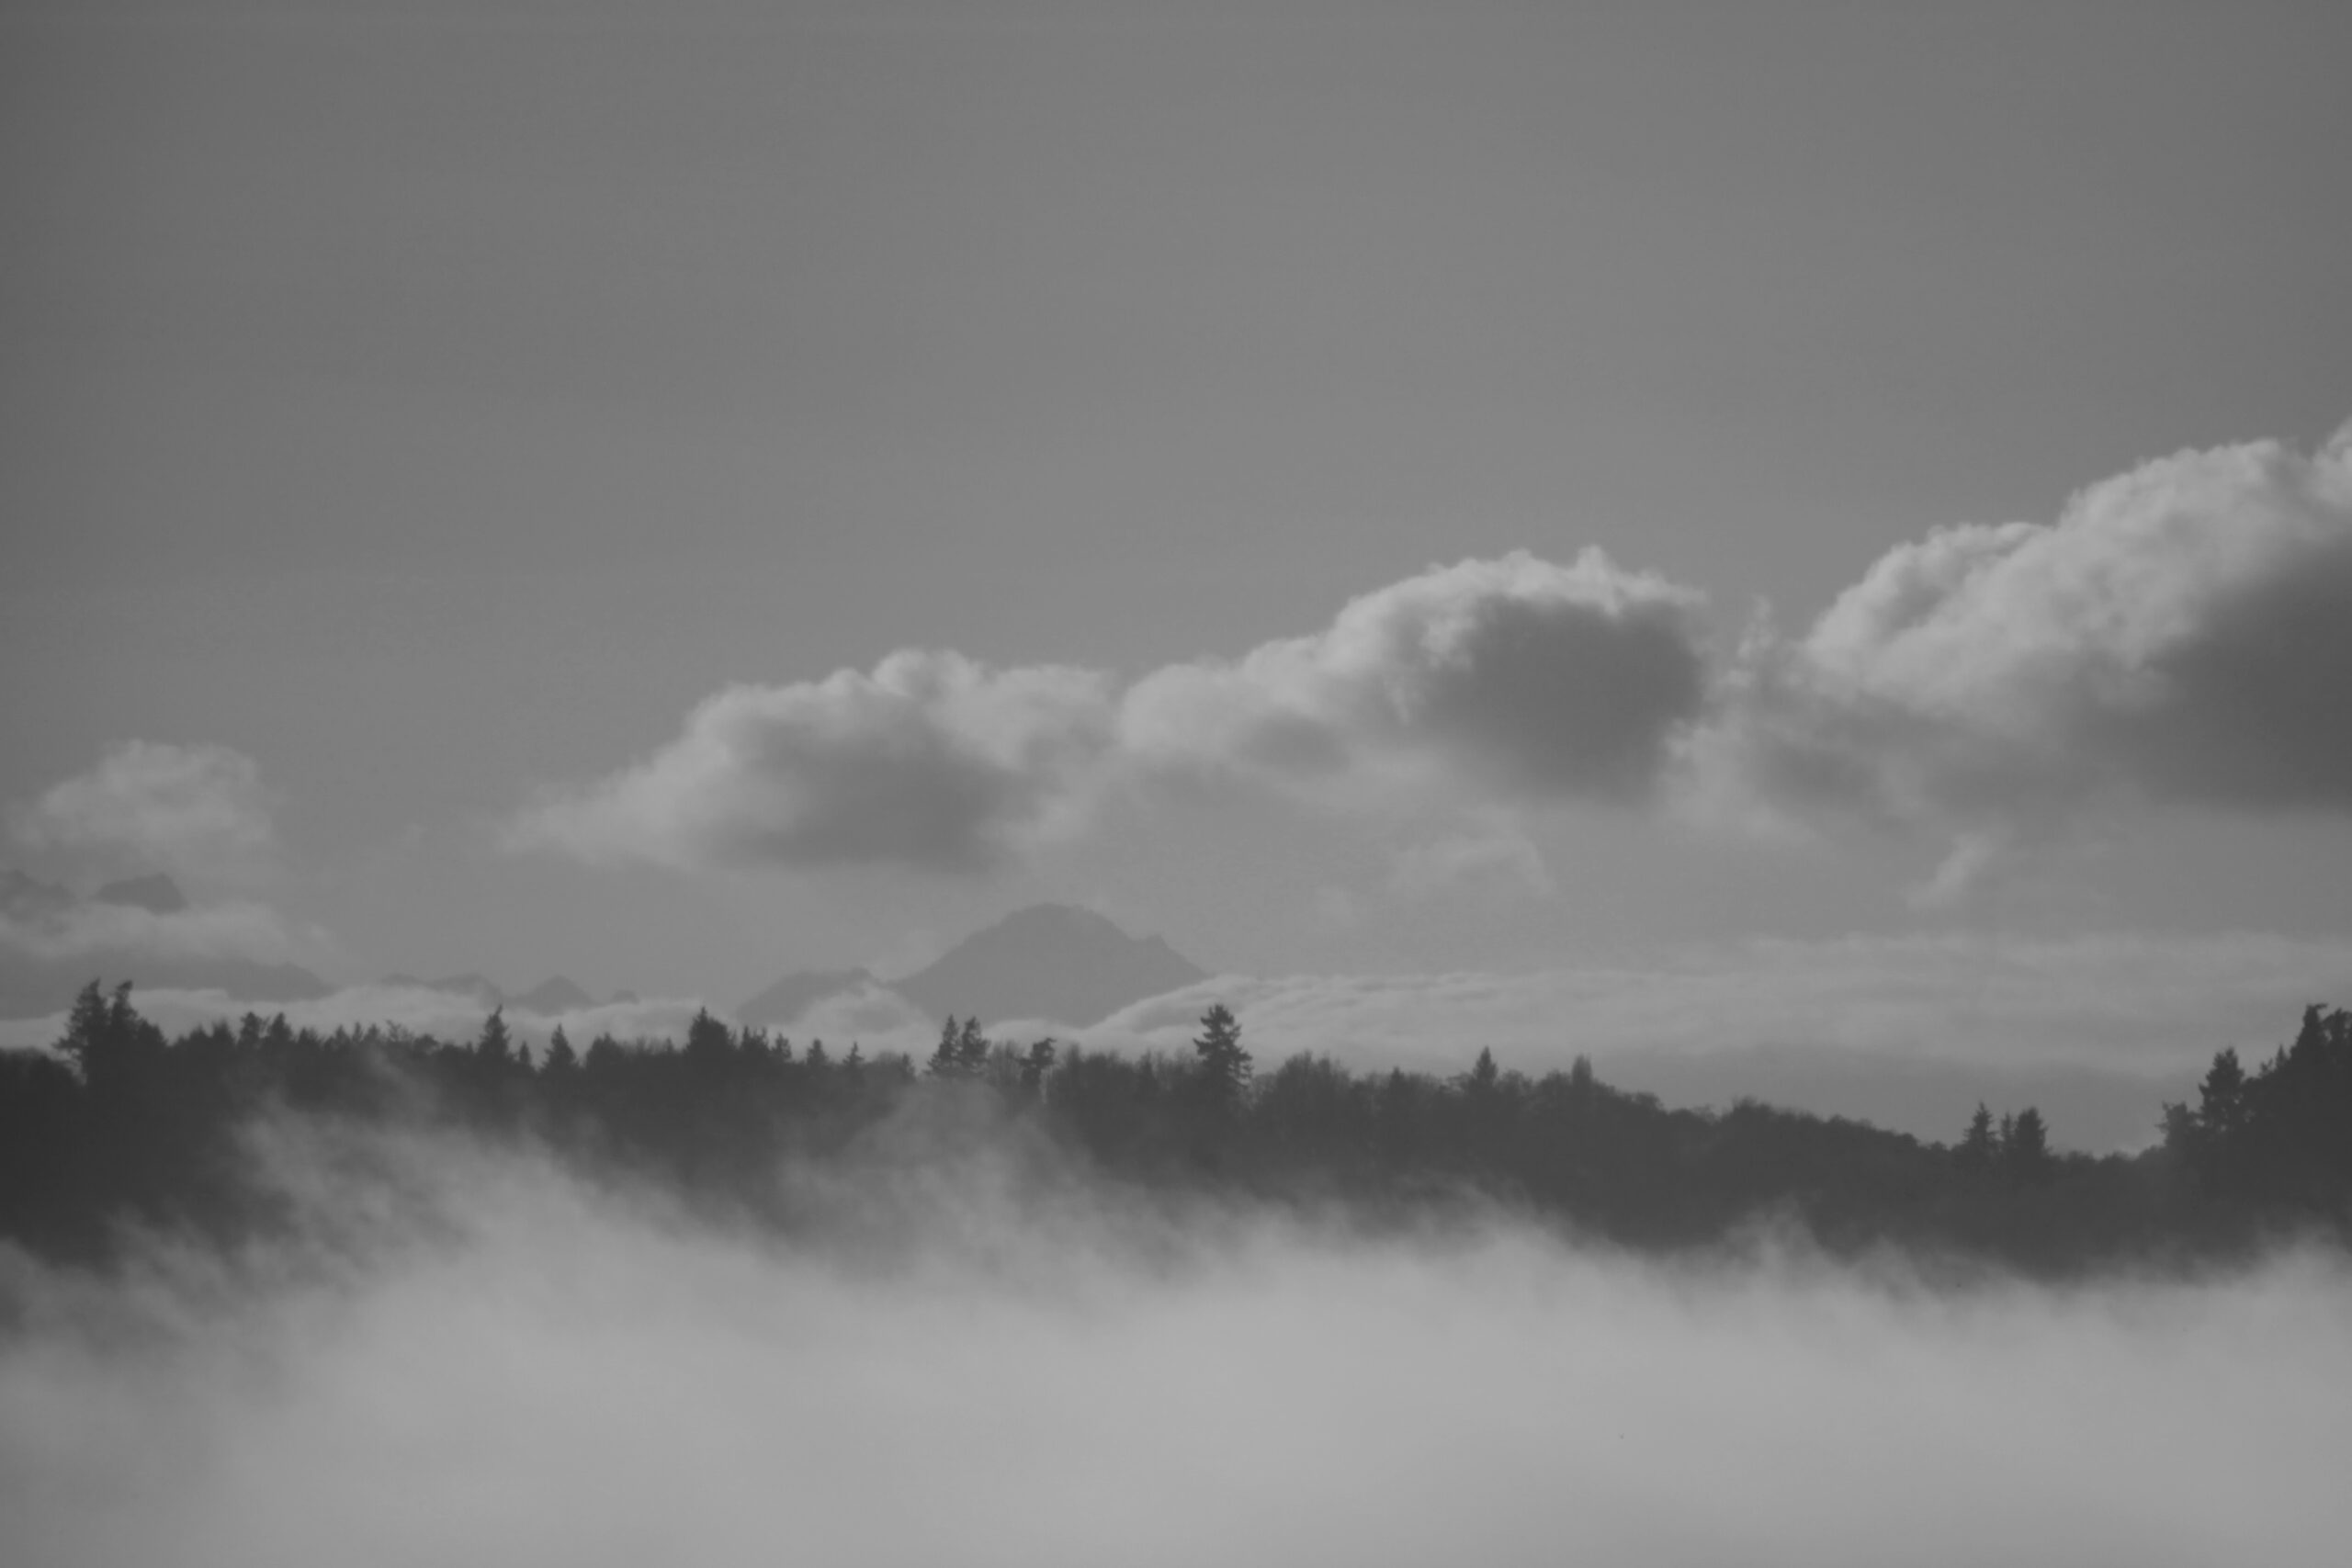
It’s also worth looking at how the weather might influence your photographs. Low-hanging clouds can add drama, reflections in puddles can double the visual interest, and a windy day might create movement in tall grass.
In short, keep an eye out for anything that will capture the experience of being outdoors.
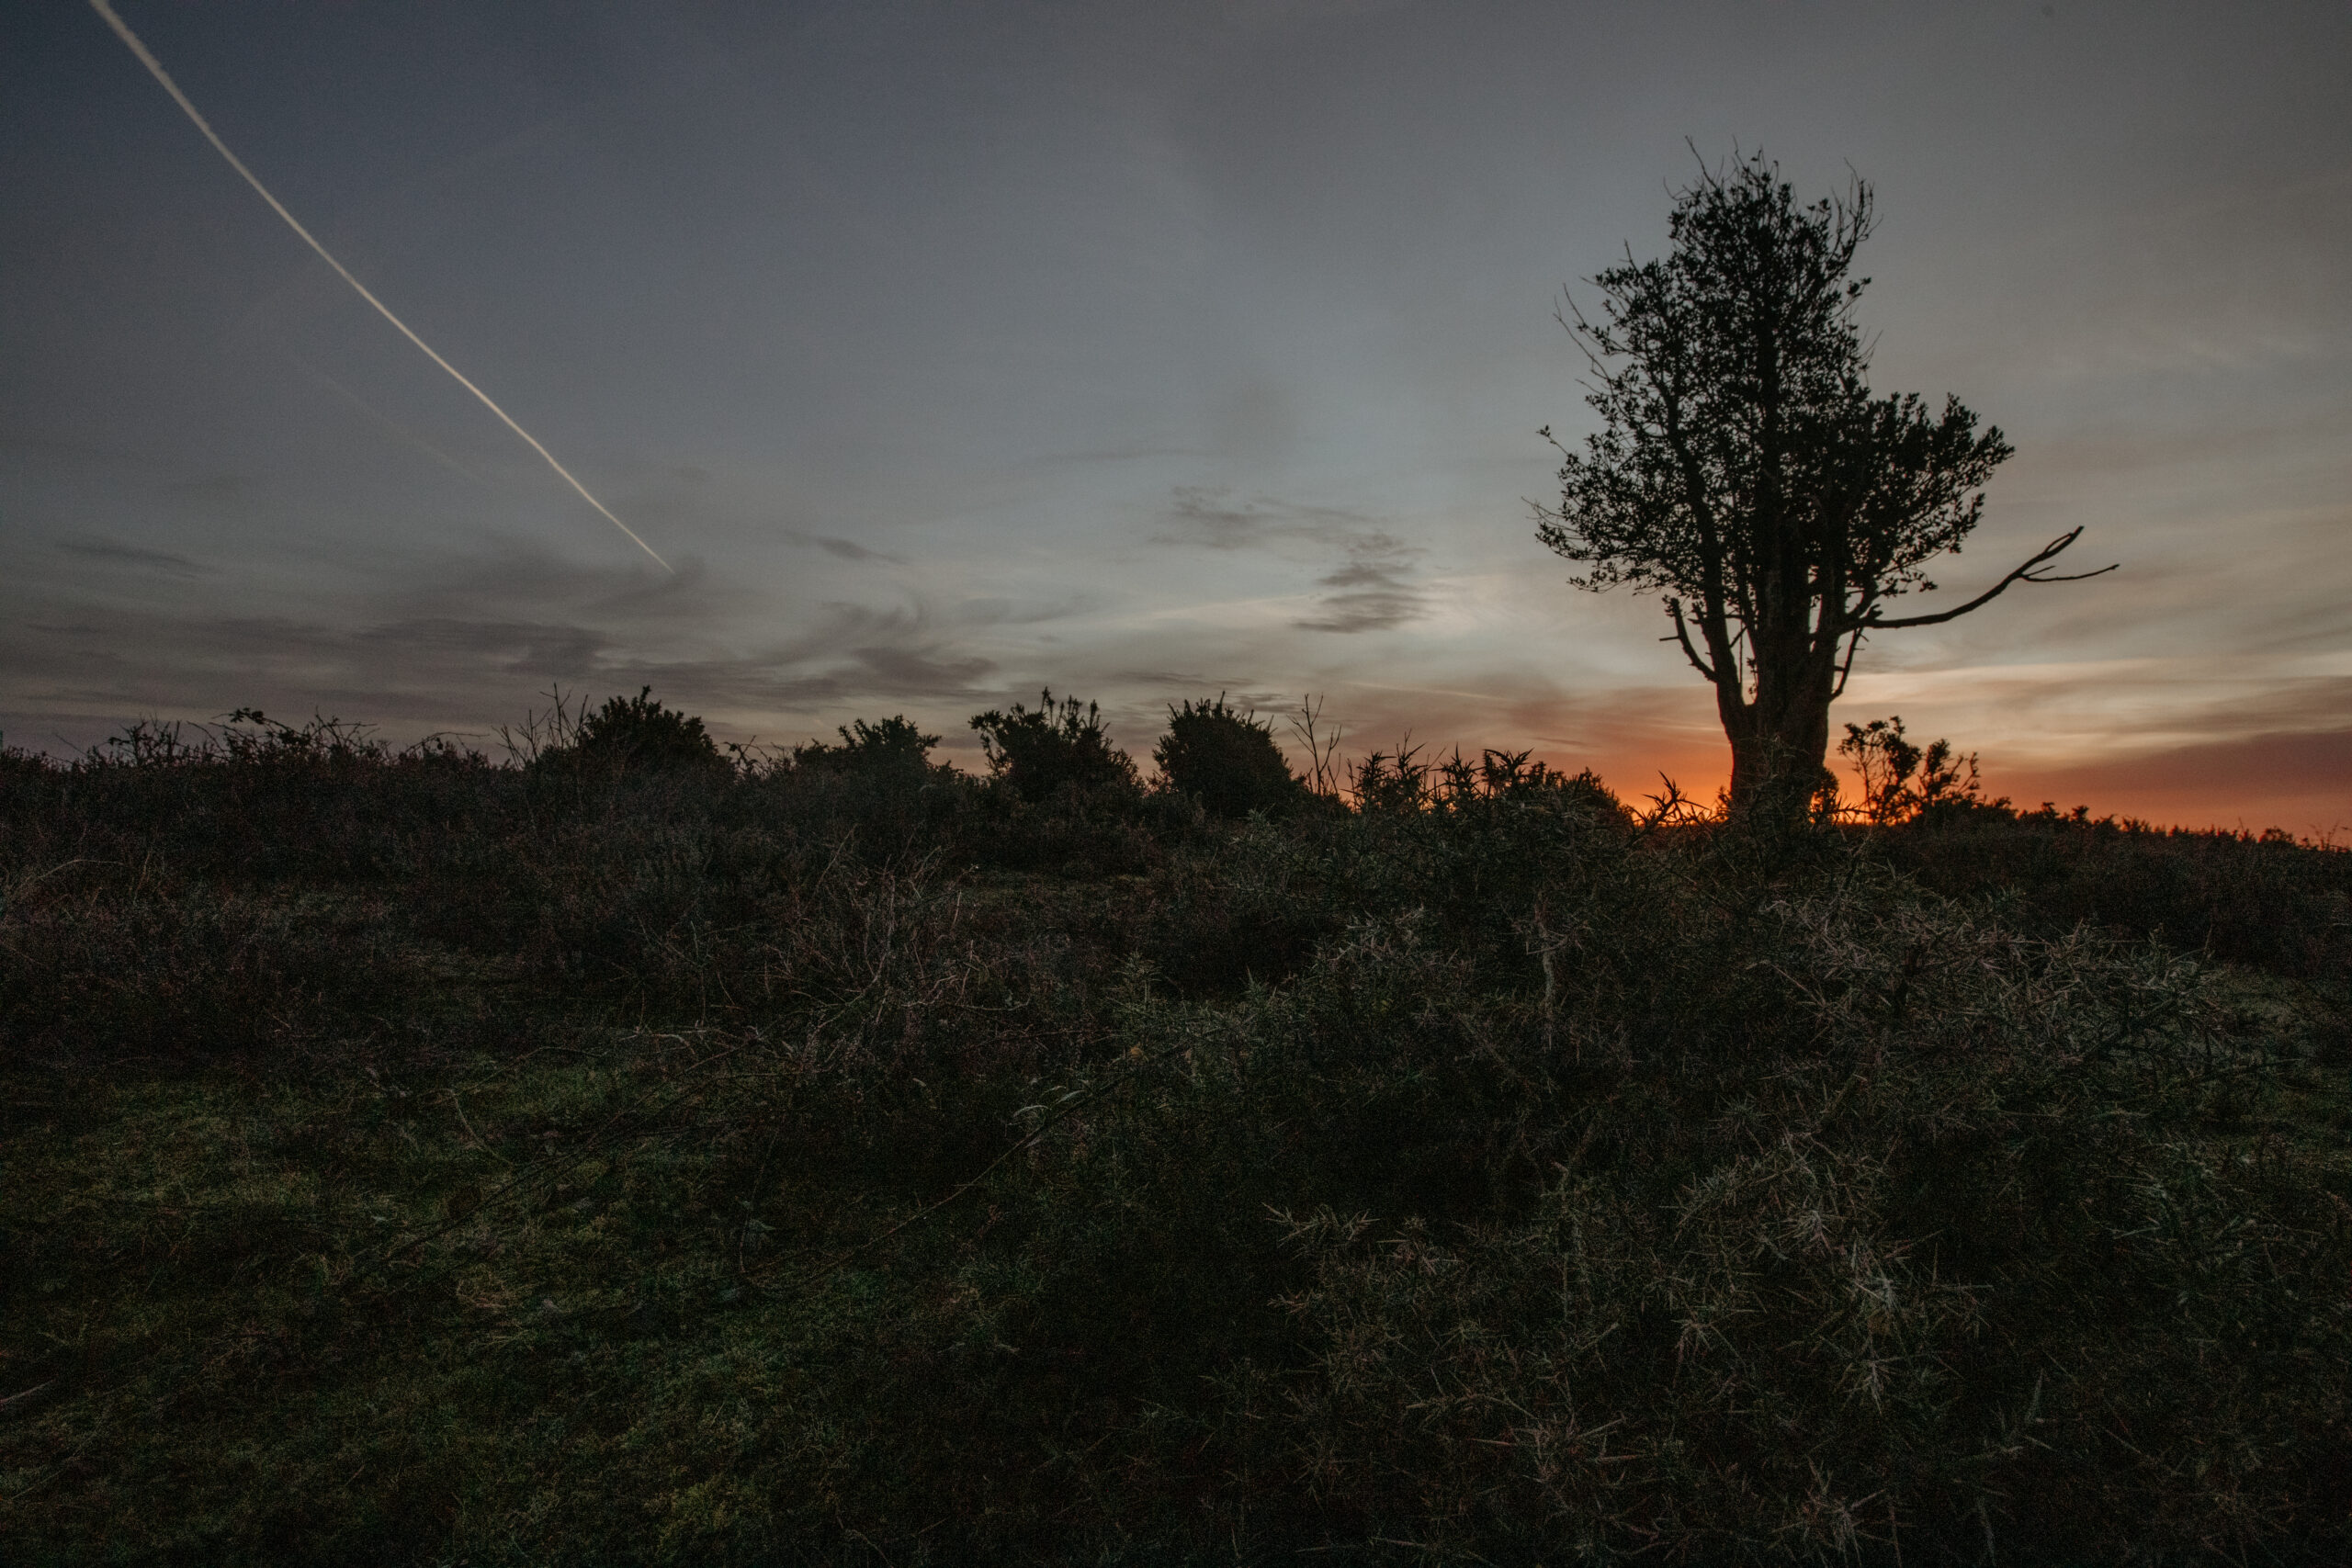
Lighting Challenges and Opportunities
Because you can’t control the lighting in nature, you have to adapt.
I usually check the forecast before I head out, but let’s face it, especially in Britain, a “clear skies all day” prediction might still bring a surprise downpour and if you’re at the peak of mountain you may still be engulfed in cloud.
You can turn this unpredictability into a creative exercise though and use it as an excuse to up your skills.

Harsh midday sun can be intense, causing deep shadows and bright highlights that test your camera’s dynamic range. You might get around it by finding shade, or by exposing for the highlights and letting the shadows go dark for a more dramatic effect.
Early morning and late afternoon, often called the golden hours, can provide some of the best light for outdoor shots, so I like to plan my route so that I’m in a scenic spot during those times.
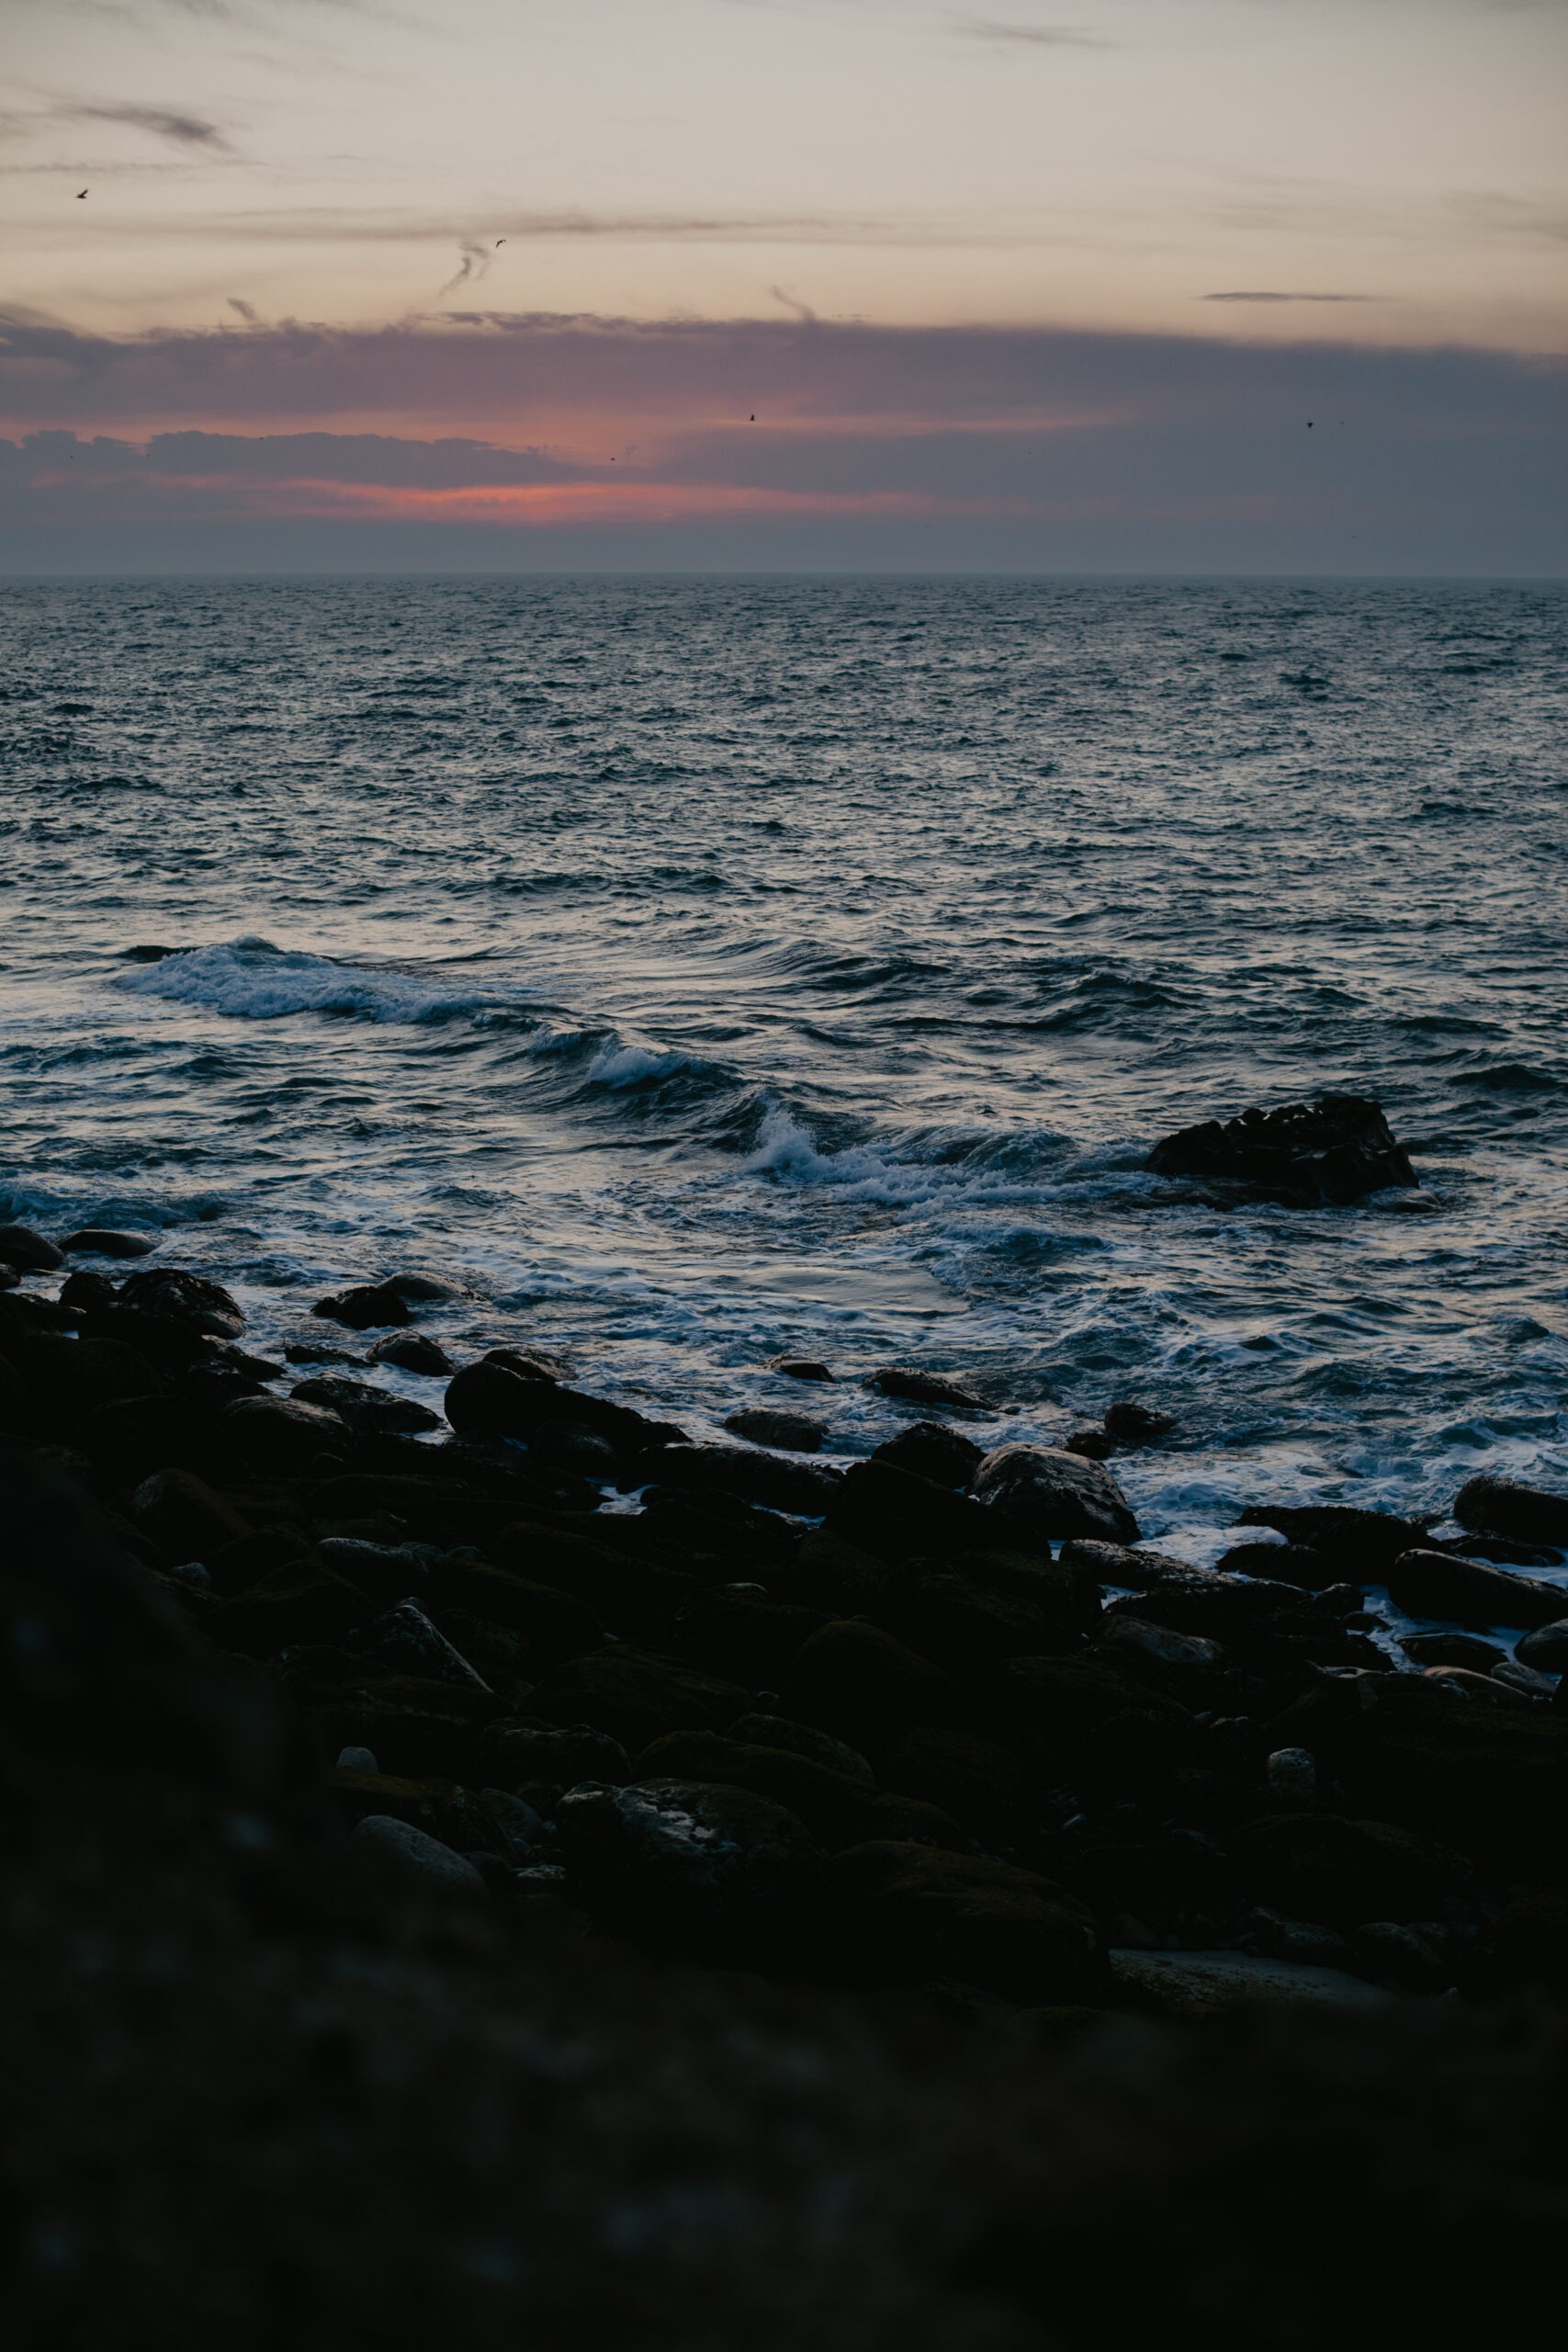
That might mean getting up early to catch first light on a mountain or timing a coastal walk to coincide with a bright red sunset over the sea.
If it’s overcast, the soft, even light can be brilliant for close-ups or portraits, though the skies might look a bit dull in wide shots.
In that case, I sometimes frame out most of the sky or make the moody clouds a feature in themselves, emphasising the atmosphere.
Rain can lead to dramatic clouds or misty hills, which can look amazing. Just remember to keep that lens cloth handy for droplets on the front element.
Outdoor Adventure Photography Tips: Composition
Composing images while you’re on the move is a good skill to learn.
If I’m hiking, I might only have a few seconds to notice something interesting and set up a shot before we move on or before the moment passes.
I like to maintain a mental checklist:
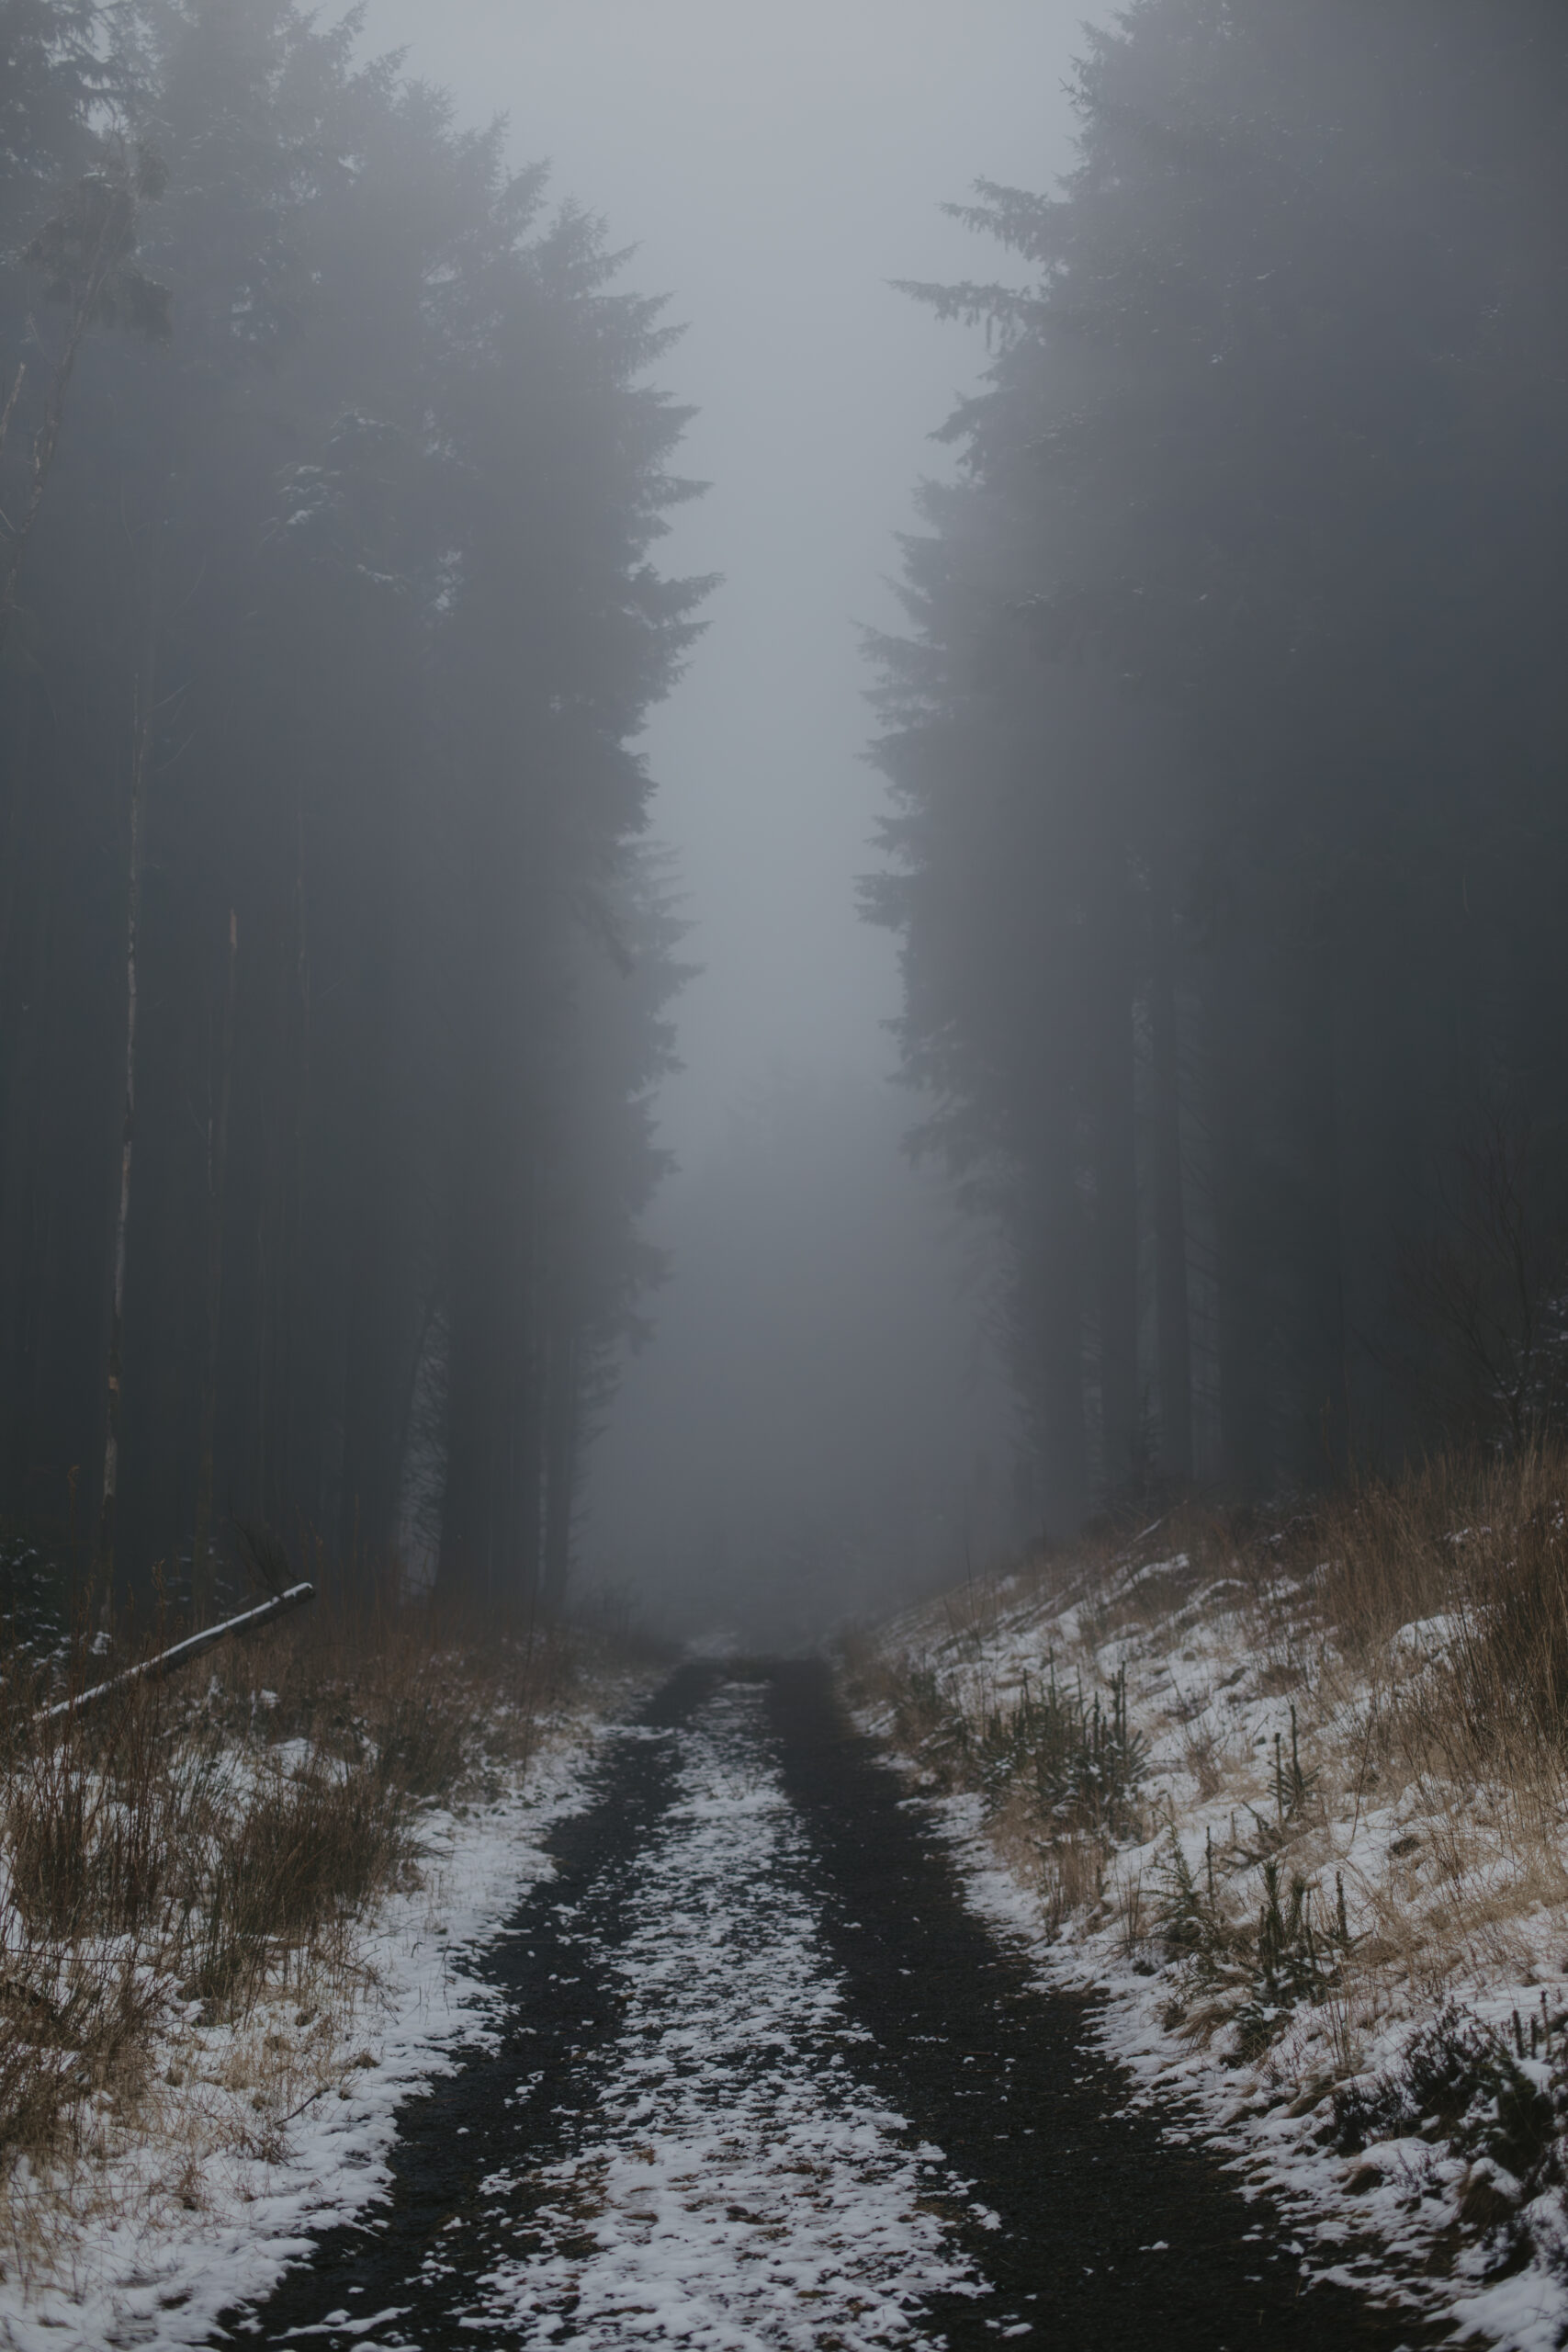
I think about leading lines, such as a path or a river, to draw the viewer into the photo.
I’m aware of the rule of thirds but I don’t stick to it rigidly, sometimes a centred subject works a treat.
I also watch for natural frames, like an arch of branches, which can add context and depth.
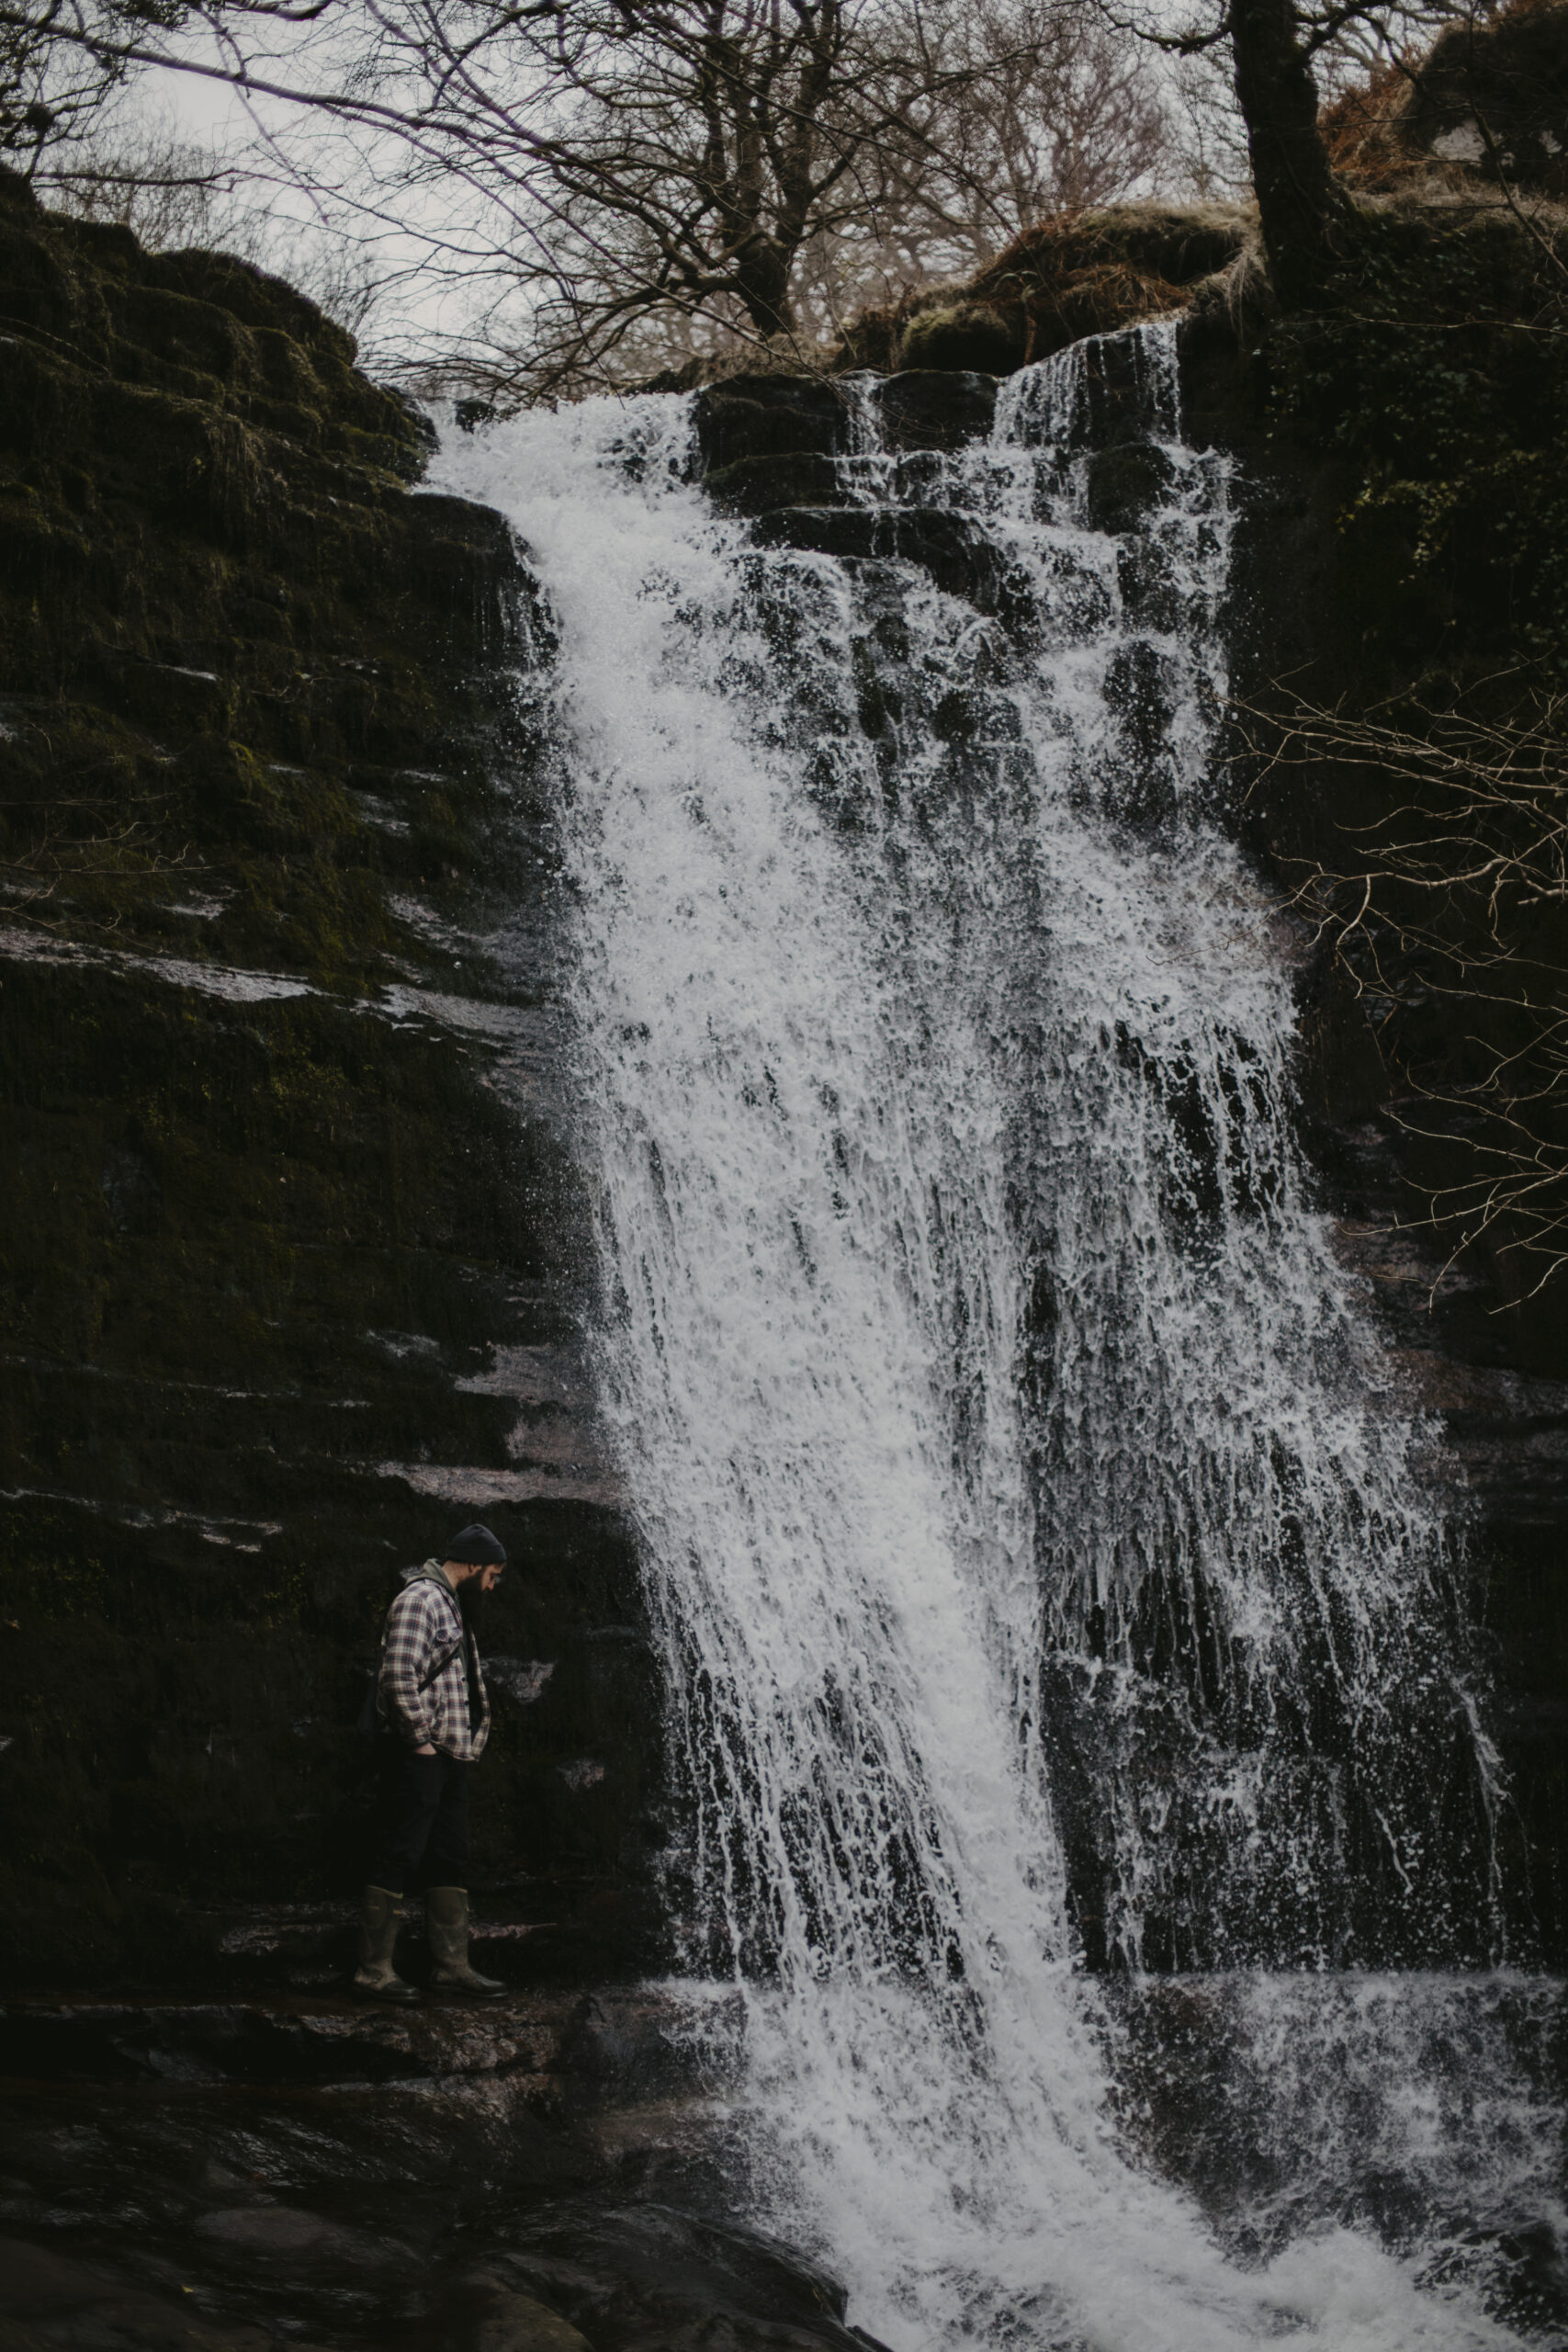
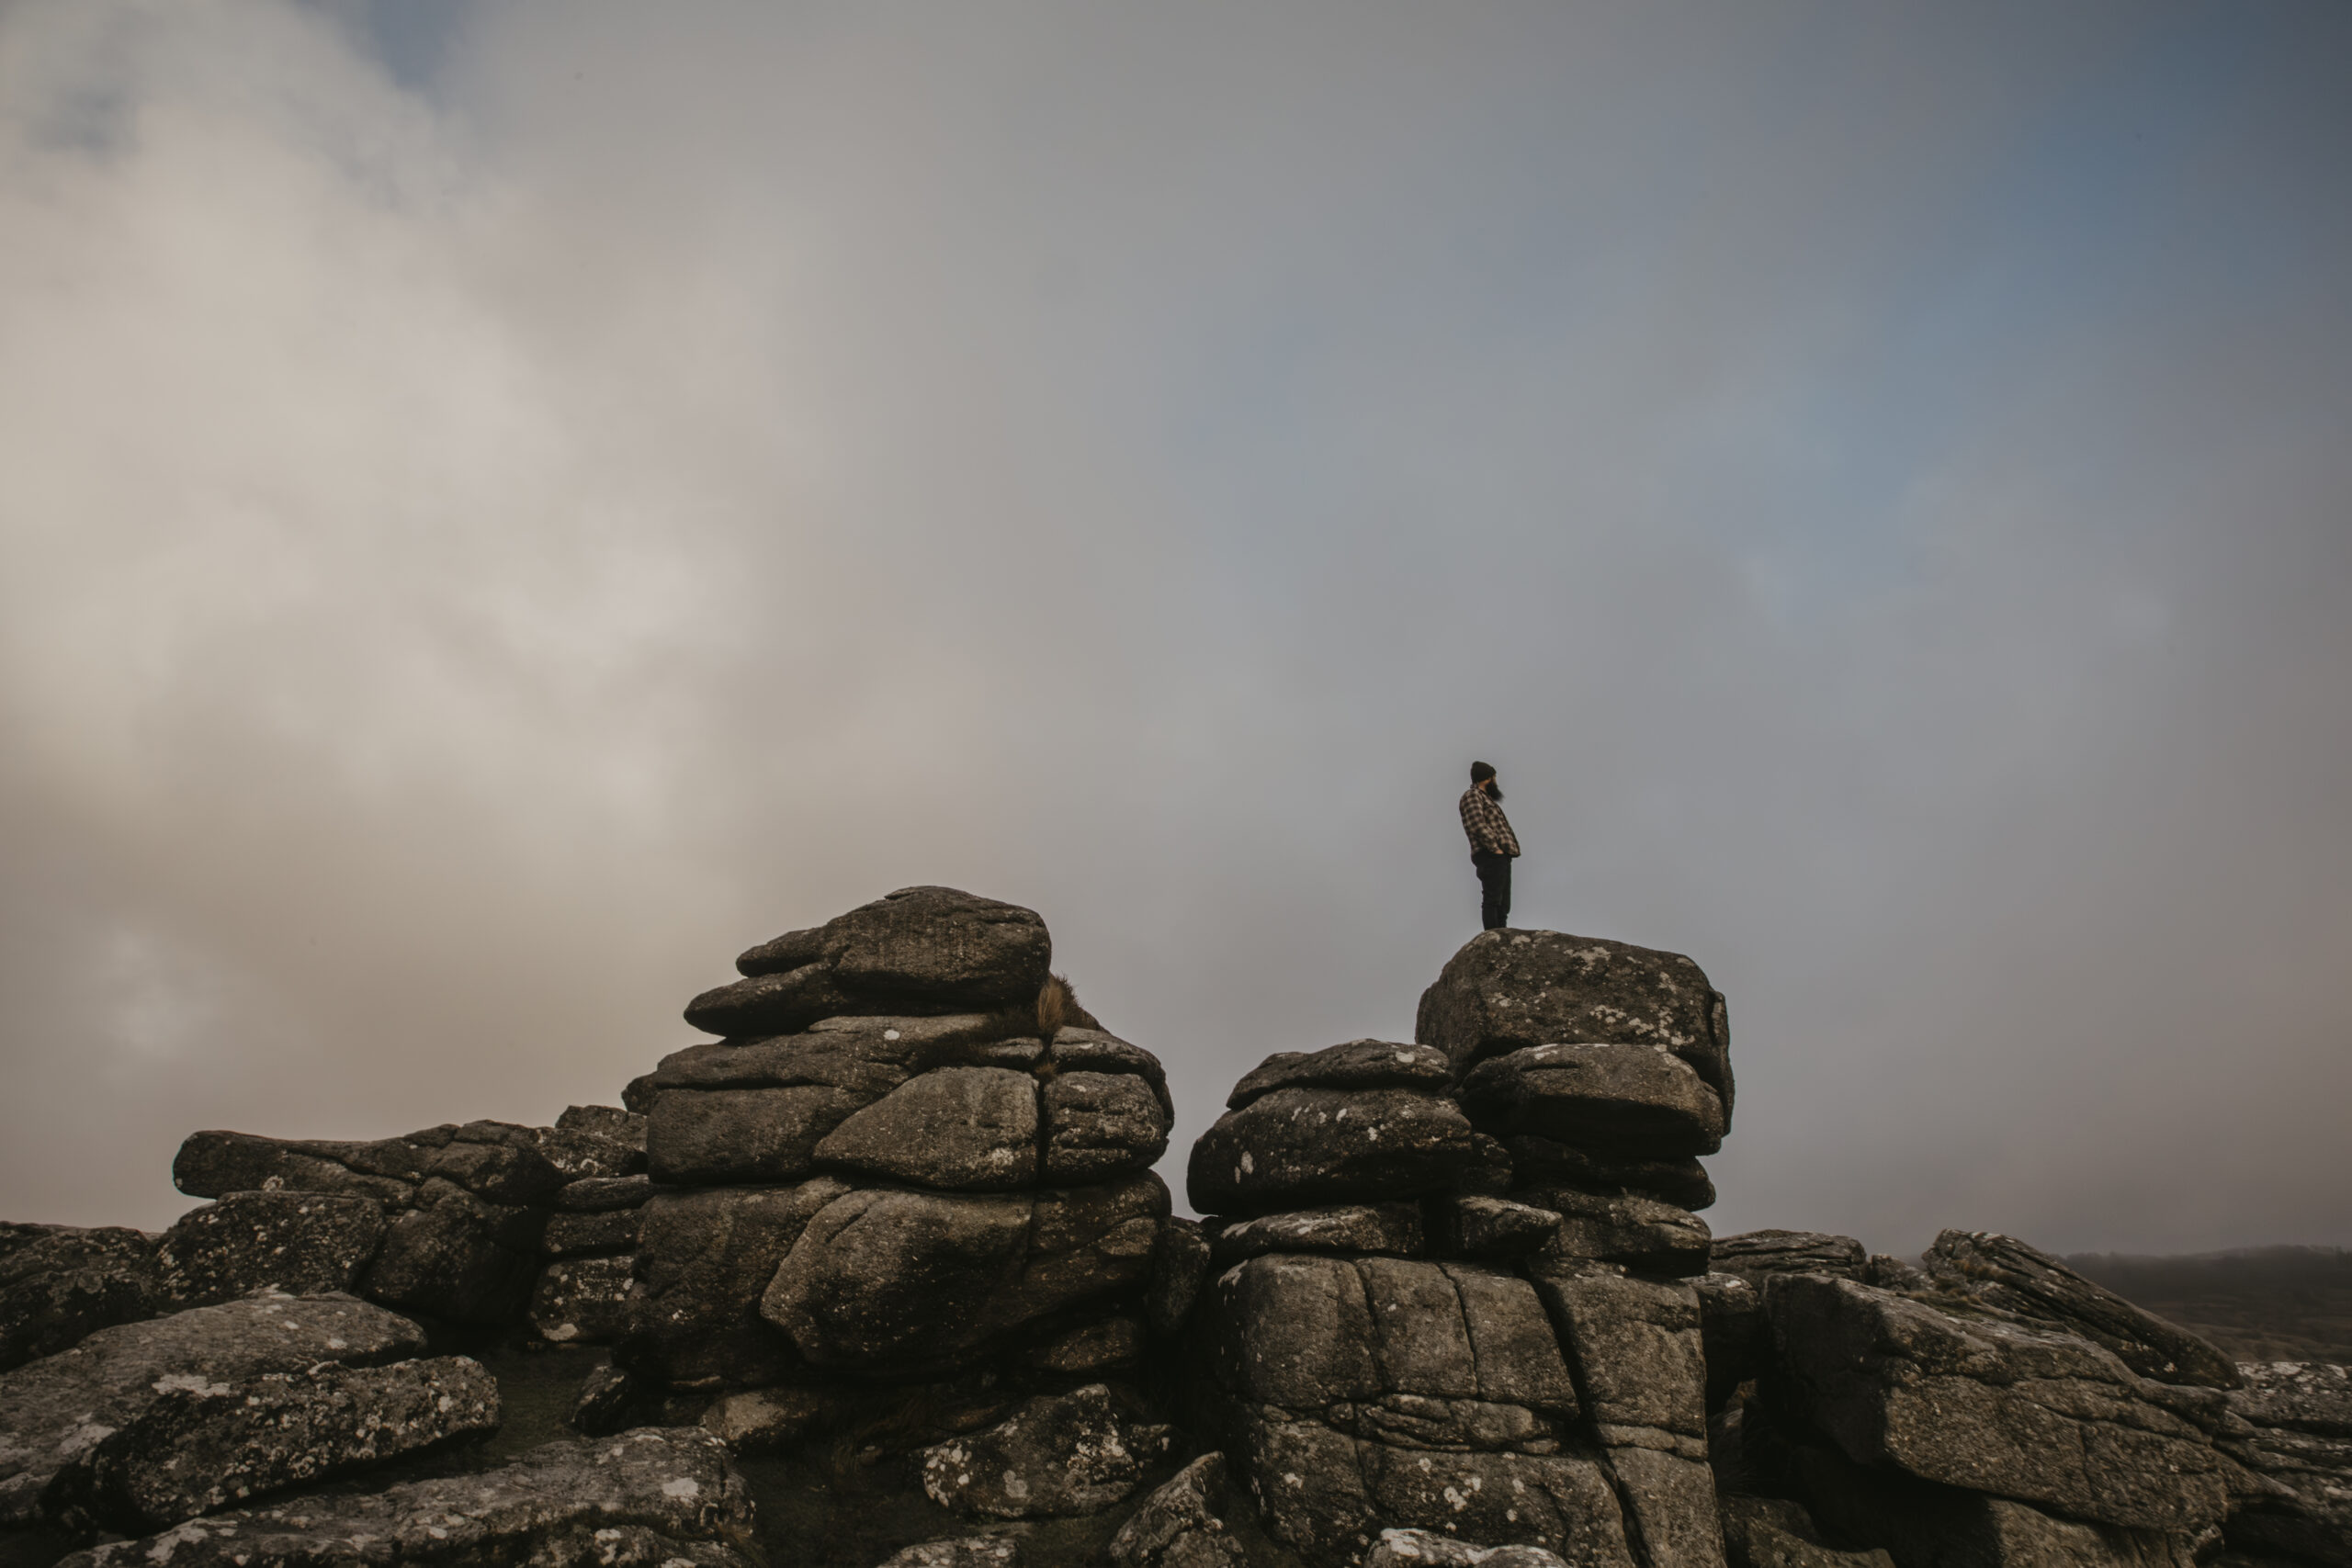
If there’s a person in the frame, I often place them off to one side, looking into or moving through the rest of the image.
If I’m at a vantage point with an amazing view, I will take a landscape shot by switching to a wider lens.
On the other hand, if I’m in a dense forest, I may focus on layers like foreground ferns, mid-ground tree trunks, and background shafts of light.
Capturing all three layers can lend a sense of dimension, especially if the forest is misty.
For more tips on composing good adventure photos, check out my composition rules in photography guide.
Staying Safe and Comfortable
Safety might not sound like a thrilling photography topic, but it’s essential for outdoor adventure photography.
You can’t get a great shot if you’re freezing your nips off, wet, or worried about stumbling off a ledge.
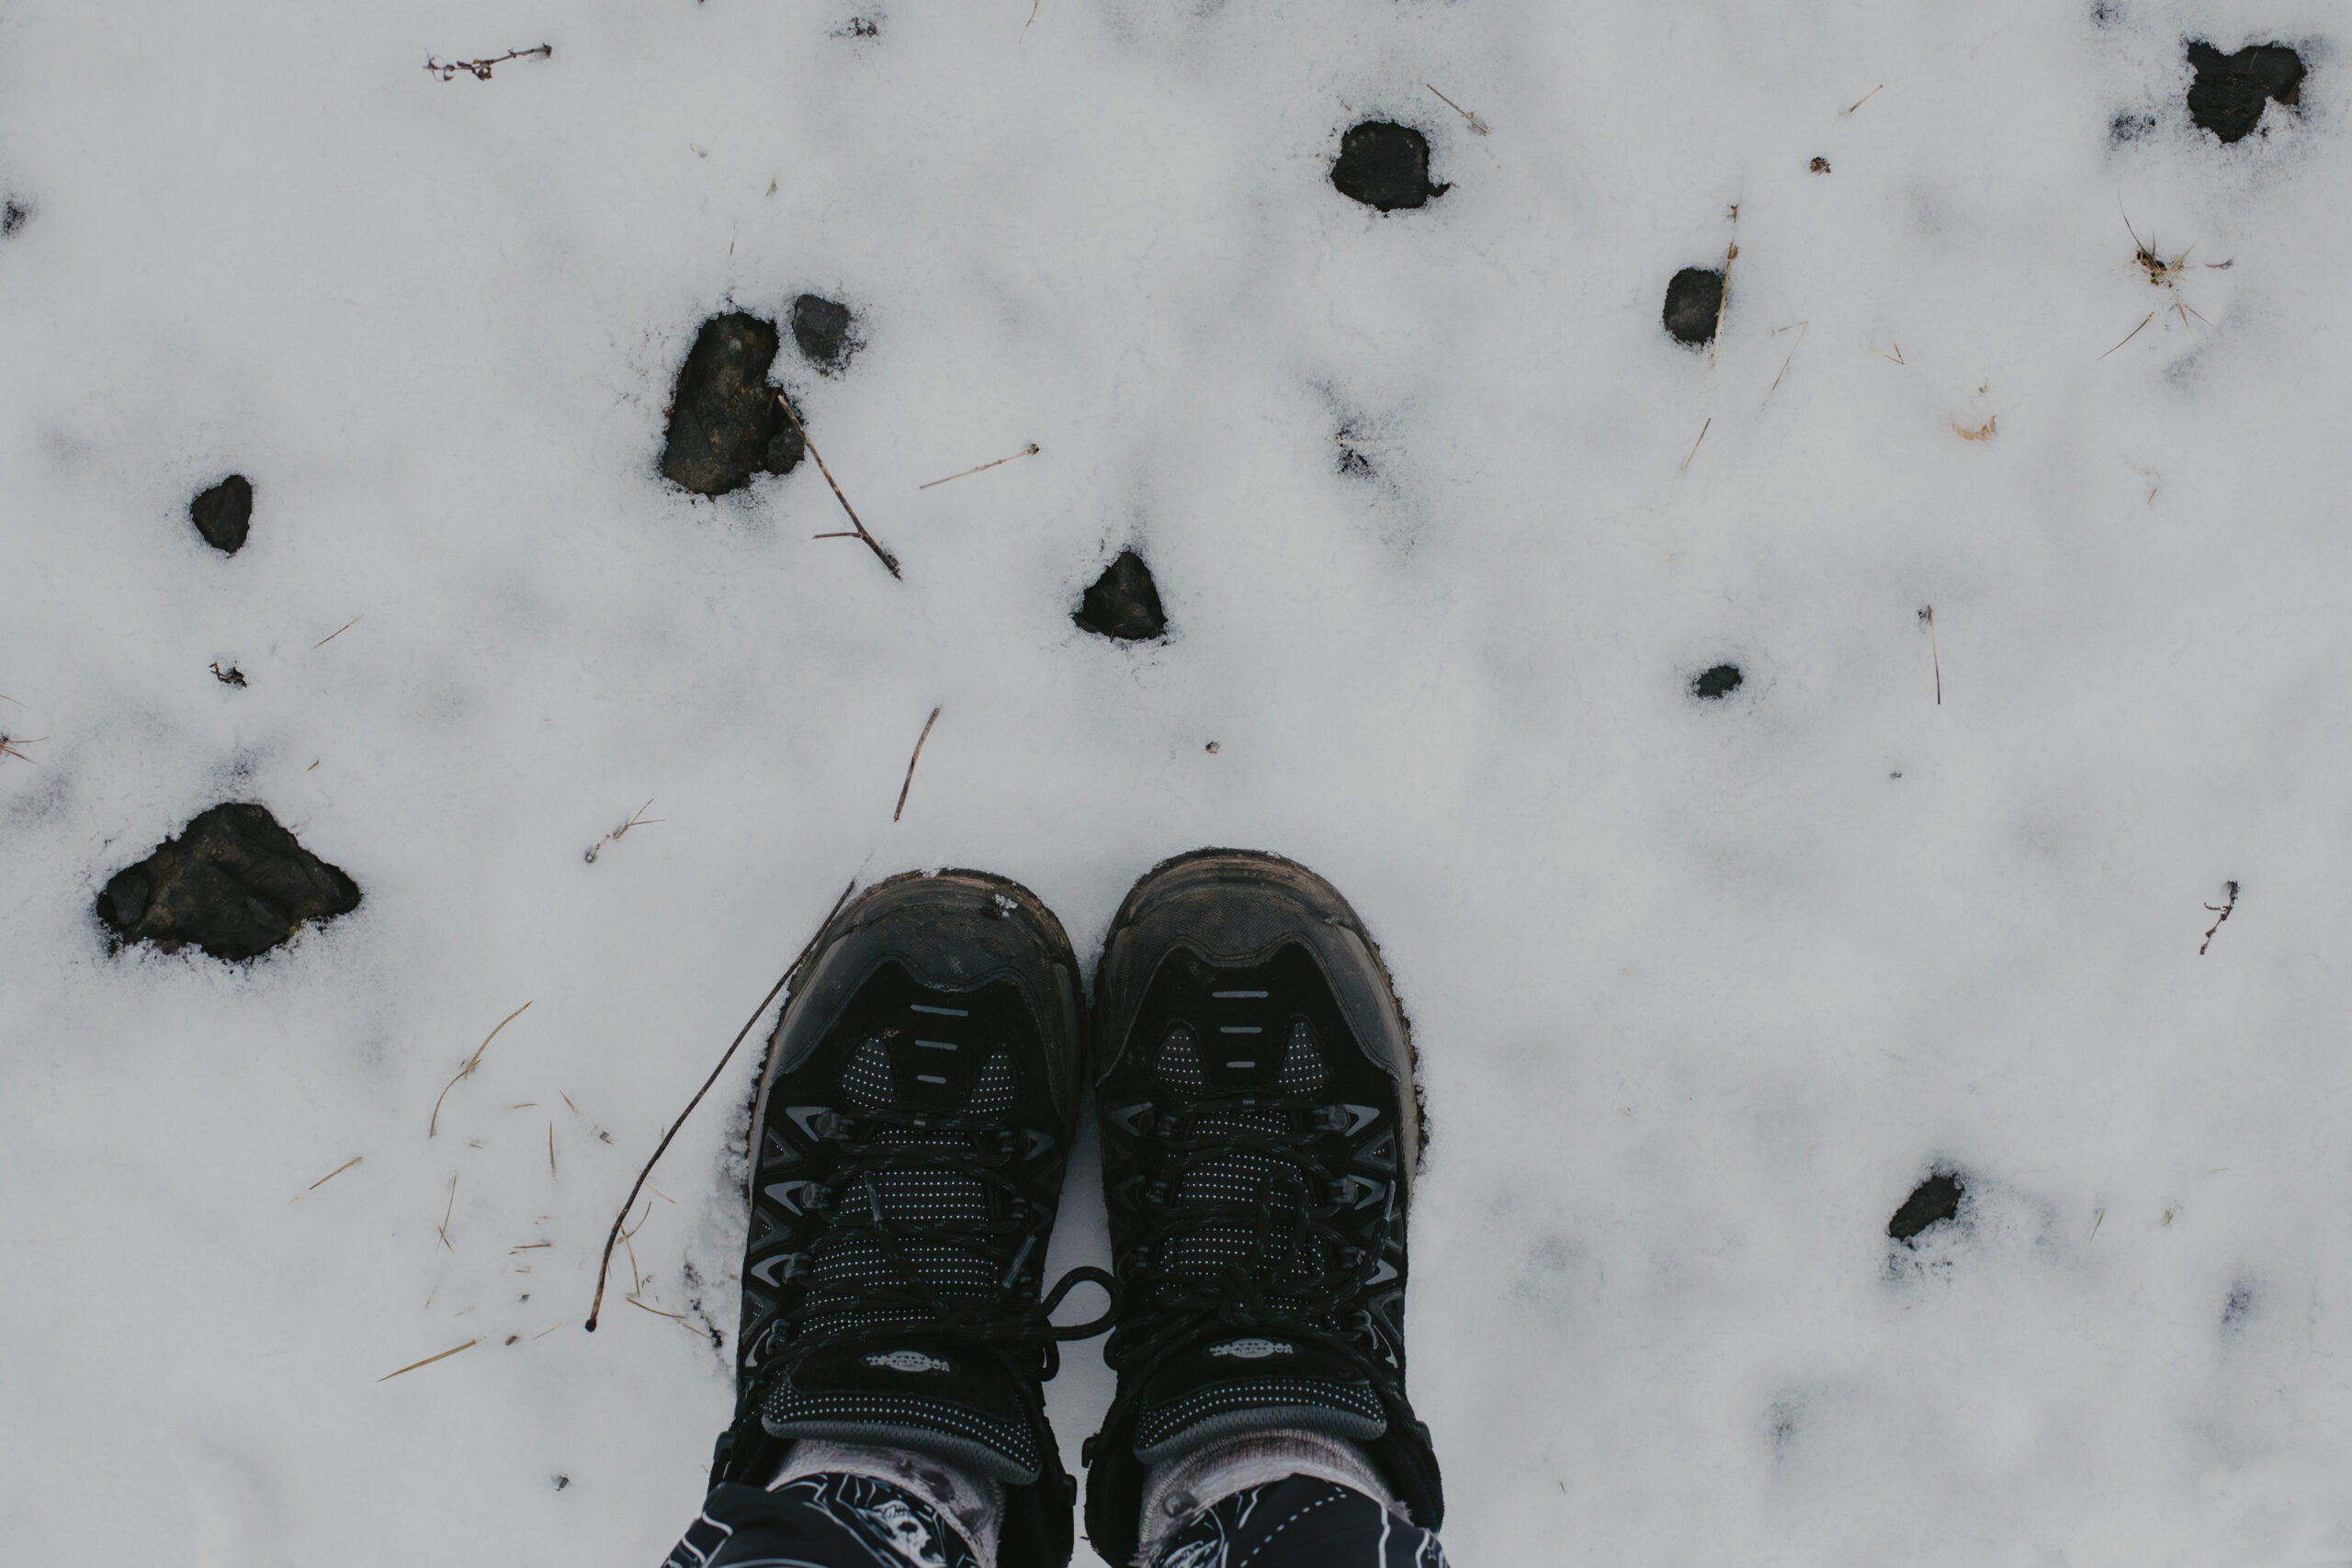
I dress in layers, wear sturdy footwear, and carry essential supplies like spare socks, snacks and water.
Depending on the adventure itself, a first aid kit might also be a good idea. I put a tick remover in my first aid kit because I’m always in the woods.
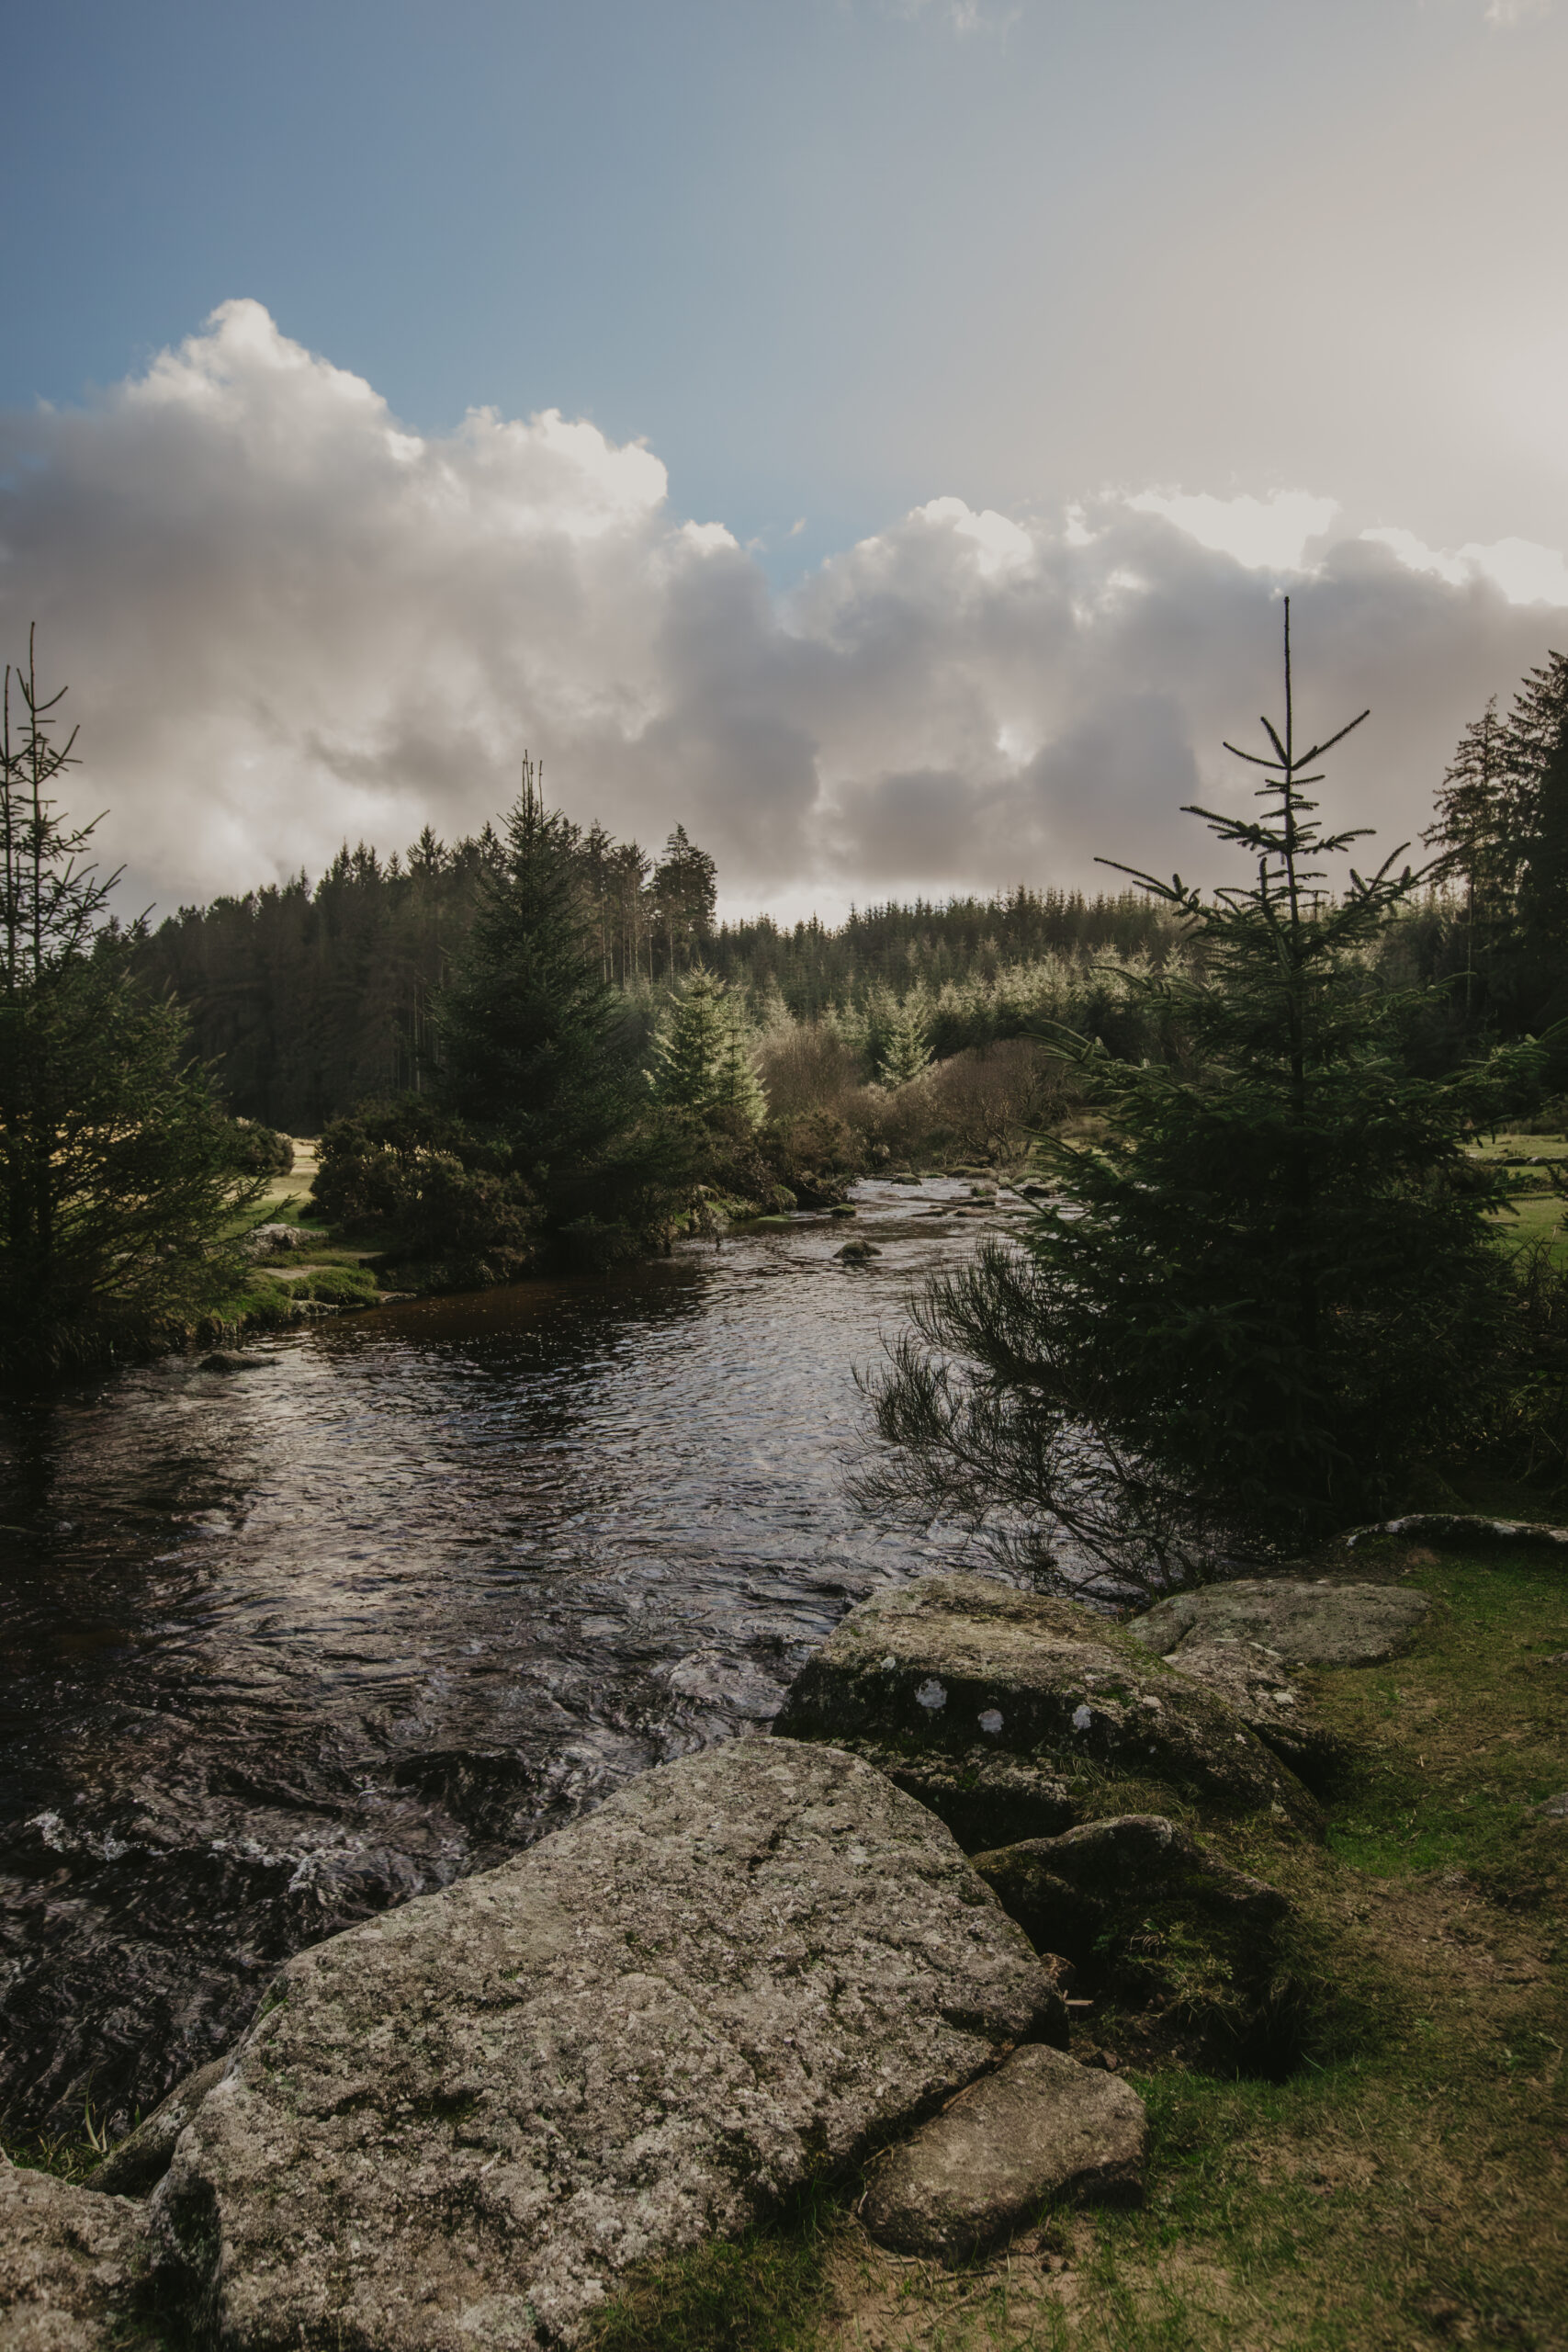
If the weather turns nasty, your main priority is to protect yourself and your gear. Sometimes it’s better to pack up and retreat rather than risk damaging your camera or endangering yourself.
It’s also important to respect the environment.
Tread lightly so you don’t damage delicate ecosystems or disturb wildlife.
Follow local rules about fires or drone usage, and be mindful of private property lines if you’re exploring public footpaths near farmland.
And for goodness sake, please take your rubbish with you and dispose of it properly. Due to the rise of people hiking since 2020, so many good nature spots have been ruined because of litter.
The aim is to leave no trace, “Take nothing but pictures, leave nothing but footprints”.
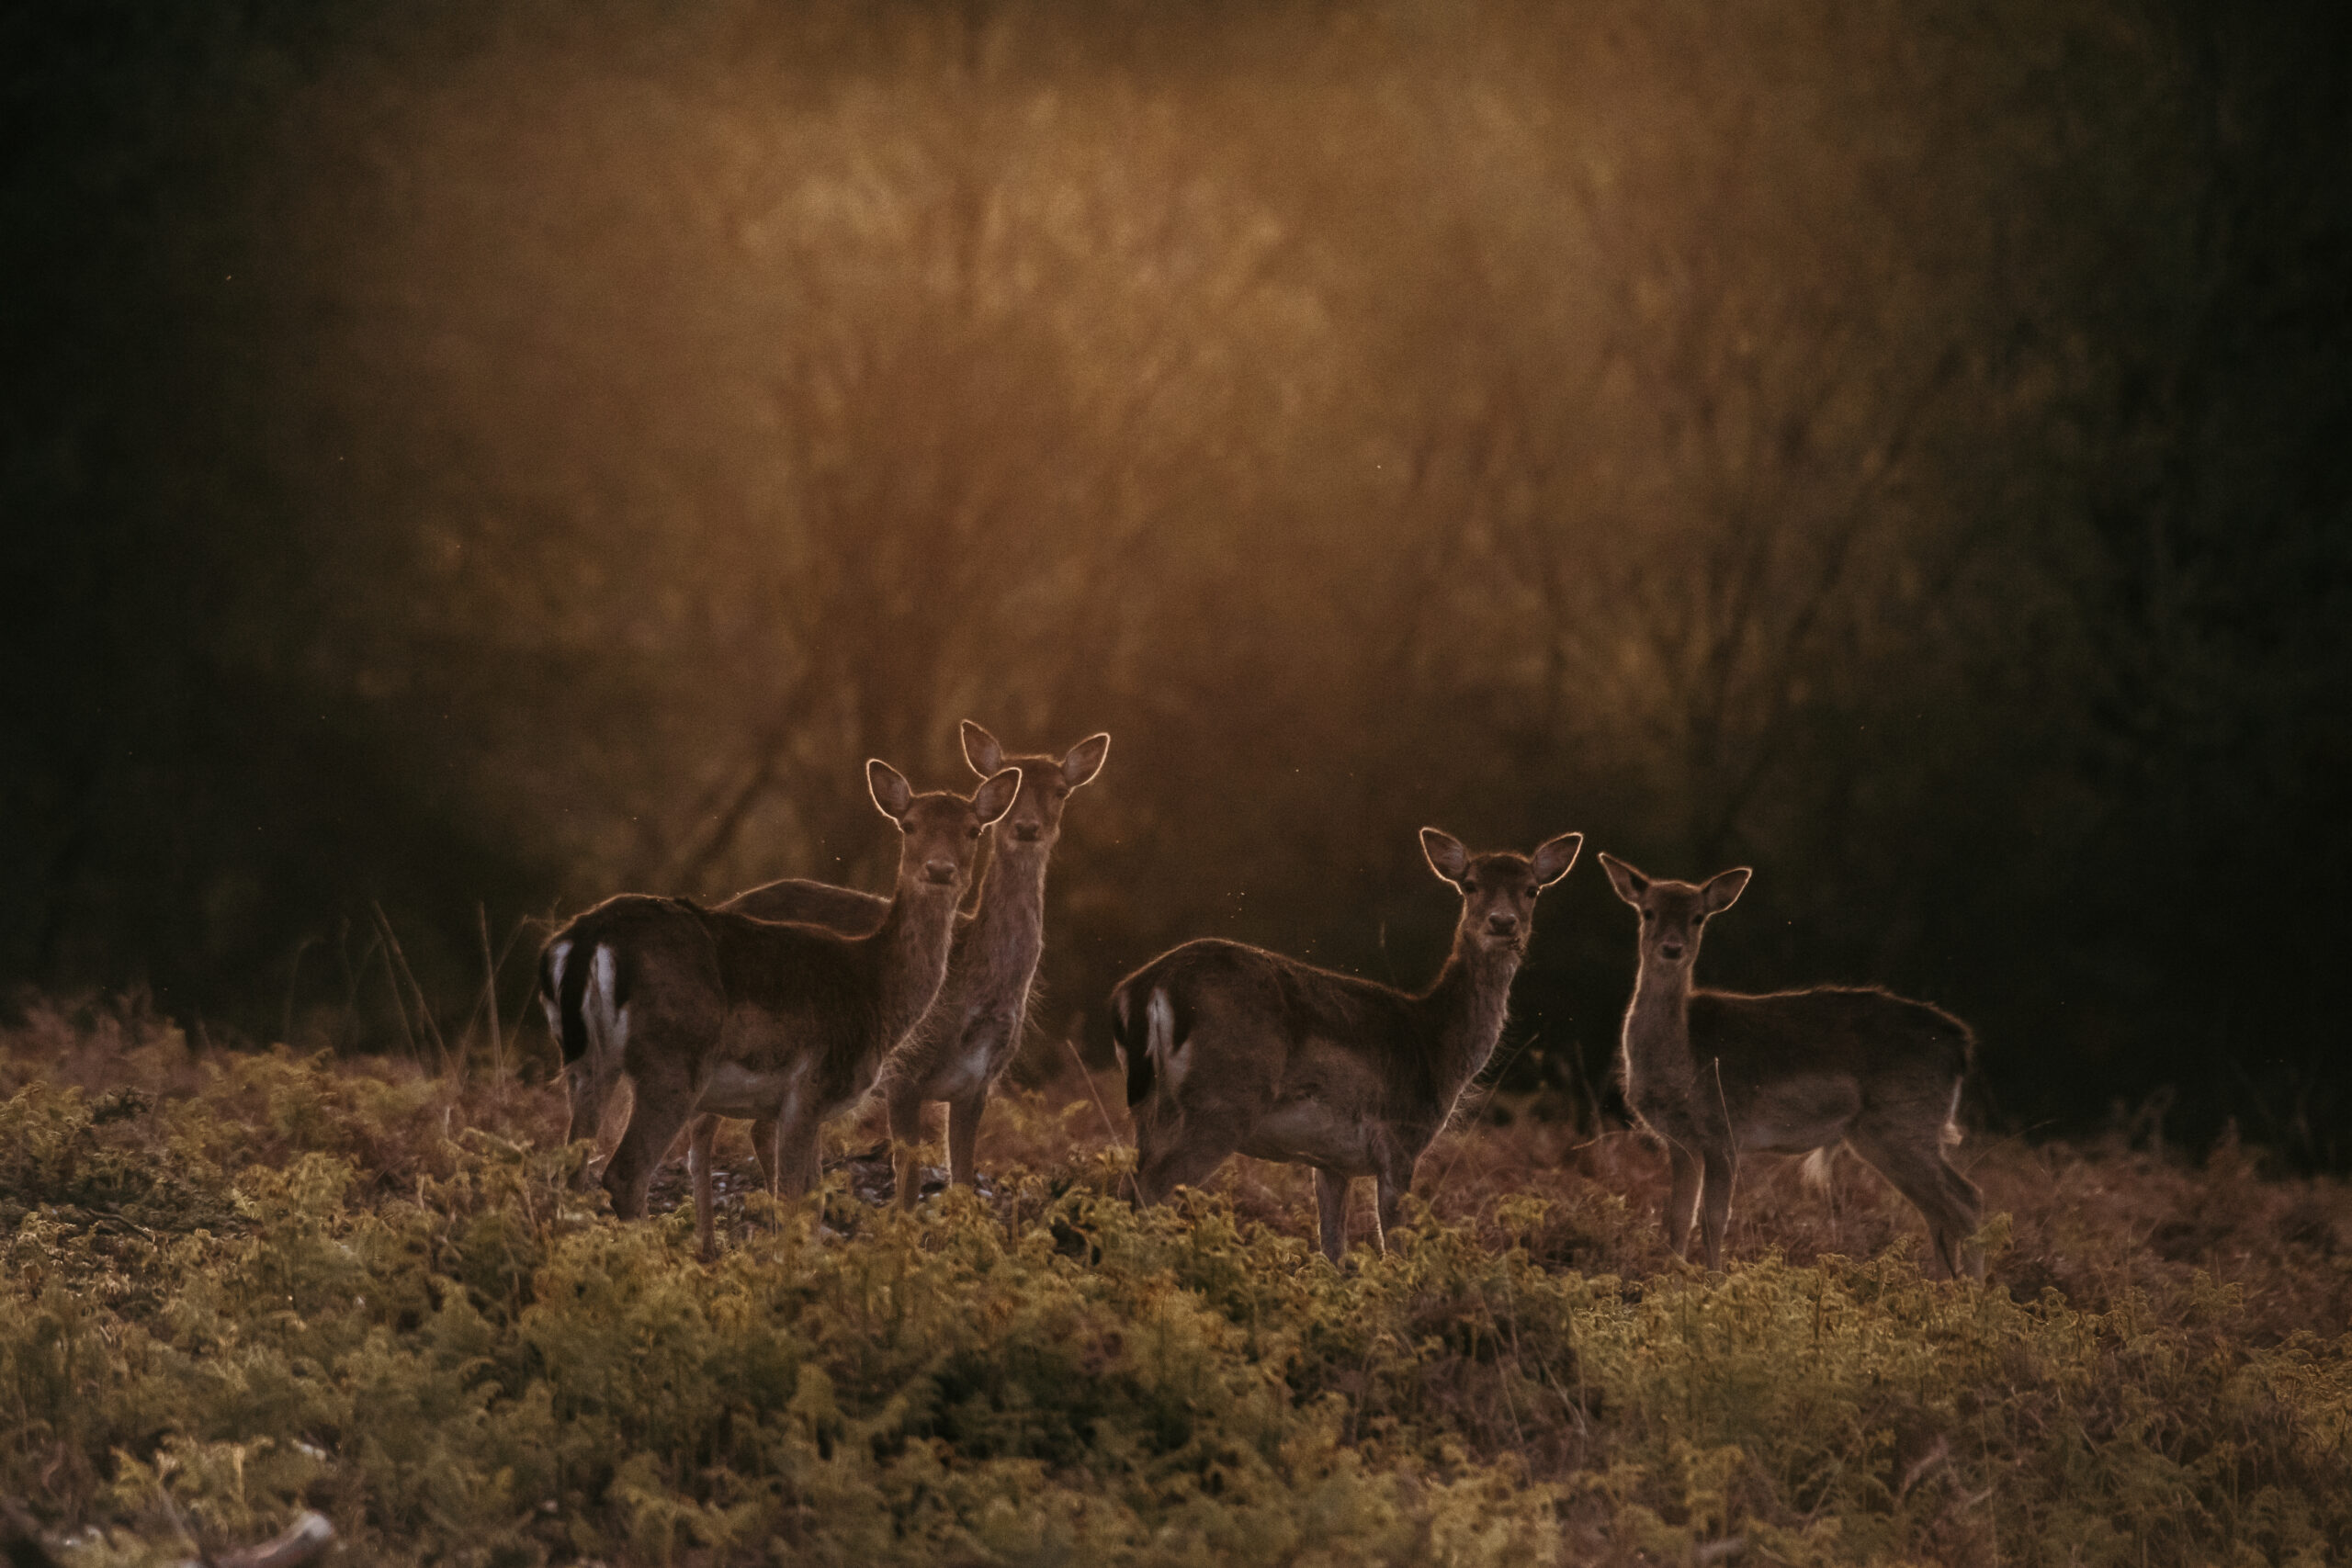
Outdoor Adventure Photography Tips: Editing and Sharing
After you’ve come home with a memory card full of adventure images, the editing process can help refine and highlight the story you want to tell.
I generally start by culling any shots that are out of focus or not good enough for the final set. Then I move on to adjusting exposure, contrast, and colour temperature.
If you’ve photographed a dramatic sunset, you might want to bring out the oranges and pinks, while ensuring the shadows remain realistic. For action shots, maybe you’ll emphasise clarity and detail to underscore the energy of the photo.
It’s also good to create a cohesive look for the entire set.
That could mean consistent white balance and contrast, or a slightly cinematic style.
Once you’re satisfied, you can share them on social media, print them, or compile them into a photo book that lets you relive the adventure whenever you like.
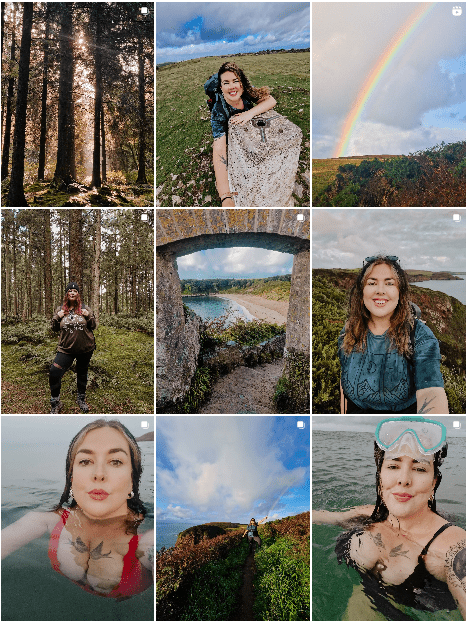
Some photographers keep a travel blog or personal website, where each trip is documented in both words and pictures.
I personally share my adventures on Instagram.
Final Thoughts on Outdoor Adventure Photography
Outdoor adventure photography is as much about the personal journey as it is about the final images.
When I look back on my photographs, I don’t just see pretty landscapes.
I remember the feeling of seeing that view for the first time, or how exhilarating it felt to get to a trig point.
If you’re new to this style of photography, I’d suggest taking it slow.
Pick a favourite spot, pack only what you need, and practise taking both large-scale shots and small-scale shots.
There’s no need to chase the most extreme location right away. It’s better to be prepared and build yourself up.
What adventure will you go on first?