When I first picked up a camera, I never imagined I’d spend so many hours crawling around the forest floor, peering under logs and pushing aside damp leaves in search of tiny fungi. Yet mushroom macro photography is now one of my favourite subjects. It allows me to get out in nature and really observe what’s around me.
There’s something endlessly fascinating about all of the different shapes and colours they come in. It feels as if I’m sneaking a peek into a little hidden fairy world.
With the right camera kit and a bit of fungi knowledge, you can share that experience with me too.
In this post, I’d like to show you what I’ve learned about mushroom macro photography over the years.
I’ll go through how to find mushrooms and what time of year tends to bring the best opportunities. I’ll talk about the gear and settings that can make a difference, and I’ll share some tips about composition.
This isn’t a strict or technical guide, but rather a friendly chat from one mushroom-hunter to another. If you’ve ever been intrigued by the idea of showing mushrooms in all their tiny, magical glory, then I hope you’ll find something useful here.
This post may contain affiliate links, where I make a commission on purchases made through affiliate sites at no extra cost to you.
What is the best macro lens for mushroom photography?
I often get asked which macro lens is the one to get if you’re keen on photographing mushrooms. Truthfully, there isn’t one absolute answer, but there are a few guidelines I’ve picked up along the way.
For a start, any dedicated macro lens that offers a 1:1 magnification is going to be the best option. This means you can focus close enough to fill your frame with even the smaller mushrooms.
I personally use a 105mm macro lens on my DSLR, which lets me stand a short distance away while still achieving crisp detail. I also sometimes pair it with a macro extension tube and the Raynox adapter for extra magnification – especially for teeny tiny mushrooms.
Some folks prefer different focal lengths 30mm, 60mm etc. The main reason I like the 105mm is that it offers me a decent working distance. Mushrooms often grow in awkward spots, and the extra space sometimes saves me from squishing the subject or disturbing the area. It’s also less likely I’ll accidentally cast my own shadow across the picture.
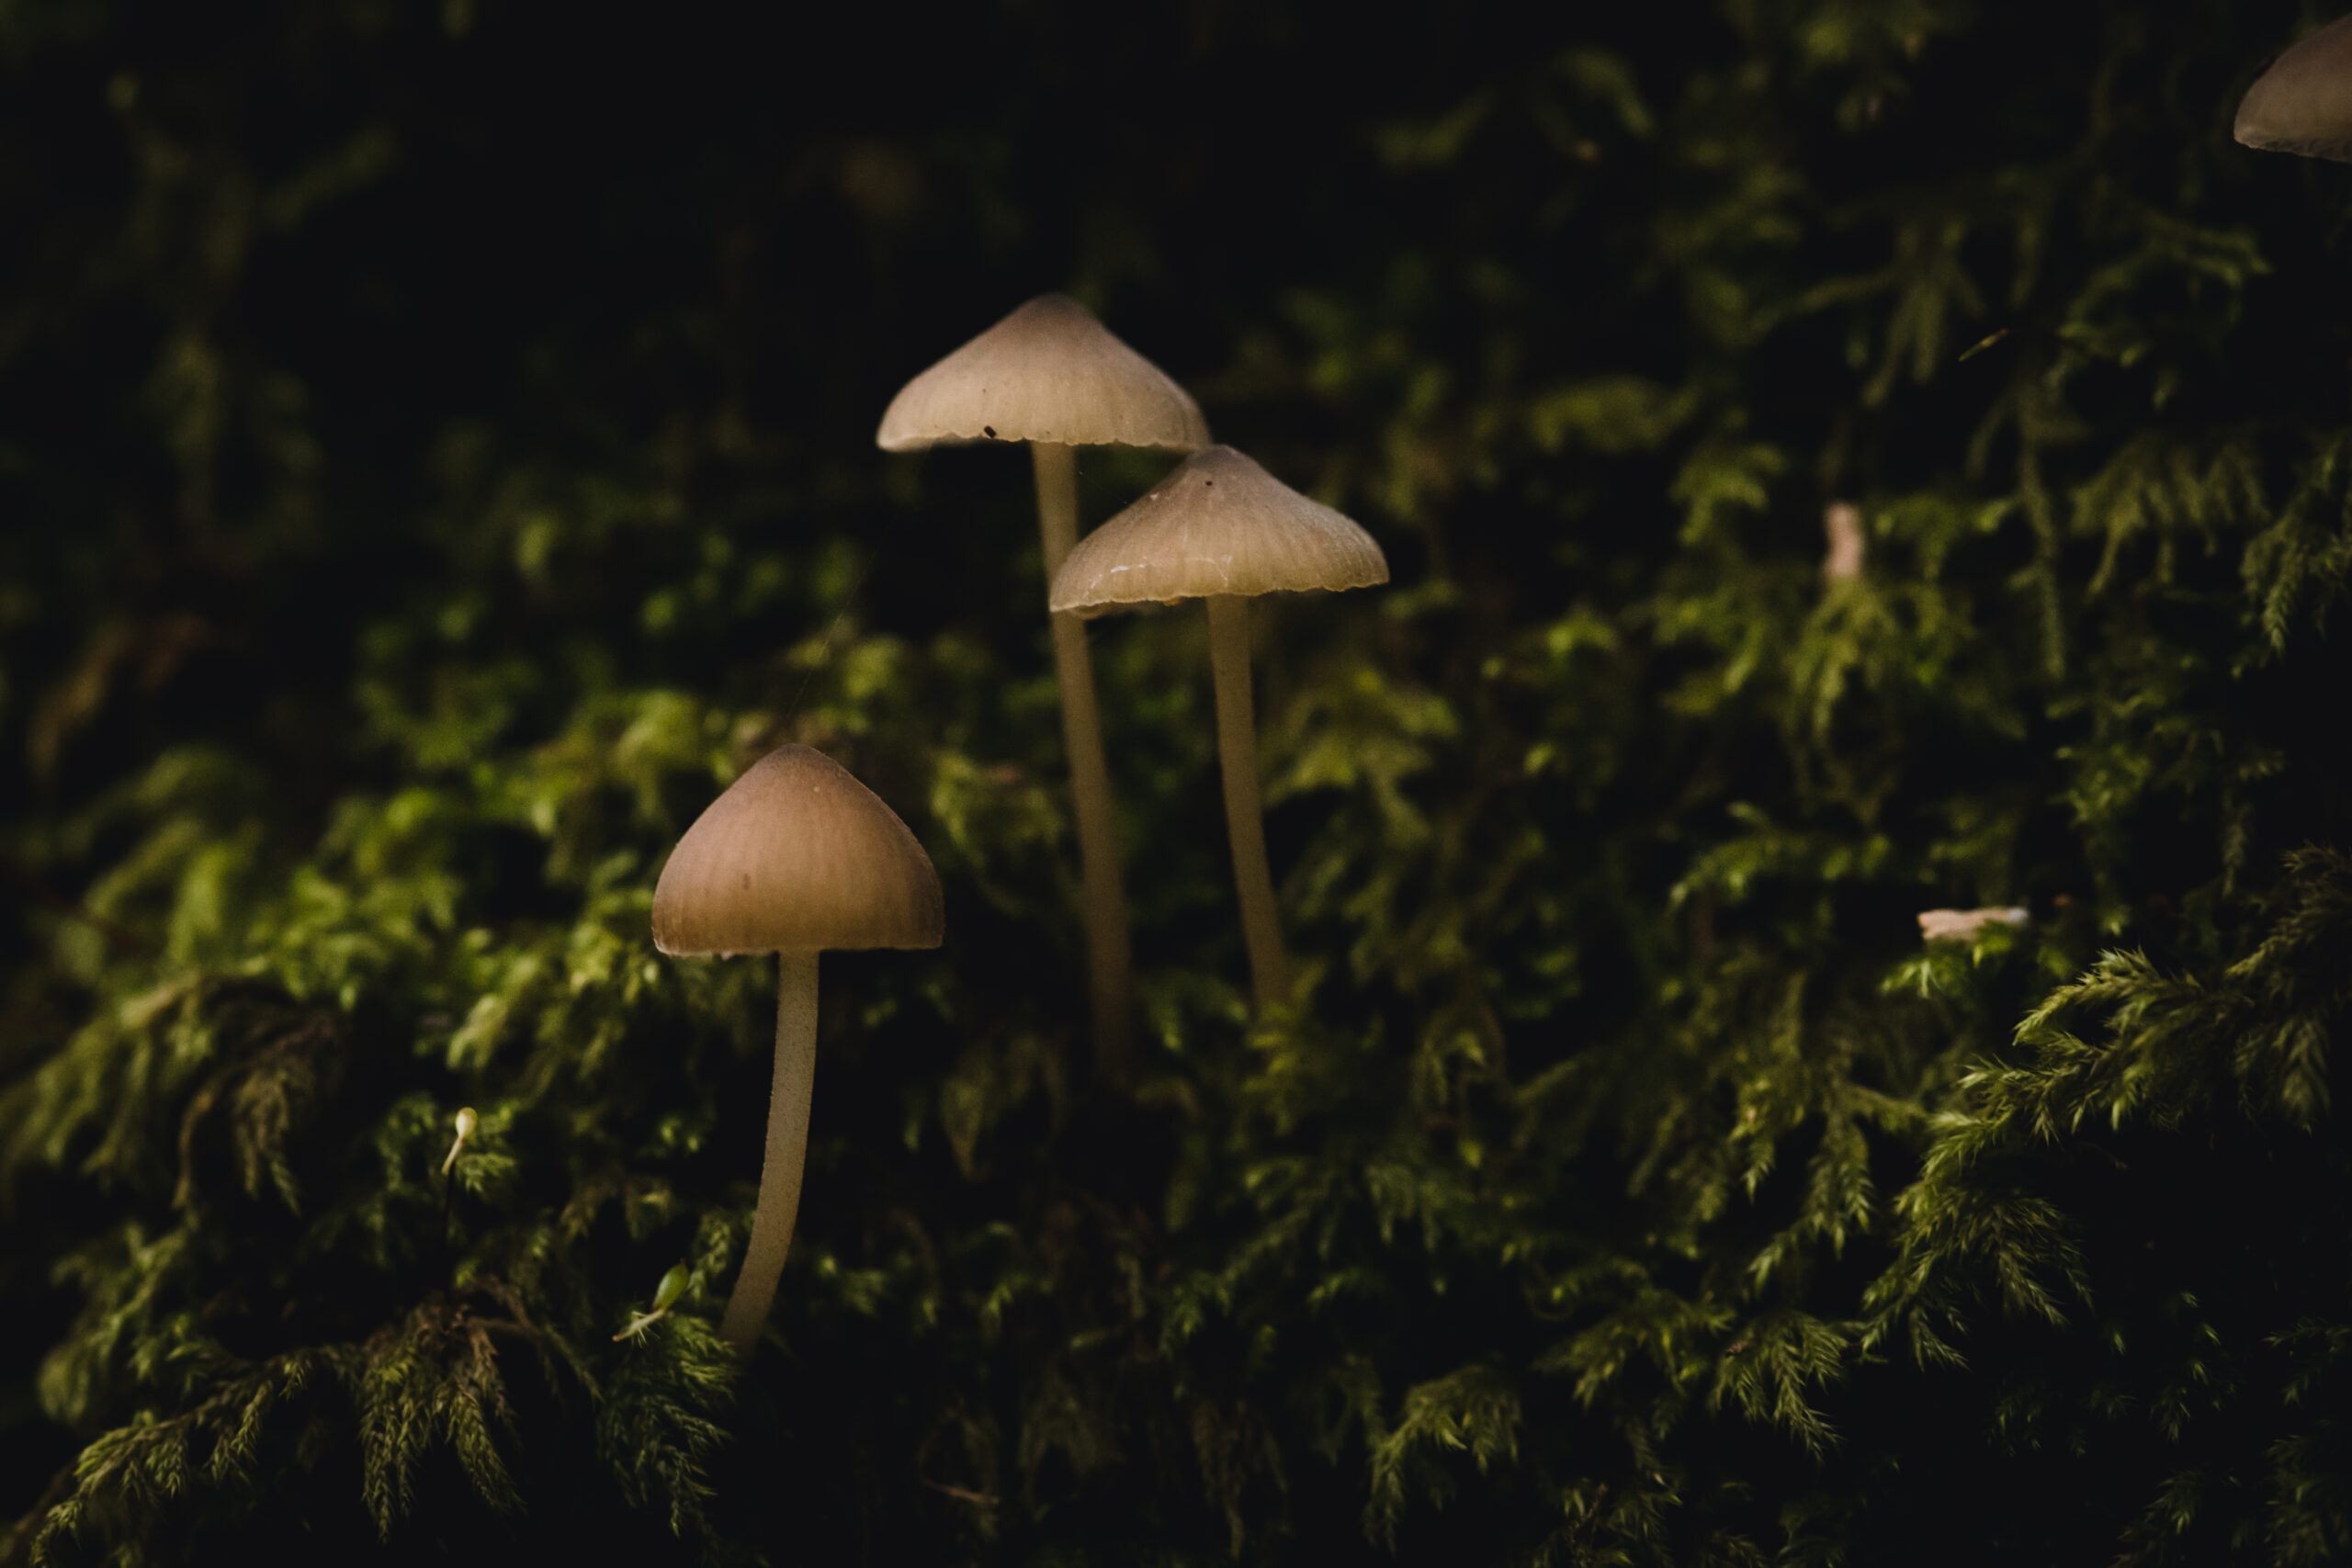
If you happen to be using a mirrorless camera, plenty of excellent macro lenses are available in the 50mm to 105mm range.
Really, it comes down to preference, your budget, and what feels comfortable in your hand. For example, my dream lens would be this 90mm f3.5 macro lens because it’s 2x magnification and I’ve seen some amazing mushroom macro photography with this particular lens.
If you’re on a very tight budget, a cheaper telephoto lens with macro capabilities could be an option and is what I used in the very beginning. You can also get macro filters and extension tubes for your existing lenses, and though they won’t be as good quality as a dedicated lens, it’s a good start.
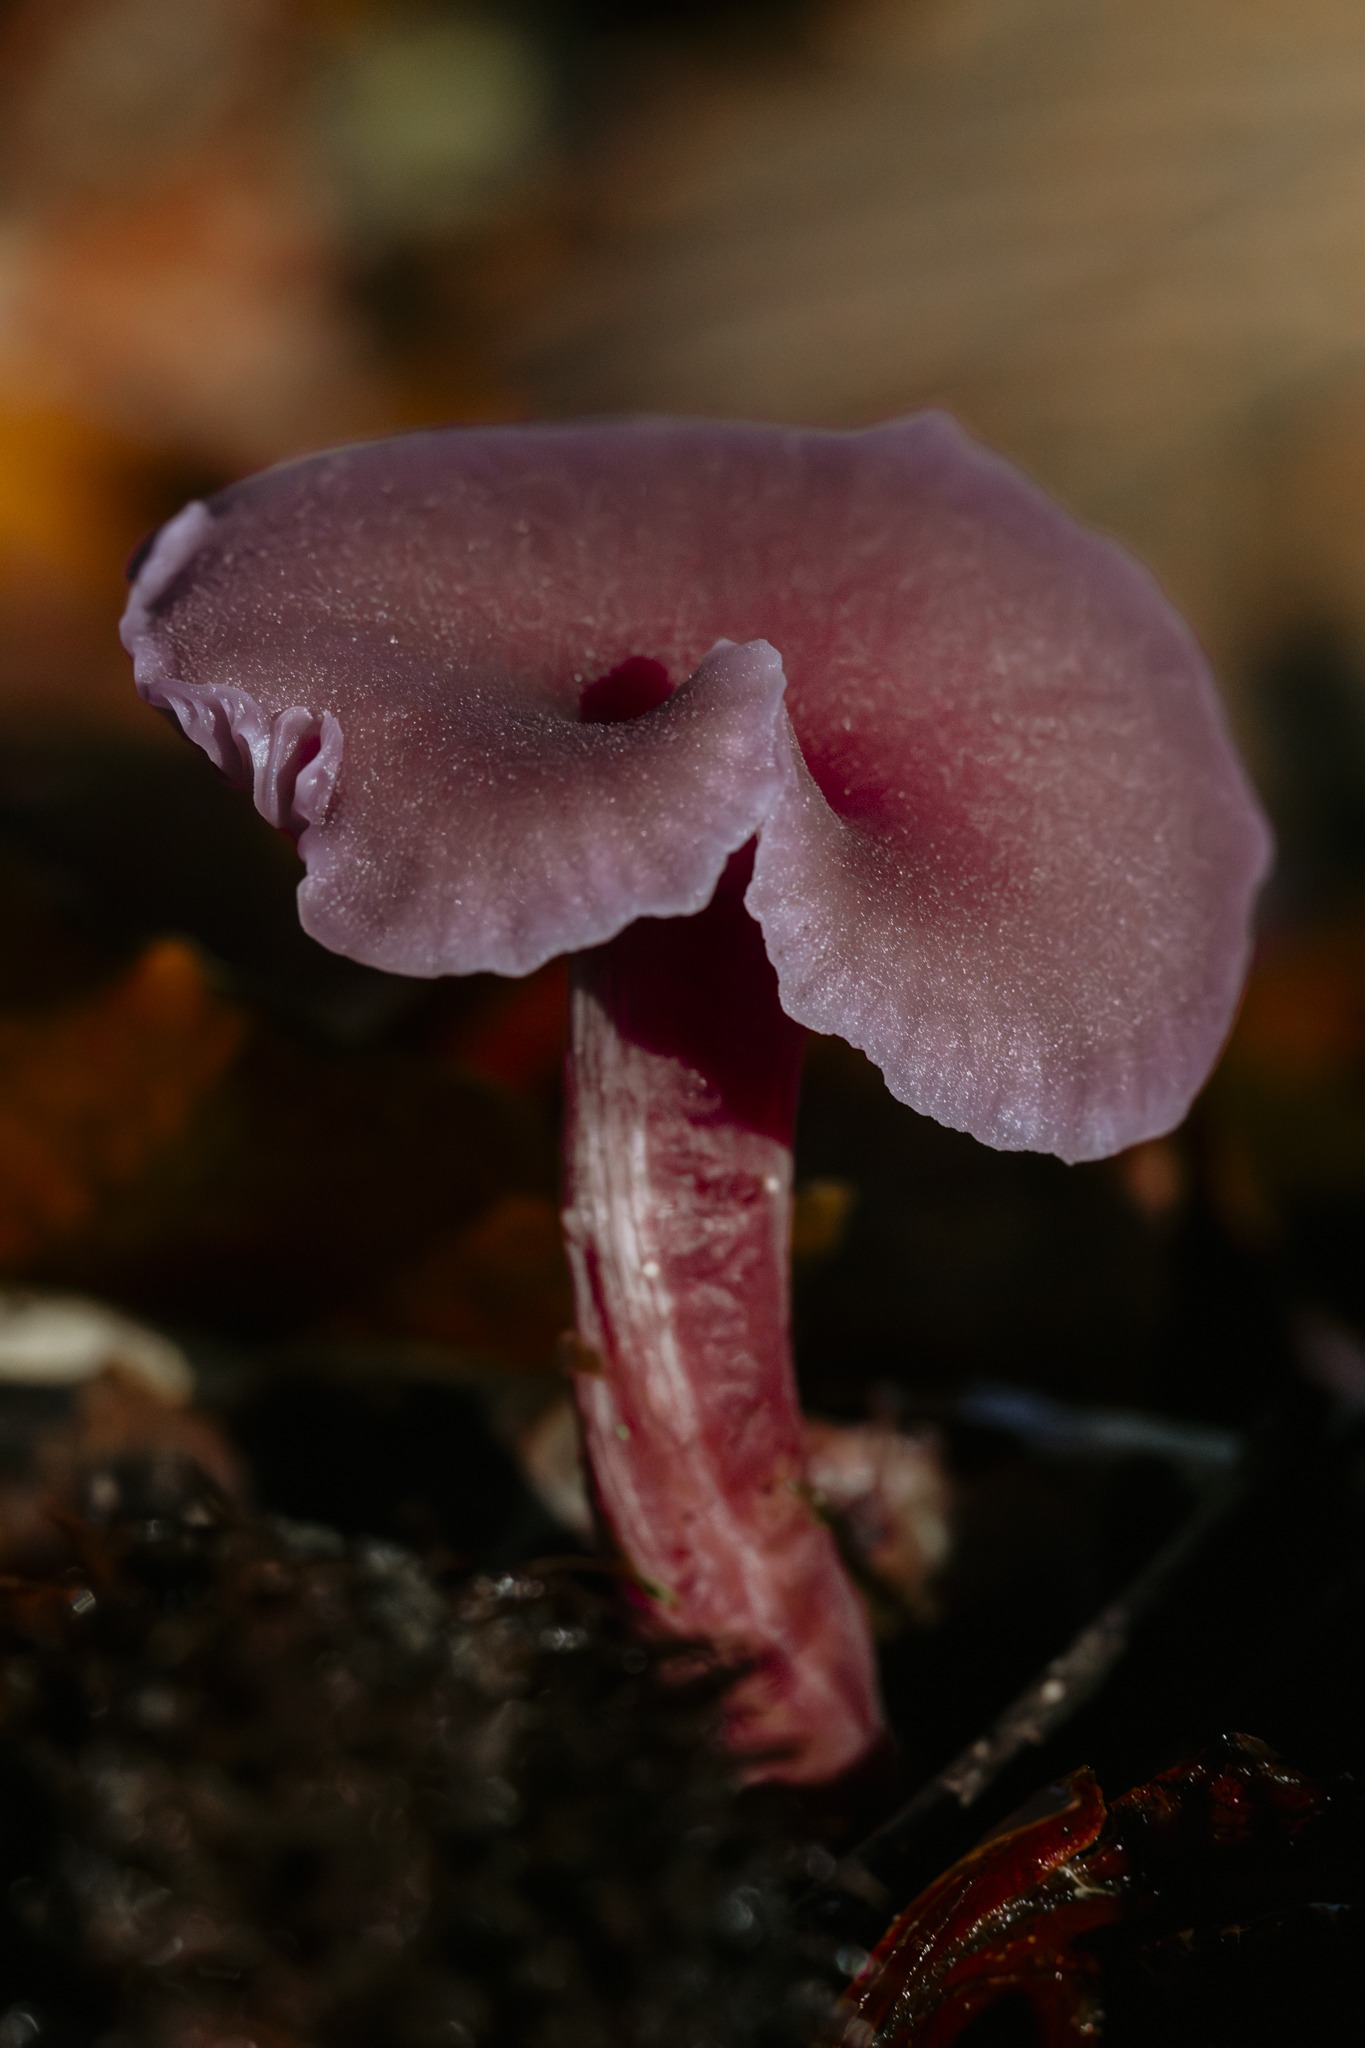
What settings should I use for mushroom photography?
When I was starting out, I tried all sorts of settings, from wide-open apertures to teeny tiny ones, in search of the sweet spot for mushroom macros.
Over time, I discovered a sort of balance that usually delivers pleasing results. It often involves choosing a moderate aperture like f/8 or f/11, which preserves enough depth of field to keep the mushroom cap and some of its surroundings in focus, but still gives a gentle blur in the background.
Shutter speed is another consideration. In a dim woodland, you might find the light is less than ideal, so you’ll need to keep your camera stable.
I sometimes have to rely on a tripod for my mushroom shots, allowing me to use a slower shutter speed without risking motion blur. If it’s breezy, or if I’m worried about camera shake, I’ll push my ISO up a bit (maybe to 800 or more) just so I can keep the shutter speed high enough to freeze any movement.
Generally, though, mushrooms stay quite still, so long exposures are good shout. If you need even more sharpness in the photo, you could consider focus stacking – where you take several pictures at different focus points and blend them together in editing.
I should also mention that I tend to shoot in RAW format. This gives me maximum flexibility when I’m adjusting exposure, white balance, and colour in post-processing. If you’re shooting JPEG, it’s even more important to nail your settings in-camera.
White balance can be a bit tricky in the woods, especially if you’re in patchy sunlight or there’s lots of green colour cast. Try evaluating a shot on the LCD to see if the mushroom’s colour looks natural. If it’s off, you can shift your white balance.
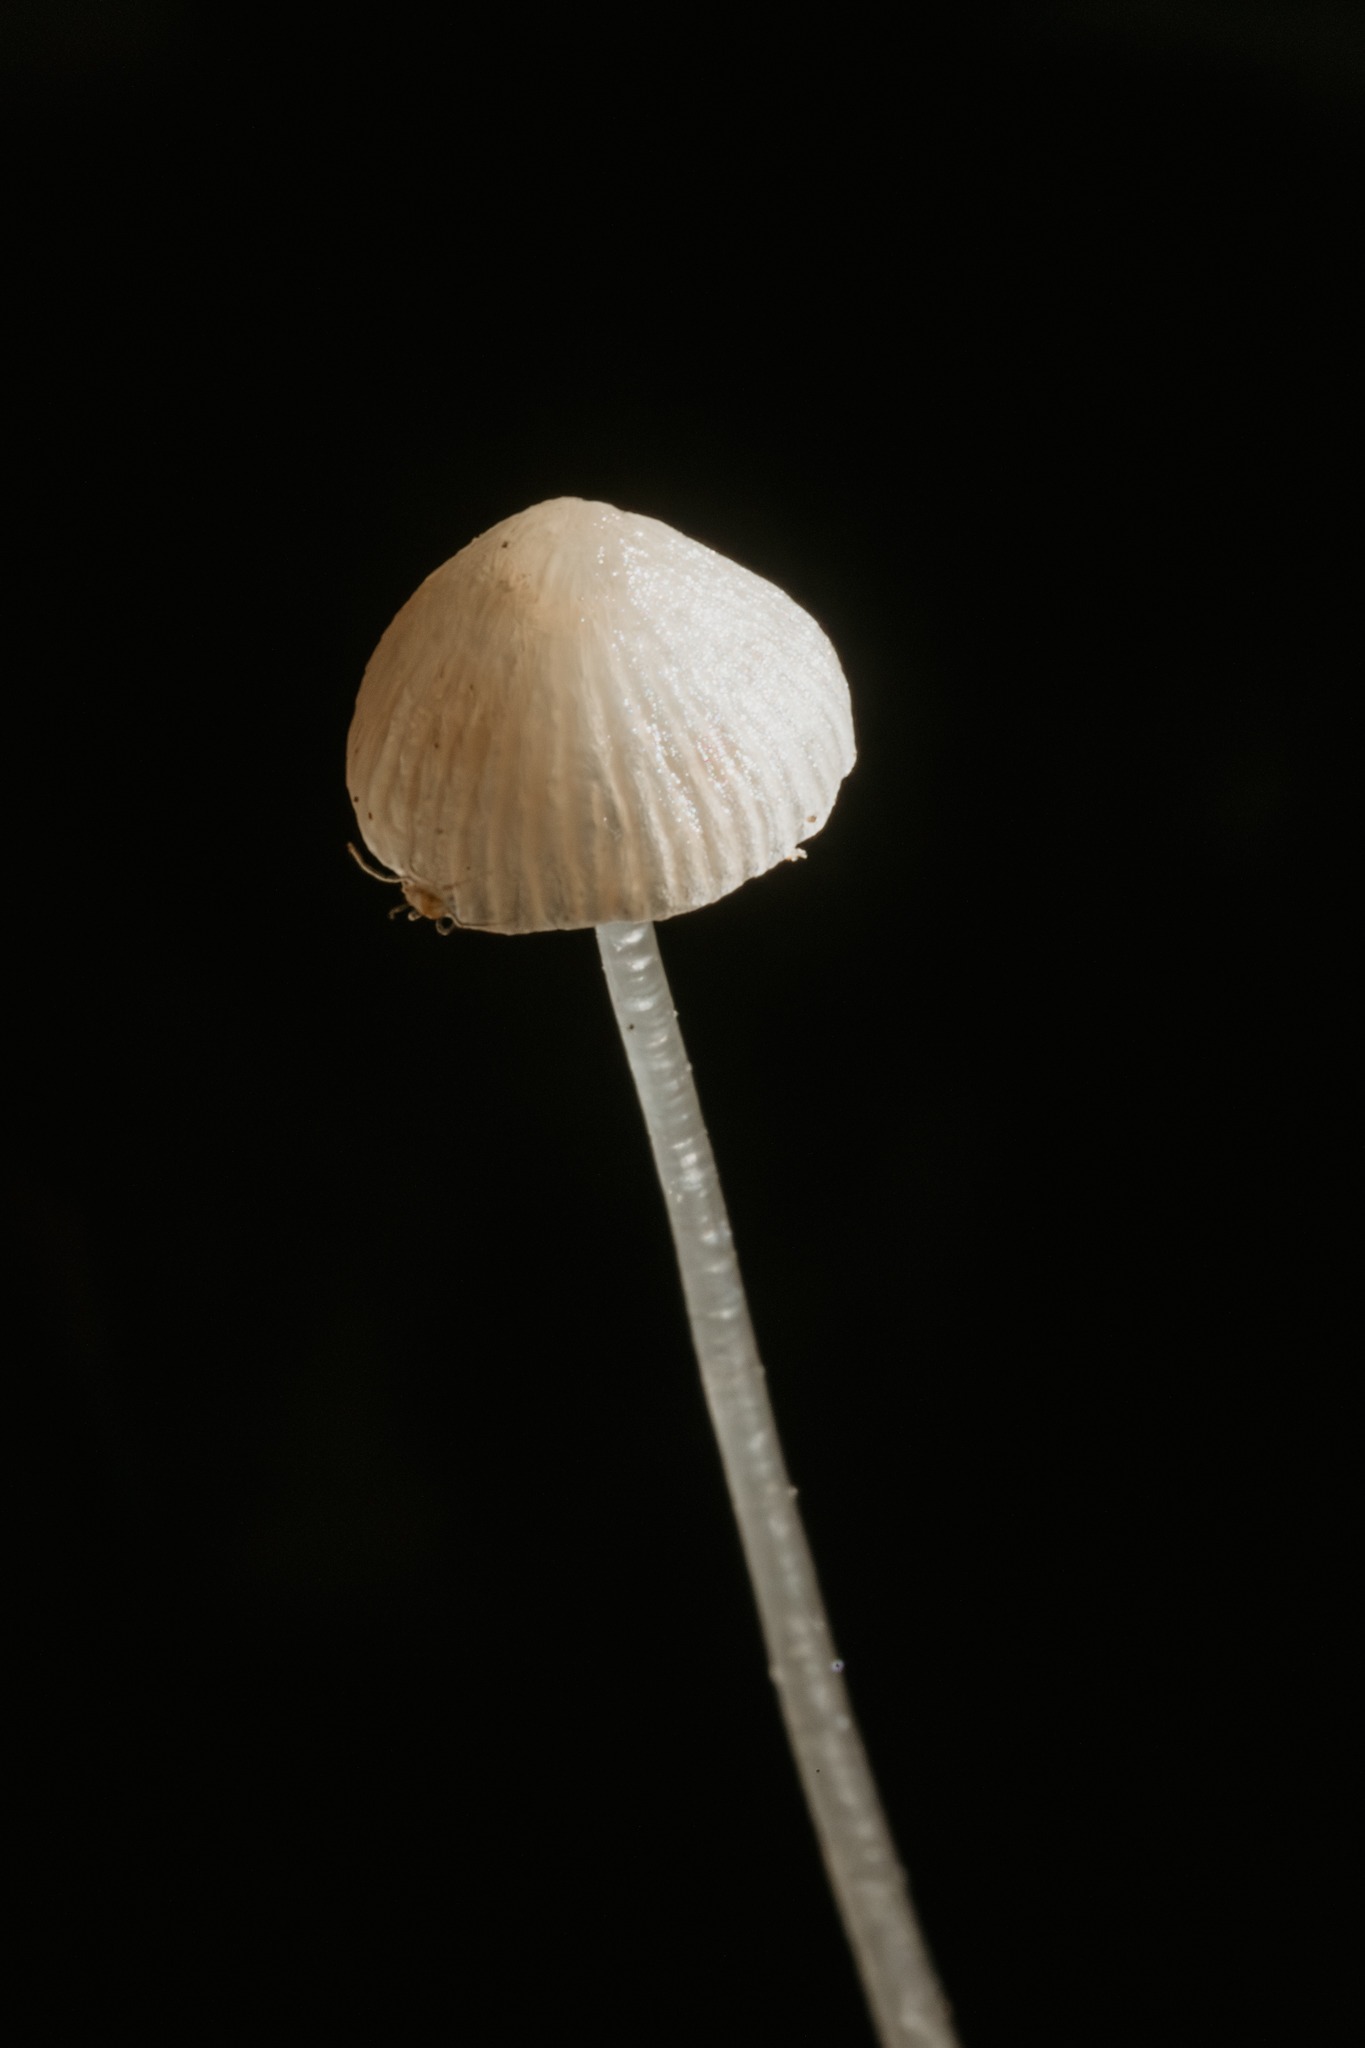
What time of year is best for mushroom photography?
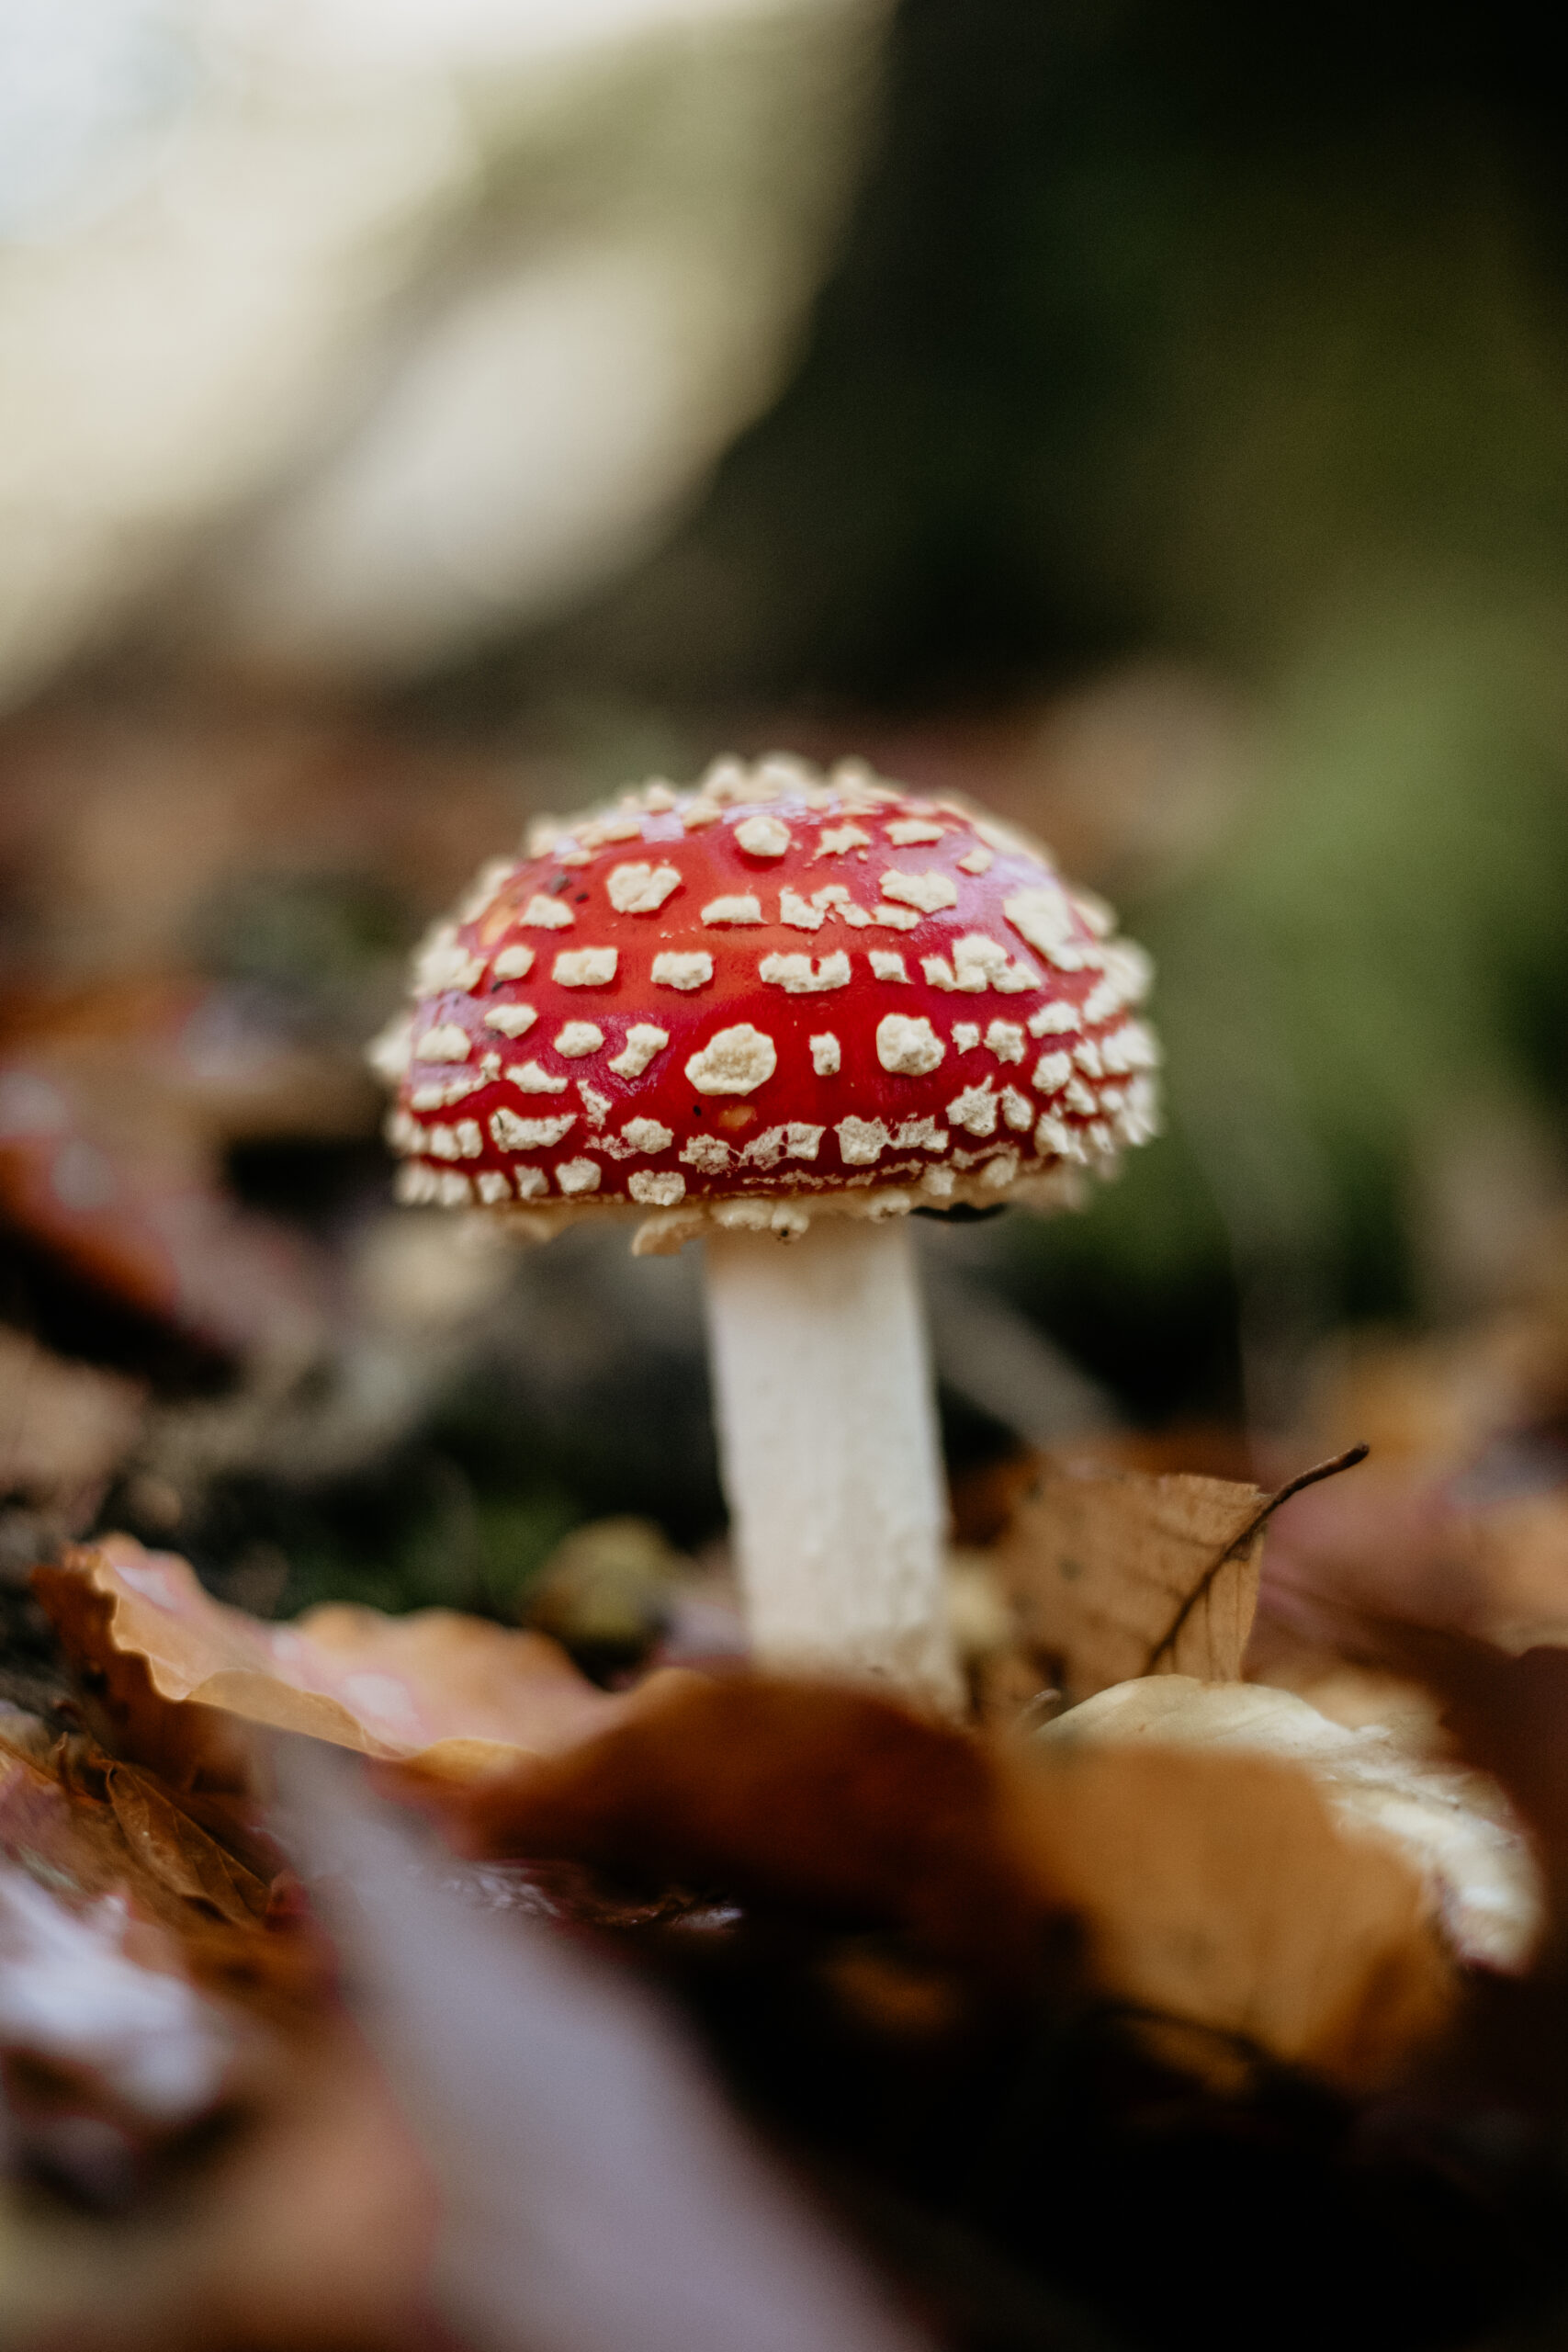
The best time for mushroom macro photography is autumn. In the UK, that’s when the forest floors come alive with all sorts of fungi, from bright red fly agarics to tiny mycena mushrooms.
The increased rainfall and moderate temperatures create the perfect conditions for fungi to grow.
If you’re lucky, you might see a ton of species popping up, giving you plenty of opportunities to capture a variety of shapes and colours.
That said, mushrooms can also appear in spring and even in winter.
Some hardy species don’t mind a bit of frost, and you might find small clusters of mushrooms at unexpected times of the year if the conditions are right (dampness and decaying organic matter are usually key).
If you really want to immerse yourself in mushrooms, keep an eye on your local woodlands from August through November. After a decent spell of rain, you’ll often find new fungal growth within a few days. Just remember to check back in the same spots because mushrooms can come and go quite quickly.
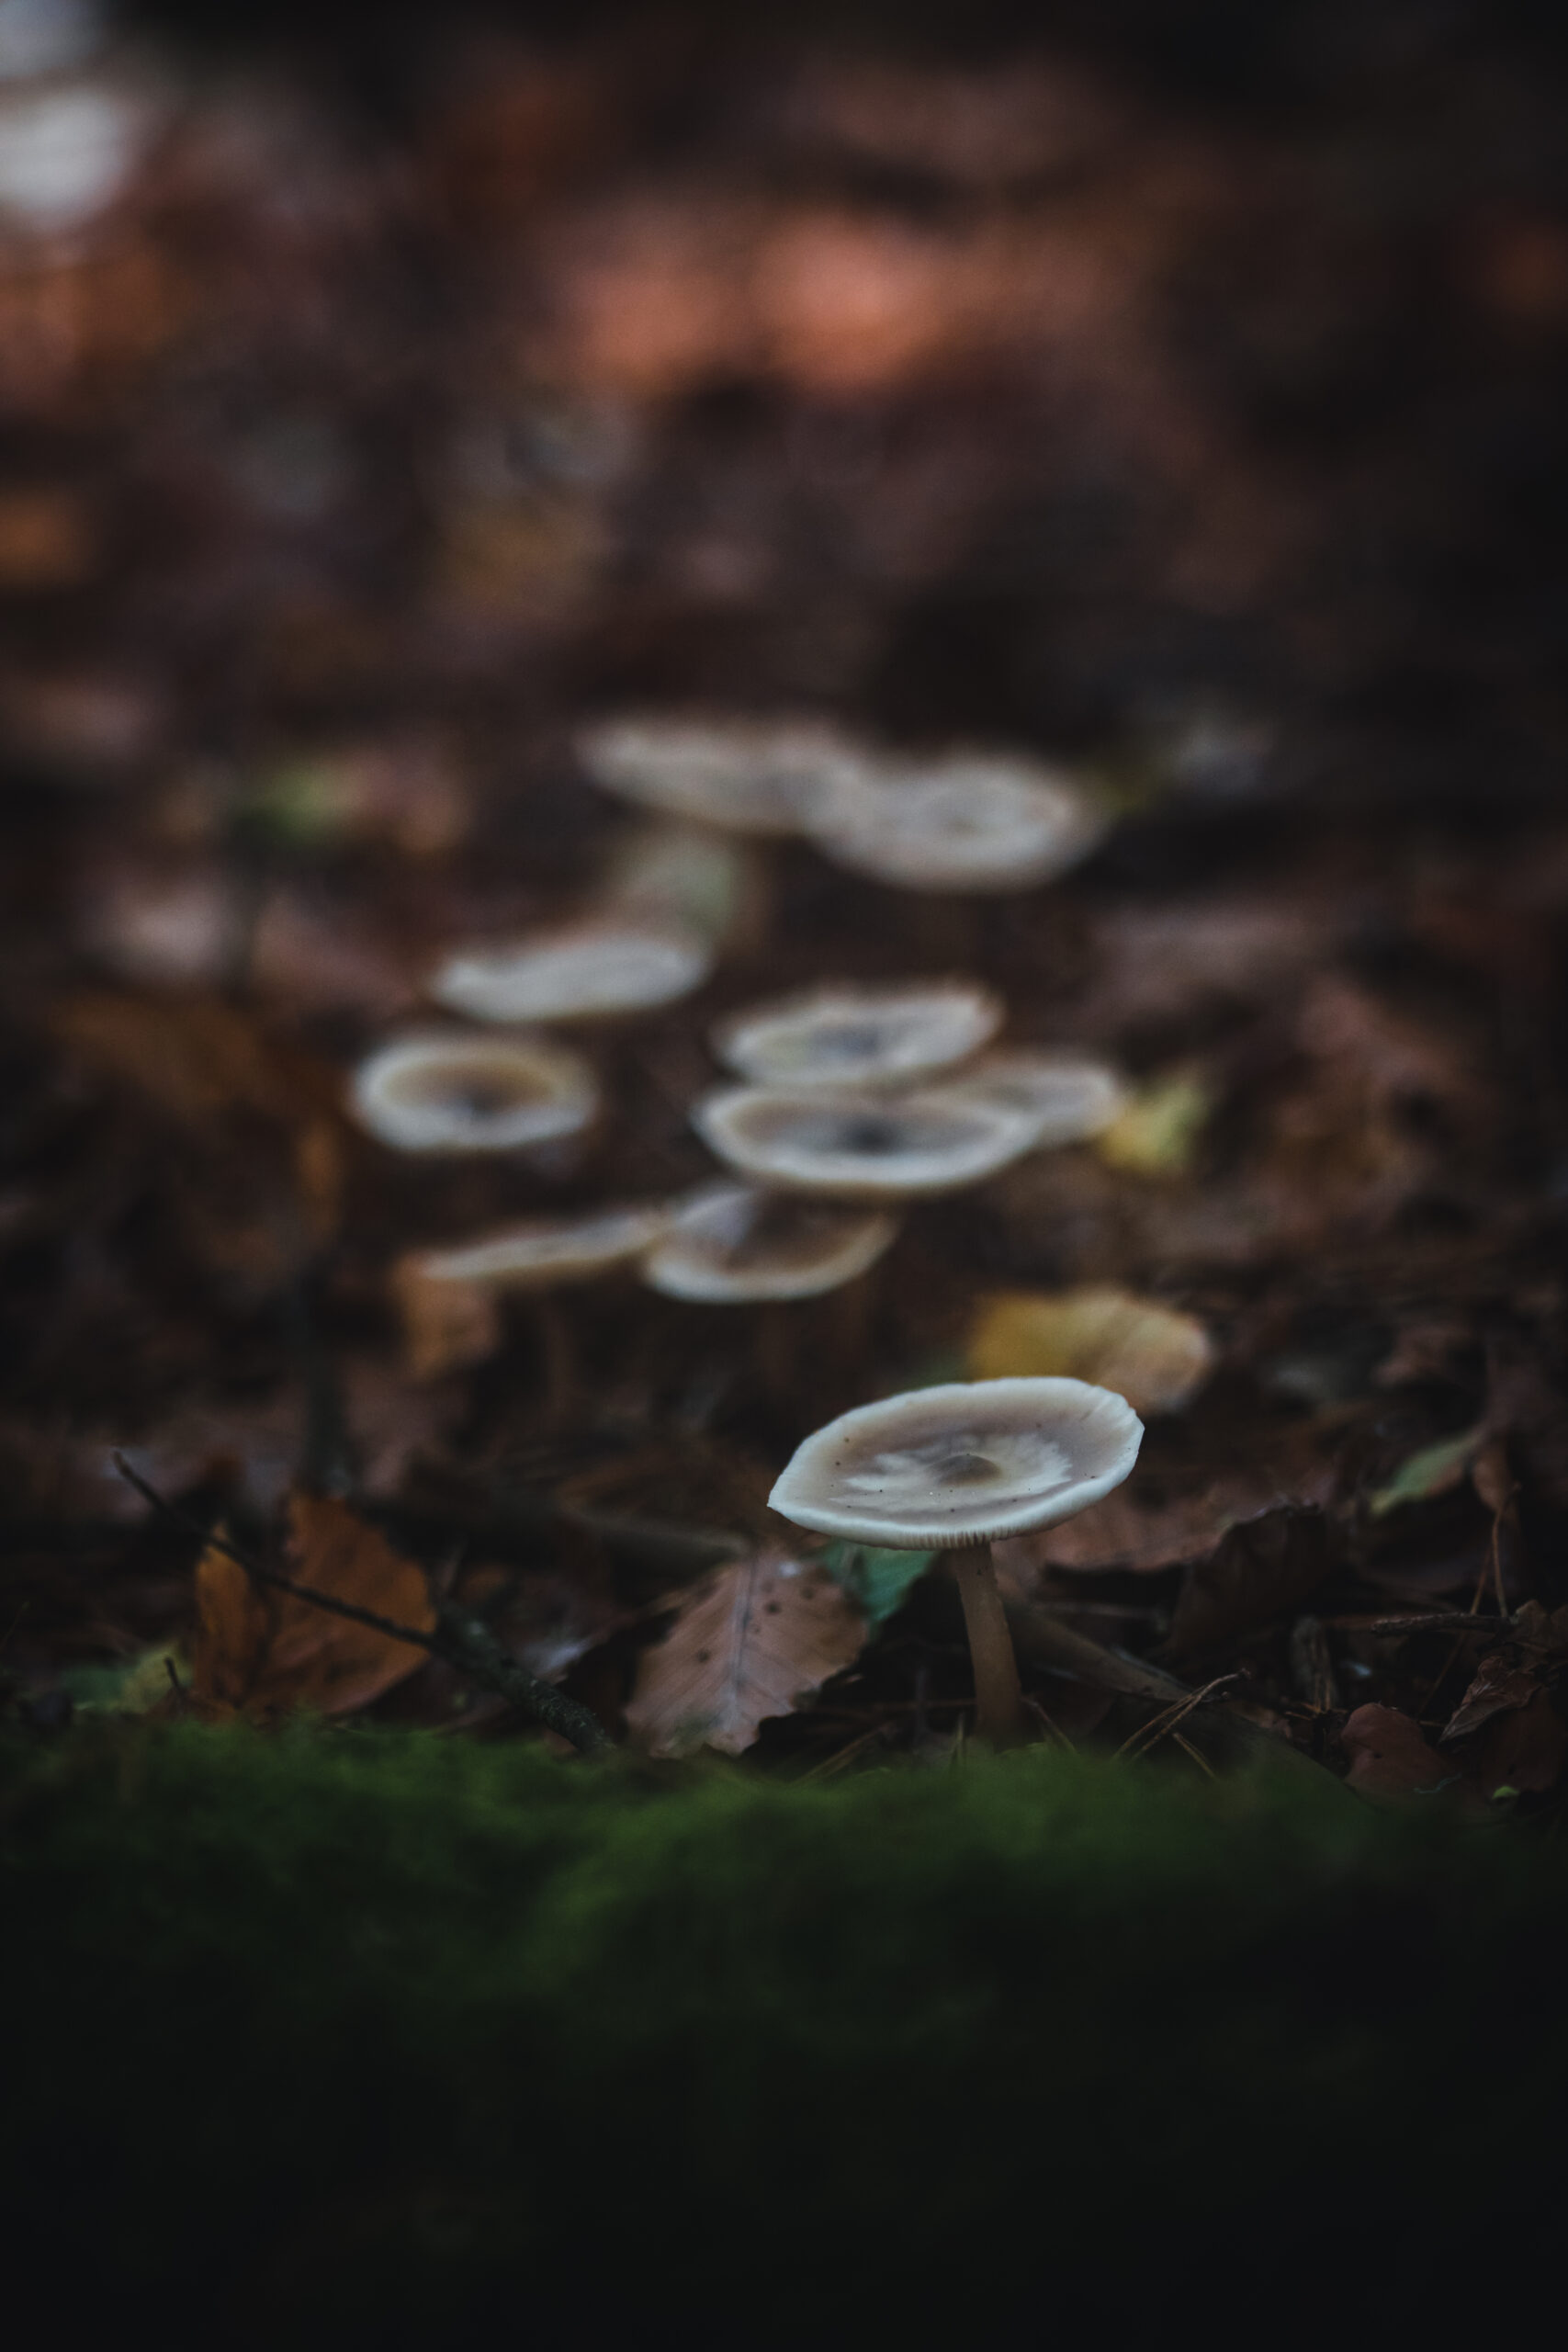
How to find mushrooms
My own approach to finding mushrooms often feels a bit like a treasure hunt.
I wander around woodlands and parks, scanning the ground for any little domes, caps, or stems emerging from the leaf litter.
Fallen logs can be a hot spot for certain fungi, so I always check around rotting wood. Tree stumps, especially in damp, shaded areas, can be a goldmine for bracket fungi and other interesting species.
You’ll sometimes spot mushrooms hiding under layers of leaves. A small brush or a gentle sweep of your hand can help uncover them, though I try to be as delicate as possible so I don’t disturb any micro-ecosystems.
Keep your eyes open for bright colours or unusual shapes. Many mushrooms are brown or grey, blending in with the forest floor, so it helps to train your eye for subtle texture changes.
I also find that going slow is key. In my early days, I rushed along forest paths and would miss entire clusters of mushrooms. Now I move at a snail’s pace, peering at the base of trees and looking behind logs. I often stop and crouch, especially if I see any lumps in the moss or discoloured patches of earth.
The best mushrooms to photograph are sometimes hidden in the least obvious places, so it pays to be patient.
Composition in mushroom macro photography
For me, composition is this most important part of mushroom macro photography.
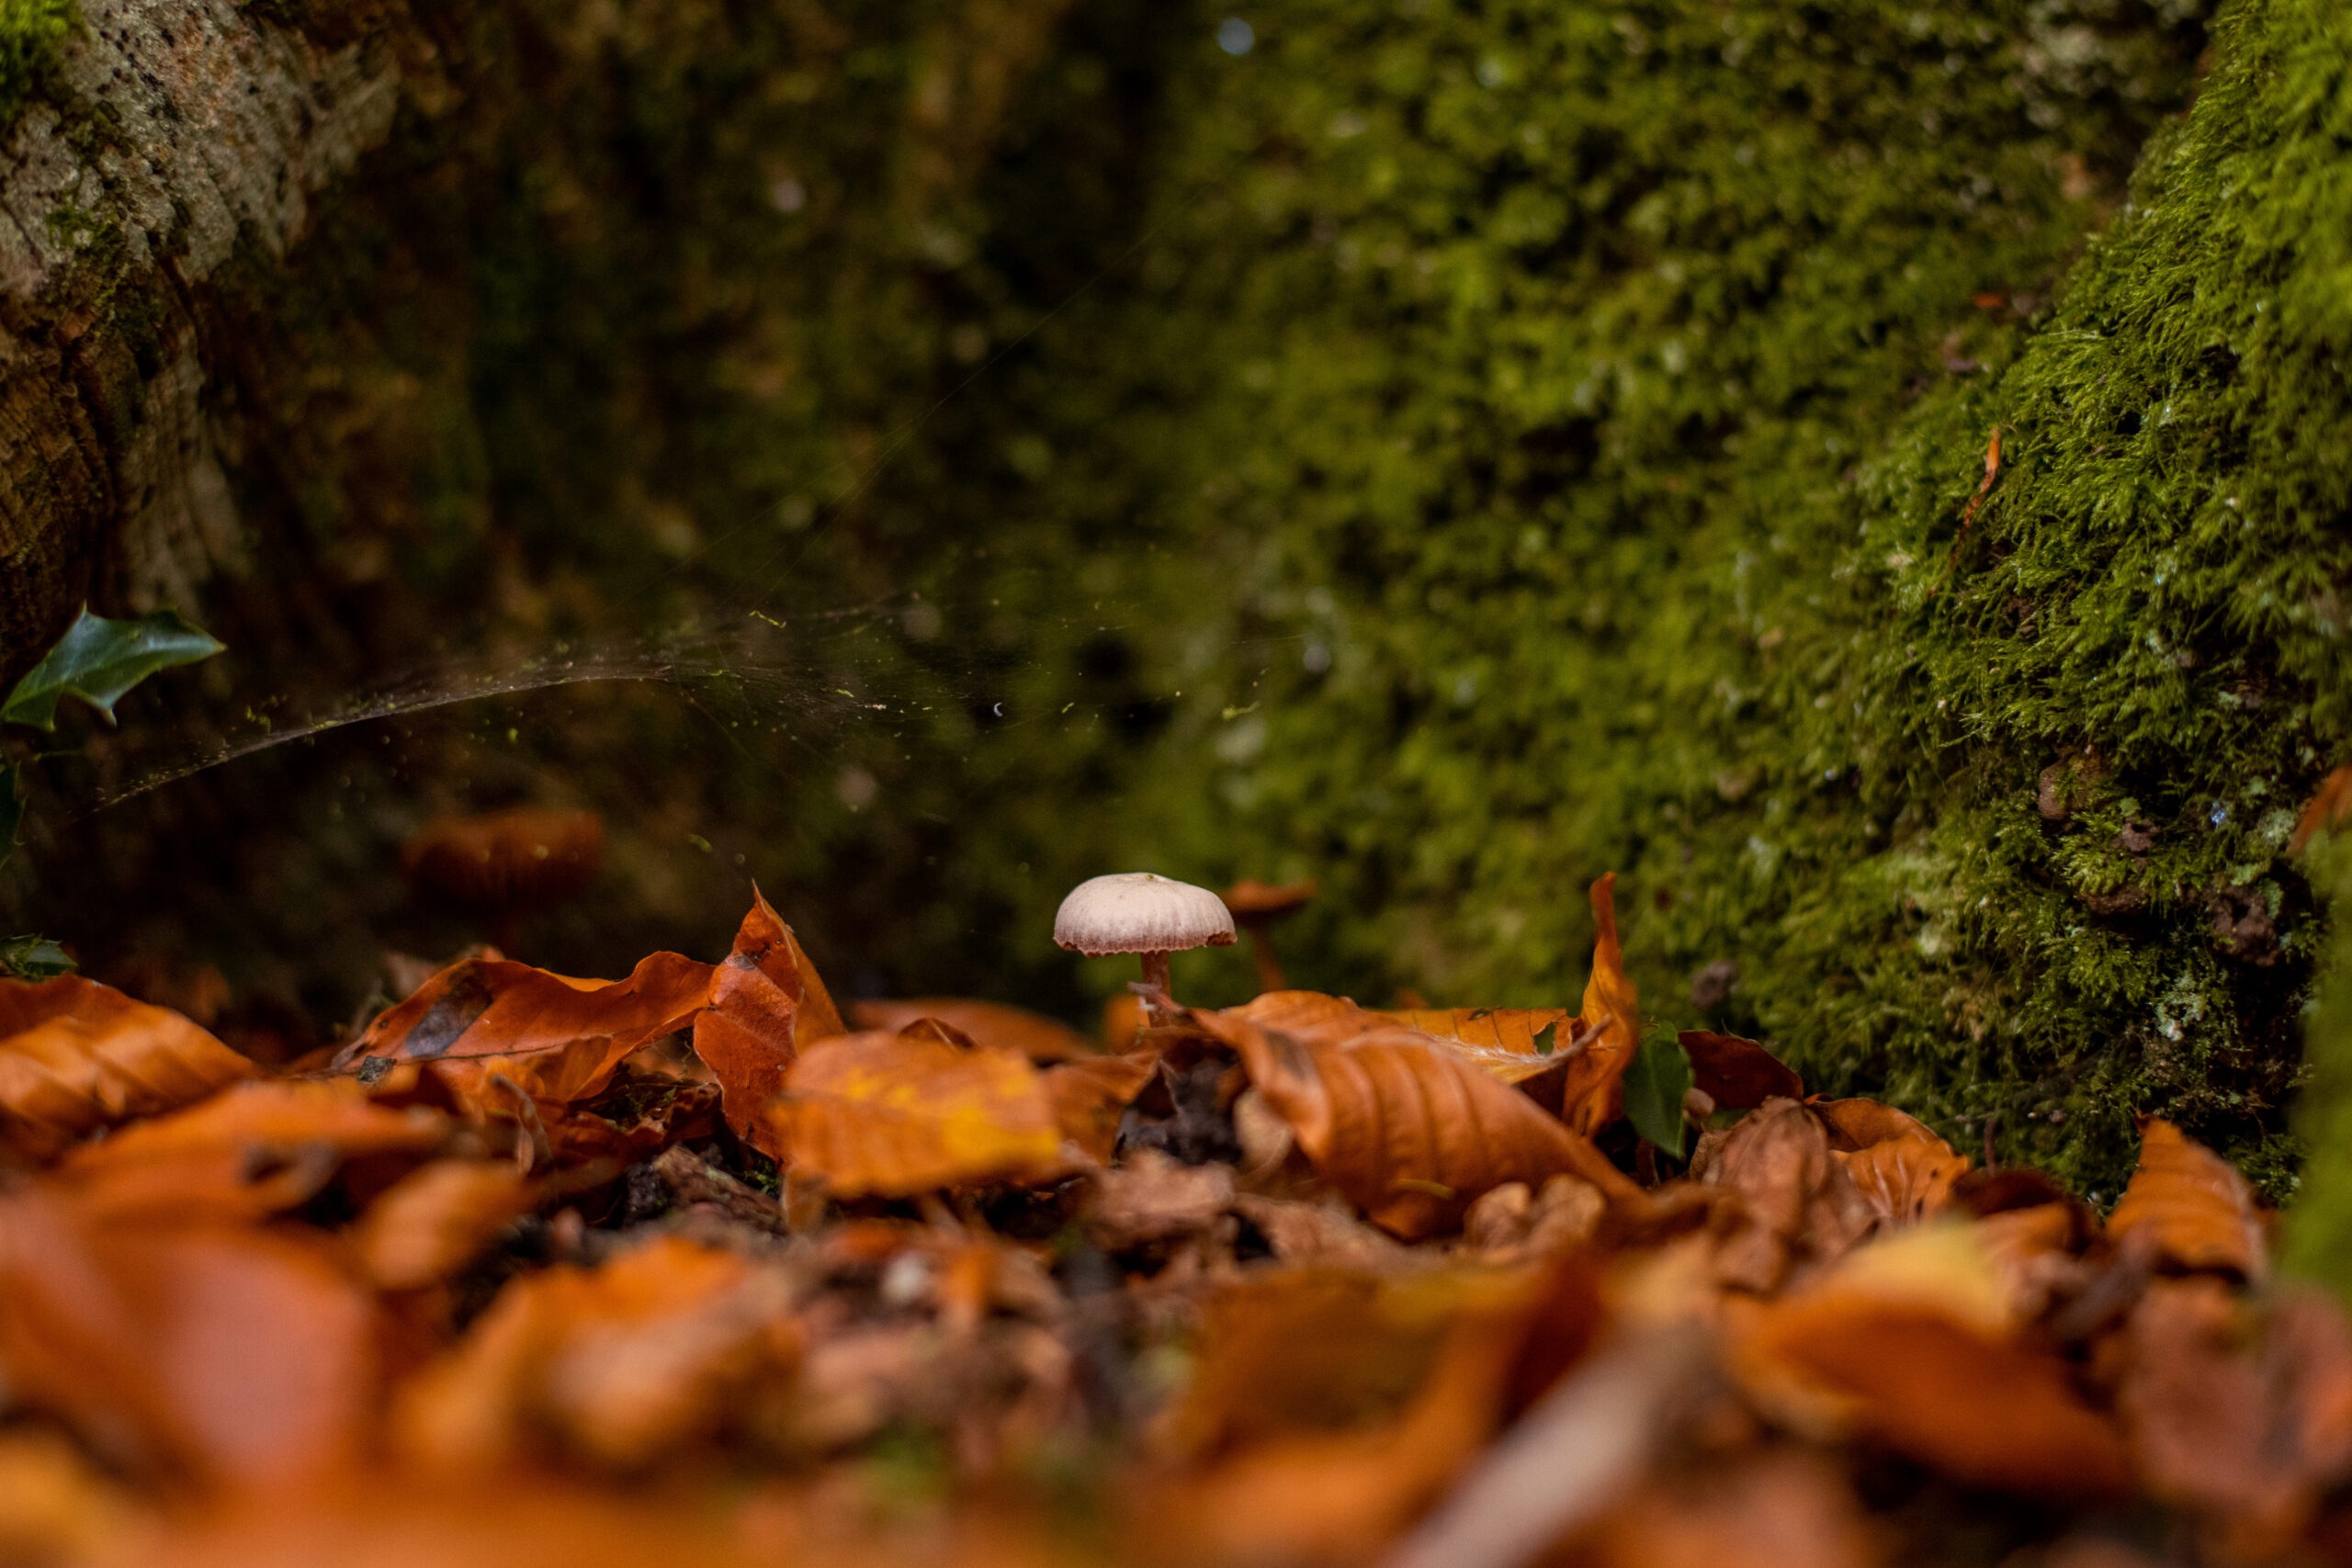
Once I’ve found a mushroom that catches my eye, I like to consider how it fits within its environment. If the background is too busy or distracting, I might reposition myself or use a wide aperture to blur out the clutter. Sometimes I’ll physically remove a stray twig or leaf if it’s spoiling the frame, but only if I can do so without damaging the surroundings.
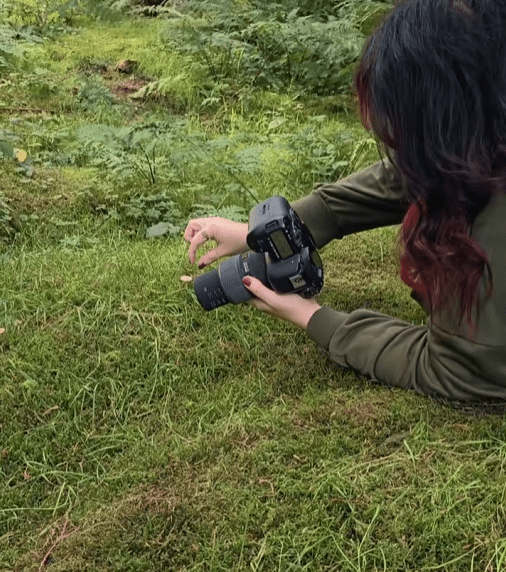
It’s also really important to get the right angle. Getting down low can give a sense of scale, emphasising the mushroom’s “umbrella” shape against the background.
Sometimes, photographing from above helps highlight interesting patterns on the cap, although it can flatten the image.
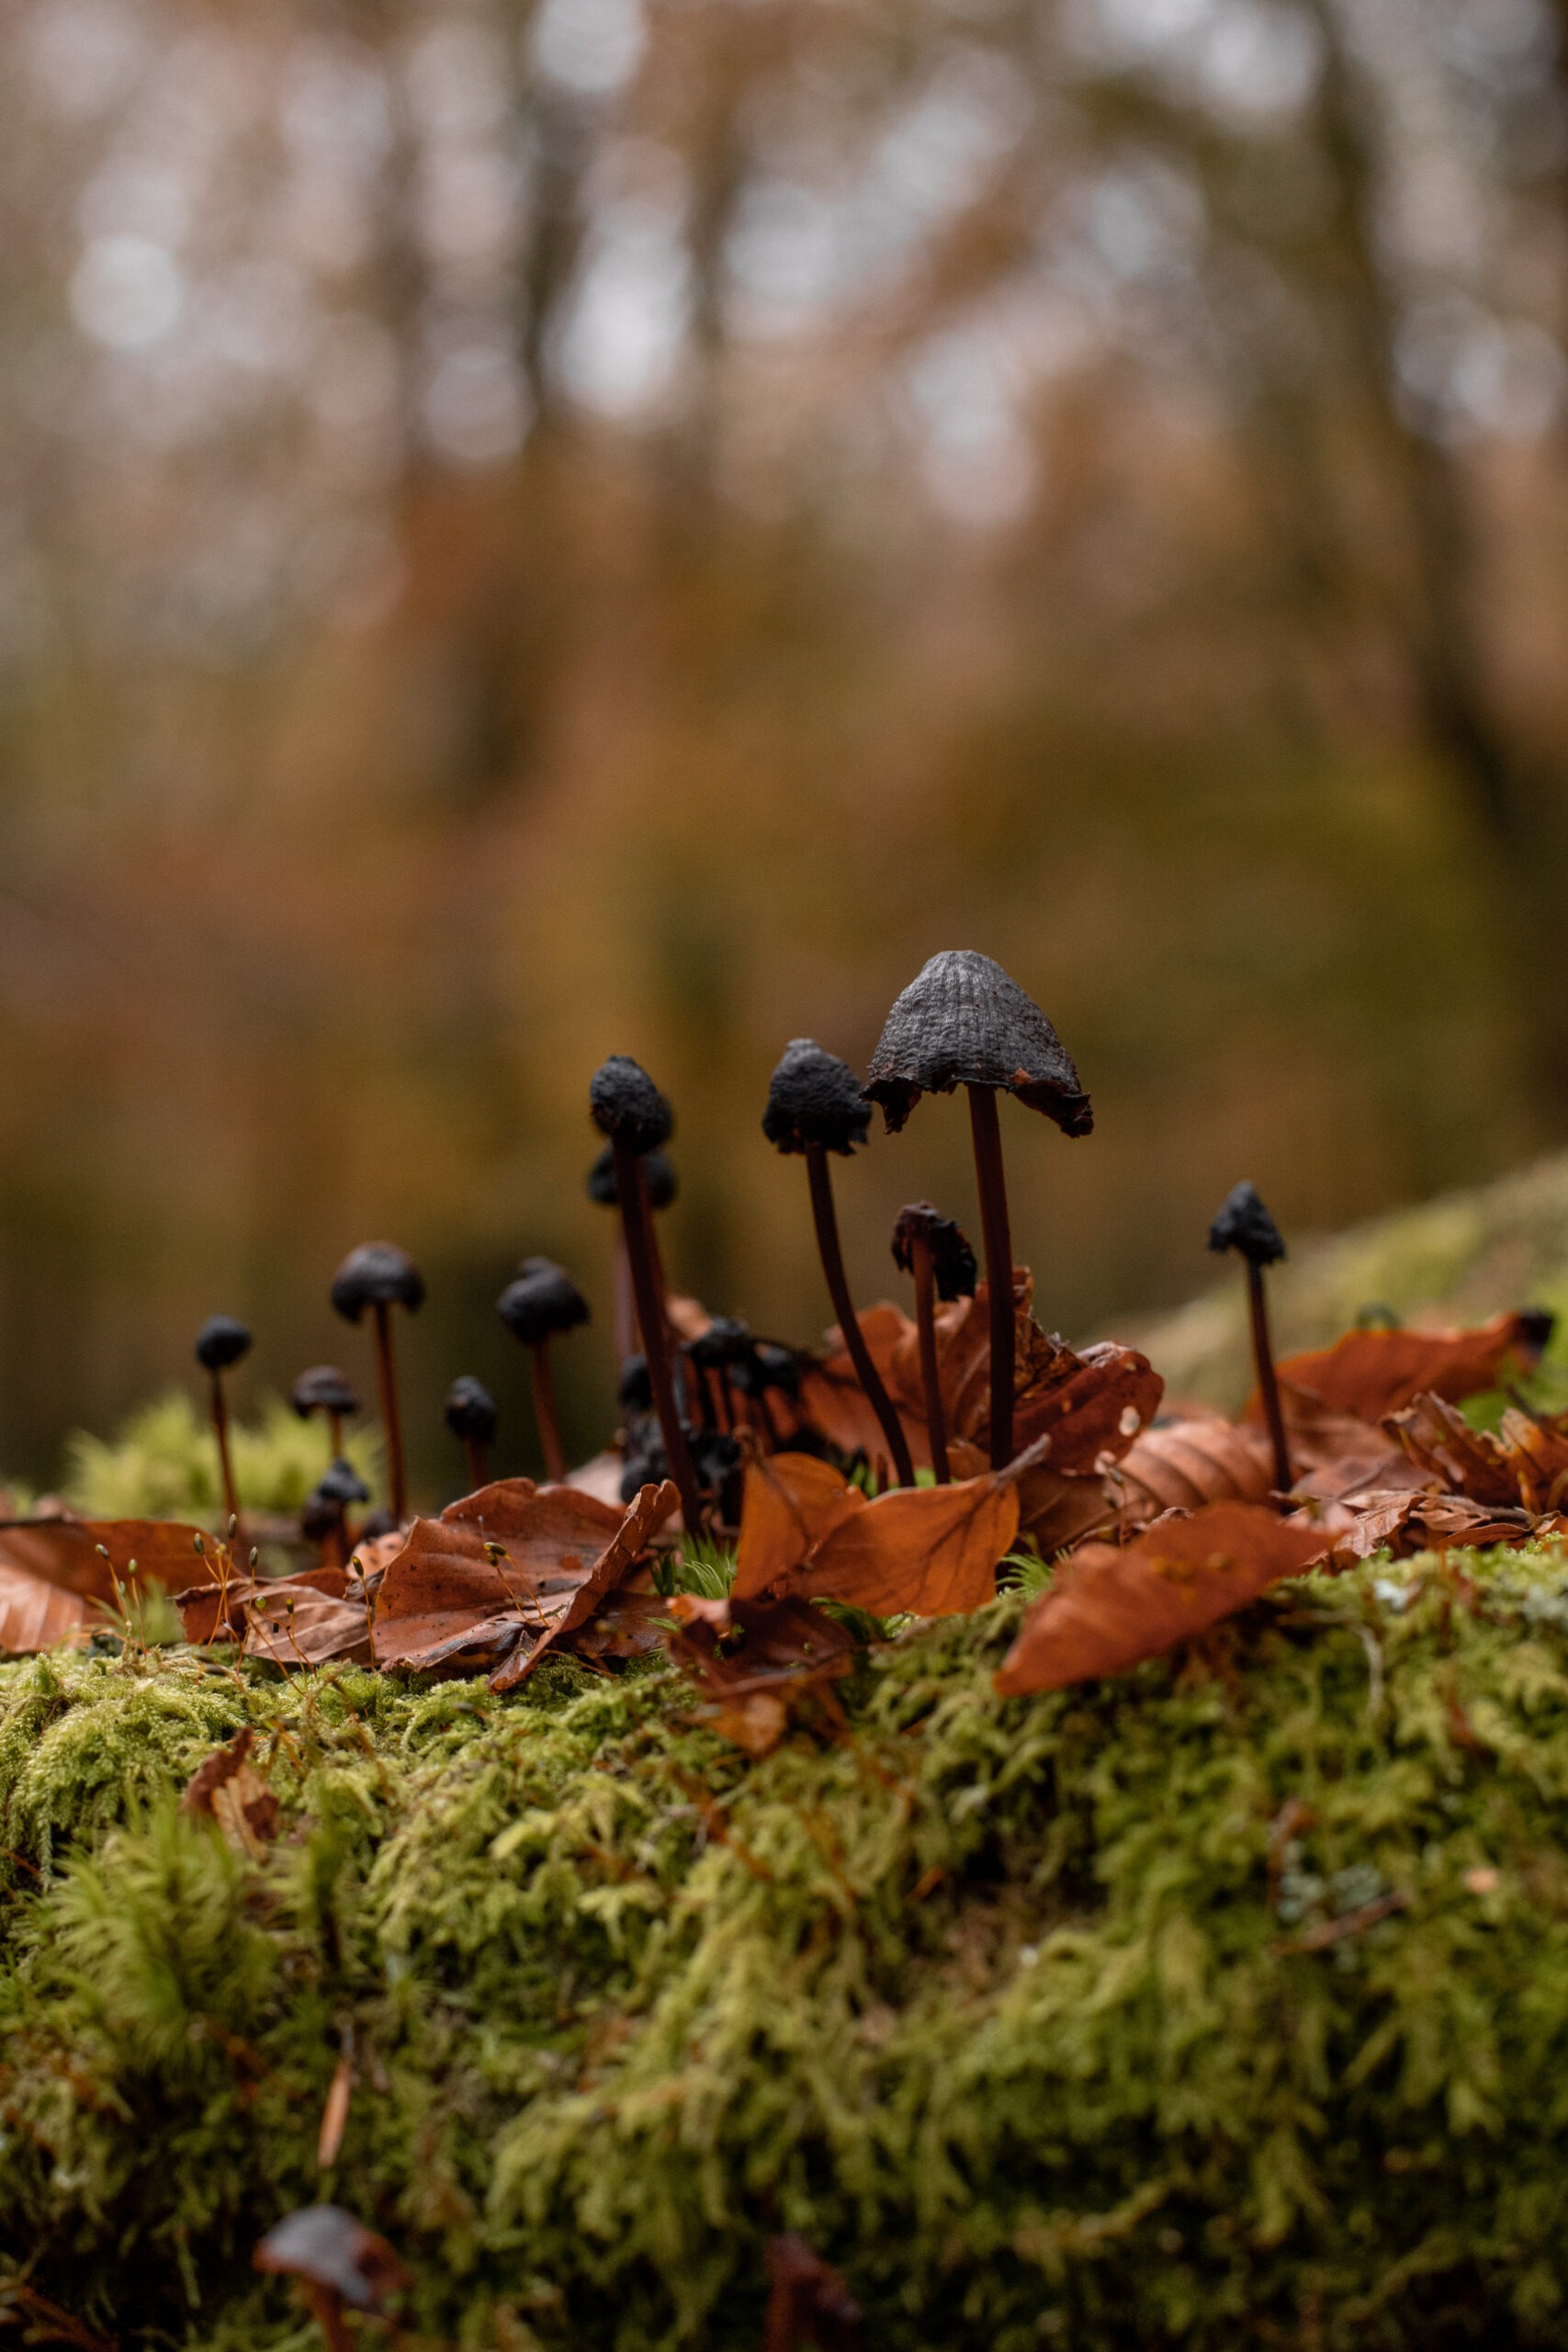
I also like to consider leading lines or a the aesthetic arrangement of elements. Maybe a mossy log curving through the background or a trail of smaller mushrooms leading to a larger one.
Another composition trick I occasionally use is placing something in the foreground to create a sense of depth.
A leaf out of focus in the bottom of the frame can help guide the viewer’s eye towards the mushroom in focus. If I want to add a bit of framing, I’ll watch for any natural “archways” formed by fallen branches or grass that might frame the mushroom.
All of that said, the simplest compositions can sometimes be the best. You can’t choose where the mushroom grows, so you have to work with what you have.
One lovely specimen, a clean background, and good use of focus can still make a great photo.
My favourite lighting approach for mushroom photography
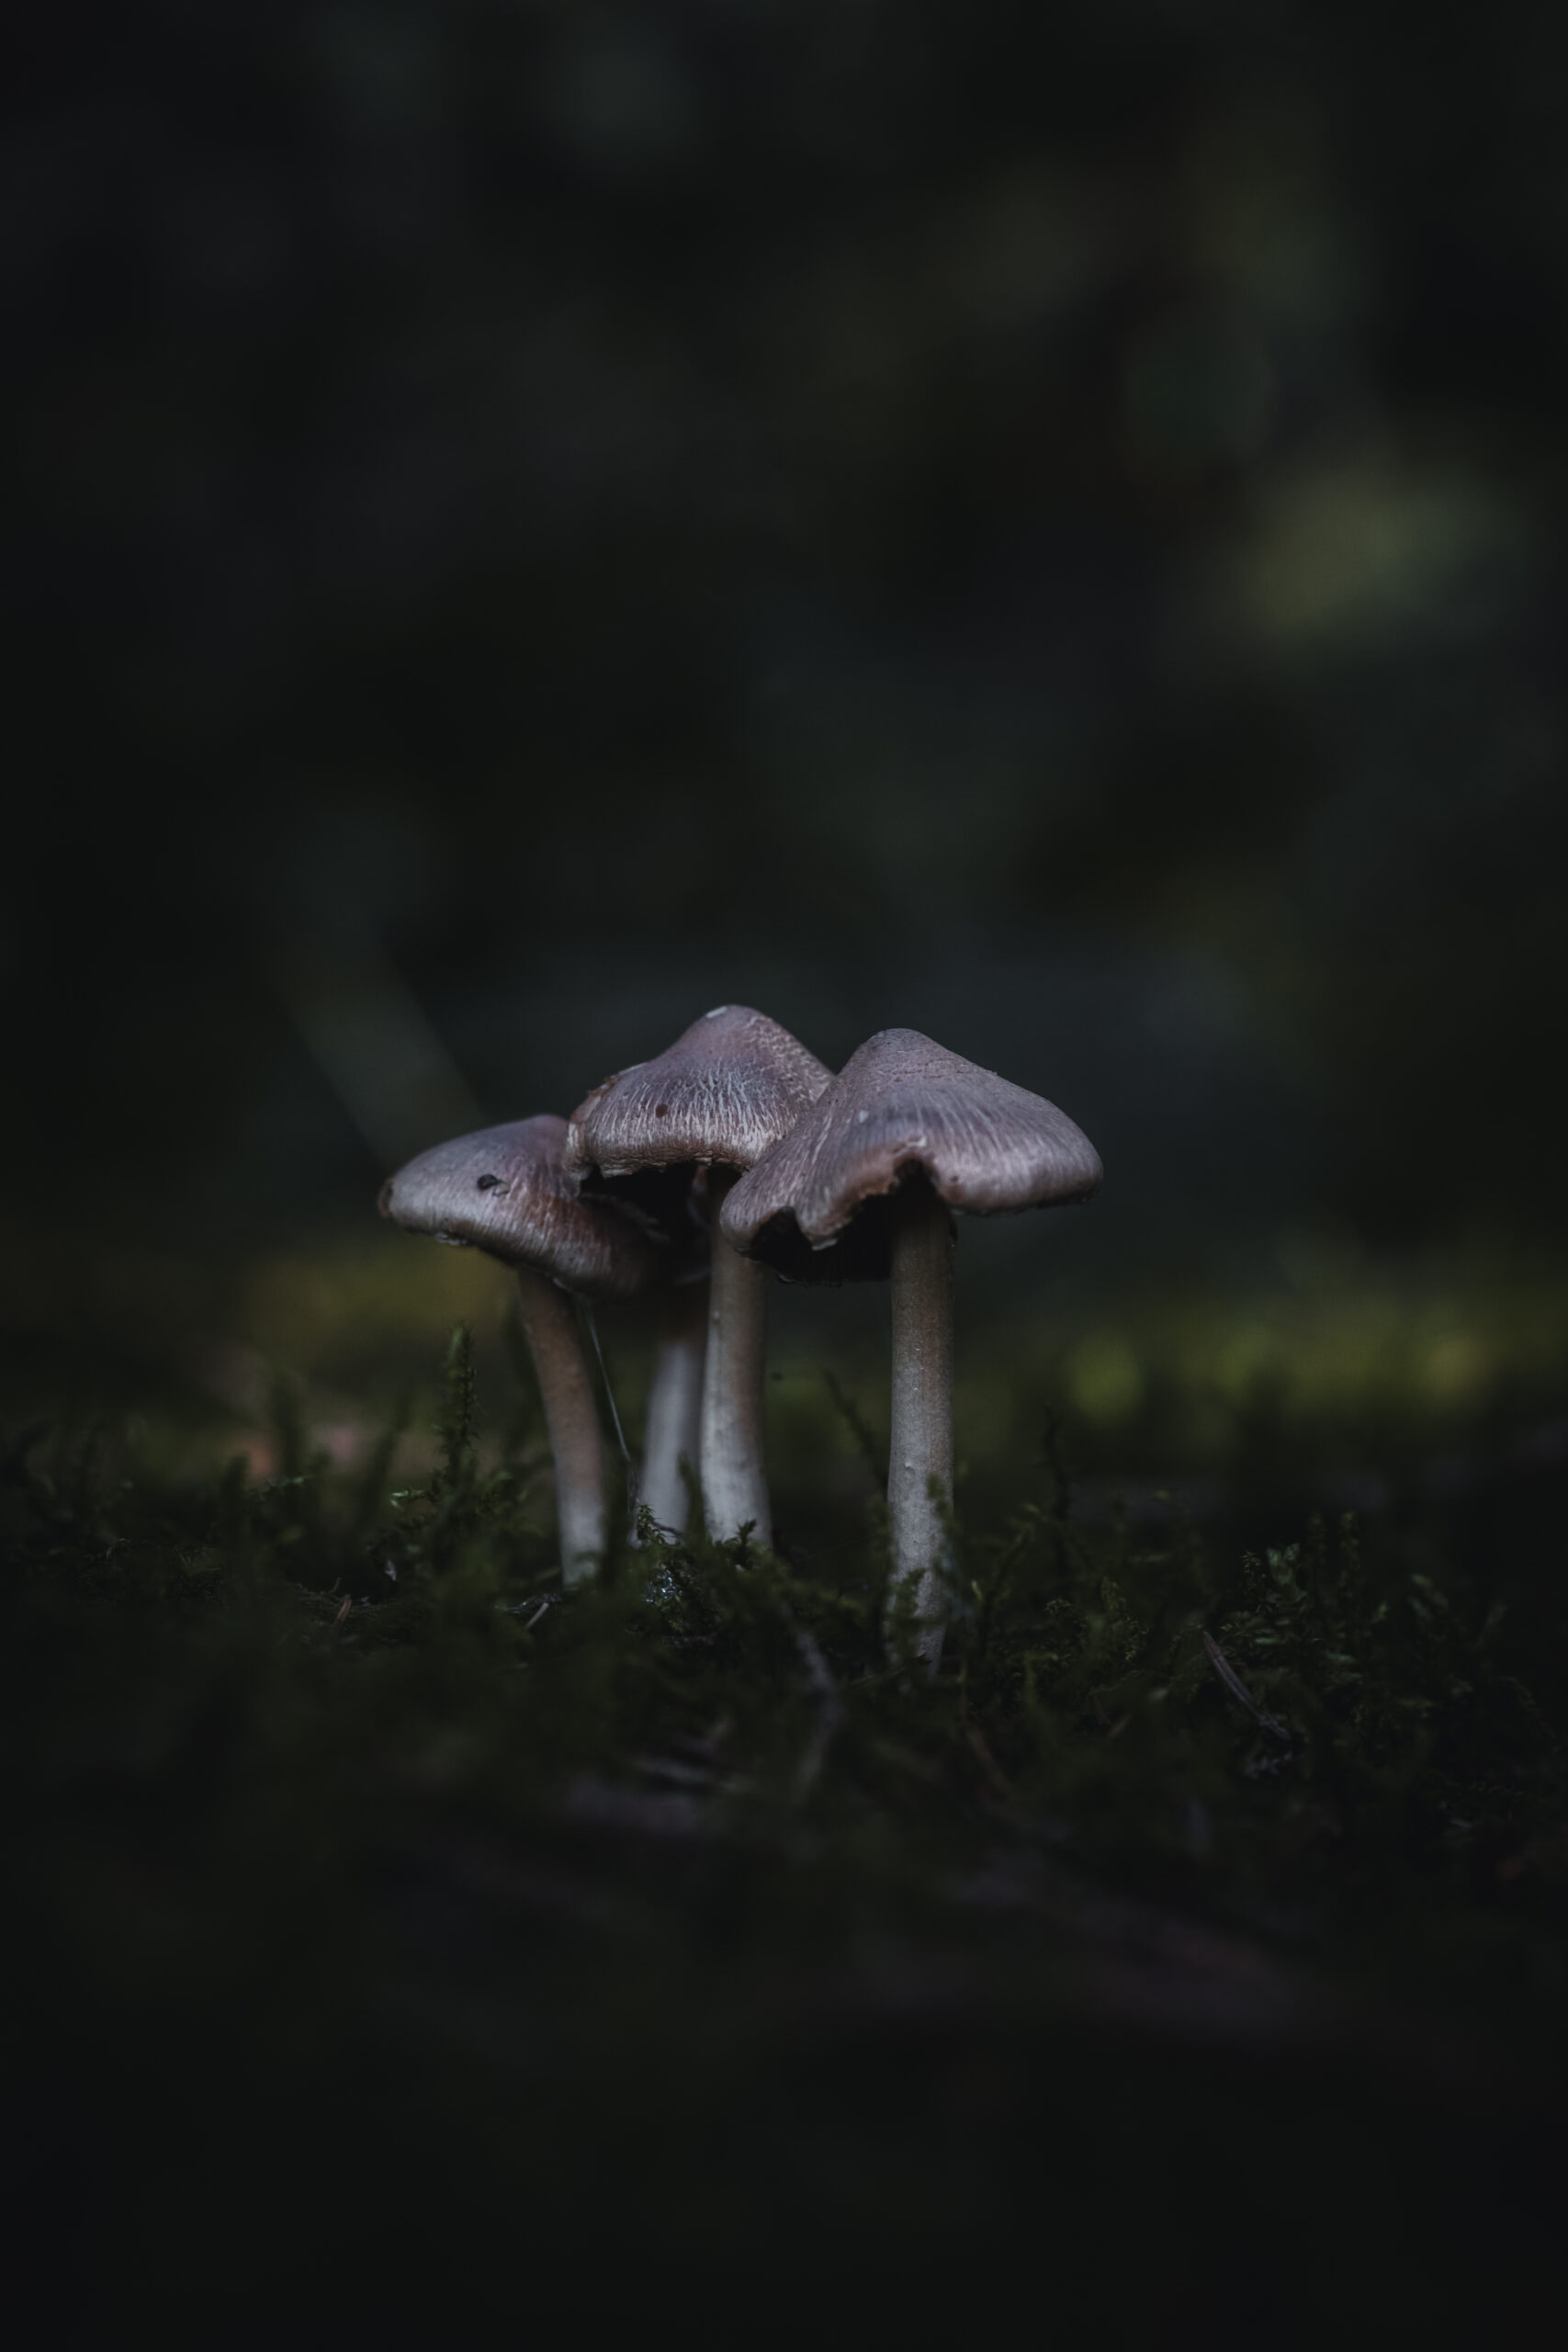
I prefer soft, natural light for mushrooms because it’s how I see them in real life.
Overcast days are great, as the sky acts like a massive softbox but as I shoot in the forest a lot, it can make it quite dark.
I mush prefer a sunny early morning when the light isn’t as intense but it still gives a nice warm glow.
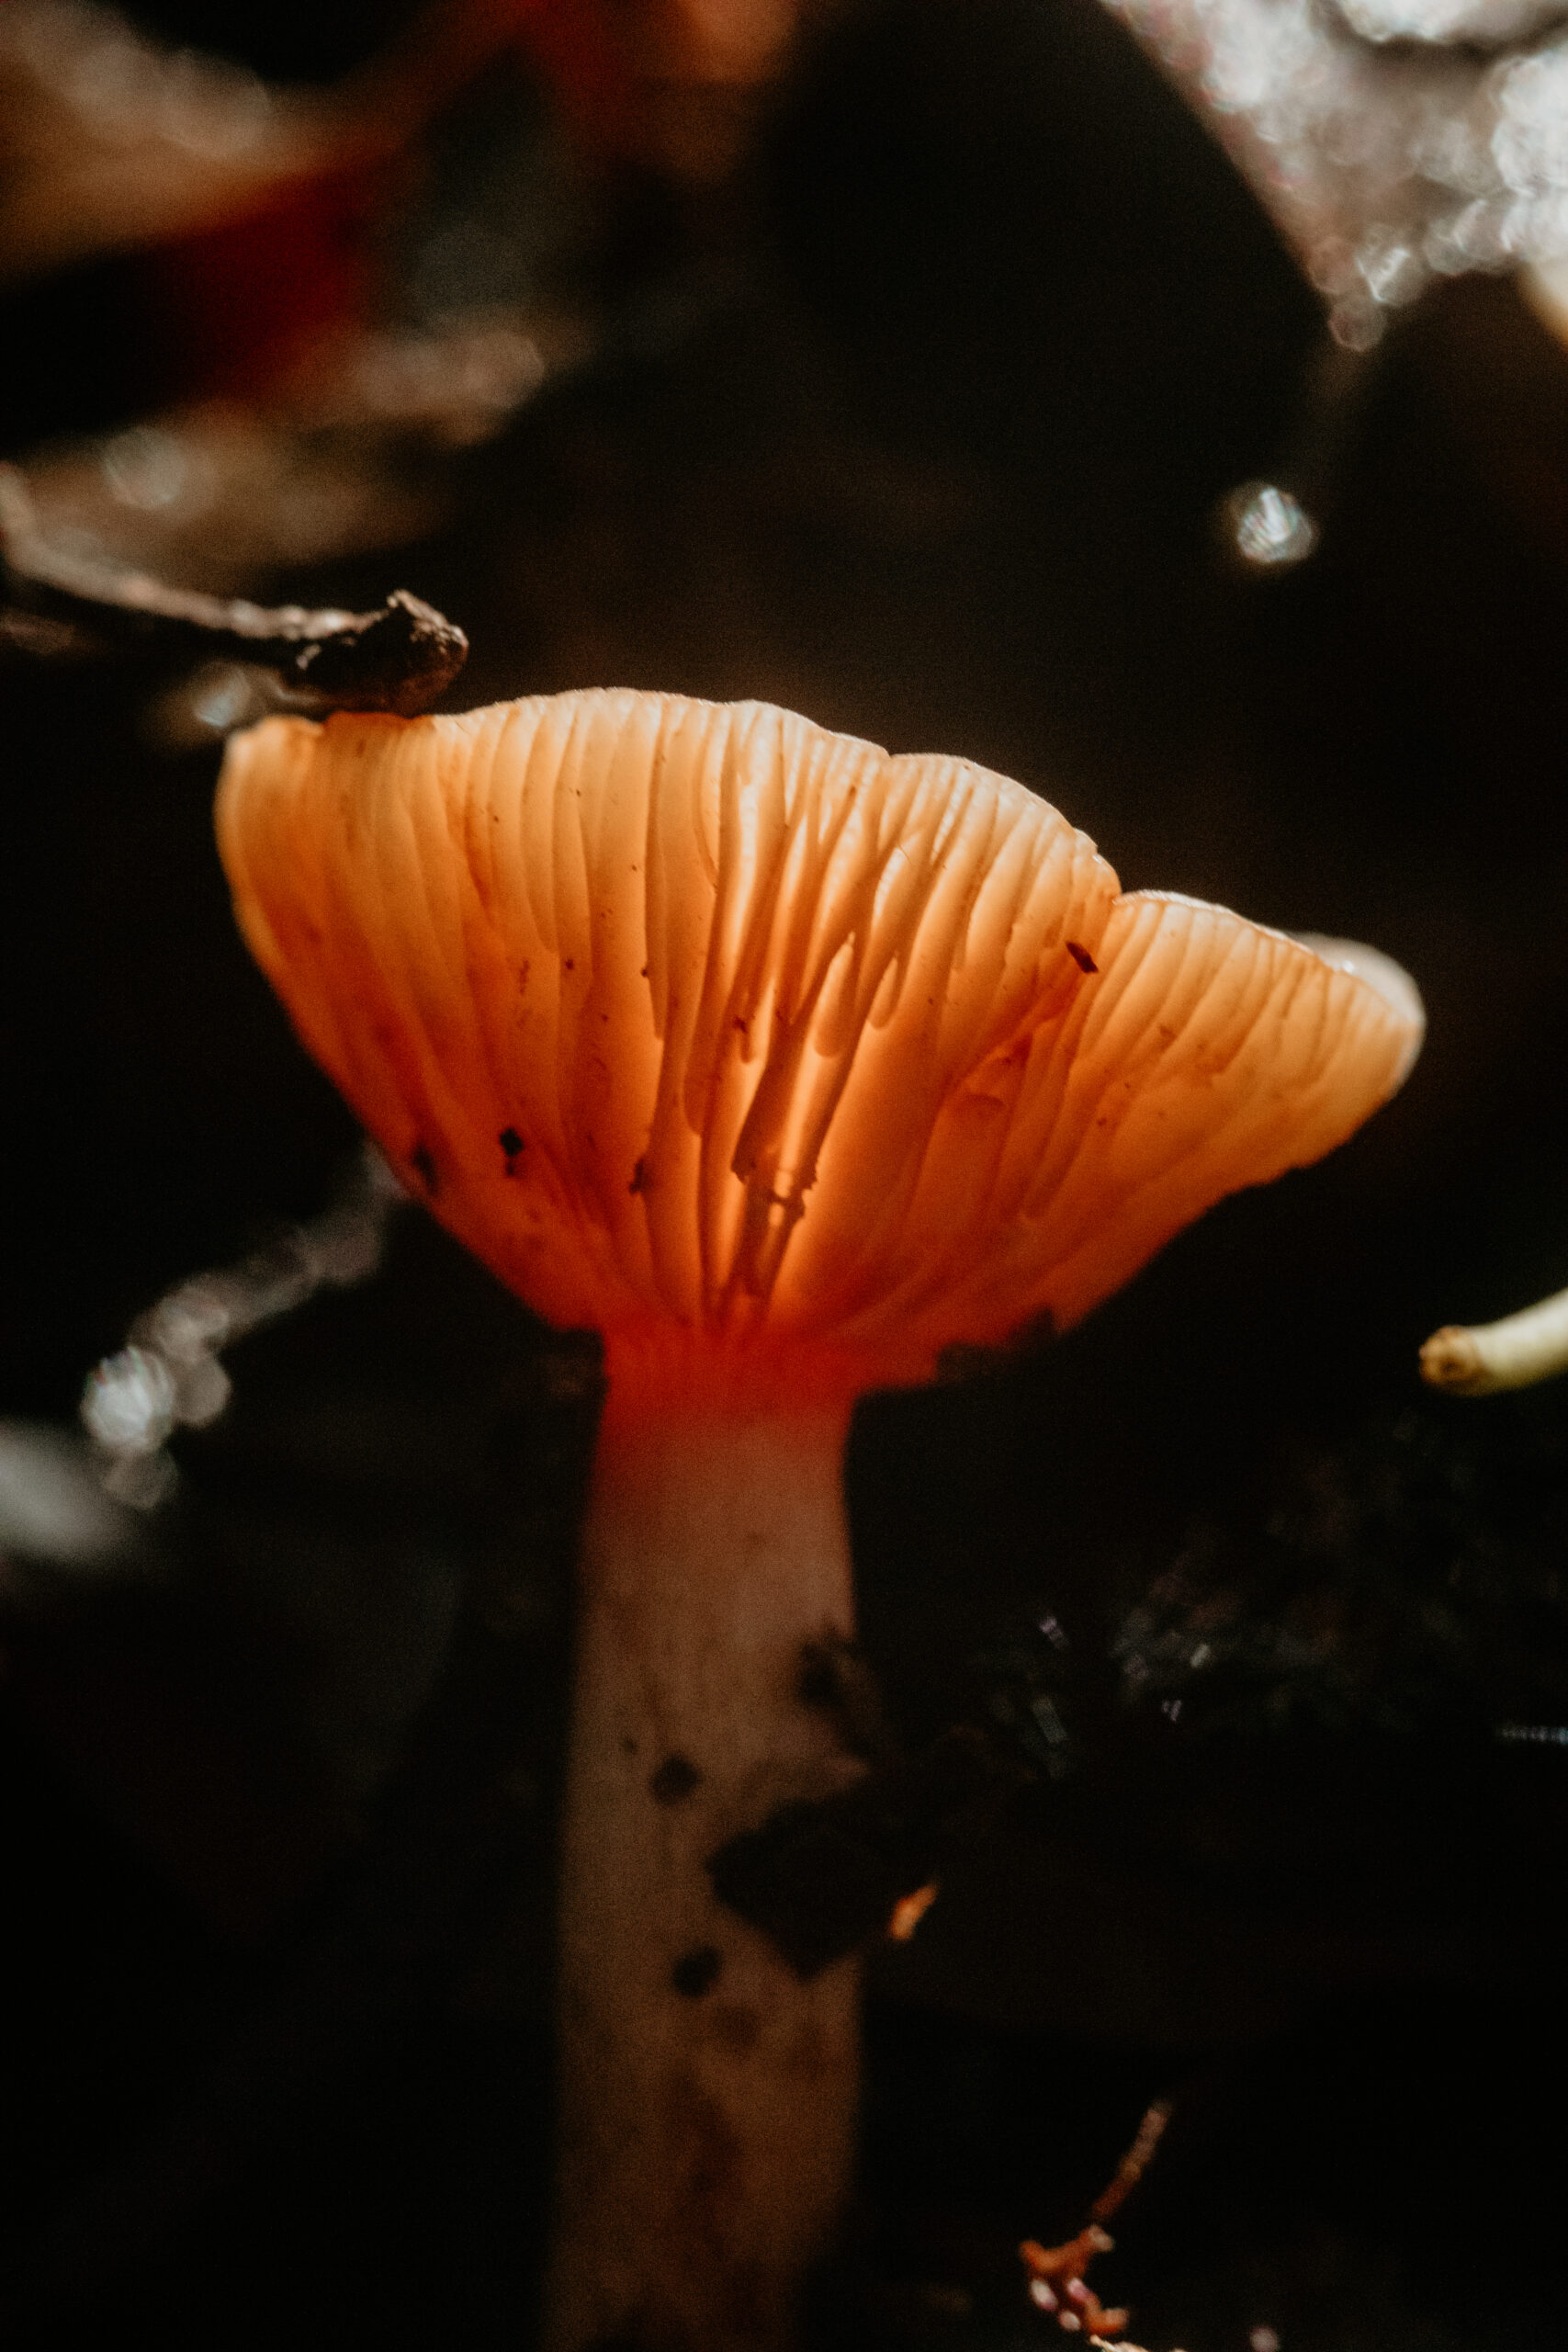
Sometimes, a little bit of backlighting can create a nice glow around translucent mushrooms, highlighting the gills underneath the cap. If the sunlight is behind the mushroom, you can position your camera at a low angle to capture this effect. When done right, it’s absolutely magical to see the edges of the cap illuminated from behind.
When it’s too dark, I use a little macro or video light to bring some additional lighting into the photo while still maintaining that natural look.
There are lots of other additional lighting options that macro photographers love, such as:
- Godox Macro Flash Kit – two small flashes attached to a mounting ring for your lens.
- Godox Macro Ring Light – a ring light that attaches to your lens.
- Cygnustech Diffuser – a hugely popular flash diffuser amongst macro photographers that is customised to your lens and flash setup.
Handheld or tripod?
I find that a tripod offers more control over exposure while working at small apertures and dealing with dim light in the forest. It can be a bit of a hassle to lug around though, but it’s worth it if the light isn’t great or you want more depth of field.
If you’re using a tripod, you can slow your shutter speed and keep your ISO low, which helps maintain image quality.
I’ll be super honest with you though, I do love and prefer handheld because I’m impatient. I’m super hyperactive and mushrooms make me excited, so I end up skipping around with my camera like a kid in a sweet shop.
In that scenario I raise the ISO to 800 or 1600, or open the aperture a bit more, to keep my shutter speed fast enough to prevent blur.
Modern cameras handle higher ISOs better than they used to, so that’s something to consider. I’m also a fan of denoise in post-processing, either in Topaz Labs or Adobe Lightroom.
Each approach has its own benefits: a tripod shot can look meticulously composed, whereas handheld can capture more spontaneous shots at more difficult angles.
Mind your background
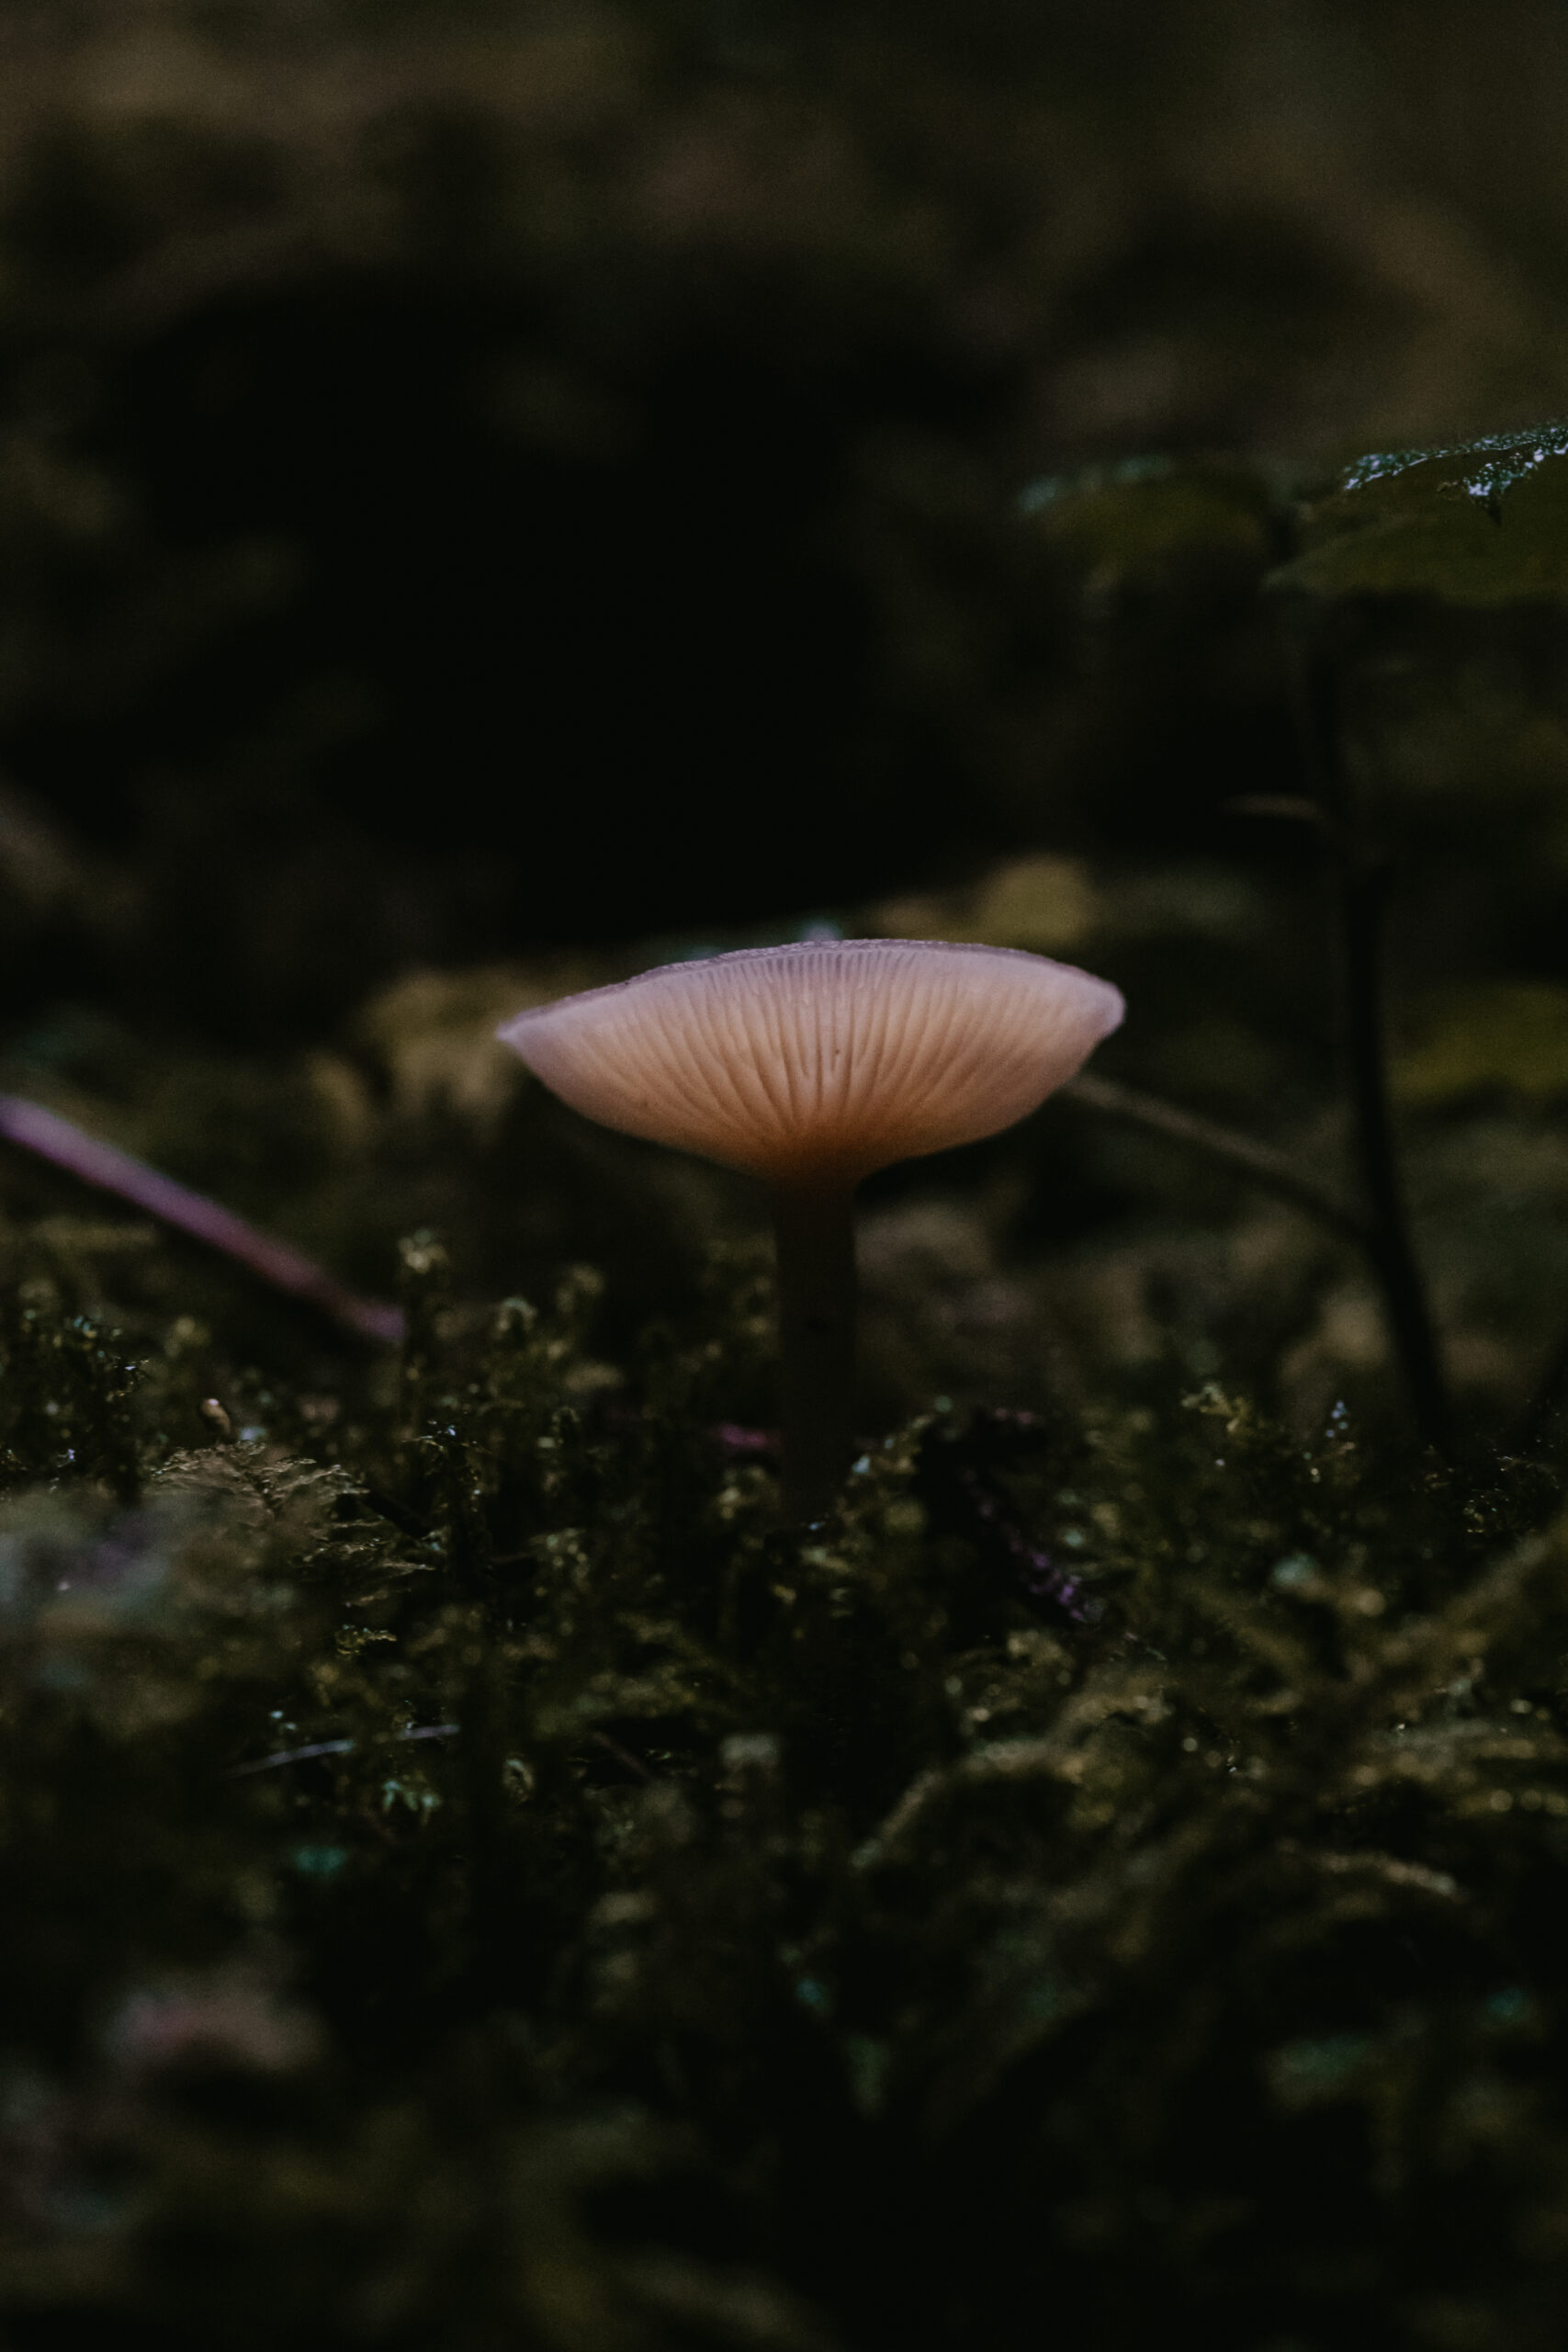
One of the biggest challenges in mushroom macro photography is controlling the background.
If there’s too much visual noise like a jumble of sticks and leaves, your mushroom can get a bit lost in it all.
It helps to shift your position around the mushroom to see if you can separate it from the background at different angle. A small change in angle can make a huge difference.
Sometimes, placing a piece of card behind the mushroom can help if you’re struggling with a messy backdrop. A neutral grey, brown or green card might blend well, though please only do this if it won’t disrupt the environment.
Mushroom identification
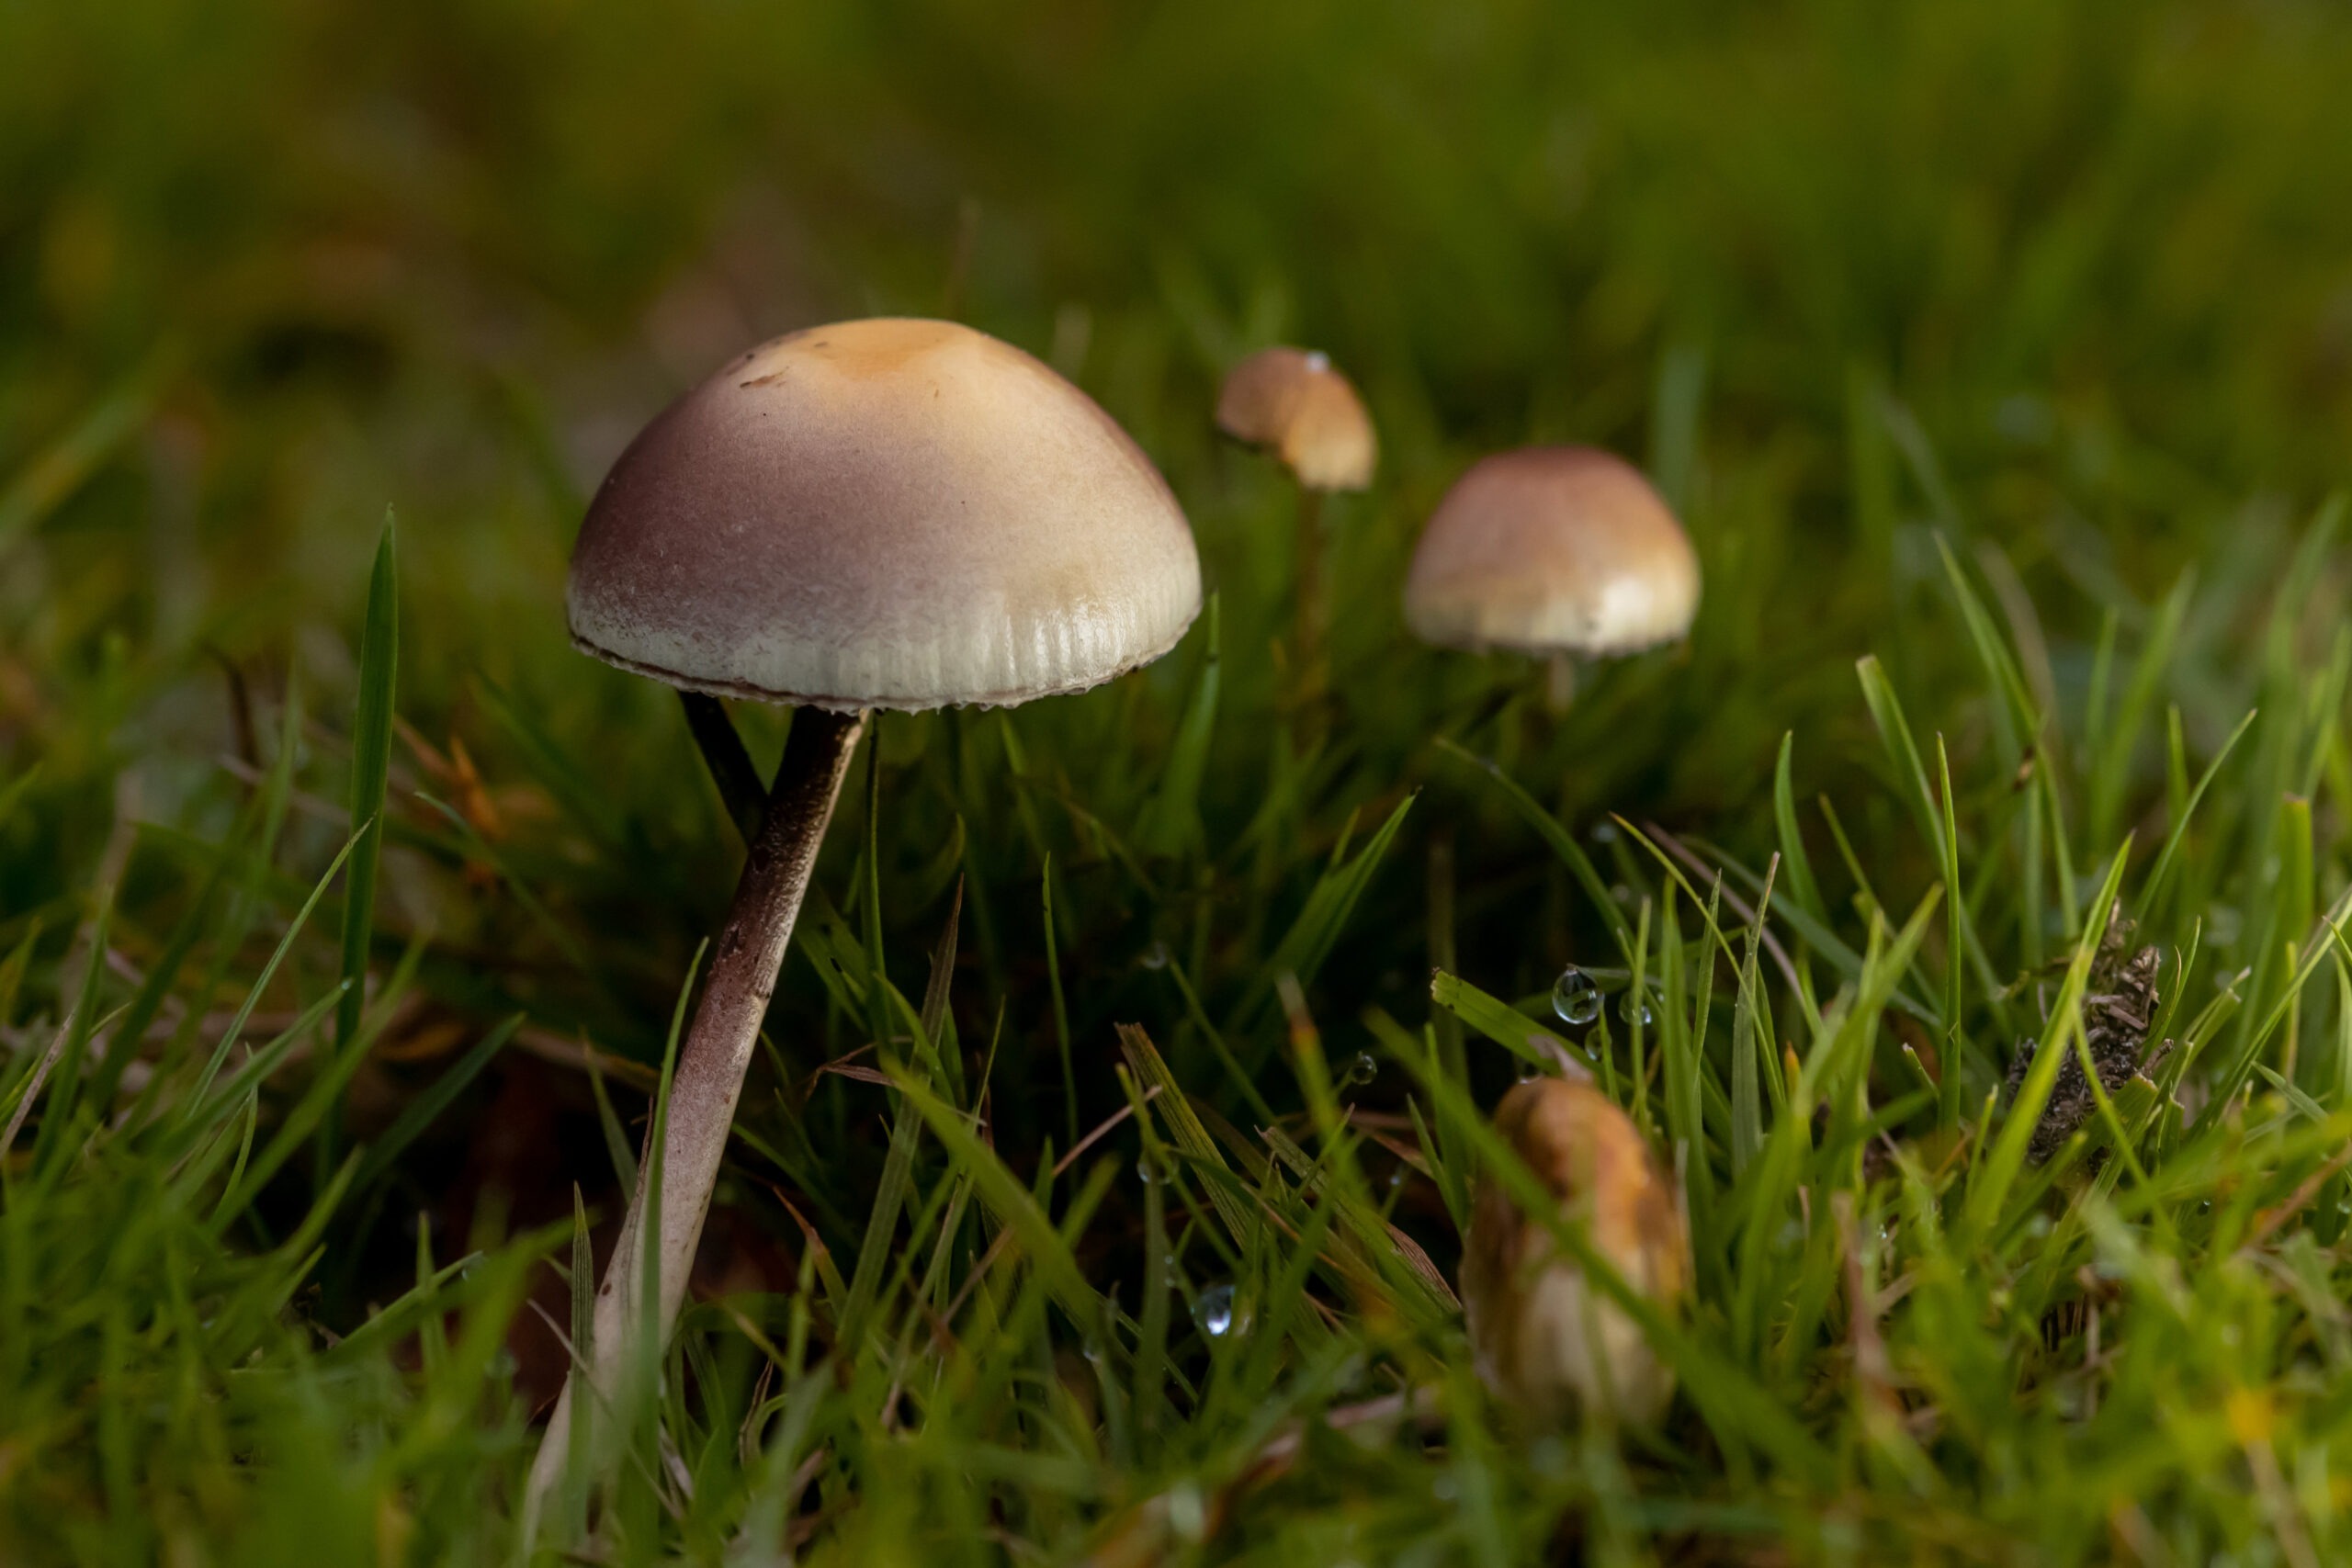
One of the most fun parts of mushroom photography is trying to identify every species you photograph.
Mushrooms can be a bit tricky to ID, lots of species look very similar. I’m not an expert mycologist, but I do like to learn about the species I’m photographing. If you want to identify them more confidently, I’d recommend a good ID book or online mycology group, you can even use Google Lens.
Just remember that some mushrooms are really toxic. I don’t touch them at all because I don’t trust my memory and I’m worried I’ll accidentally poison myself.
It’s always best to leave them alone they are unless you’re certain or you’re actually foraging them as well. Although I usually photograph in locations where foraging is prohibited anyway because they are vital for the wildlife there.
Dealing with weather and seasons
Although autumn is my favourite season for mushroom photography (and in general), I keep my eyes open year-round.
In damp, mild spells, you might see mushrooms pop up in unexpected places.
I’ve found mushrooms all through the year, even in extremely cold weather.
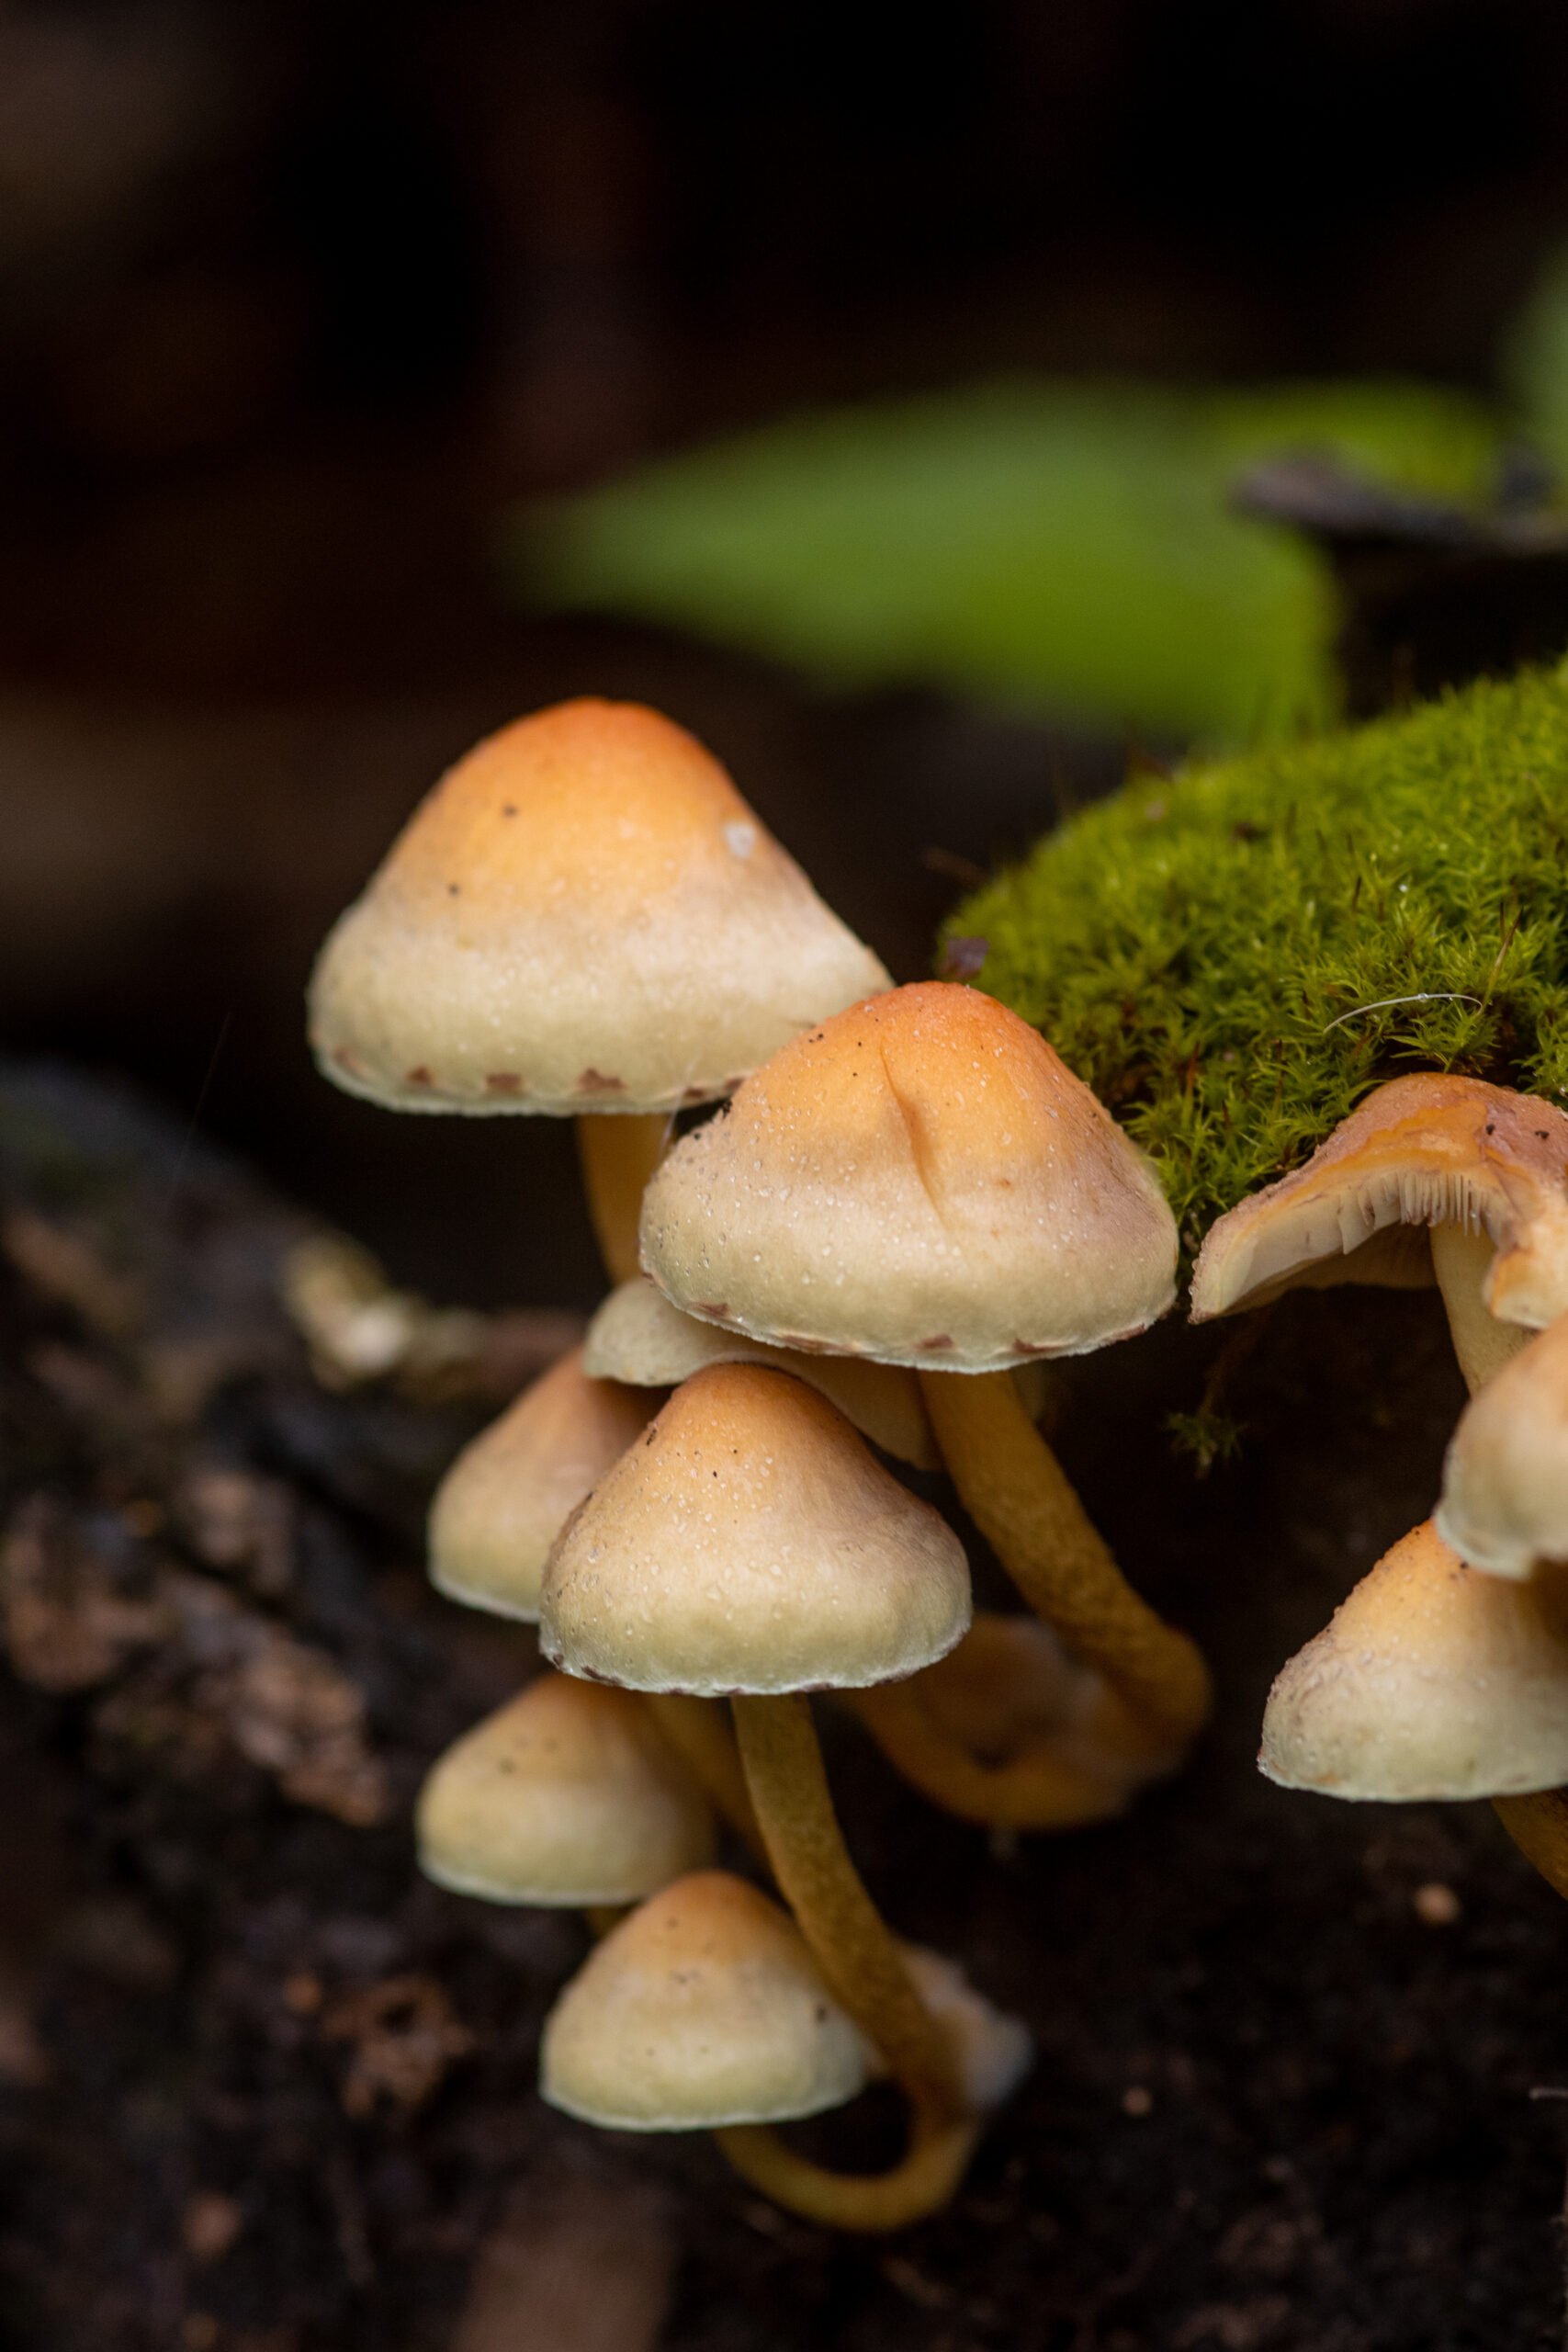
Photographing on a rainy day can be a bit challenging but amazing. It might make your camera kit a bit soggy, but it also creates glistening surfaces and raindrops that can really enhance your macro shots. A rain cover or umbrella can help keep your camera dry if it’s truly chucking it down.
The best weather however, is the day after a good bit of rain. I always find incredible mushrooms after a rainy day. I especially love the way Russula Emetica looks after rain and I always call them Jam Tart mushrooms, as the rain makes them look like they have Jam on them!
Experimenting with post-processing
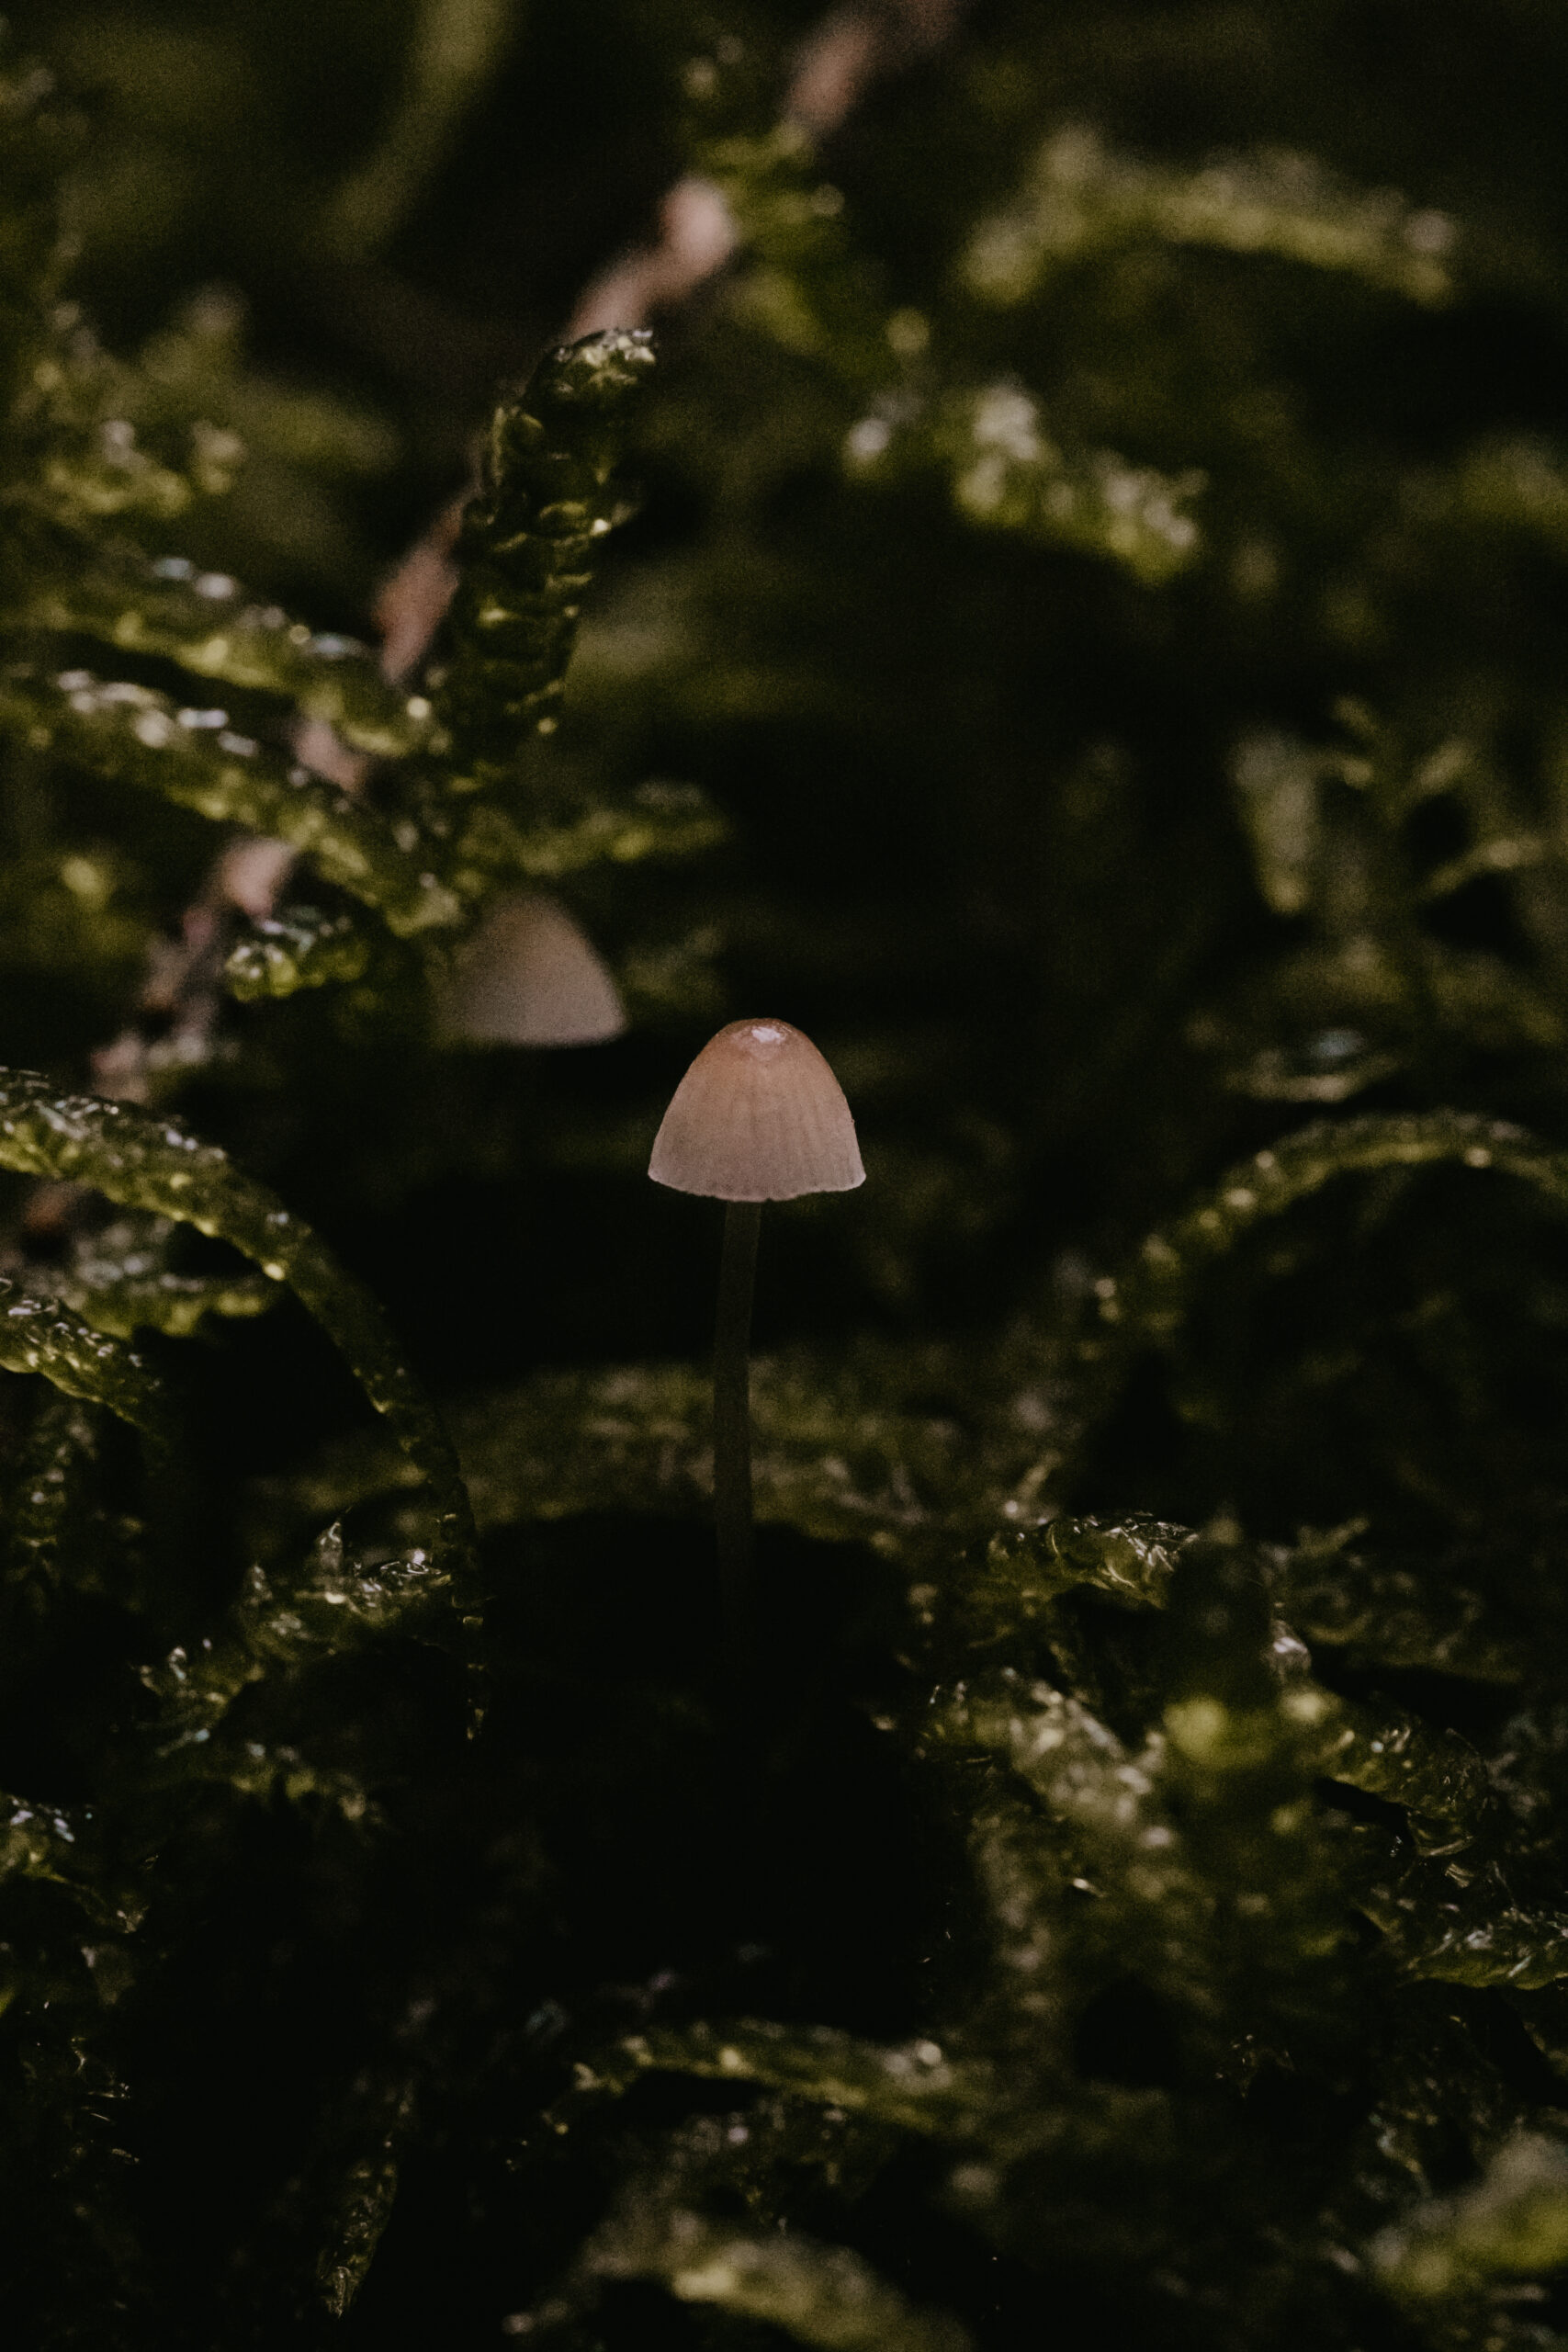
When I get home, I always love bringing my mushroom shots into Lightroom.
I tend not to go too wild with heavy editing or extreme colour shifts.
Instead, I might fine-tune the white balance so that the mushroom’s cap looks true to how I remember it.
Then I’ll adjust the exposure, contrast, and perhaps lift the shadows a bit if the underside of the cap is lost in darkness.
Occasionally, I’ll crop the image to improve composition or remove distracting edges. Sharpening, texture and clarity sliders can help bring out the texture on the mushroom’s surface, but a light hand is definitely best here.
If you’ve captured good detail in-camera, you won’t need much. The goal is to end up with the atmosphere I felt when I first spotted the mushroom in the woods.
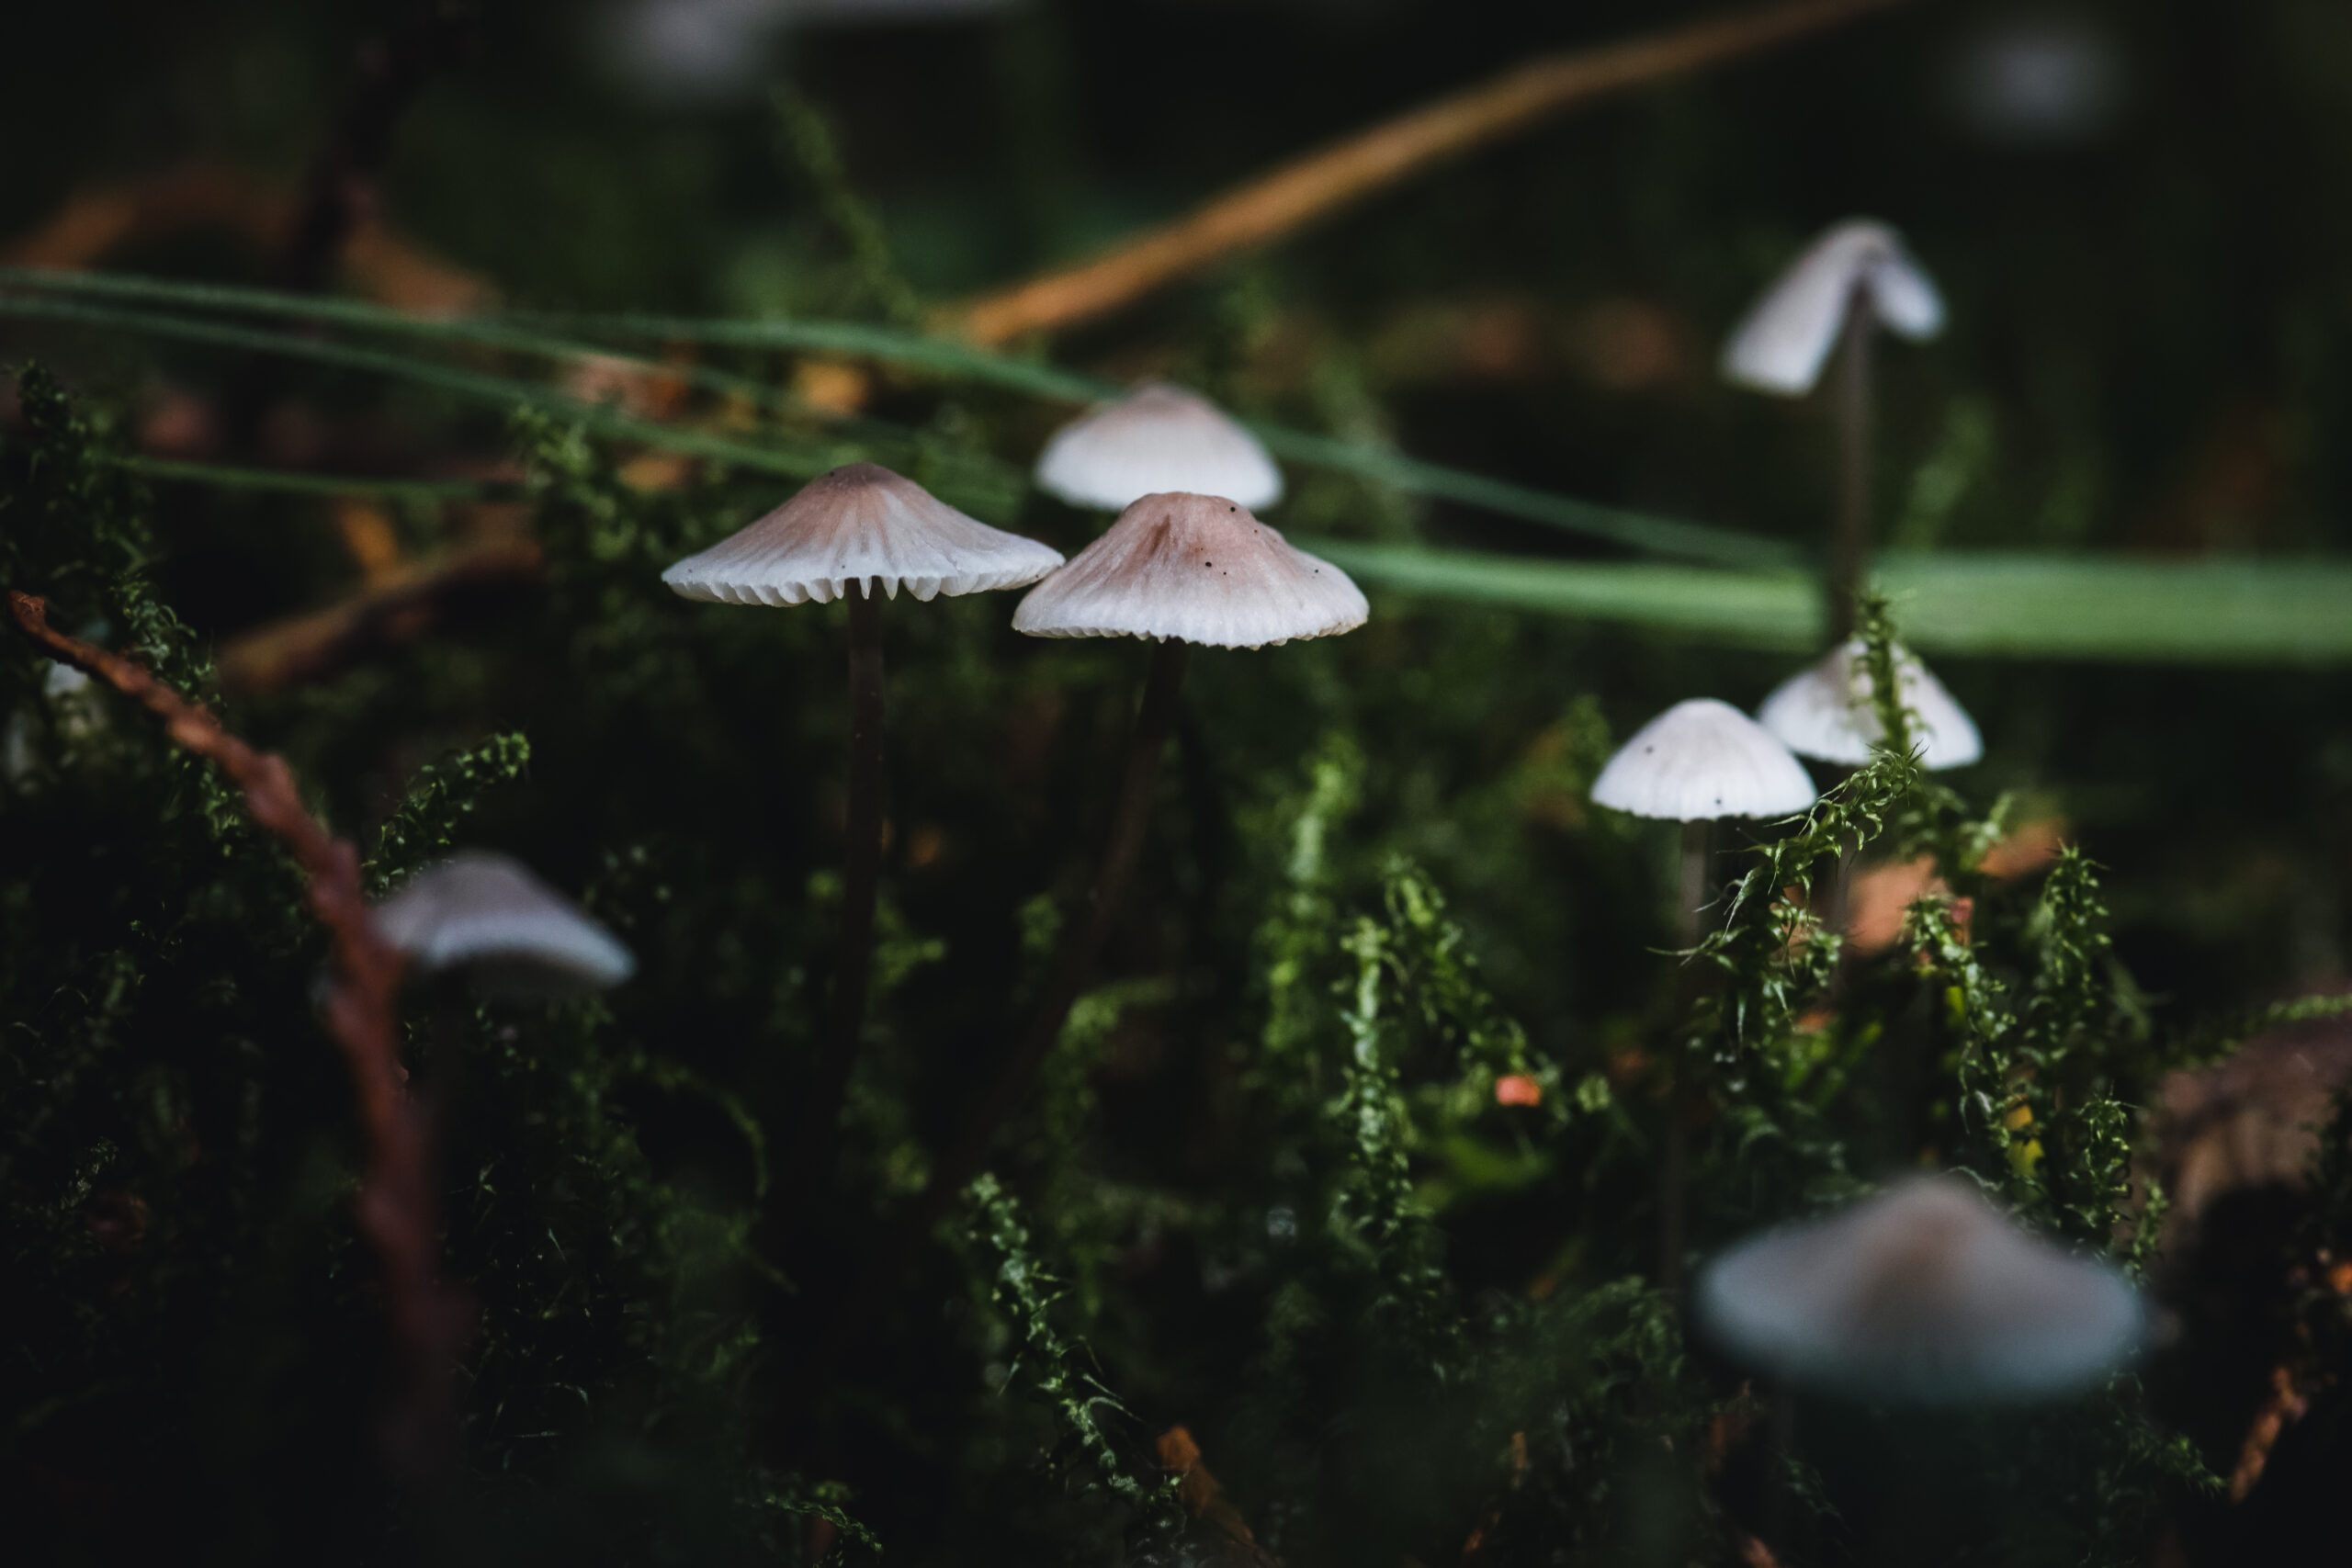
My final thoughts on mushroom macro photography
There’s something about mushroom hunting that is really addictive. I now see mushrooms wherever I go because I’m obsessed.
Macro photography lets you capture the detail of these really cool and strange fungi in a way that regular photos can’t achieve.
Yes, it can be muddy, damp, and occasionally a bit challenging, but the satisfaction of snapping a picture that reveals the gills, textures, and hidden colours of a mushroom is well worth it. To be honest with you, getting muddy is part of the fun for me.
If you’re starting out, all you really need is a lens that can focus closely whether a dedicated lens or with extension tubes.
Over time, you can develop your own style, whether you prefer moody, atmospheric shots or bright, high-contrast images that pop.
You’ll also learn how to adapt to the woodland’s changing conditions and how to hunt down mushrooms that make interesting subjects.
Before long, you’ll find yourself crawling around with your camera on the floor of the forest, being just as excited as me at a perfect little mushroom.
I do hope this post inspires you to pick up your camera and give mushroom macro photography a try. If you would like some in-person guidance on mushroom photography and you happen to be near the Somerset, Dorset or New Forest area – I do have some 1:1 mentoring sessions available, so please give me a shout.