
Low-light photography can feel pretty intimidating at first.
Your camera struggles to find focus, images come out grainy or blurry, and you might feel like you need expensive gear to get it right.
But I’ve got your back!
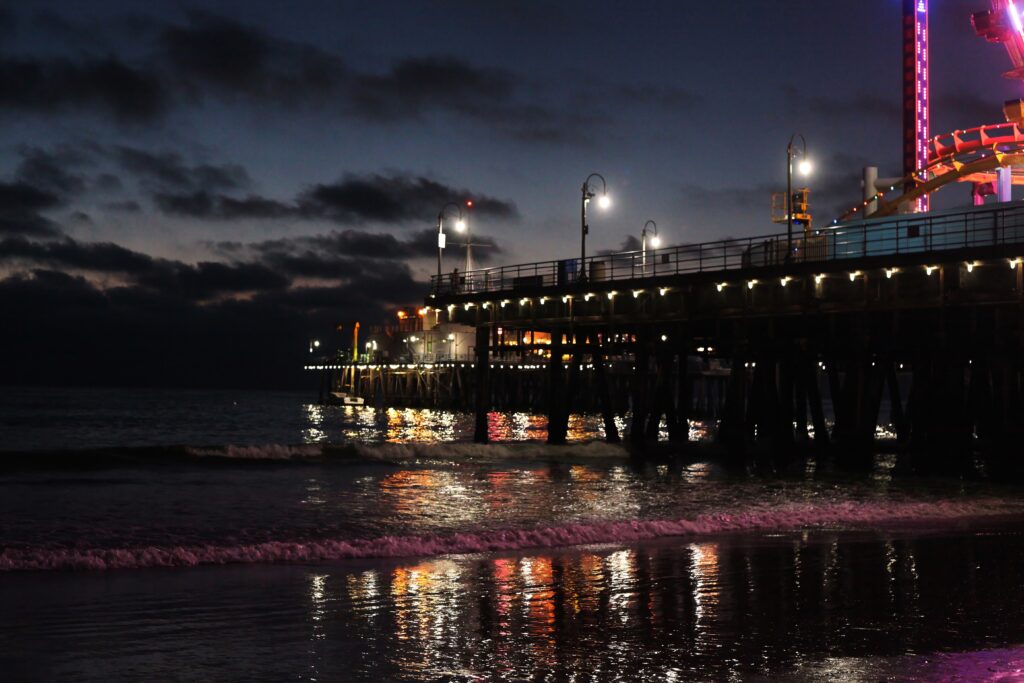
Learning to shoot in dark conditions is all about understanding your camera’s settings, using the right techniques, and practicing patience.
In this guide, I’m going to break down everything you need to know about capturing breathtakingly gorgeous photos in low light, even if you’re just starting out.
By the end, you’ll have the confidence to shoot in challenging lighting conditions and come away with impressive results.
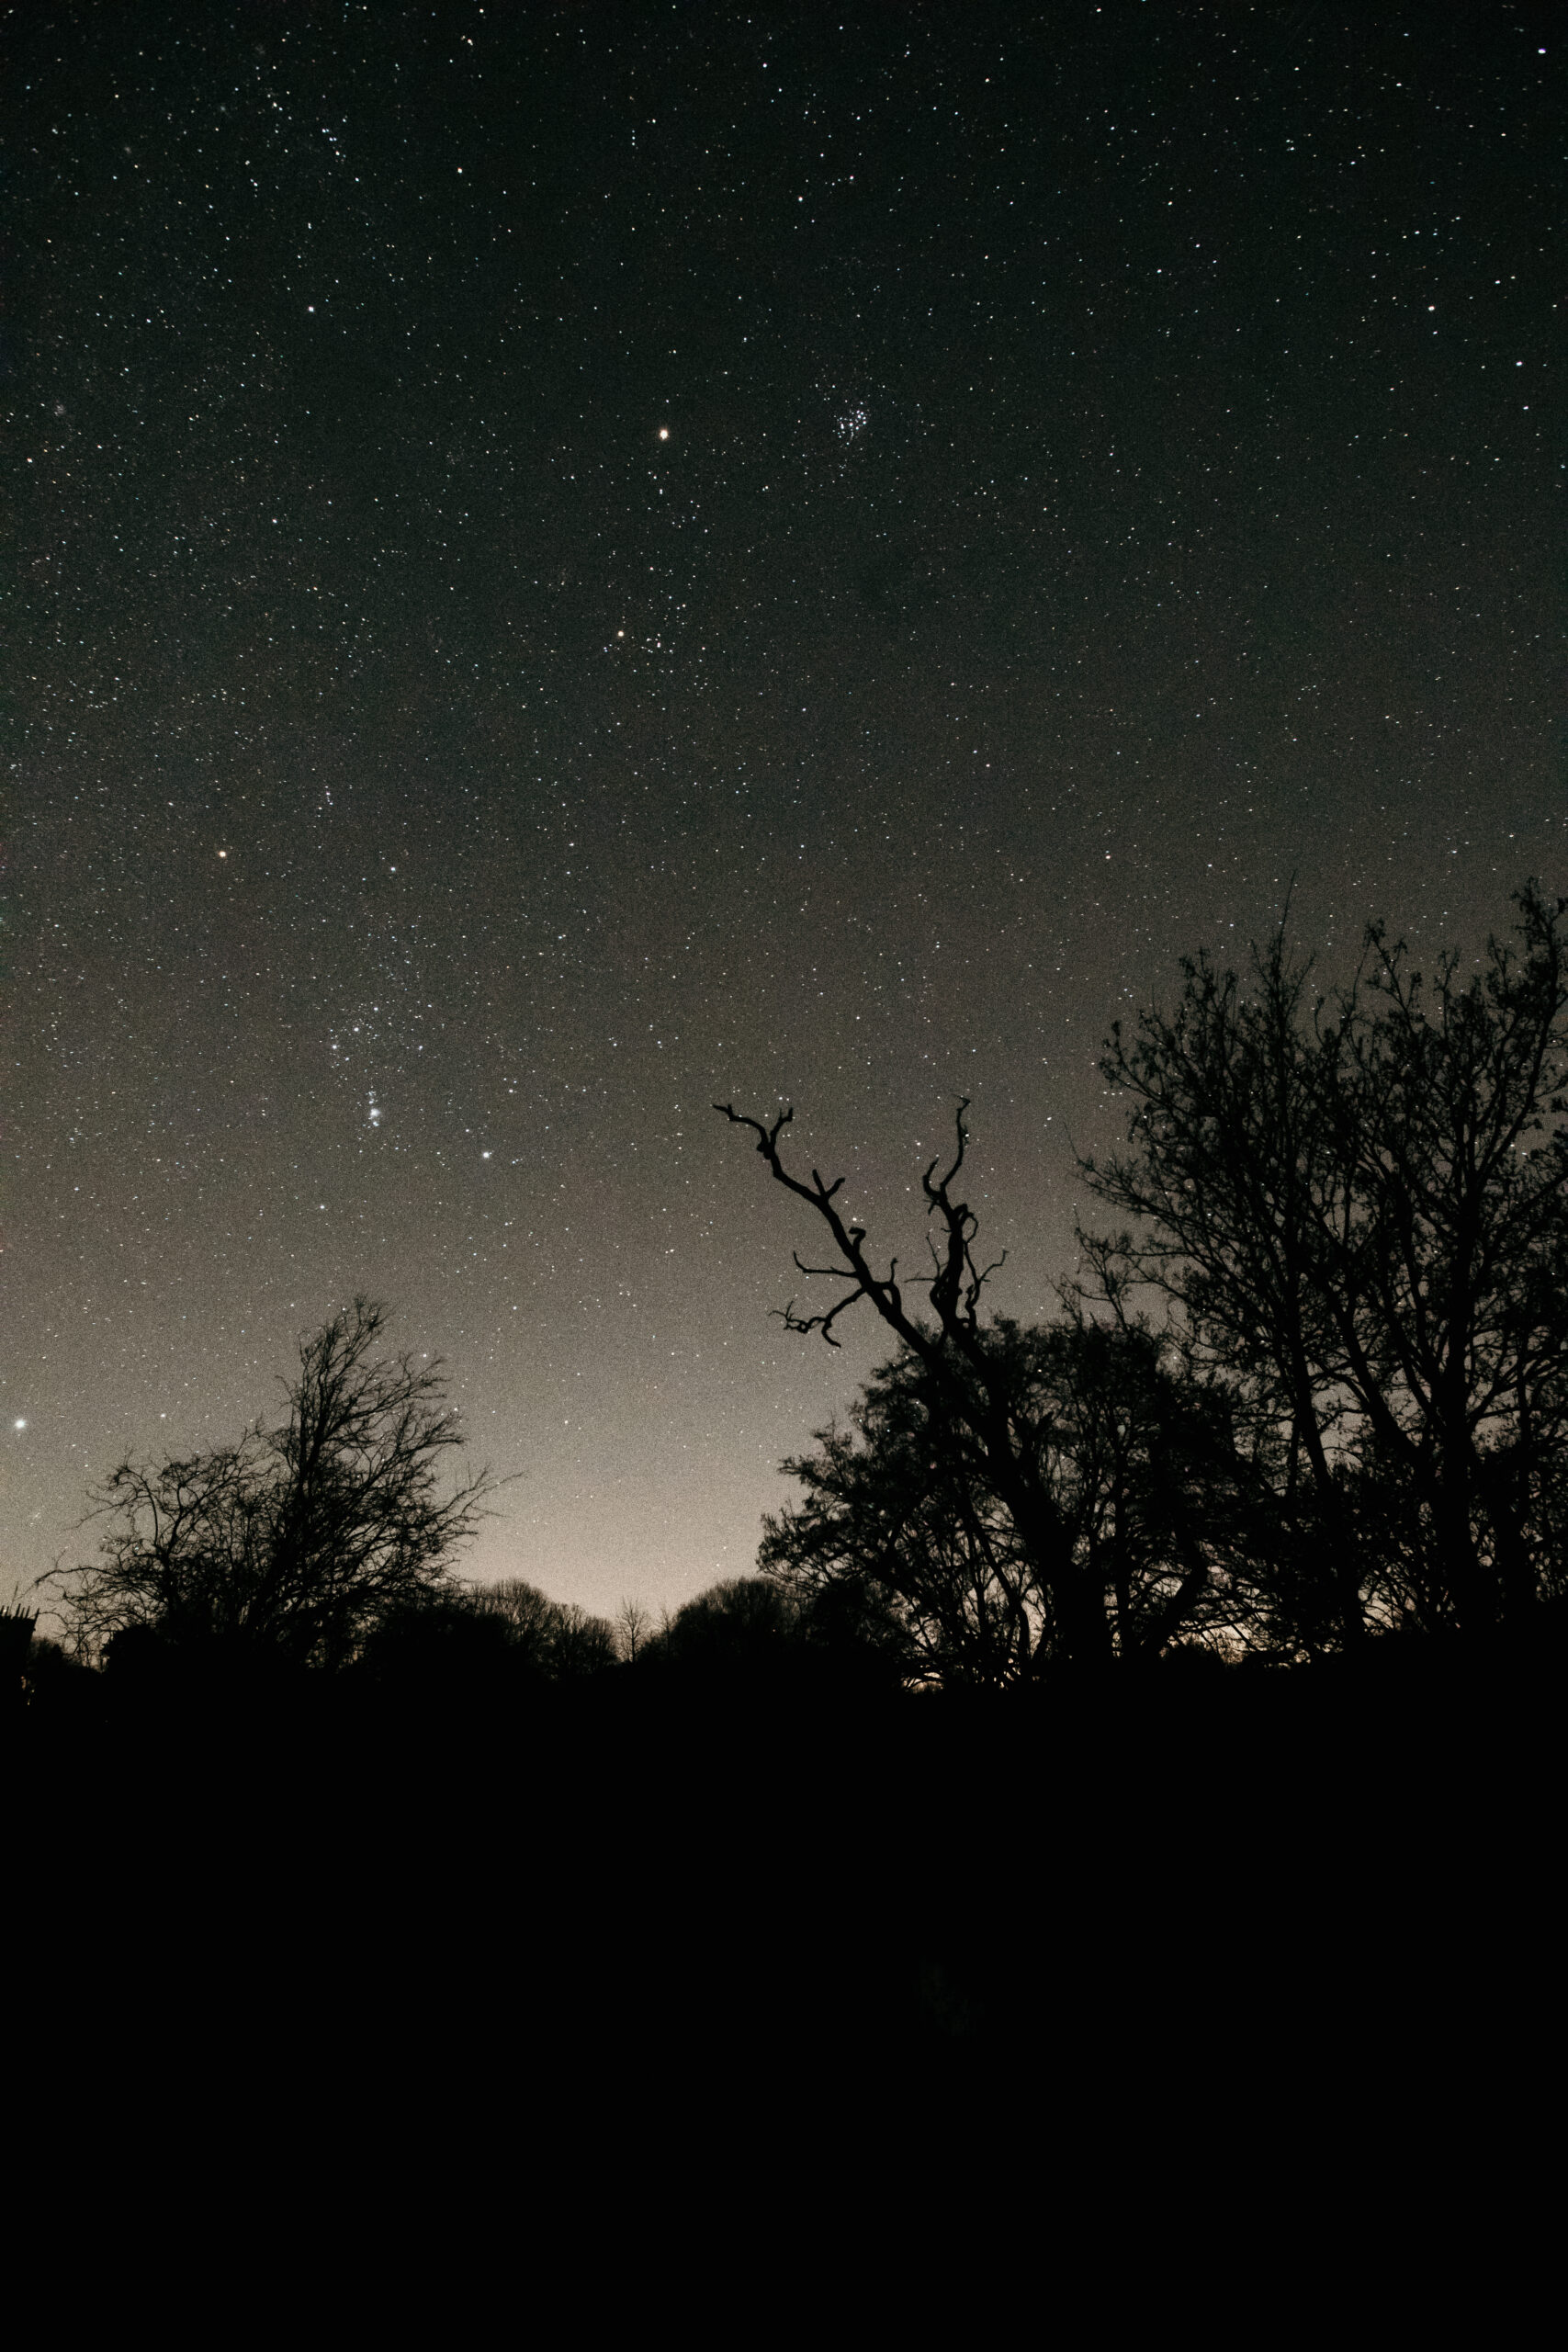
Understand the Basics of Low-Light Photography
Before we really get into the juicy stuff, it’s important to understand the challenges that low light presents:
- Limited Light: Your camera’s sensor has less light to work with, which can lead to underexposed images.
- Slower Shutter Speeds: When you use a slower shutter speed to let more light in, you the risk of motion blur.
- Higher ISO: Boosting ISO helps brighten photos but can introduce digital noise or grain and some cameras simply cope less with higher ISO.
Mastering low-light photography means learning how to balance all of these technical aspects while working creatively with the light available.
Sometimes I don’t mind a bit of grain on my images, I may even purposefully add it into black and whites but there is a difference between artistic grain and just plain horrible digital noise. Learning the limitations your camera has is super important.
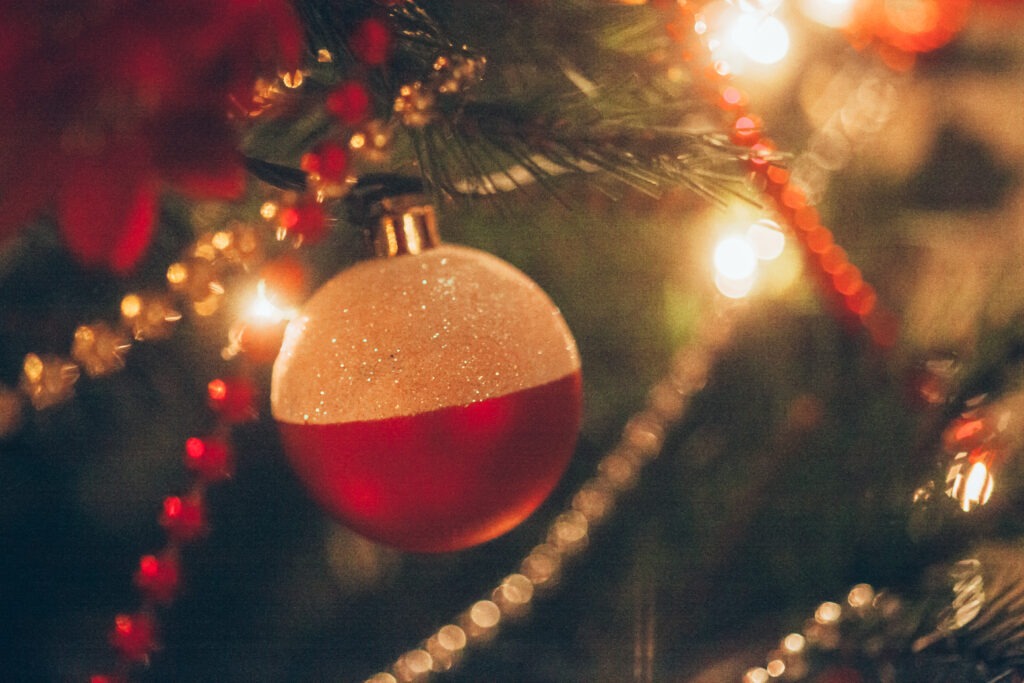
Here are some examples of images I took years ago where these challenges presented themselves:
Digital noise/grain from higher ISO
Camera shake from slow shutter speed
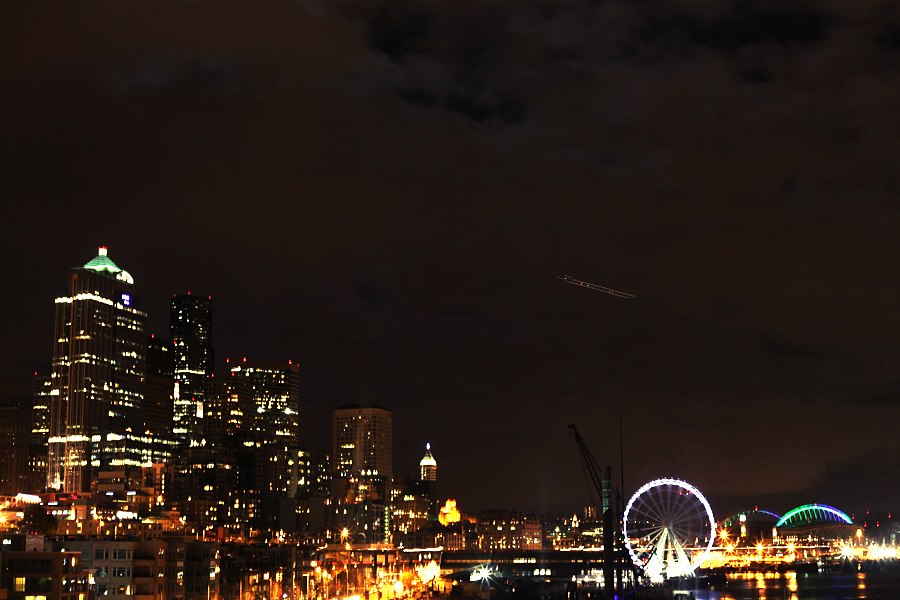
Underexposure
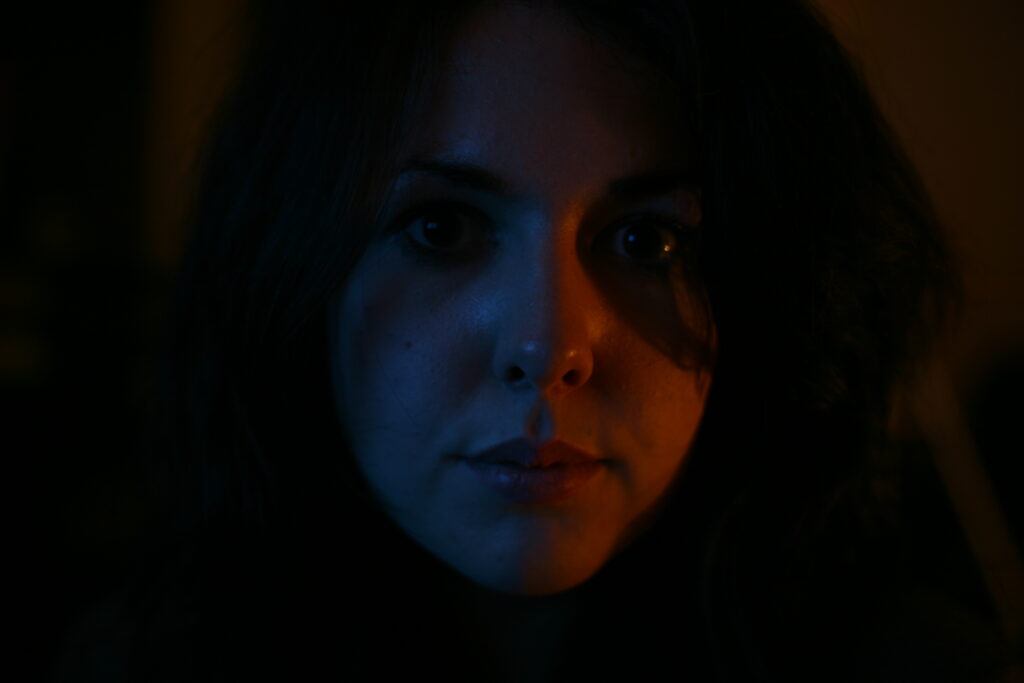
To improve this picture, I could have added additional lighting or a wider aperture and boosted my ISO a little. But I didn’t, because I was a little dumbass.
What Camera Settings To Use In Low-Light Photography?
The key to great low-light photography lies in knowing your camera settings and how to push them in difficult conditions.
I get that for a beginner, this can be the most intimidating part.
I’m totally with you, I started as a wedding photographer and let me tell you… these wedding venues in the UK are dark! It was a learning curve for sure, so I’m going to try and make it as simple as possible for you, so you don’t have to do as much guess work as I did.
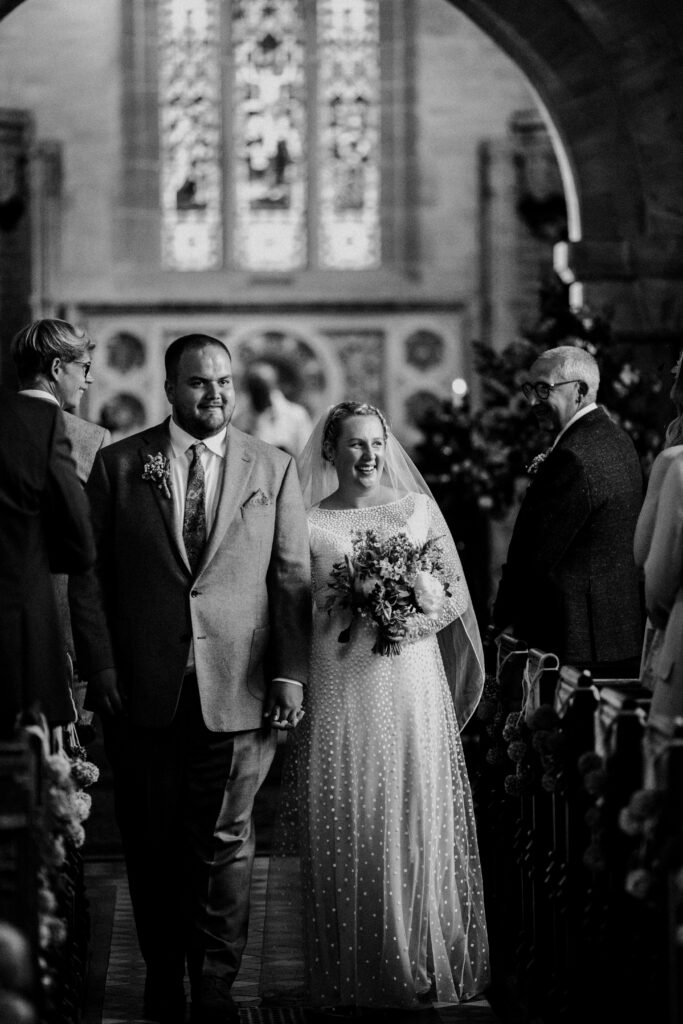
Here’s a quick breakdown:
Aperture (f/Stop)
- Use a wider aperture (low f/number, like f/1.8 or f/2.8) to let in more light.
- Wide apertures also create a beautiful background blur (bokeh), making your subject stand out.
The downside to this, is if you need more of your image in focus, you can’t really use a super wide aperture. That’s where the other settings come in.
Shutter Speed
- A slower shutter speed lets in more light but increases the risk of blur from camera shake or moving subjects.
- Use a tripod for stability when shooting at slow shutter speeds.
Obviously you won’t be able to use a slow shutter speed if you’re photographing a moving object that you want to freeze, so in that case you need to look at your aperture and ISO instead.
ISO
Adjust your ISO as a last resort. If you can’t get your aperture any wider or you can’t use a shutter speed any slower for whatever reason, then it’s time to look at your ISO.
- Increase your ISO to brighten your image, but be mindful of noise. Modern cameras handle high ISOs fairly well, so don’t be afraid to experiment.
- See how far you can push your ISO without the grain/noise being too much.
ISO 100 is the gold standard but I’ve been known to push my ISO to over 10000 in really dark wedding venues due to the fact I can’t use a slow shutter speed and using flash in a Church is pretty much a no-go.
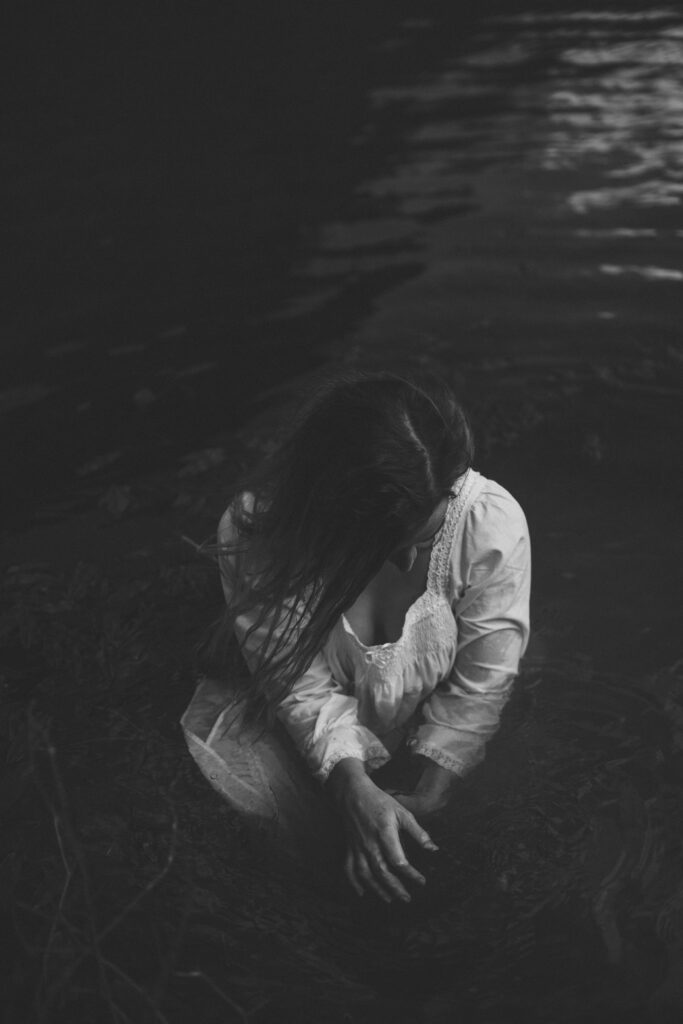
Use a Fast Lens
If you’re serious about low-light photography and you have the means, consider investing in a “fast lens.”
These lenses have wide maximum apertures (like f/1.4 or f/1.8), allowing them to capture more light than standard kit lenses.
For a beginner I would recommend a 50mm f/1.8 lens, also known as the “nifty fifty,” which is affordable and versatile. I can honestly say, this was my favourite lens of all time when I first started and I used it almost exclusively. When you’ve been shooting on kit lenses and zooms for years, the first time you try a prime lens is magic.
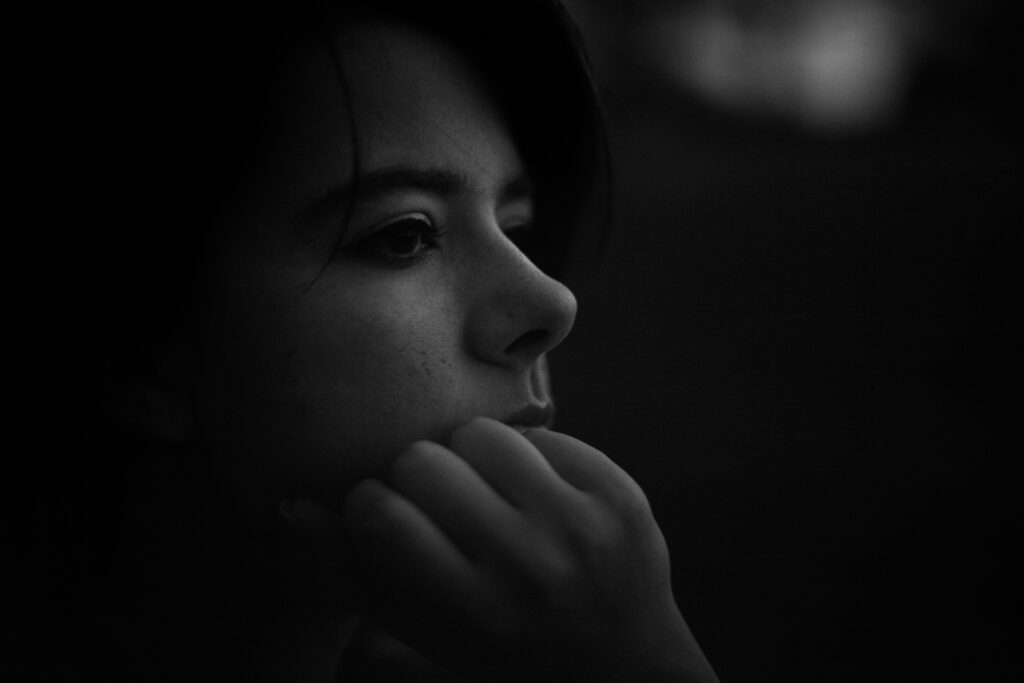
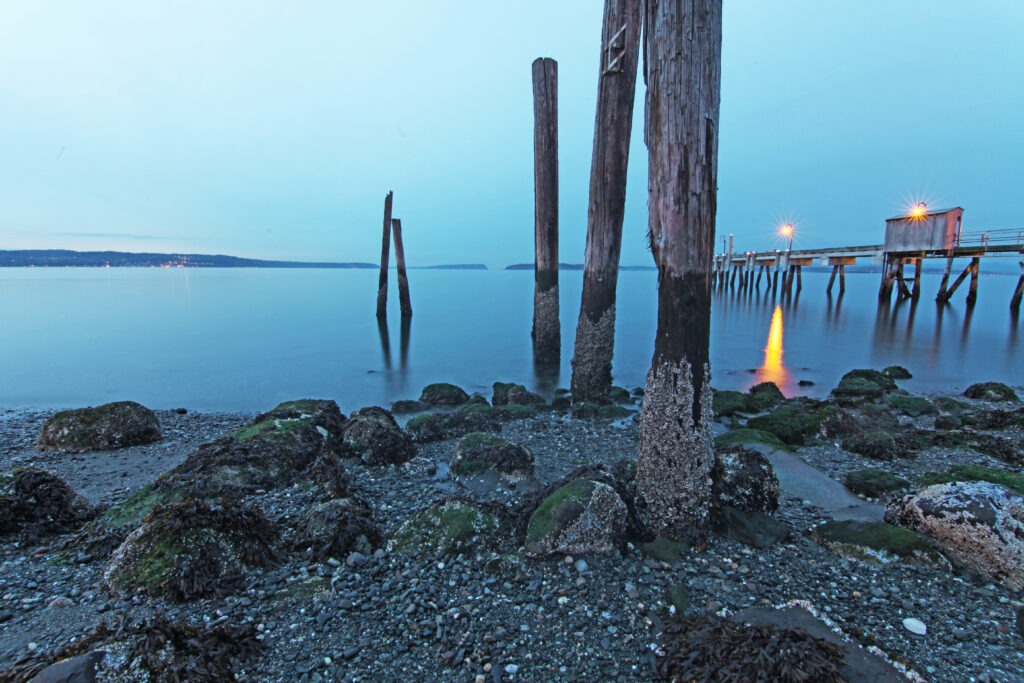
Use a Tripod for Stability
A tripod is a game changer for low-light photography. It keeps your camera stable as heck, allowing you to use slower shutter speeds without you getting blur from hand movement.
This is especially useful for:
- Nightscapes
- Light trails
- Long exposure shots of water or stars
- Lanscapes
Pro Tip: If you don’t have a tripod, use a sturdy surface like a table, ledge, or wall to steady your camera.
Even More Pro Tip: To decrease the chance of camera shake even more, consider using a budget remote shutter so that you don’t even have to touch the camera at all when you take the picture. This is the one I have used for years. I often use a wireless one for self portraits but the cheap wired one is great when I just want to stand next to the camera and capture a nightscape with a slow shutter speed.
Embrace Manual Focus
In low light, your camera is probably going to struggle to auto-focus and this can be super frustrating and you can miss shots etc. It’s the worst.
Switching to manual focus gives you more control and helps you get sharper images but it does take a fair bit of practice if you’re not used to it.
Once you get to grips with it though, you’ll find it’s faster than trying to auto-focus in dark conditions and actually it’s a handy skill to have in any condition.
How to Use Manual Focus:
- Turn your lens to the manual focus setting (usually marked as “MF”).
- Use your camera’s live view (if available) to check your focus.
- Zoom in on your subject in live view to ensure precise focus.
- Learn the direction that your focus ring works for focusing up close or further away. Once you’re used to it, it will be more instinctual.
Low-Light Photography With Available Light
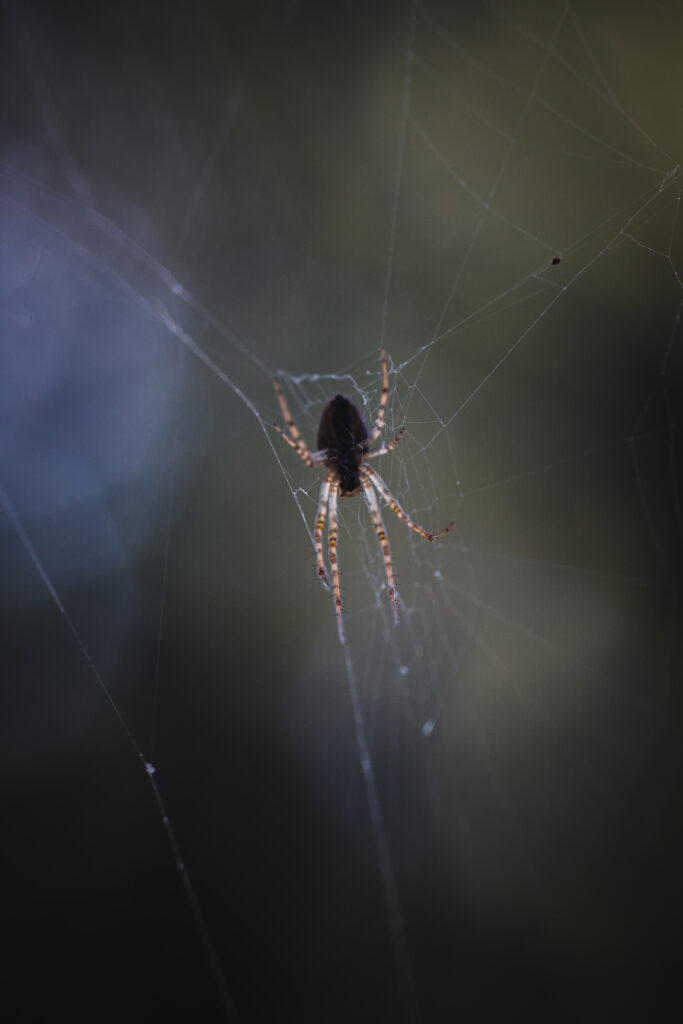
Low-light photography doesn’t mean “no light.”
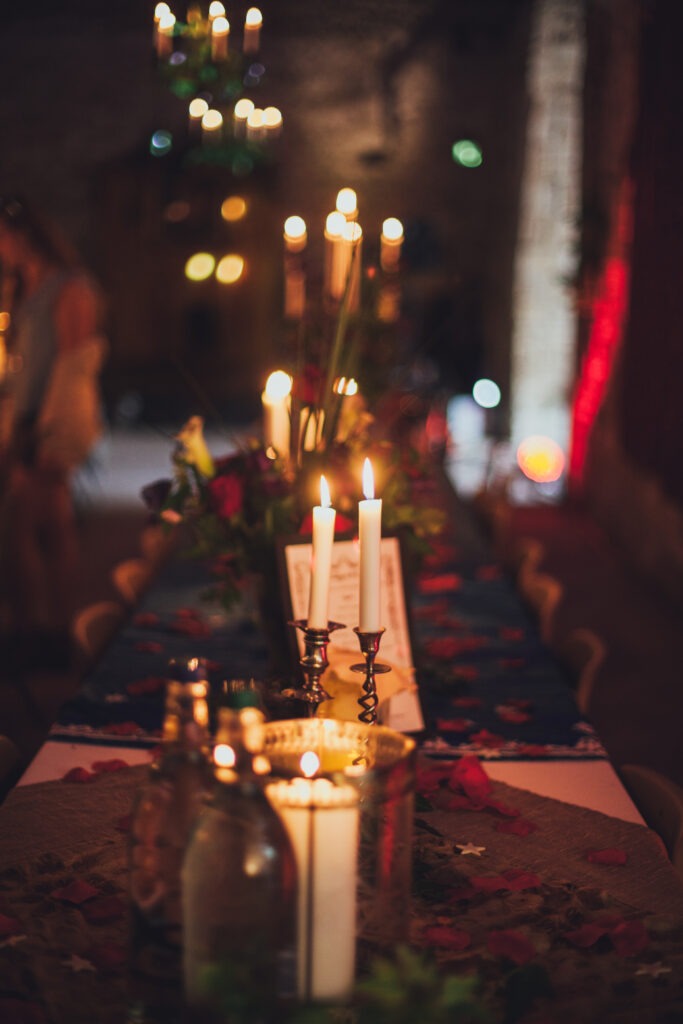
You need some light. Whether that’s natural light or lights that are already available around you.
Look for light sources that are already in your environment like:
- Streetlights
- Neon signs
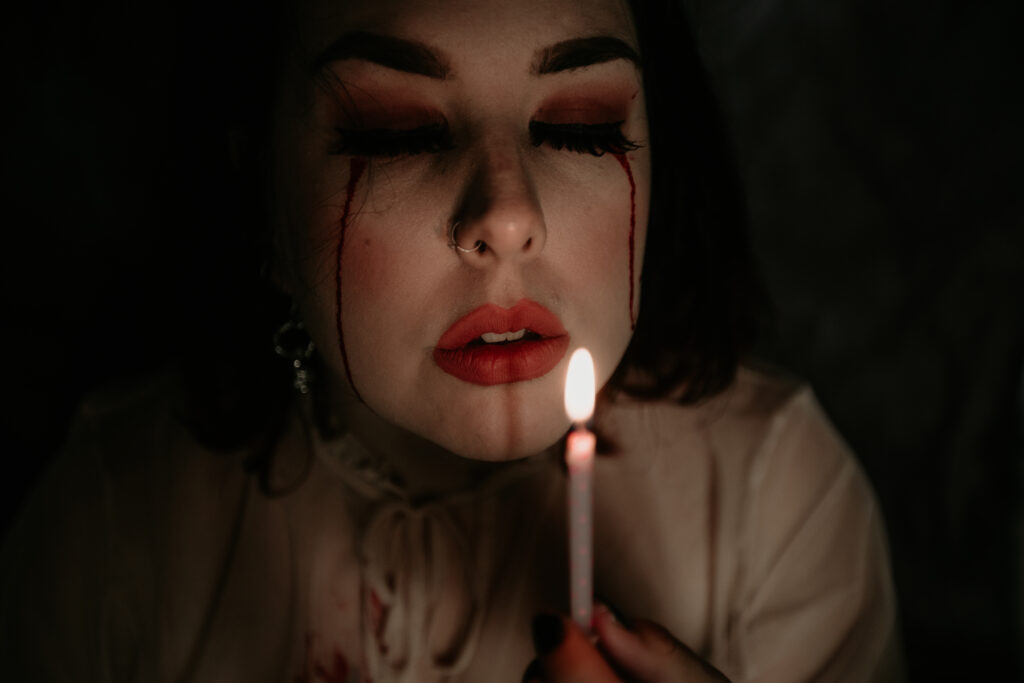
- Candles
- Windows
- Streams of natural light
If you can, position your subject close to these light sources for better results.
Long Exposure For Low-Light Photography
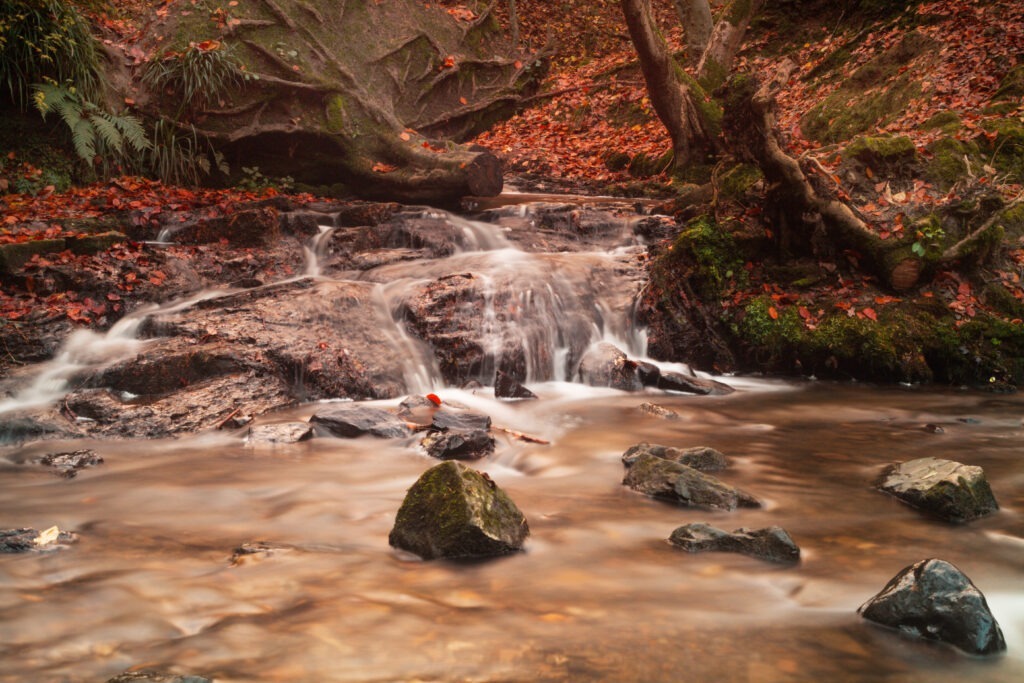
Long exposure photography is a fantastic way to create dramatic low-light photos.
By keeping the shutter open for an extended period, you can capture effects like:
- Light trails from cars
- Starry skies
- Smooth, flowing water (like those dreamy waterfall pictures I am sure you will have seen)
How to Start:
- Set your camera to manual mode or shutter priority mode.
- Use a tripod to avoid shake.
- Experiment with shutter speeds ranging from a few seconds to several minutes.
Pro Tip: Remember that remote shutter release we were talking about earlier? This a good time to use it or use your camera’s self-timer to prevent camera shake when pressing the shutter button.
Reduce Noise in Your Low-Light Photography
Digital noise is a common issue in low-light photography, especially at high ISOs. While some noise is unavoidable, these tips can help minimize it:
- Shoot in RAW format: RAW files retain more detail and allow for better noise reduction during editing.
- Get exposure right in camera. If you brighten up an image that’s underexposed, you will get more digital noise.
- Use noise reduction tools in software like Adobe Lightroom or Topaz. We will talk about this more further in the post.
Use External Light Sources
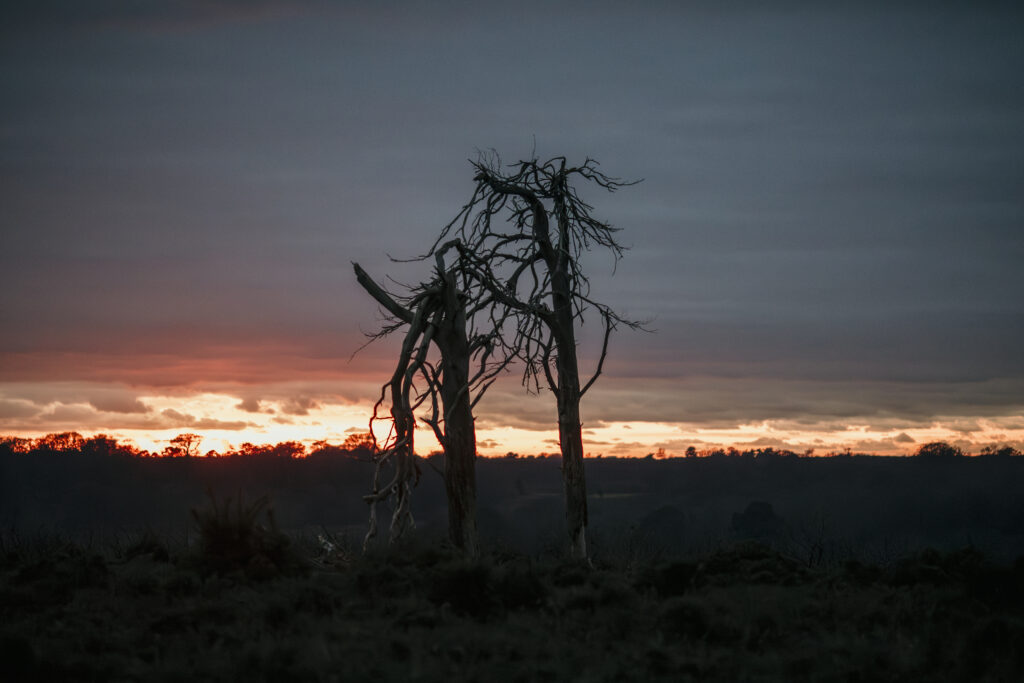
When available light just isn’t enough, using external lighting can make a huge difference.
Here are a few beginner-friendly options:
- Speedlight (External Flash): Bouncing the flash off a wall or ceiling creates soft, flattering light. I do this for wedding receptions all the time and it never fails.
- LED Video Light: These allow for constant, adjustable lighting, rather than bursts of light with flash. This way you can see what your image will look like before you take it. I recommend a mini video light, that’s budget friendly and will fit in a coat pocket. These are also handy if you do macro photos and haven’t got enough light.
- Smartphone torch: If you’re really stuck, your phone’s torch can act as a light source for close-up subjects. I have to do this with Mushroom macro photography when I have forgotten my mini video light.
Experiment with Creative Techniques
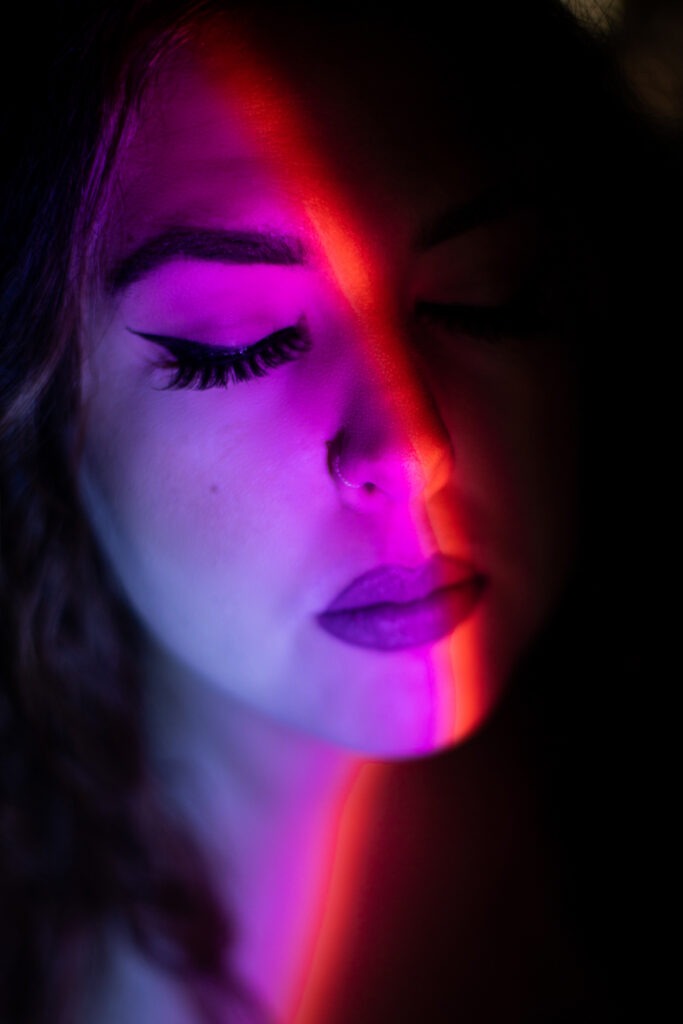
Sometimes with low-light photography you just have to get experimental and get creative.
The good thing about this, is that there are some techniques that you can only do in low-light, such as:
- Light Painting: Use a torch or LED light to “paint” light onto your subject during a long exposure. You can even use glow sticks, sparklers and write words or draw pictures.
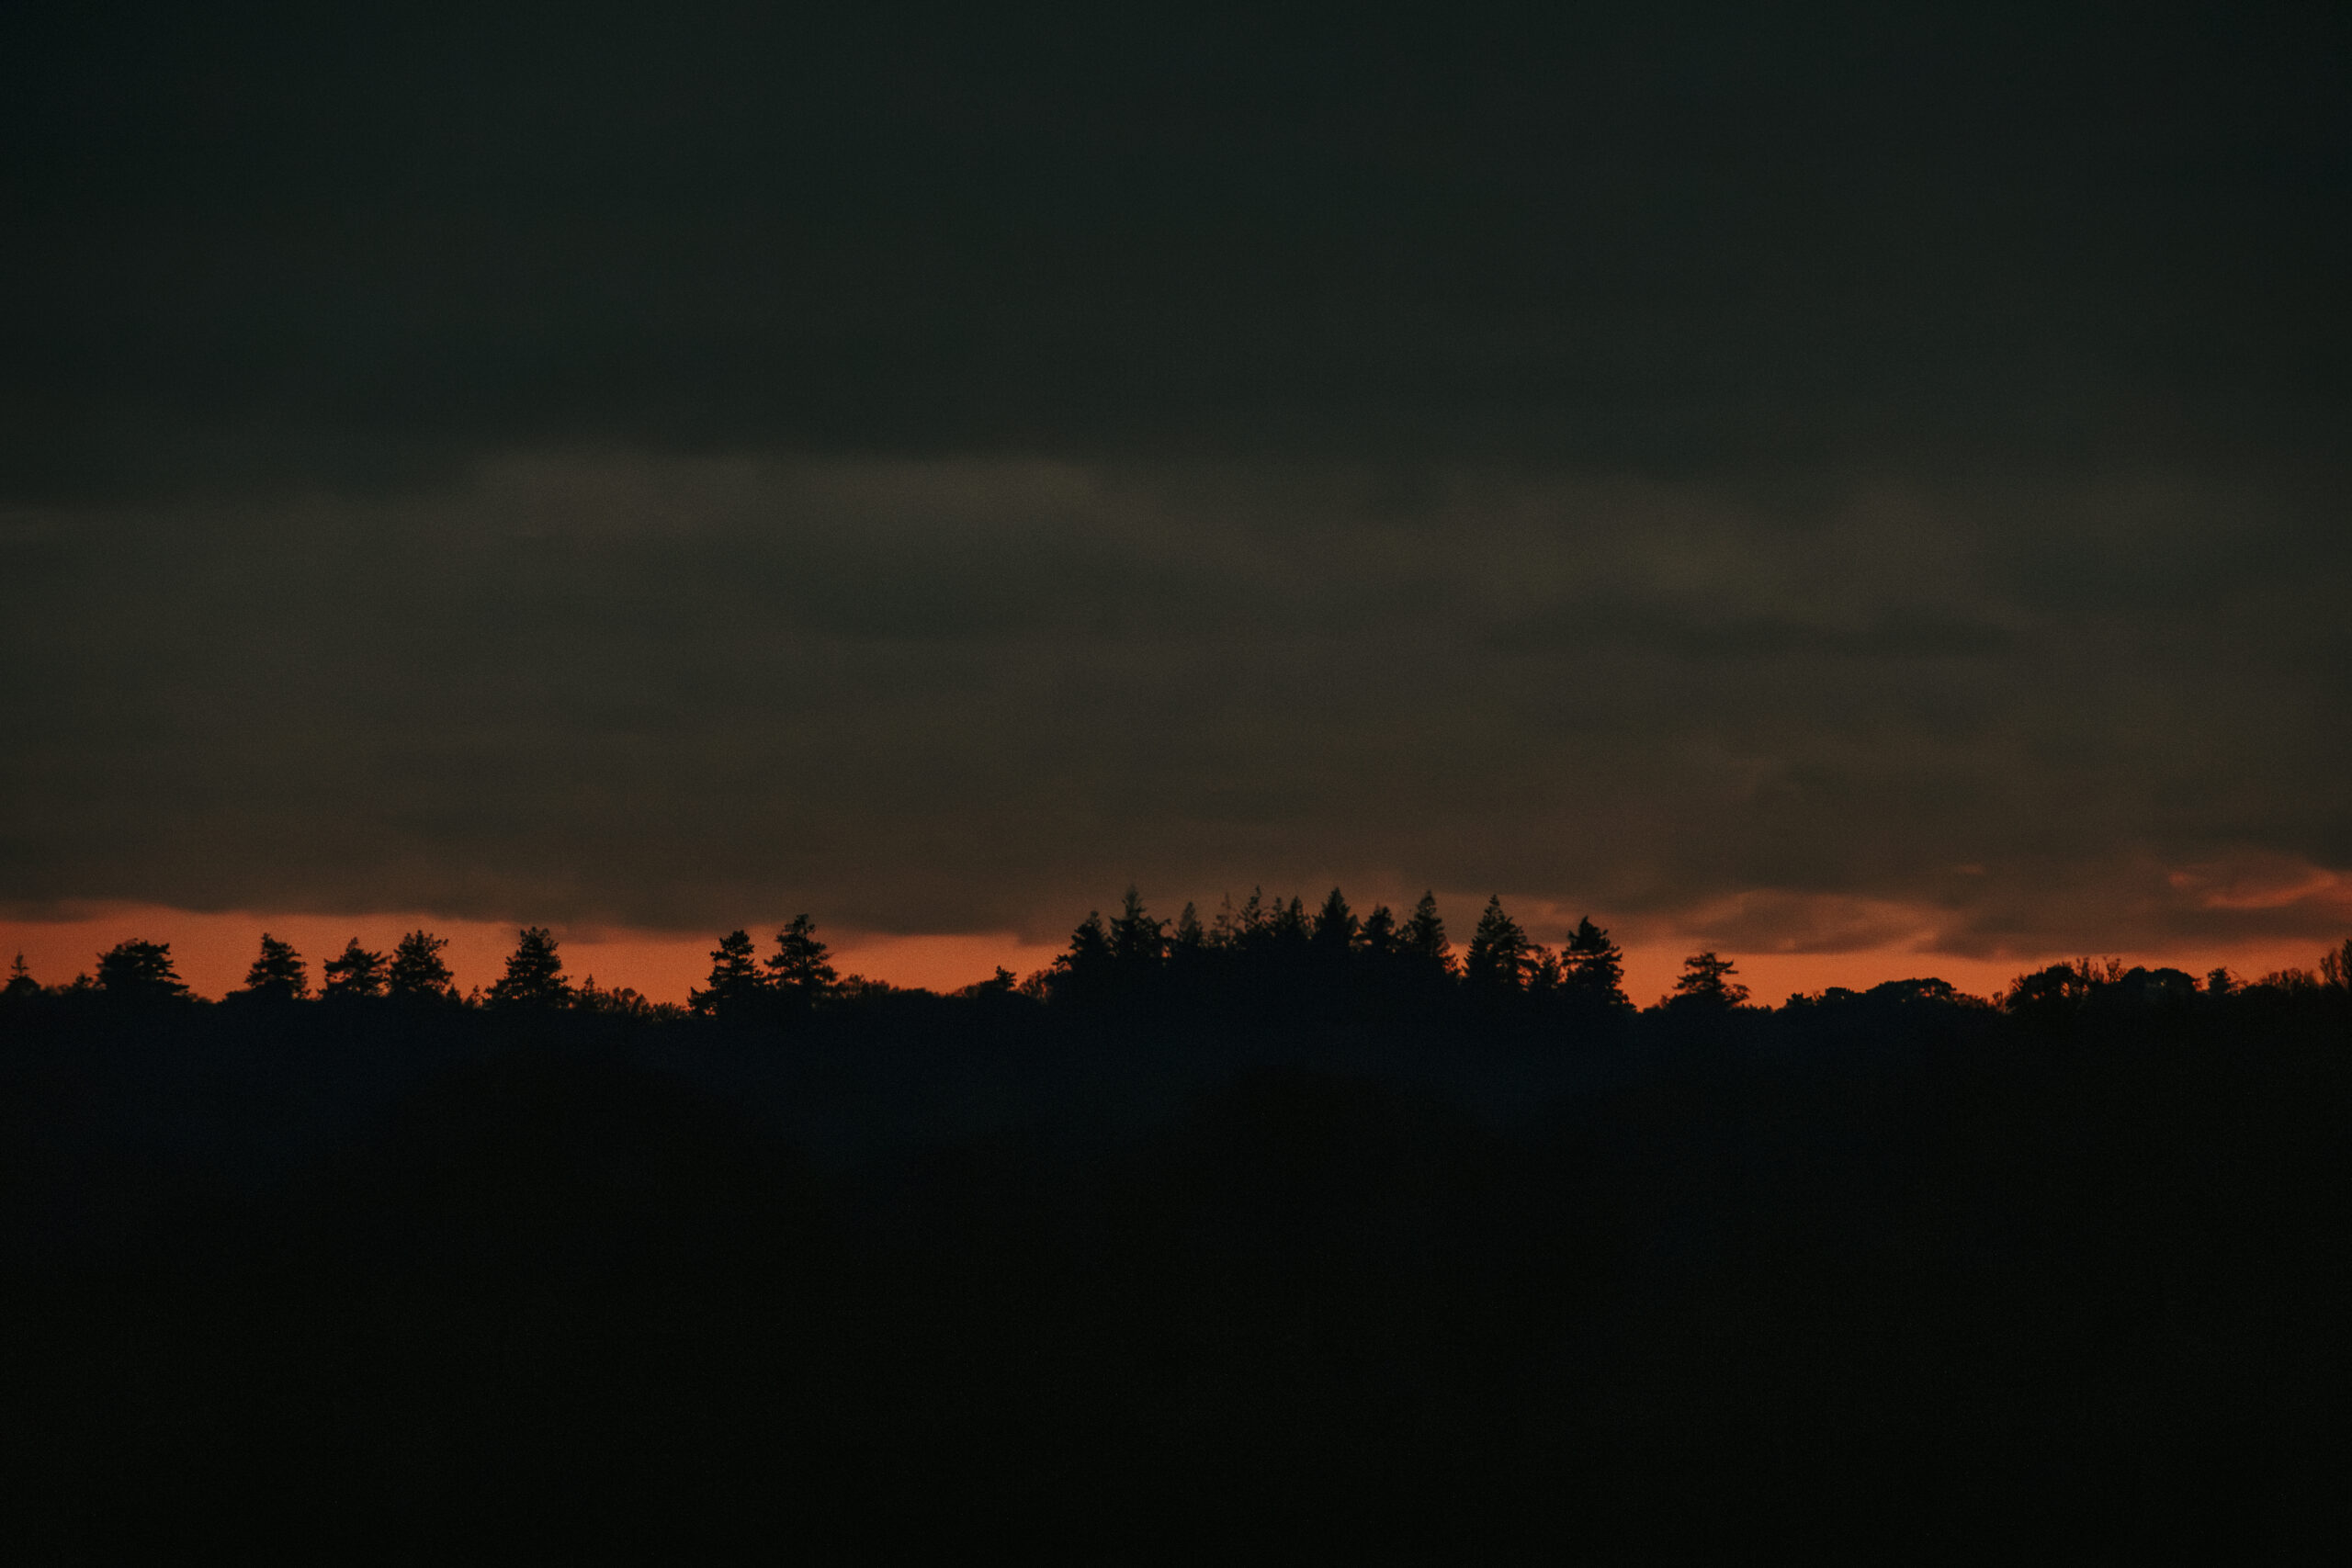
- Silhouettes: Position your subject against a sunset or neon light and expose for the light in the image, creating a silhouette.
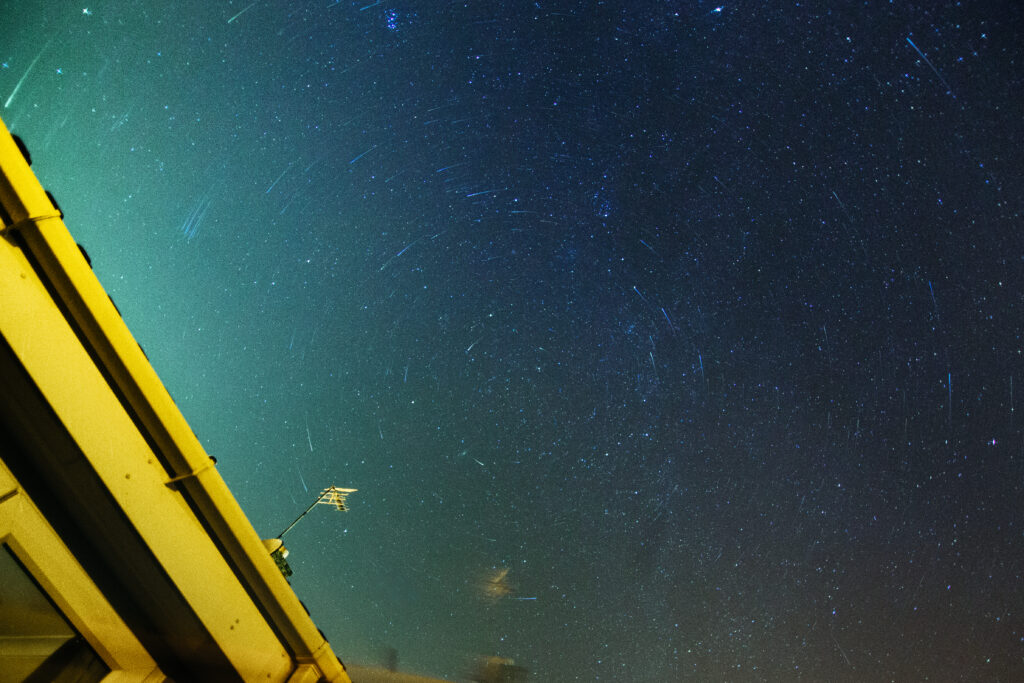
- Night Sky: The BEST thing about low-light photography is photographing the night sky. I use an app called Stellarium to figure out what planets I’m looking at, what constellations I’m photographing, where the milky way band is on the horizon. You absolutely NEED a tripod for this and long exposure.
How To Edit Low-Light Photography
Post-processing plays a significant role in bringing your low-light photos to life (or to save them, either one).
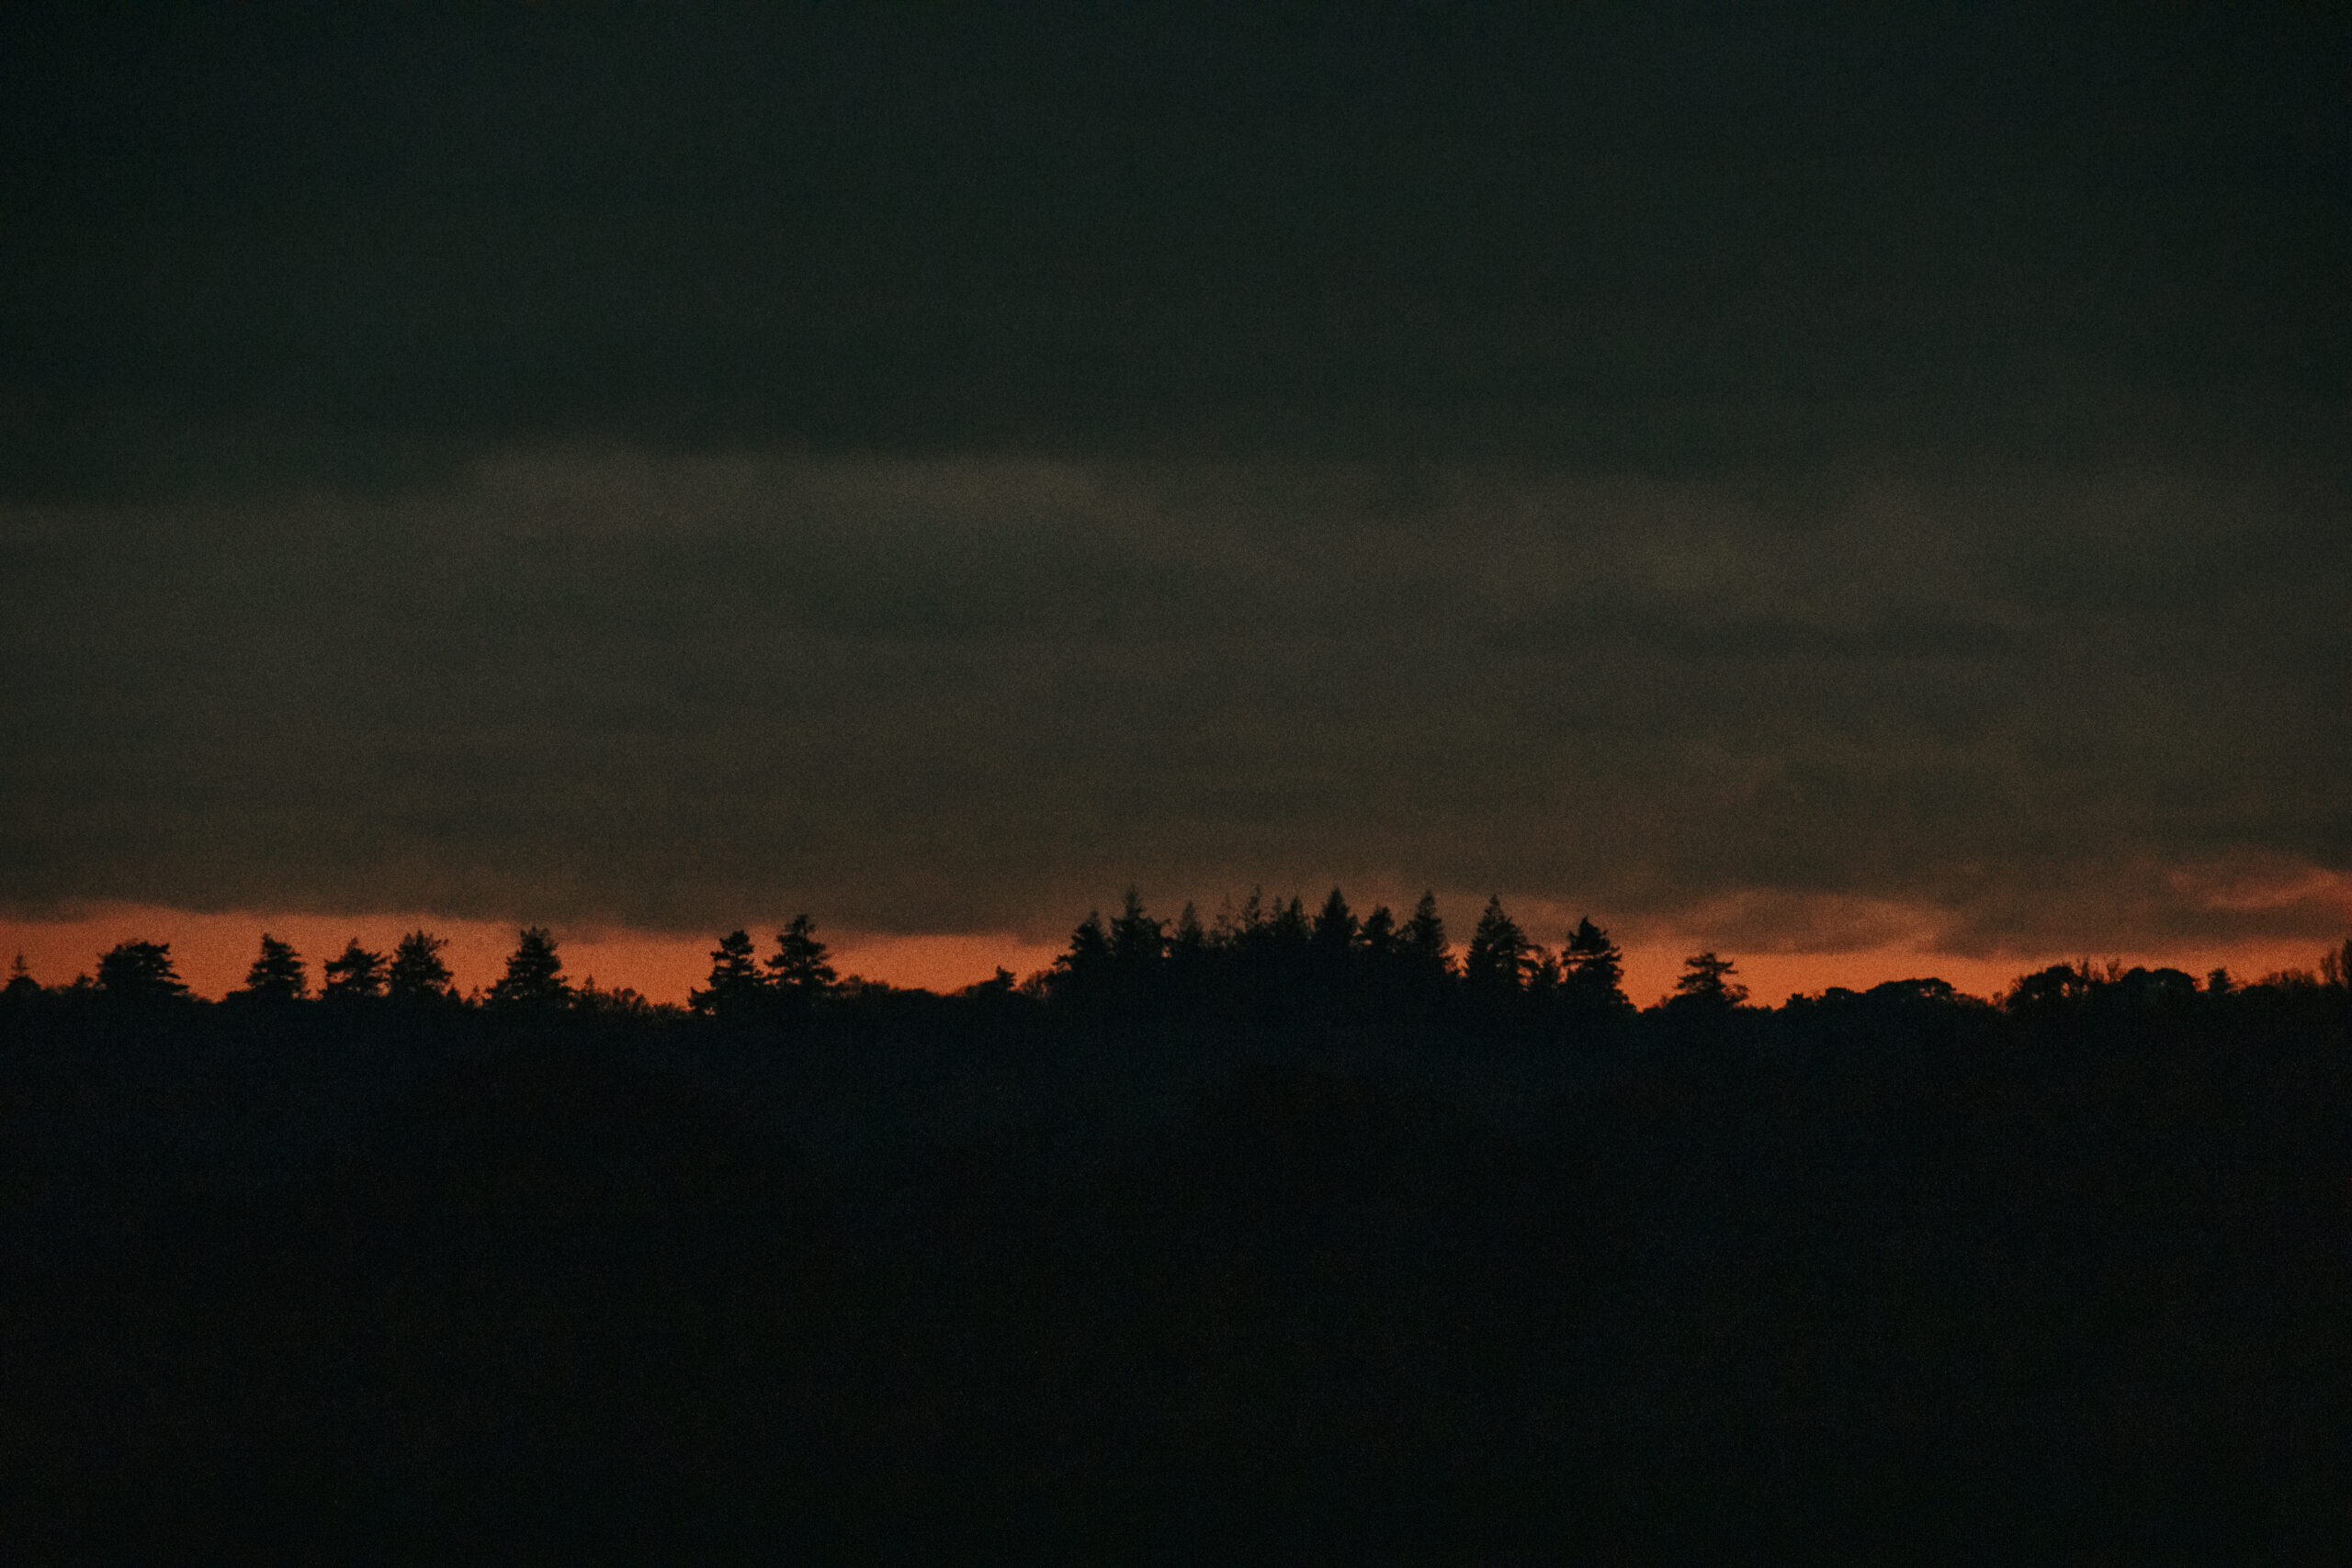
The most important part of editing low-light photography, is reducing noise. This will be especially important if your camera doesn’t handle high ISO that well.
I personally use Lightroom and Topaz for removing digital noise.
You want to remove noise in a way that keeps as much detail in your image as possible, as you still want your images to be sharp in the right places.
Practice Makes Perfect
Low-light photography can be challenging, but every mistake is an opportunity to learn. If it wasn’t challenging, absolutely everyone would be an amazing photographer right?
Be patient with yourself as you experiment and refine your skills. It takes time.
Pro Tip: Note your settings and write down which worked well in which lighting scenarios. You’ll have a handy resource to come back to and over time, you’ll develop an intuitive sense for shooting in low-light.
Gear & Accessories
While gear isn’t everything, and hopefully these tips will help you no matter what camera you are using, there are accessories that can enhance your low-light photography experience.
I have mentioned a few already in the post but these are some equipment and accessories that I highly recommend:
Tripod:
If you’re just starting out and you’re on a super budget, Amazon do a basics tripod that is brilliant for beginners. I have used one and I can definitely recommend it as a cheap starter option.
But if you want something a bit more robust then I highly recommend the tripod that I currently use. I don’t use a tripod that often, so didn’t want to spend over 100 quid on one that would gather dust during wedding season but this one has been invaluable for my landscape, night sky and even macro photography.
I love that there is more flexibility in the legs than the basic tripod version and the ball head makes it so easy to point my camera in the direction I need it to go in – perfect for photographing the night sky.
Remote Shutter:
Another invaluable piece of kit for low-light photography. If your camera is on a tripod and you’re using a slow shutter speed, you still risk camera shake when pressing the shutter. A remote shutter means you can stand back and take the picture without touching the camera at all.
I use both a cheap wired remote (for landscapes, night sky shots) and a wireless remote (for self portraits).
Reflector:
Bounce whatever available light you have with a reflector. These are especially good for portraits.
Video Light:
Having a portable video light wherever you go, means you have an external light source at hand whenever a low-light photo situation might crop up.
Fast Lens:
A lens with a wide aperture (e.g., f/1.8 or f/2.8) lets in more light than your average kit lens or zoom. I recommend a “nifty fifty” 50mm 1.8 to start off with.
Take Advantage of Golden Hour and Blue Hour
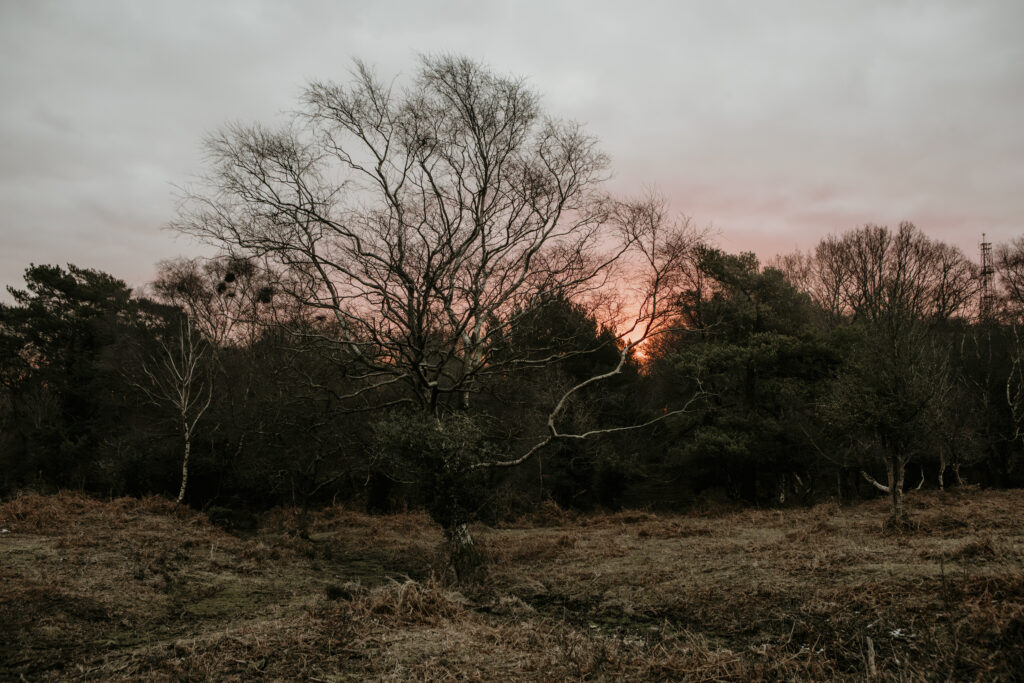
While technically already considered “low light”, the golden hour (just after sunrise or before sunset) and blue hour (twilight) offer soft, diffused lighting that’s perfect for practicing all of these low-light photo techniques.
Low-Light Photography Summary
How can you take better photos in low-light photography?
To excel in low-light photography, adjust your camera settings to optimise for limited light. Use a wide aperture (like f/1.8 or f/2.8) to let in more light, increase your ISO for better sensitivity, and use a slower shutter speed, while keeping your camera steady with a tripod to avoid blur. Experiment with external light sources, like candles or fairy lights, to add creative flair. Don’t forget to shoot in RAW for better editing flexibility later. With these tips, you can master low-light conditions and capture stunning, atmospheric photos.
Low-light photography doesn’t have to be daunting.
With the right techniques, a bit of creativity, and plenty of practice, you can capture stunning photos even when there’s not much available light.
Remember, it’s not about having the fanciest gear, it’s about understanding light, using your camera effectively, and using the tools you have more effectively.
What’s your biggest low-light photography concern? Let me know in the comments!



Great article, glad I stumbled onto your blog. I wanted to brush up on my low light photography and found it super useful!
I’m glad you found the tips useful Chris!