You know that feeling when you’ve hiked somewhere absolutely stunning, snapped a load of photos, and then got home to discover they look nothing like what you actually saw?
The mountains appear tiny, the sunset looks washed out, and somehow every shot has your finger creeping into the corner (if my Mum is reading this, then yes, that one’s about you).
Learning how to take great hiking photos comes down to understanding a few simple outdoor photography techniques that transform forgettable snapshots into images you’ll actually want to frame. It’s often a mixture of landscape photography, wildlife photography, and picking out smaller details on your journey.
Whether you’re shooting with a camera or your phone, this guide covers everything you need to start taking photos of your adventures.
You’ll learn: how to compose a good hiking photo, light and weather tips, how to take photos of yourself hiking, how to take good hiking photos with a phone, gear recommendations, and camera settings.
How to Use Composition for Great Hiking Photos
Master composition and your hiking photography will improve immediately, regardless of what you’re shooting with.
Use the Rule of Thirds
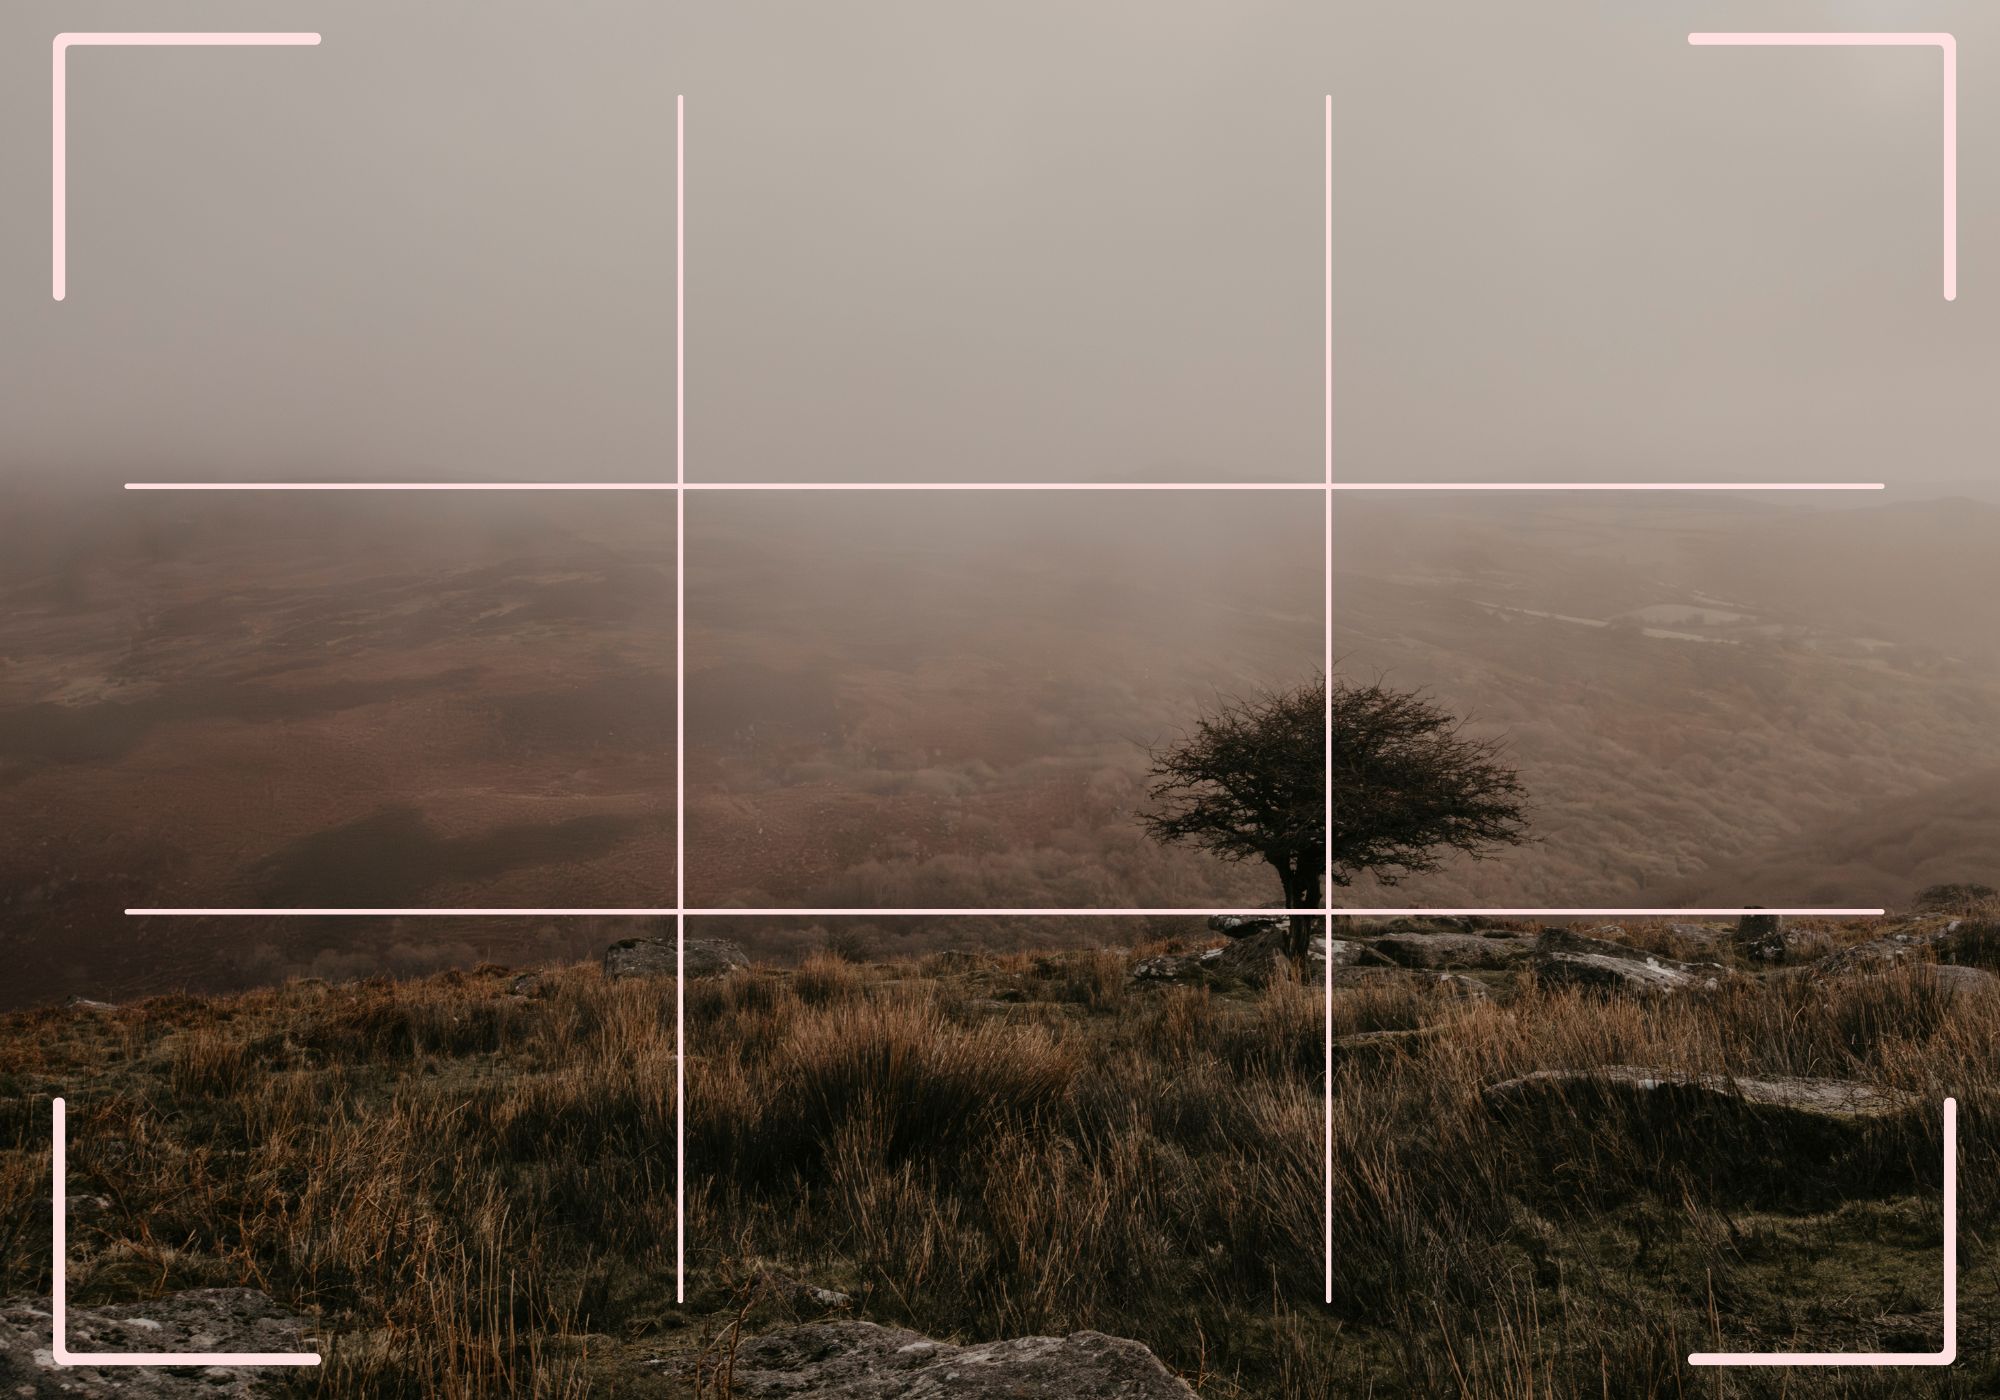
Imagine your frame divided into nine equal sections by two horizontal and two vertical lines. Instead of plonking your subject dead centre, place interesting elements along these lines or at their intersections.
Want to emphasise a dramatic foreground? Put the horizon on the top third line.
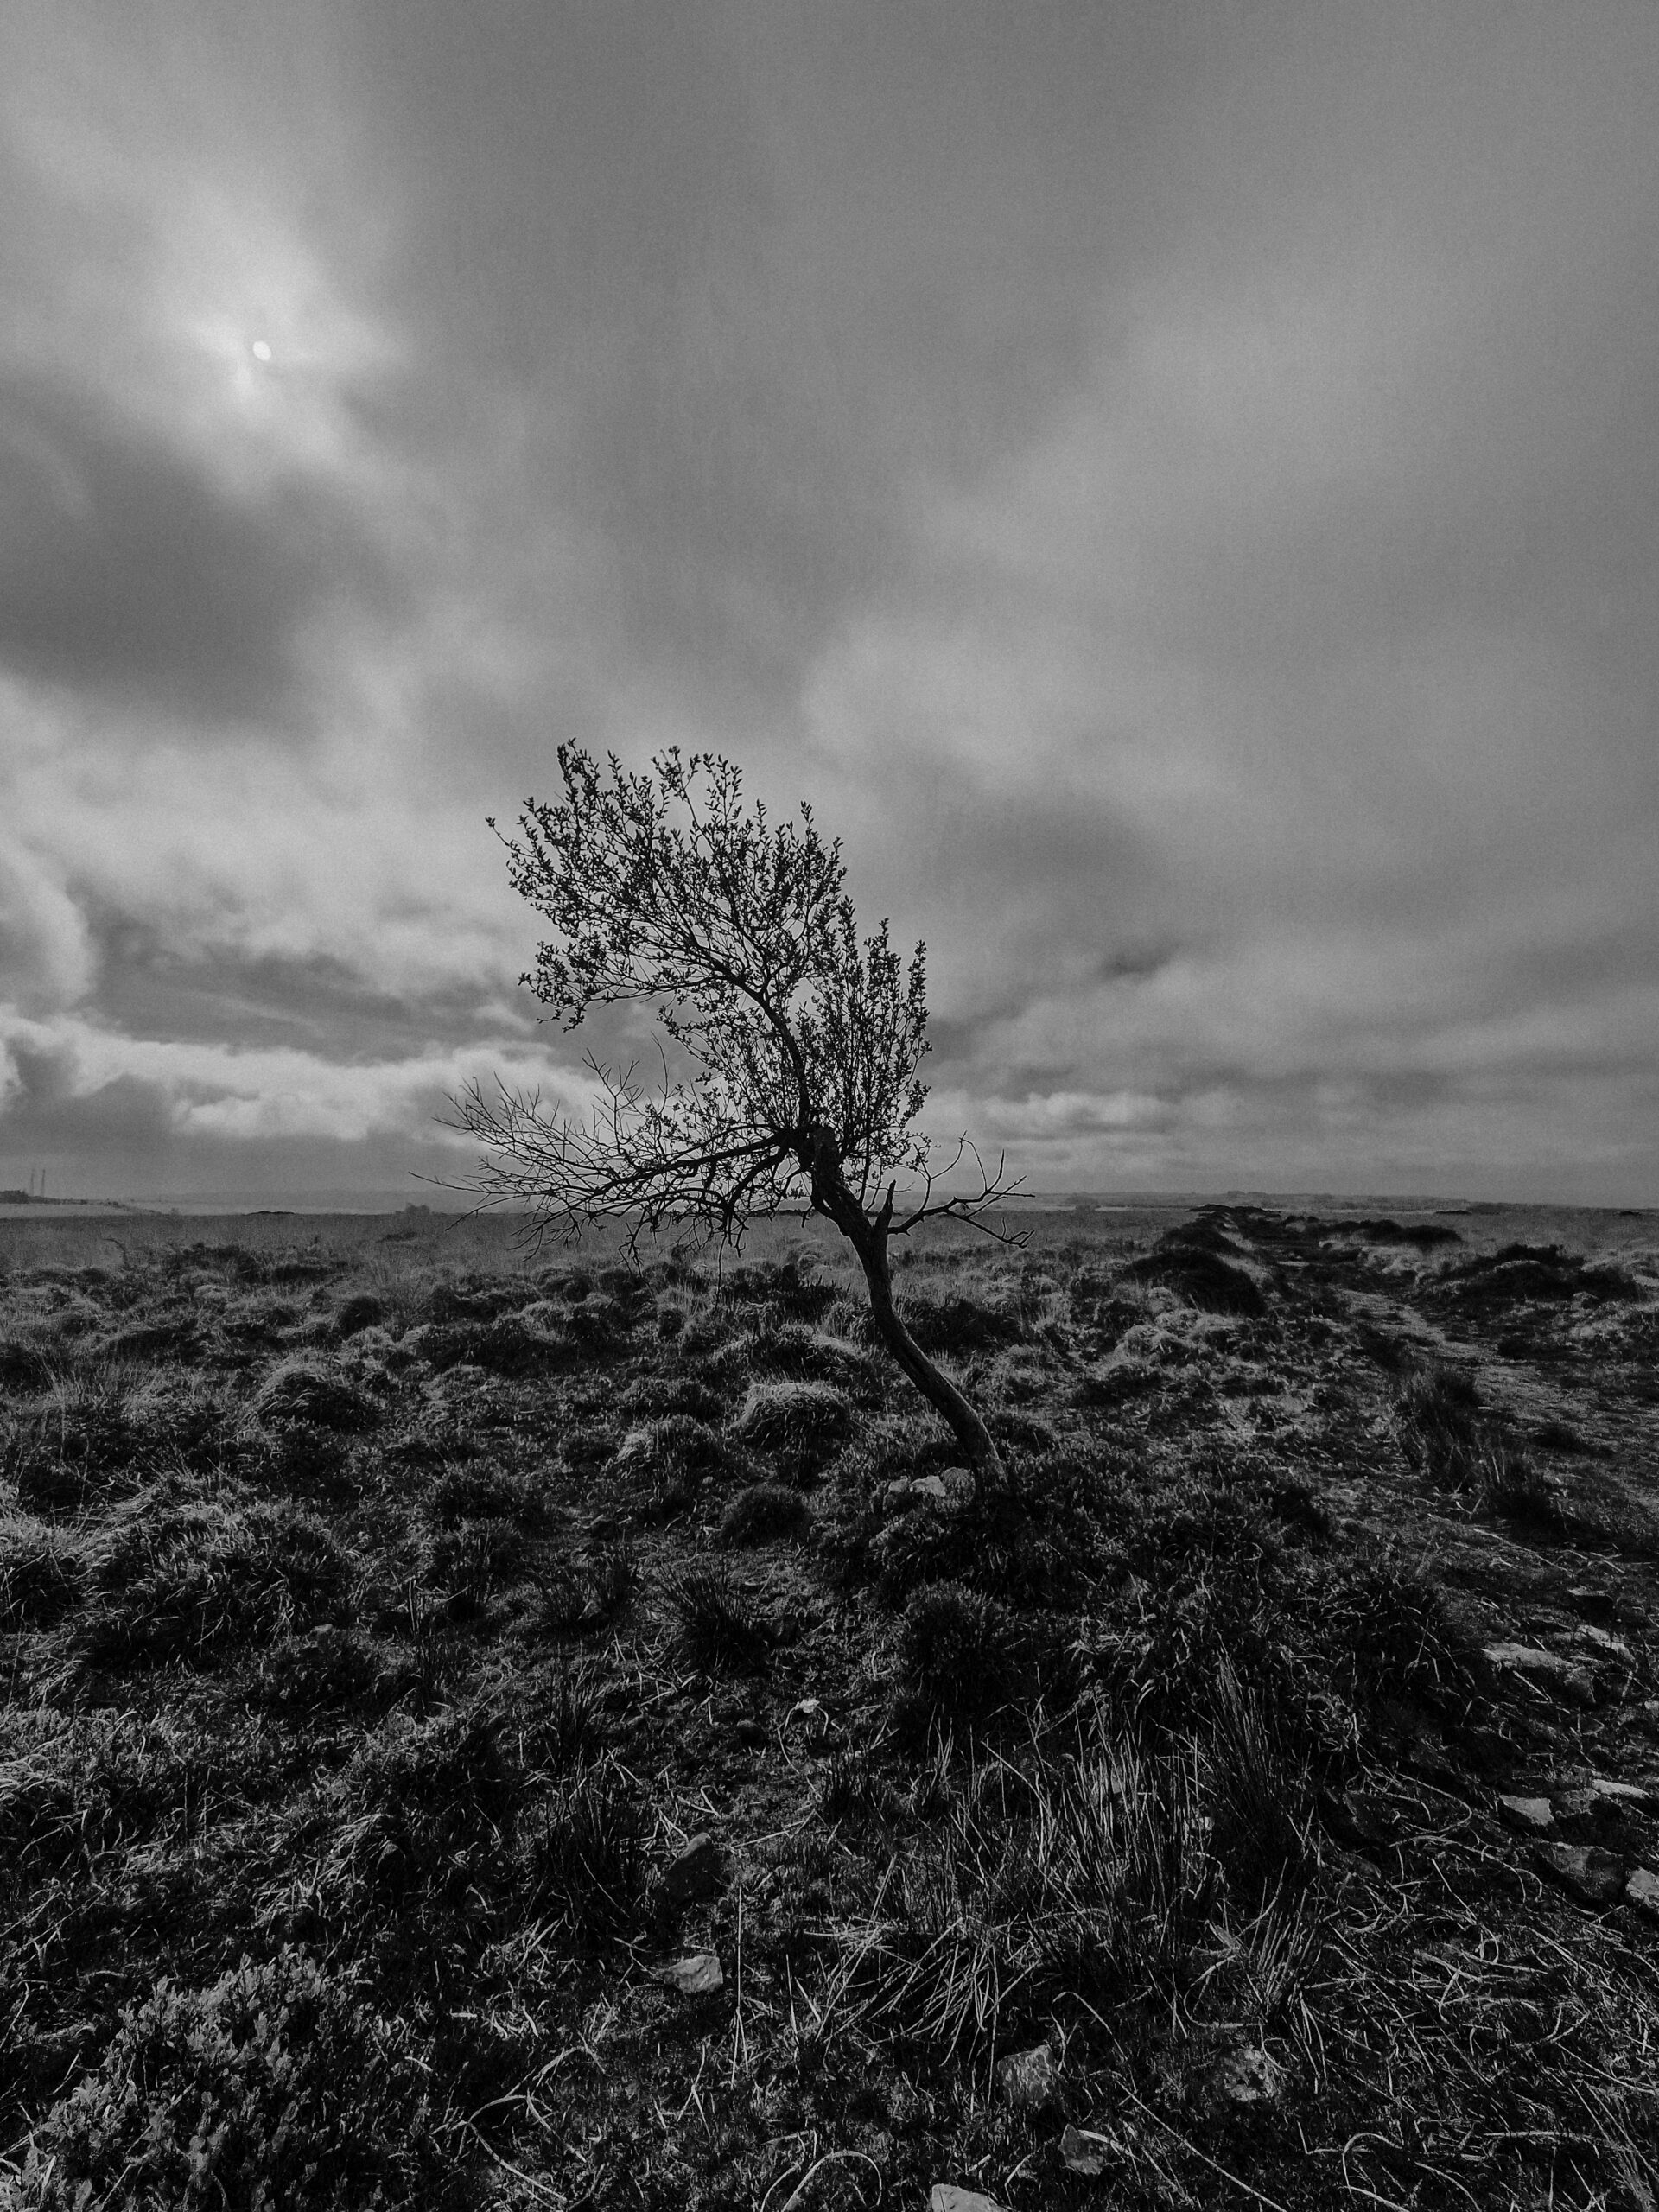
Showing off a moody sky? Drop the horizon to the bottom third.
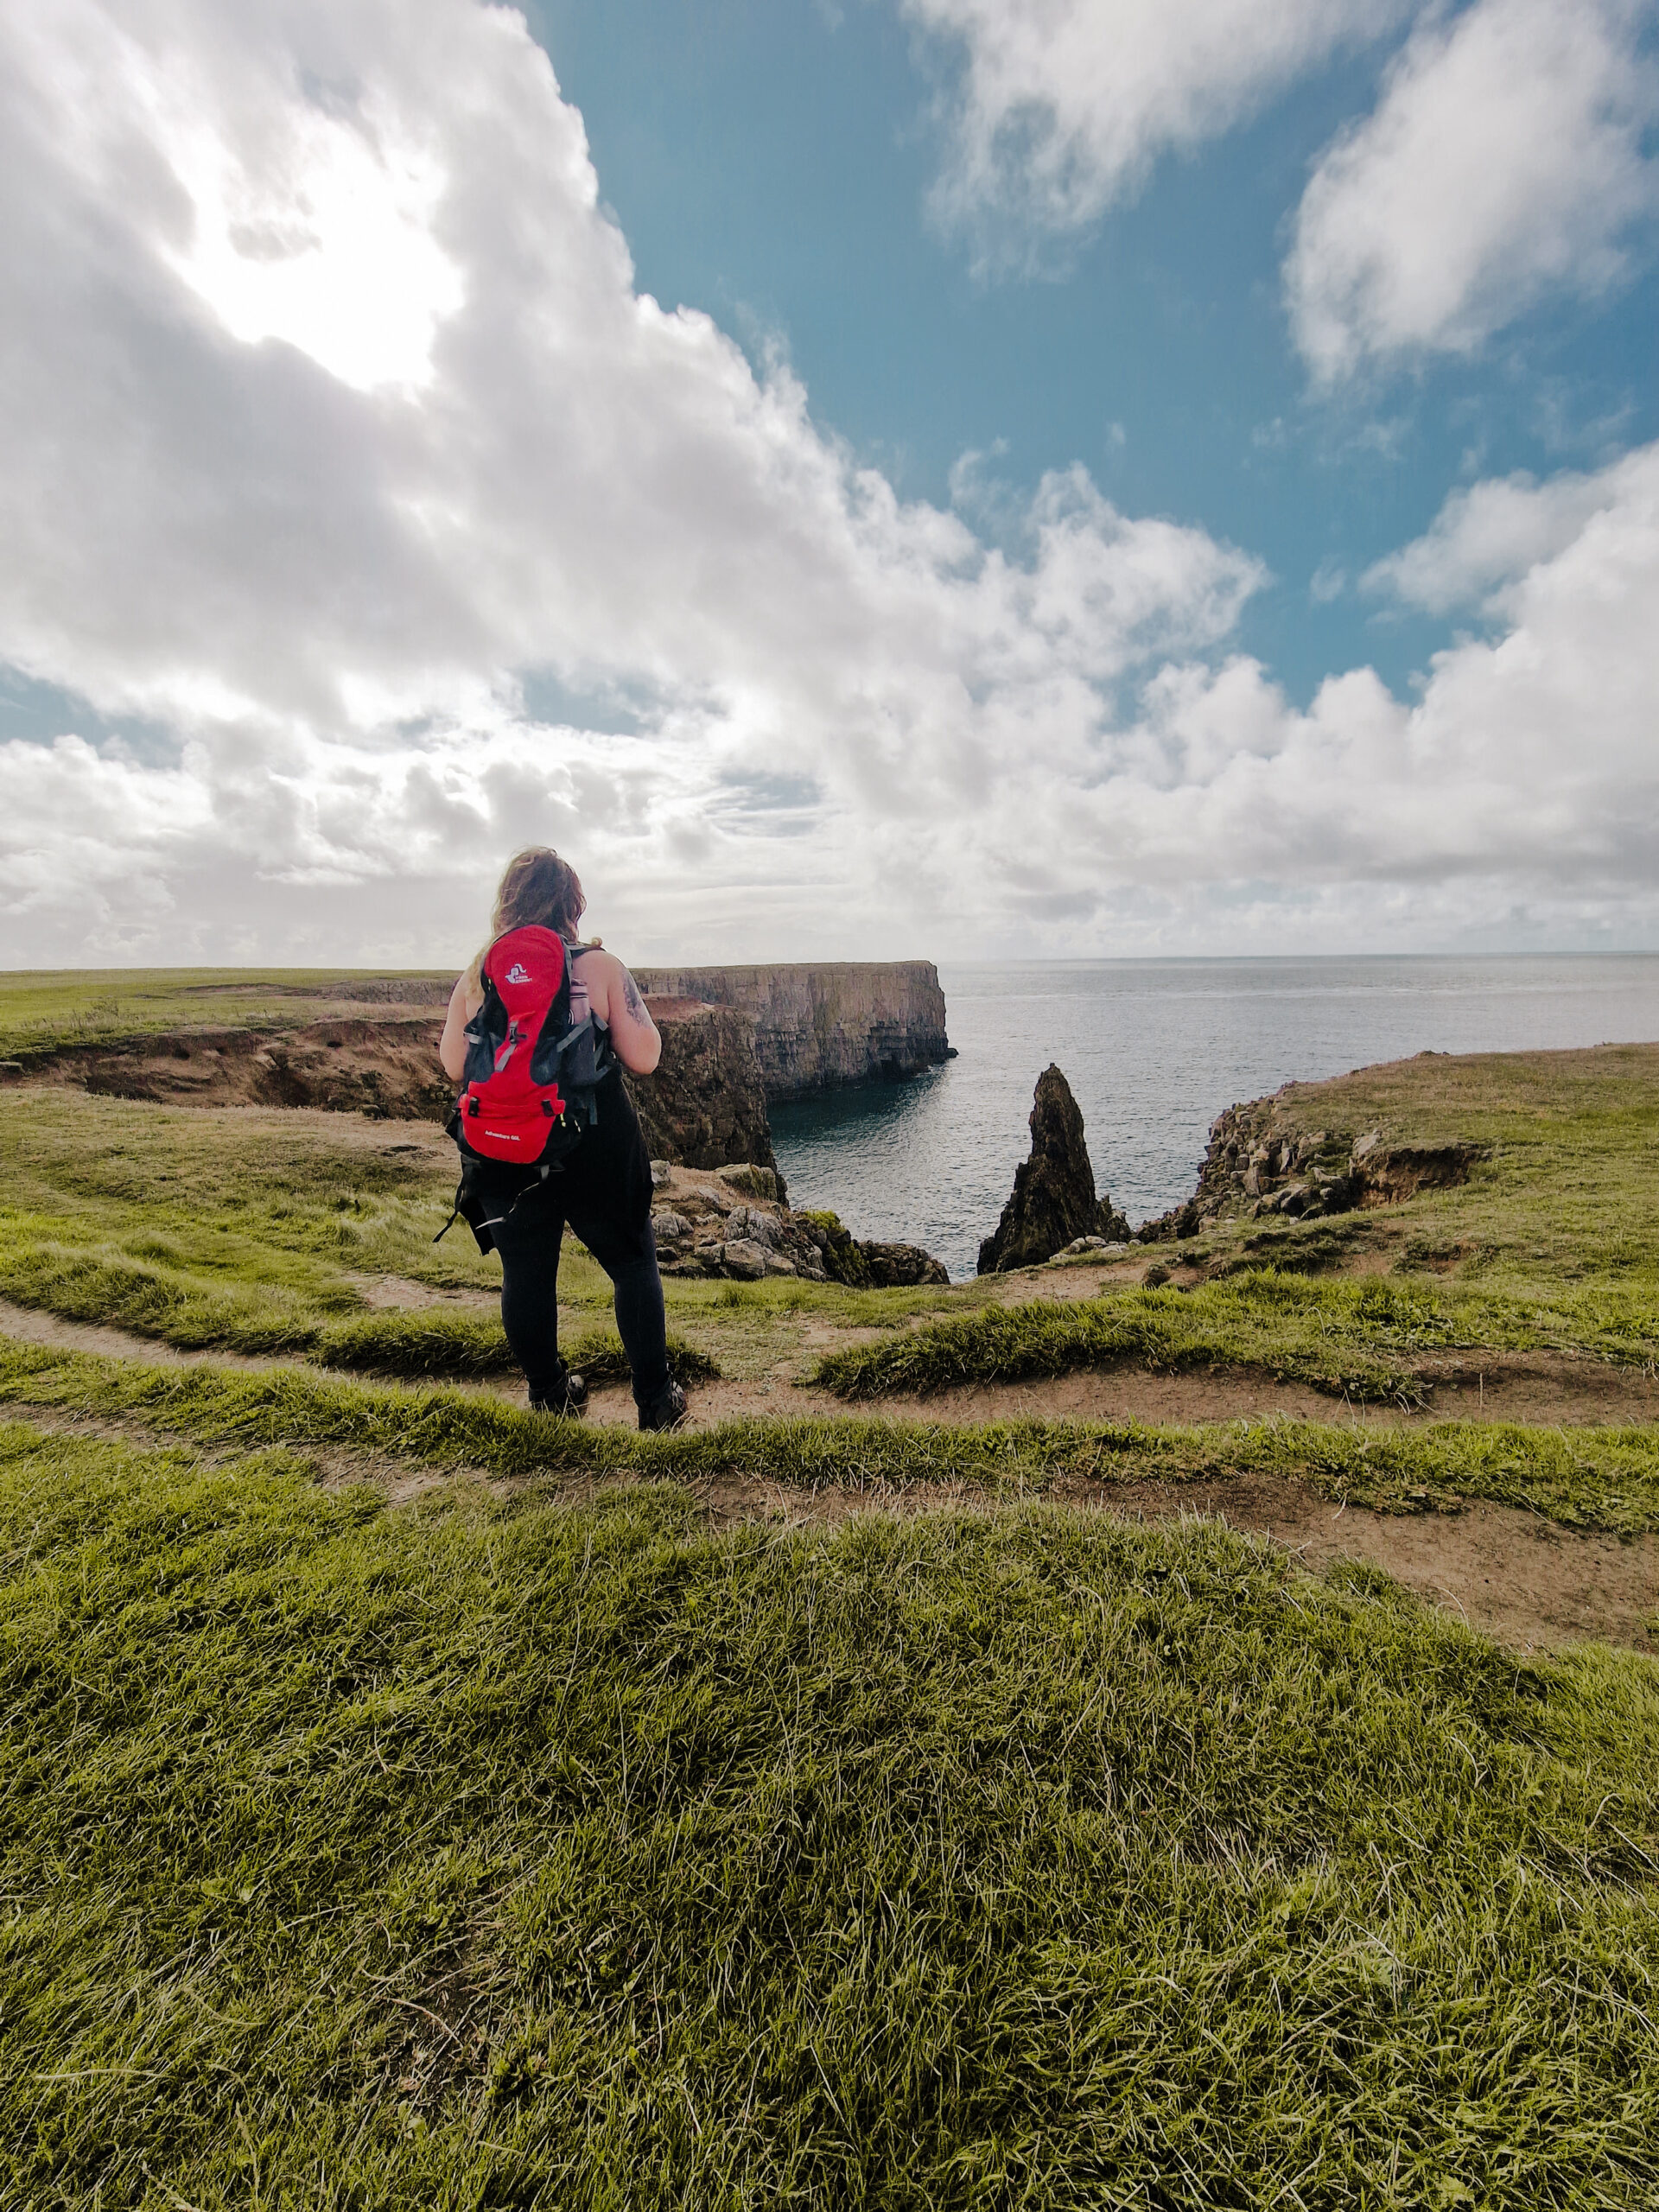
Got a friend in the shot? Position them at a left or right intersection point rather than bang in the middle.
Most cameras and phones have a grid overlay you can turn on, which helps to get used to using the rule of thirds.
Look for Leading Lines
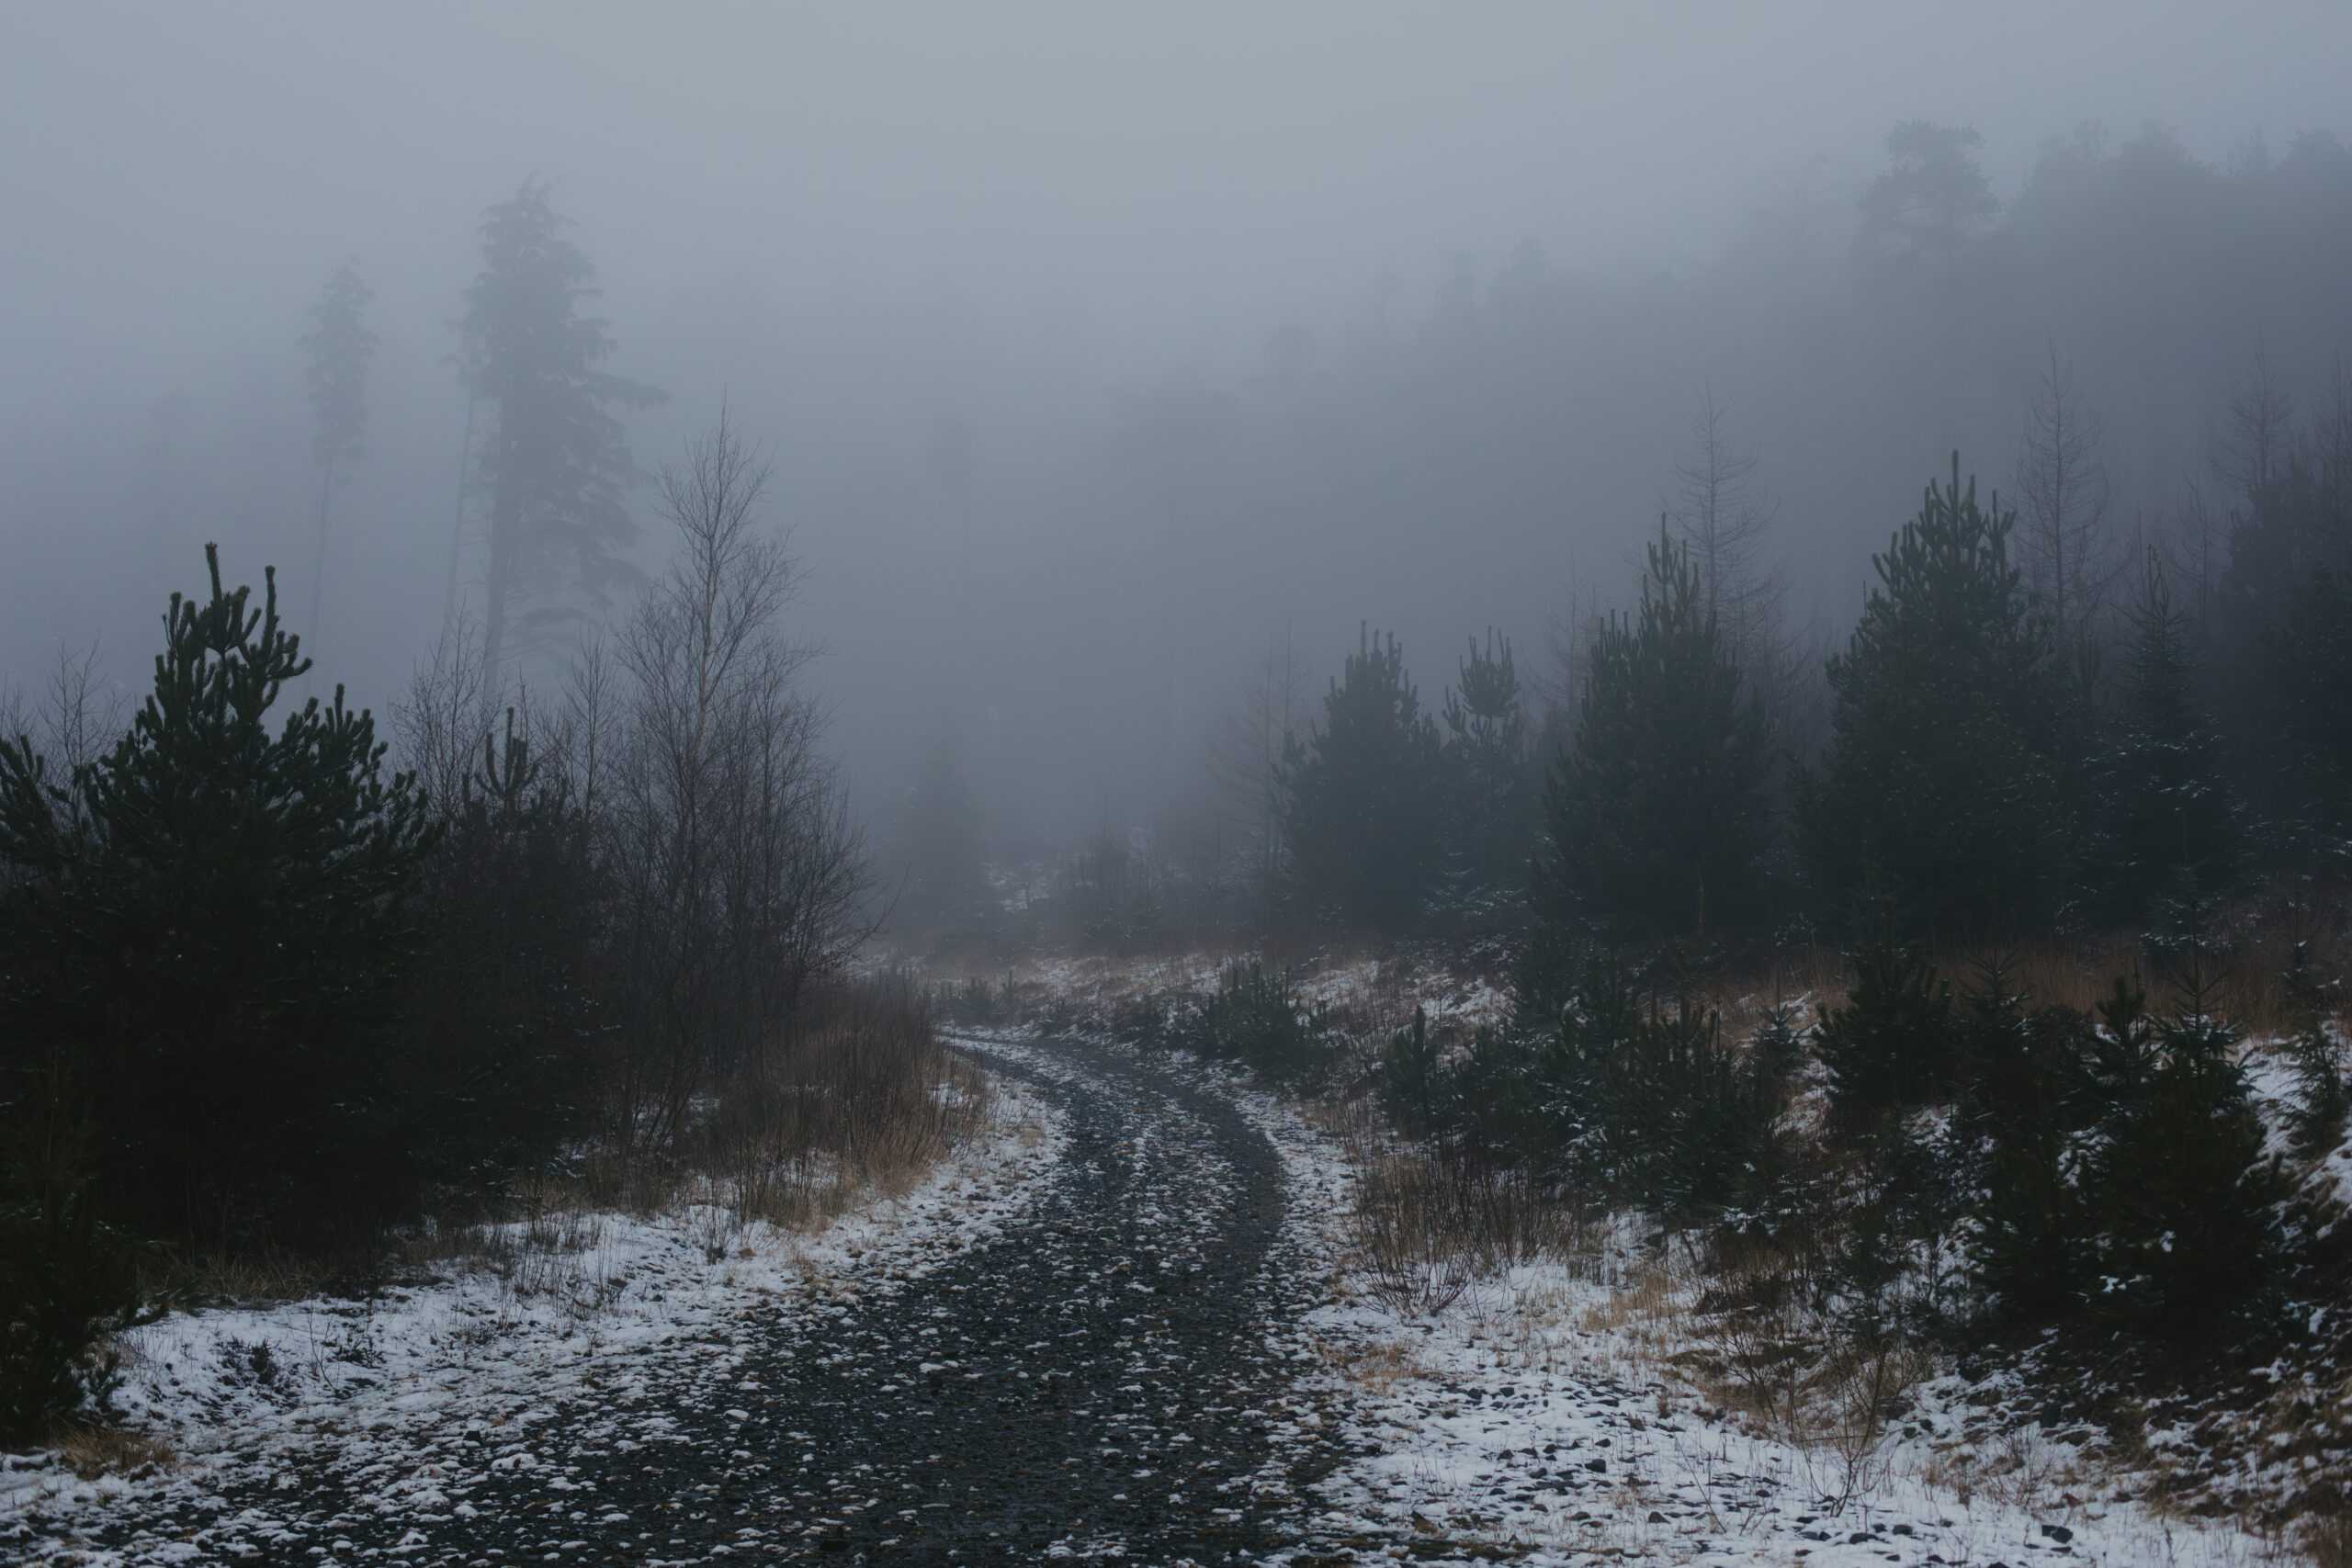
Our eyes naturally follow lines in an image, so use this to your advantage.
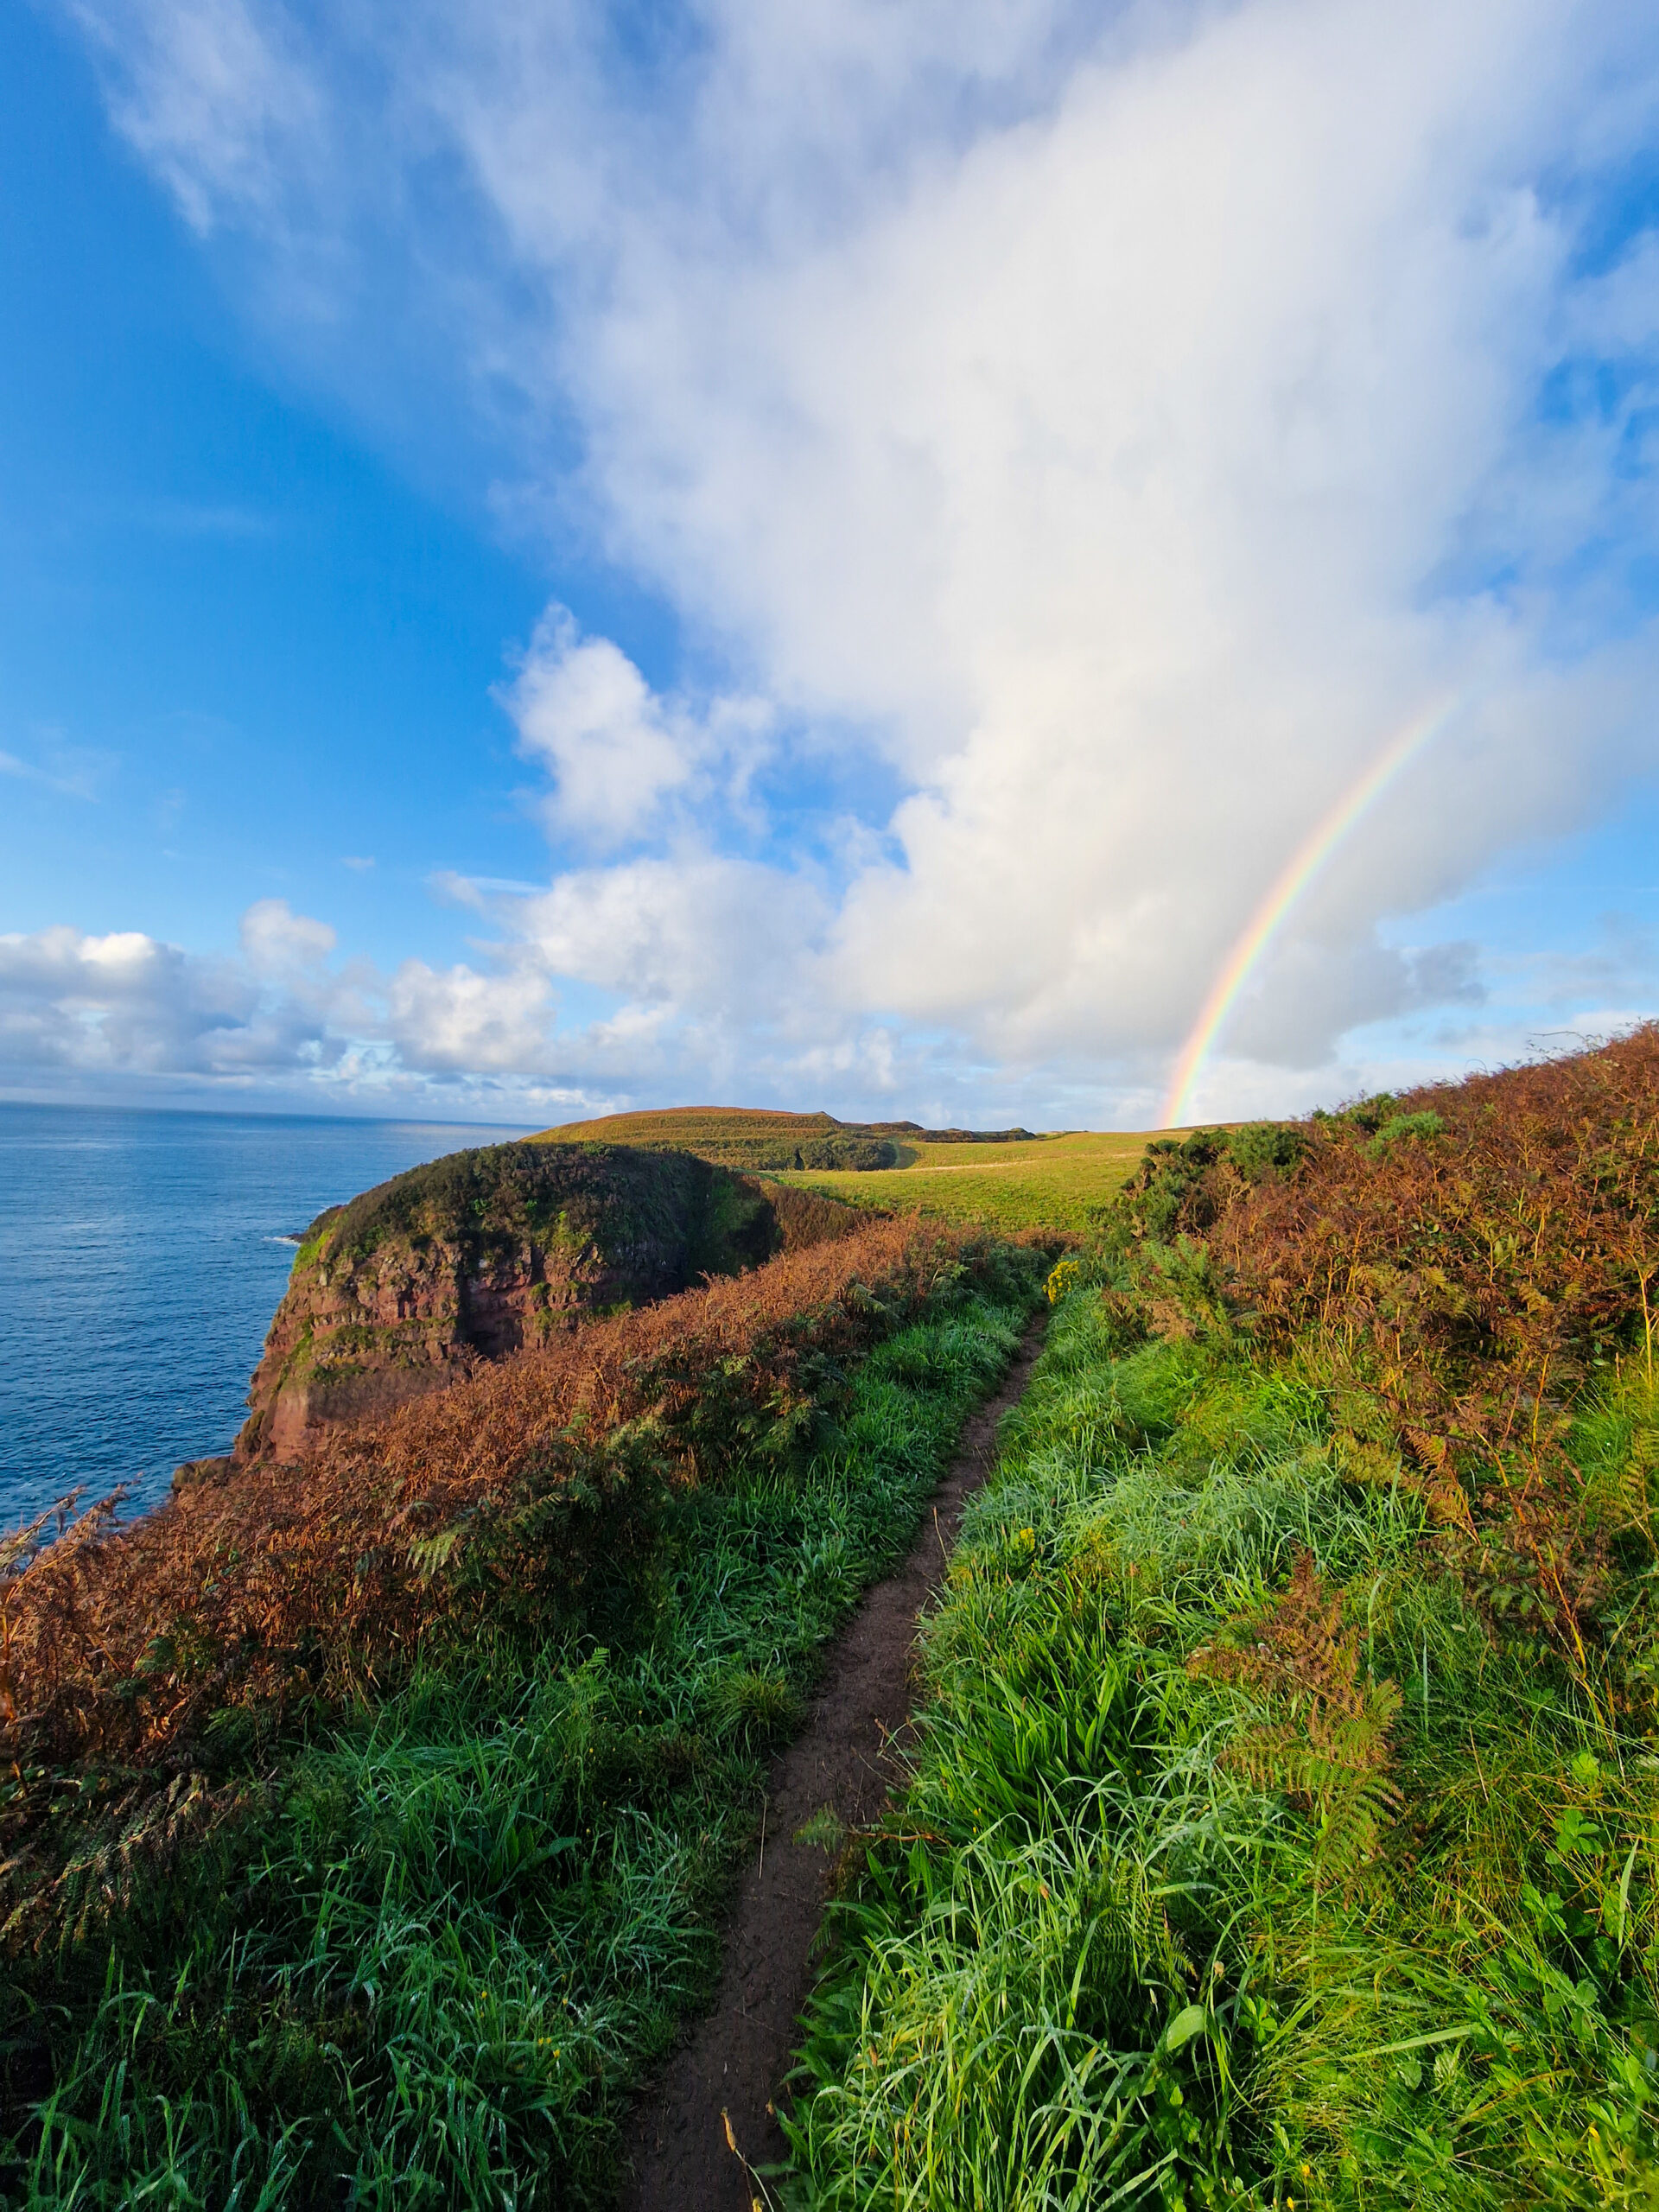
Trails winding into the distance, streams cutting through valleys, fallen logs, stone walls, ridgelines… anything that creates a visual pathway will draw your eyes into the photo.
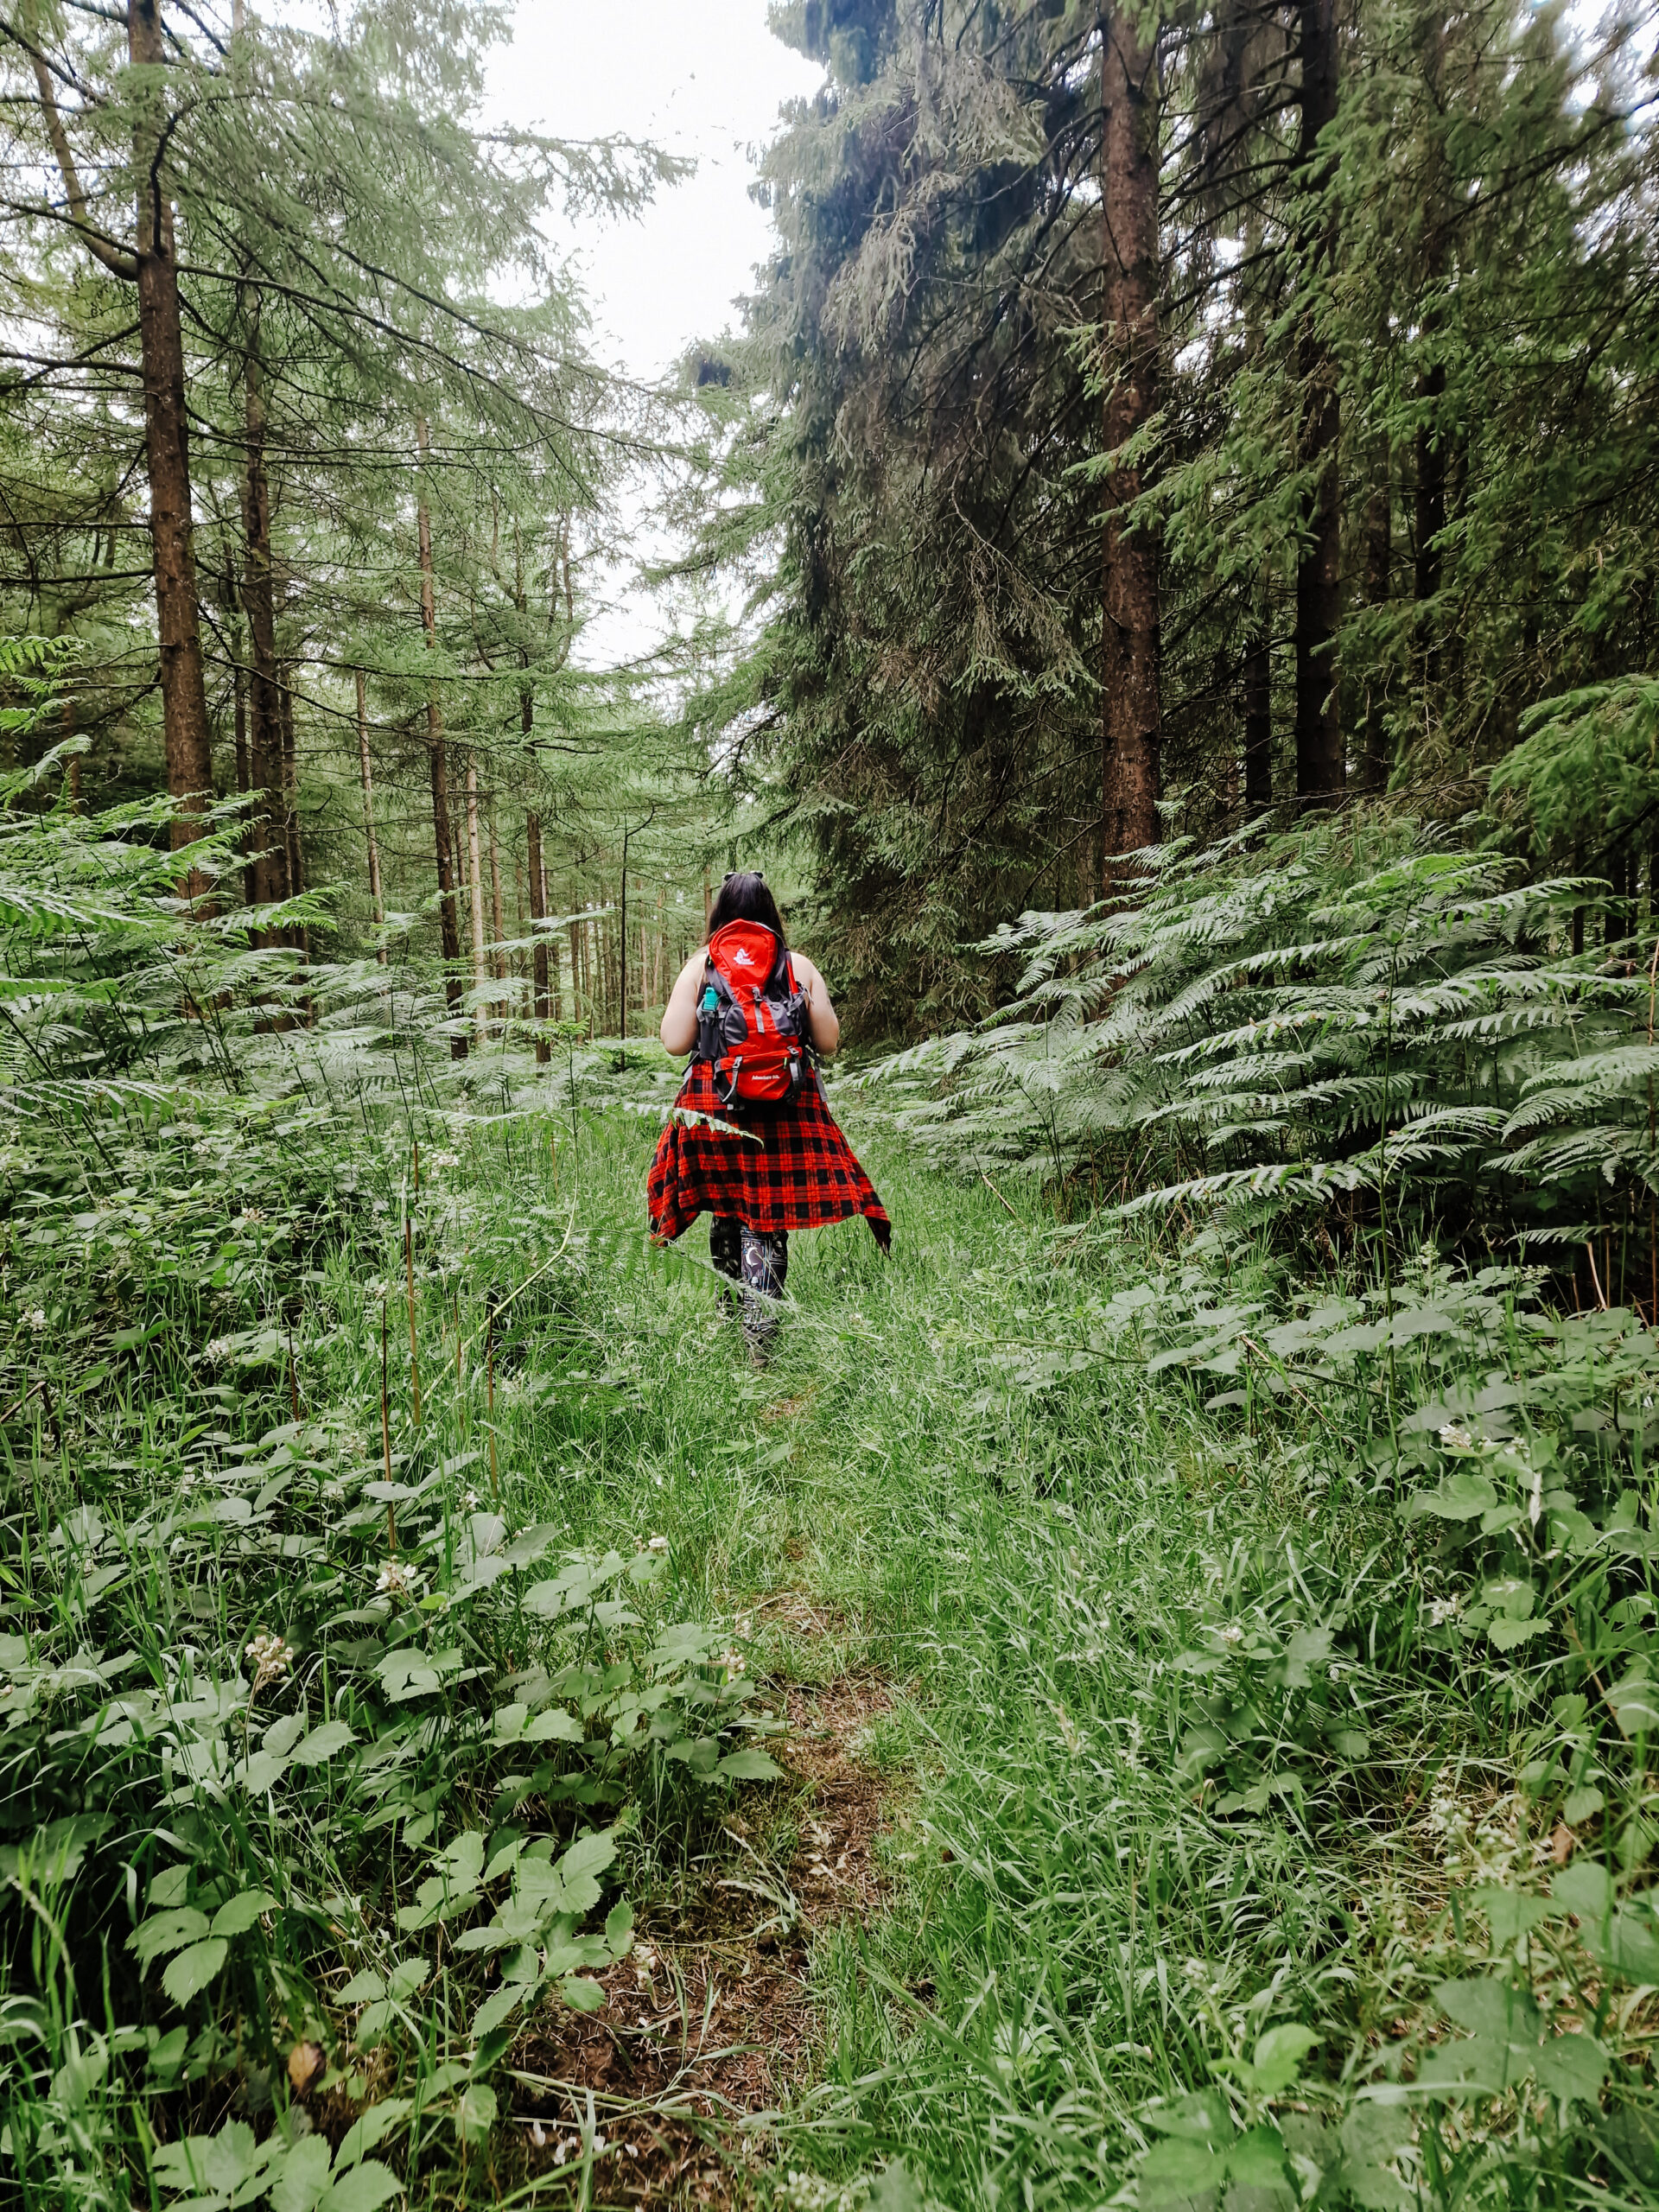
Think about it this way: a photo of a trail that enters from the bottom left corner and curves toward a peak leads you in naturally. A photo of the same peak shot straight on loses impact and could be taken by any hiker or tourist.
Include Foreground Interest
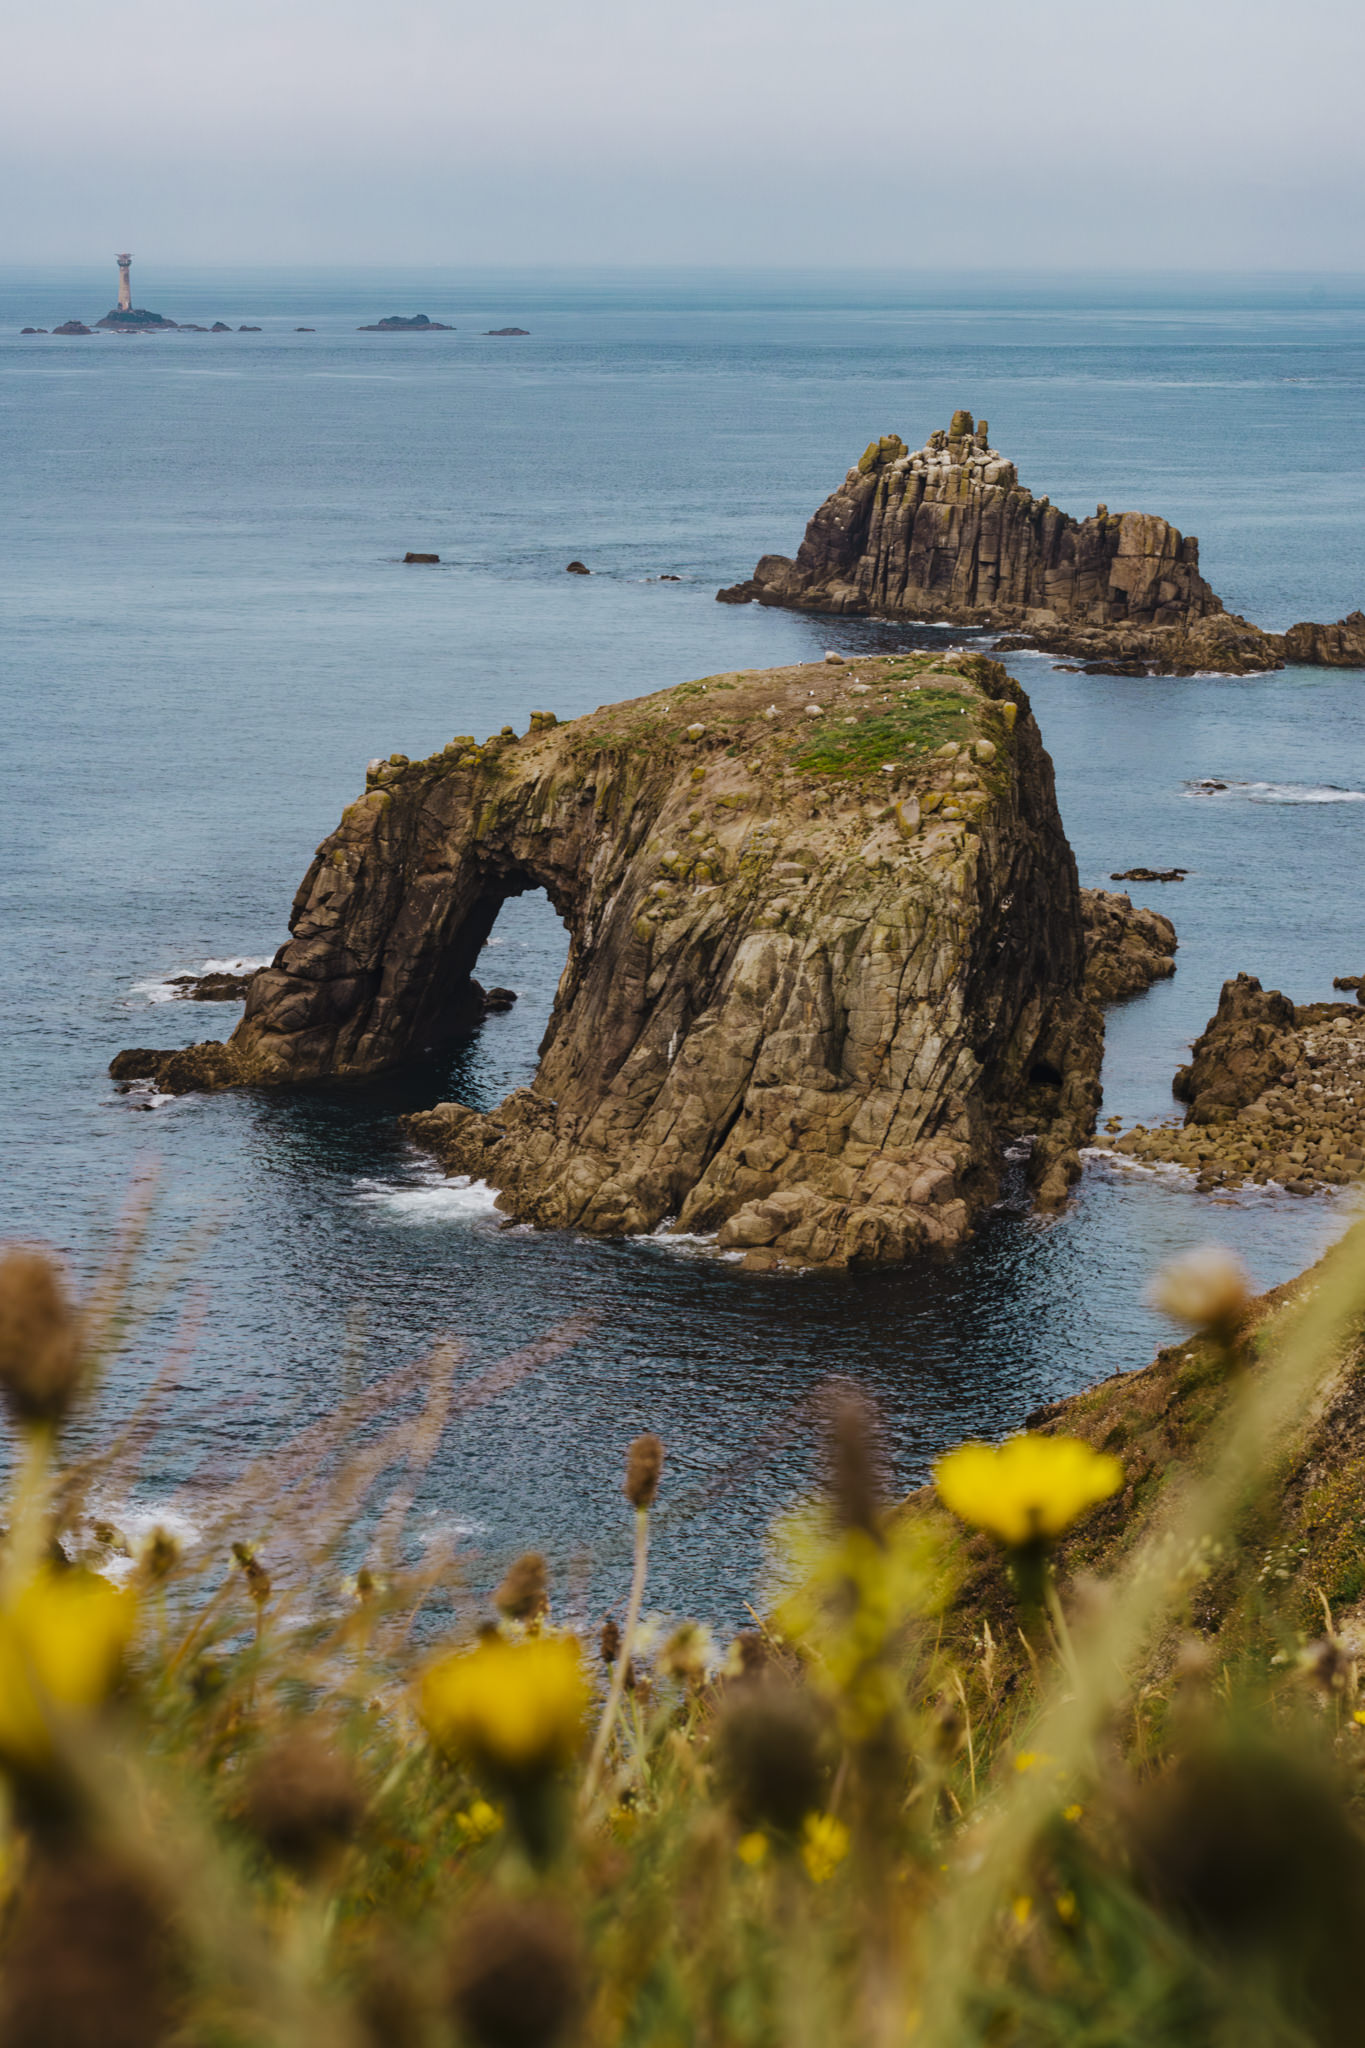
If there’s one technique that will transform your hiking photography overnight, it’s this one.
When we see a stunning view, our instinct is to lift the camera and shoot straight ahead. The result can sometimes be flat and underwhelming.
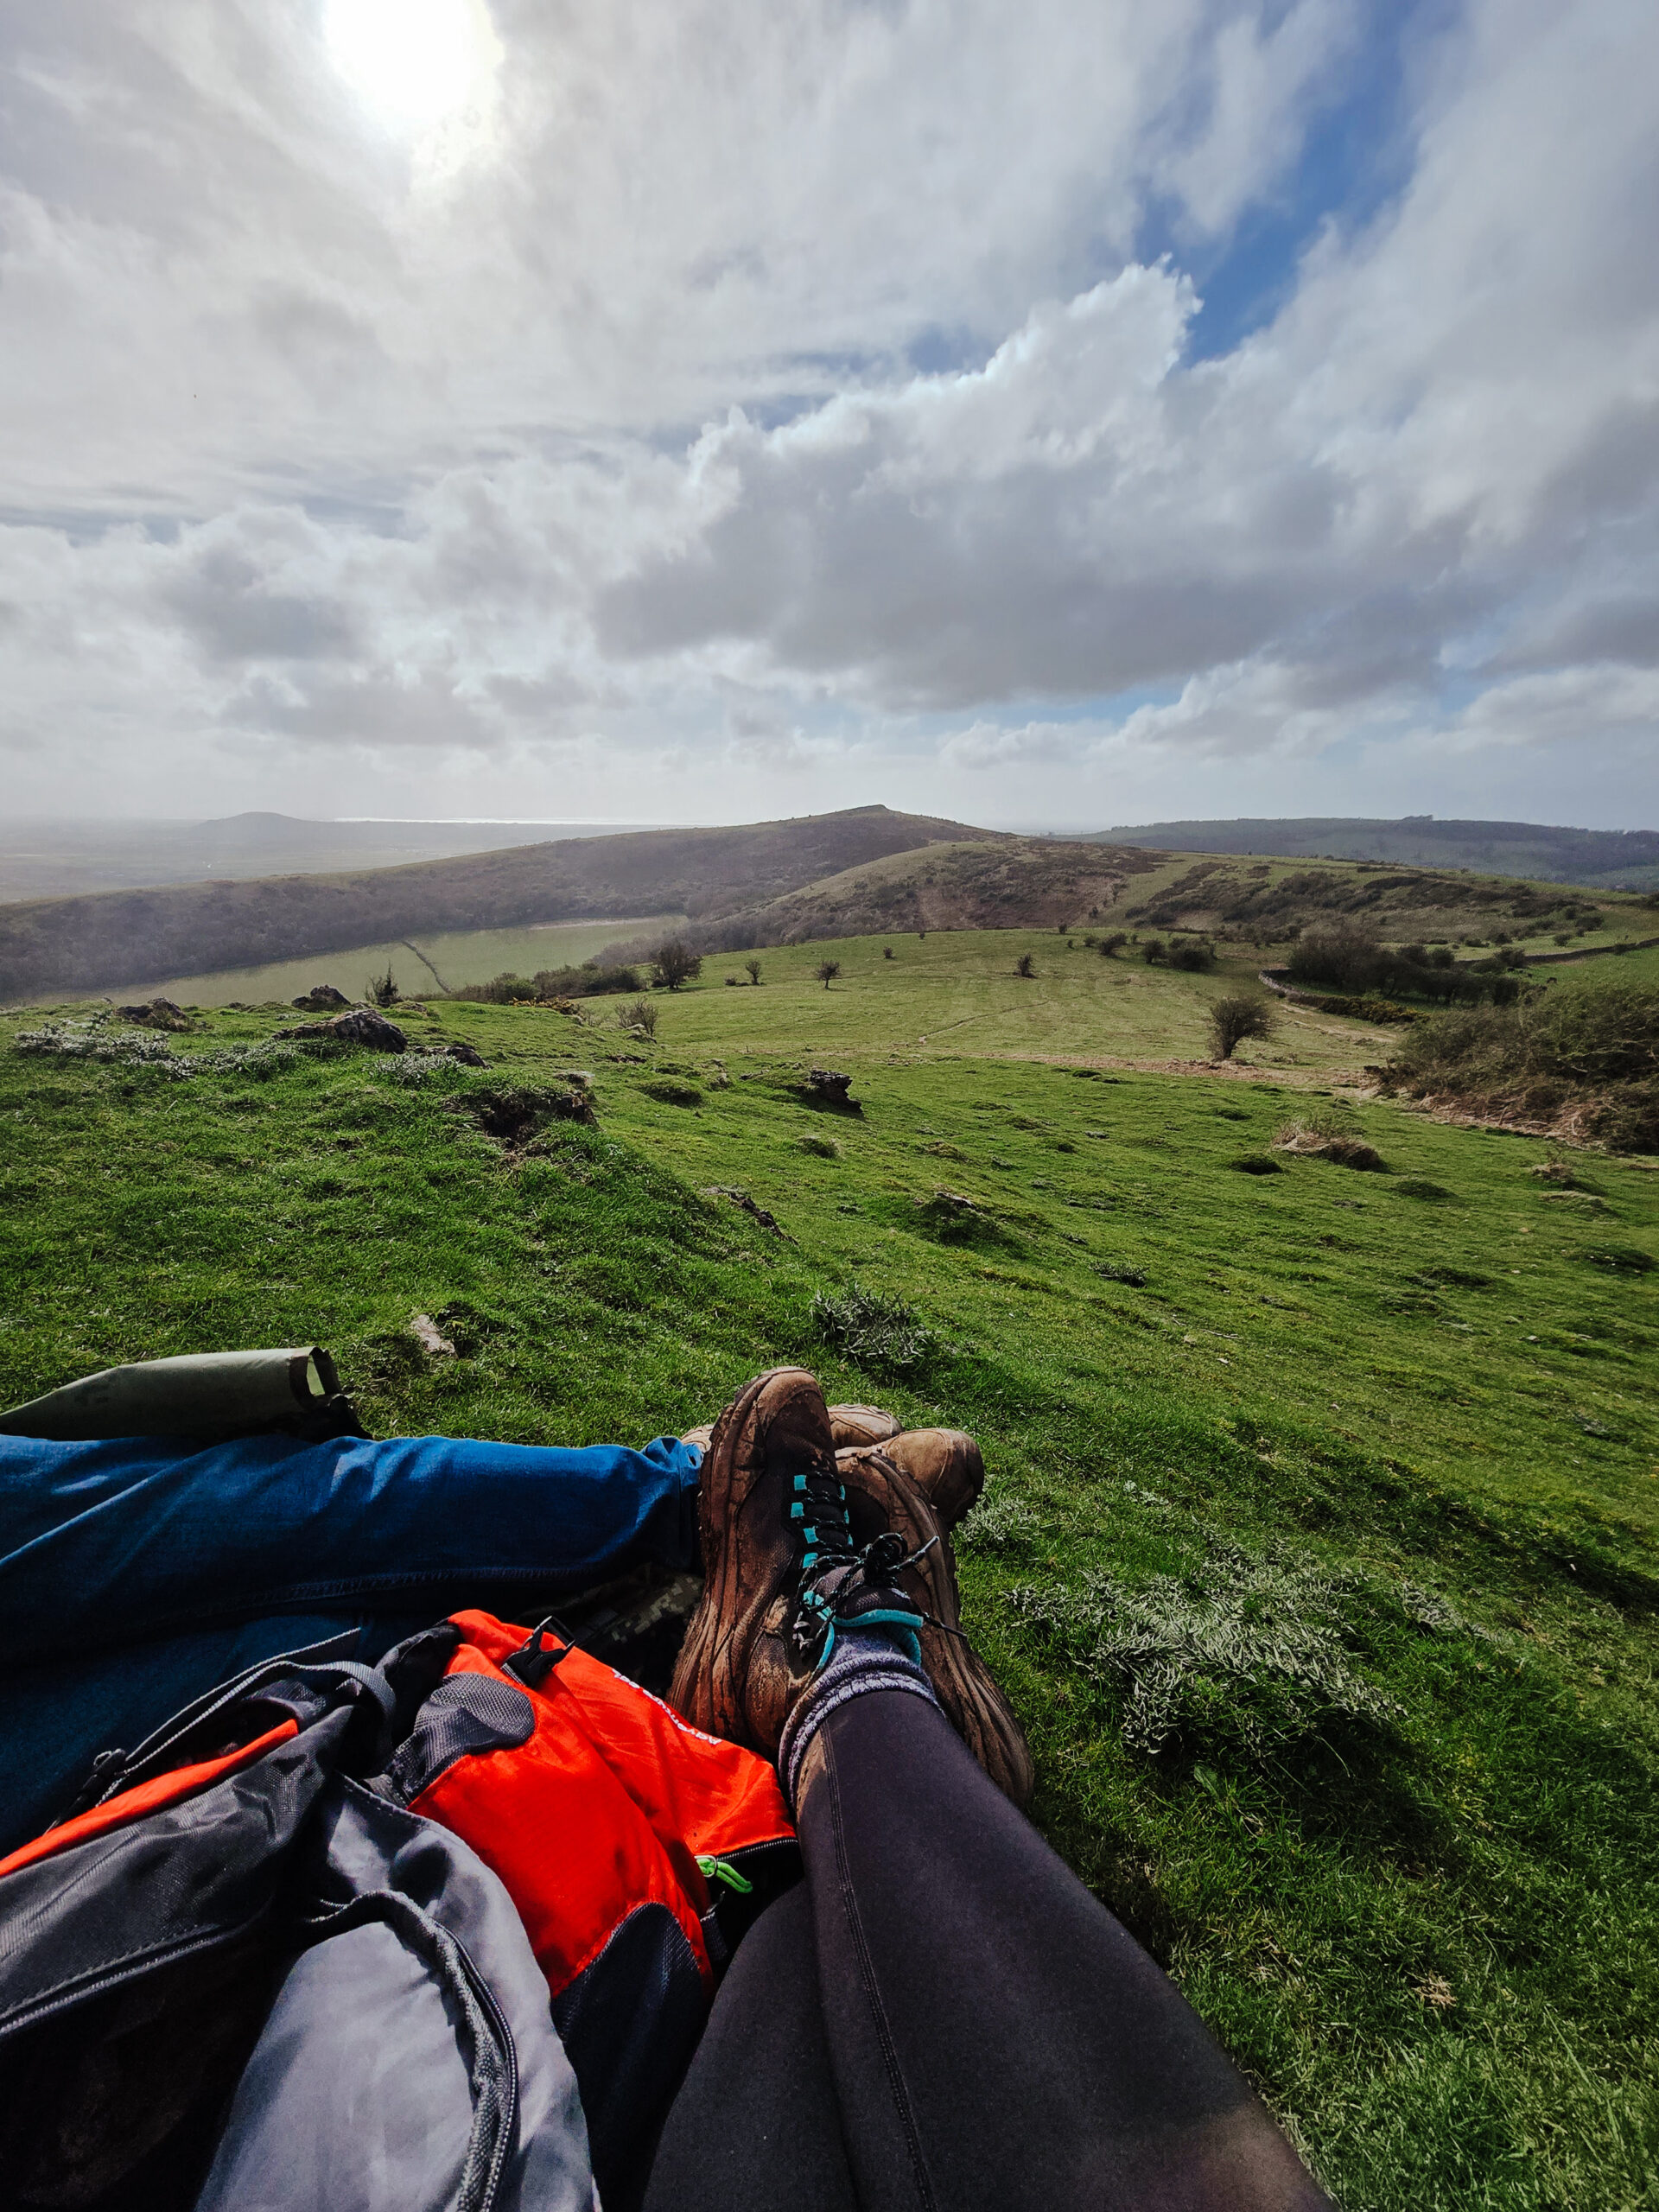
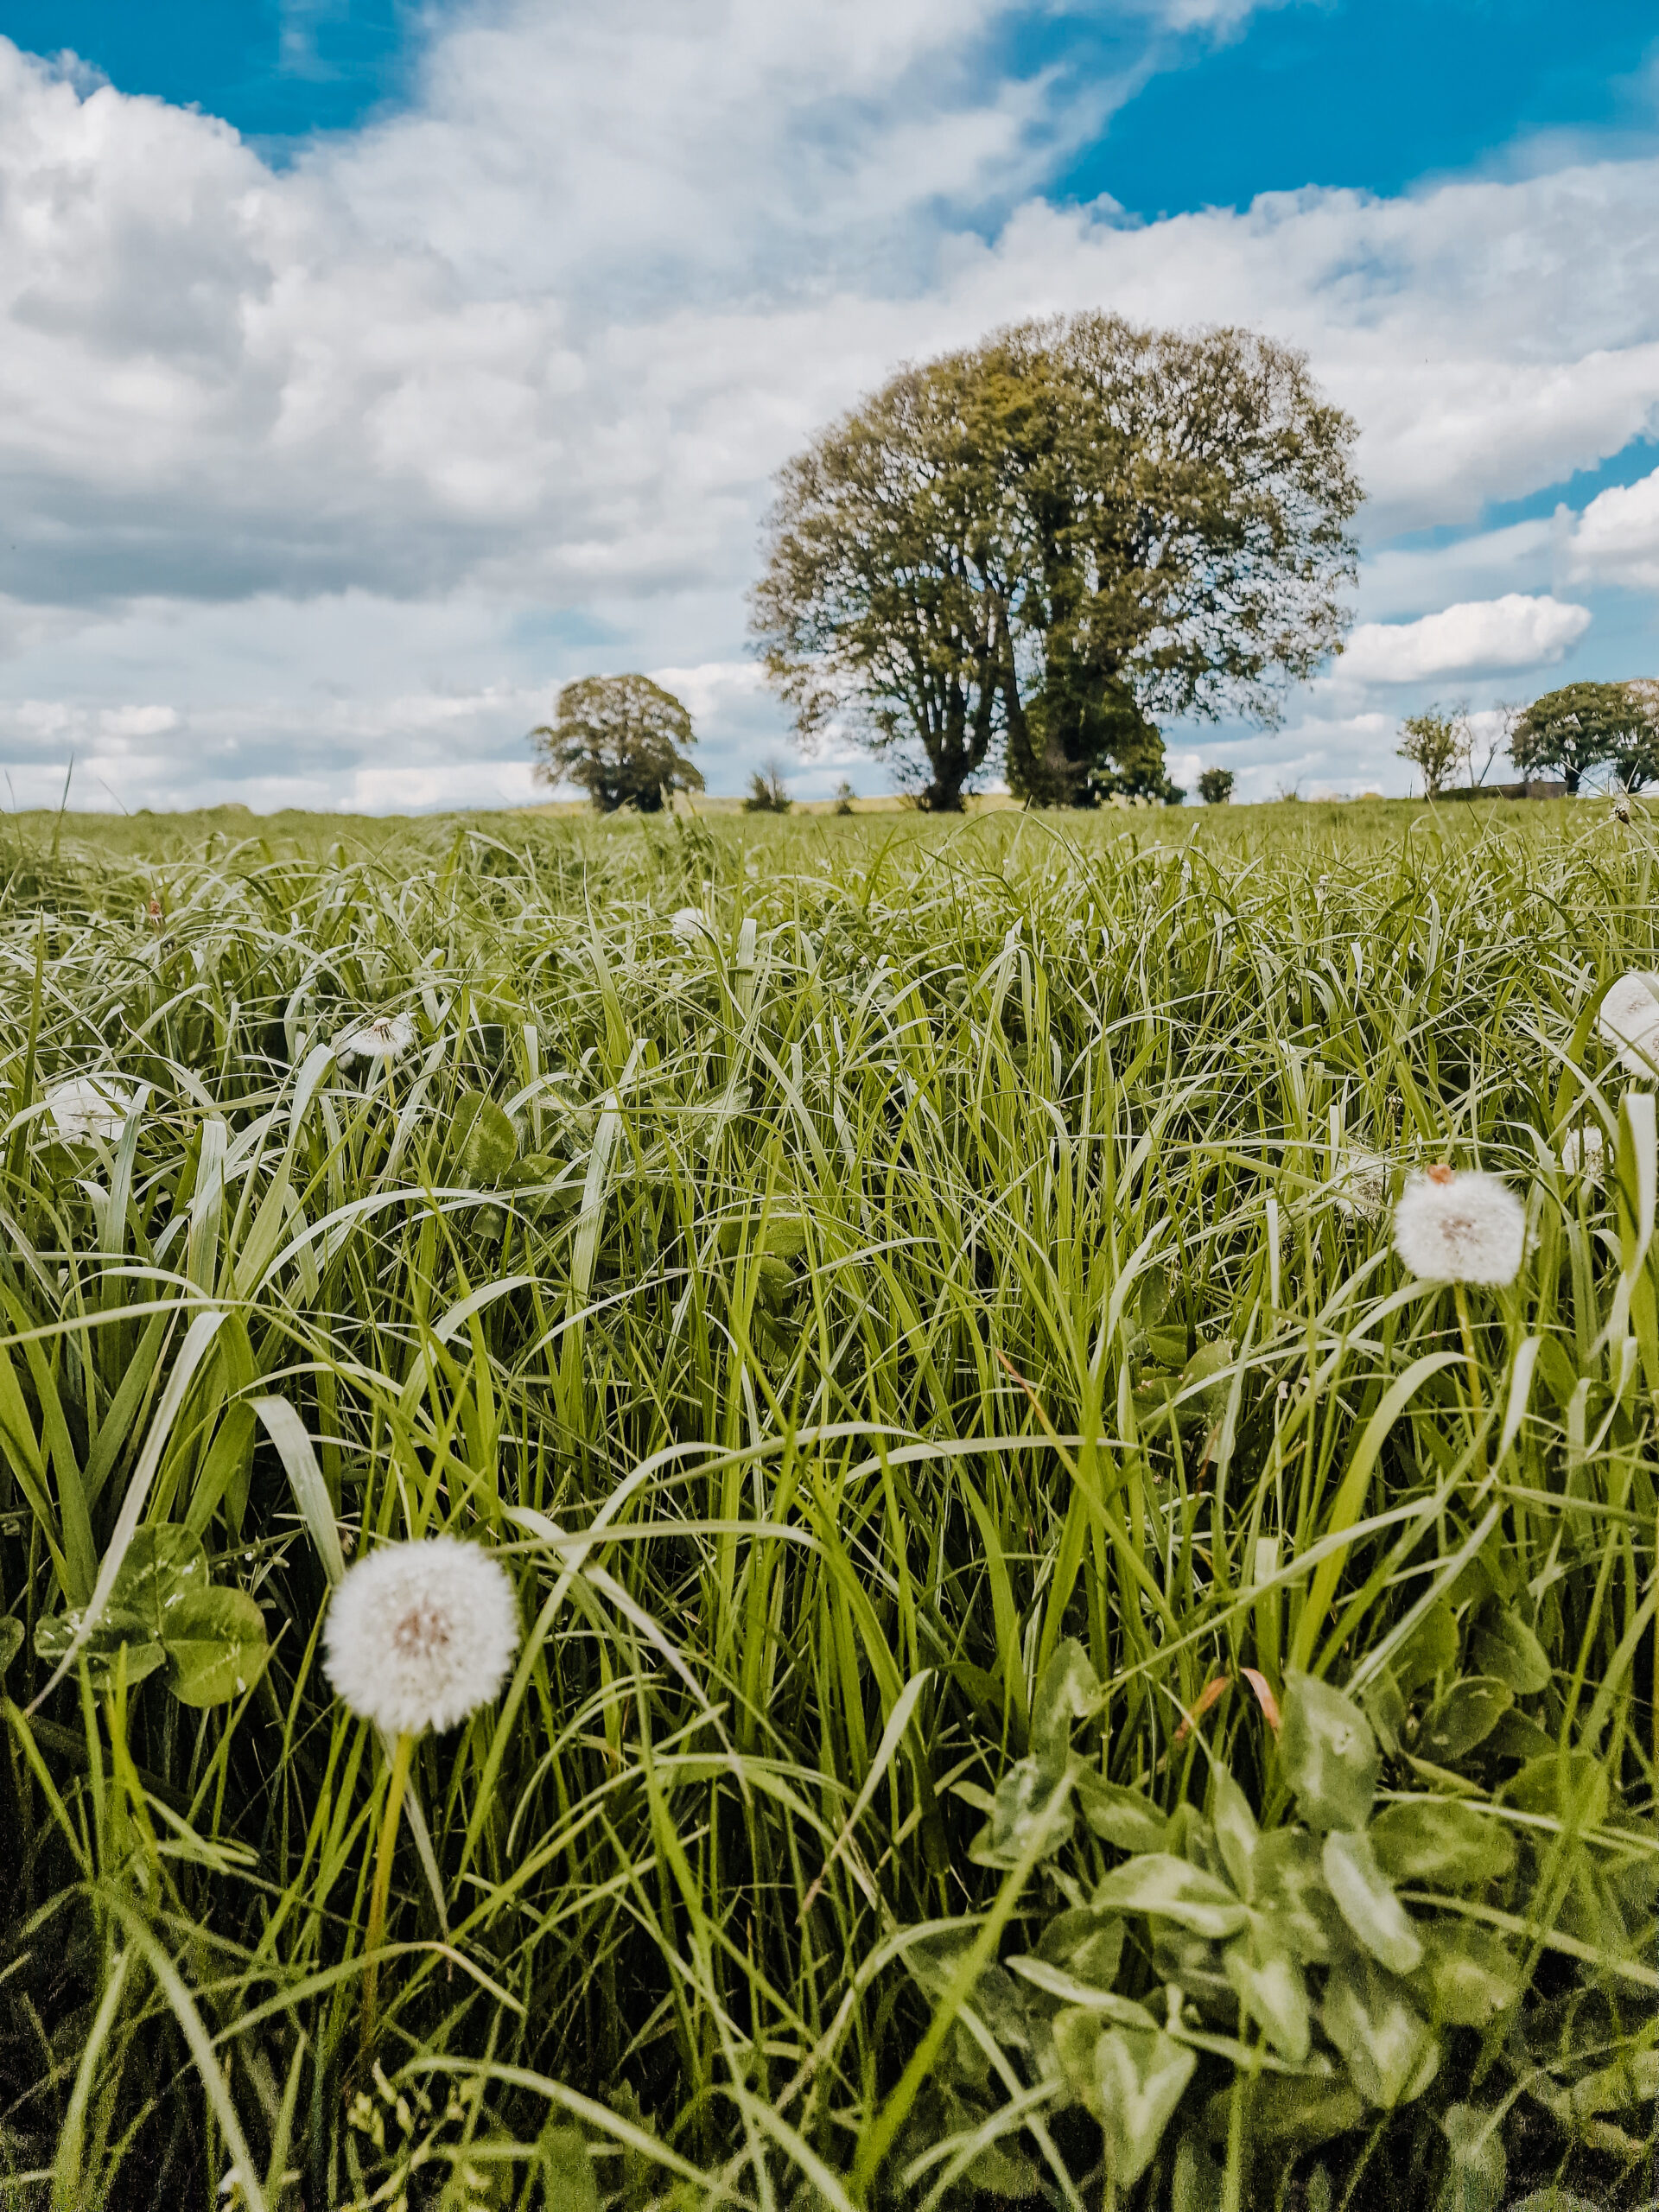
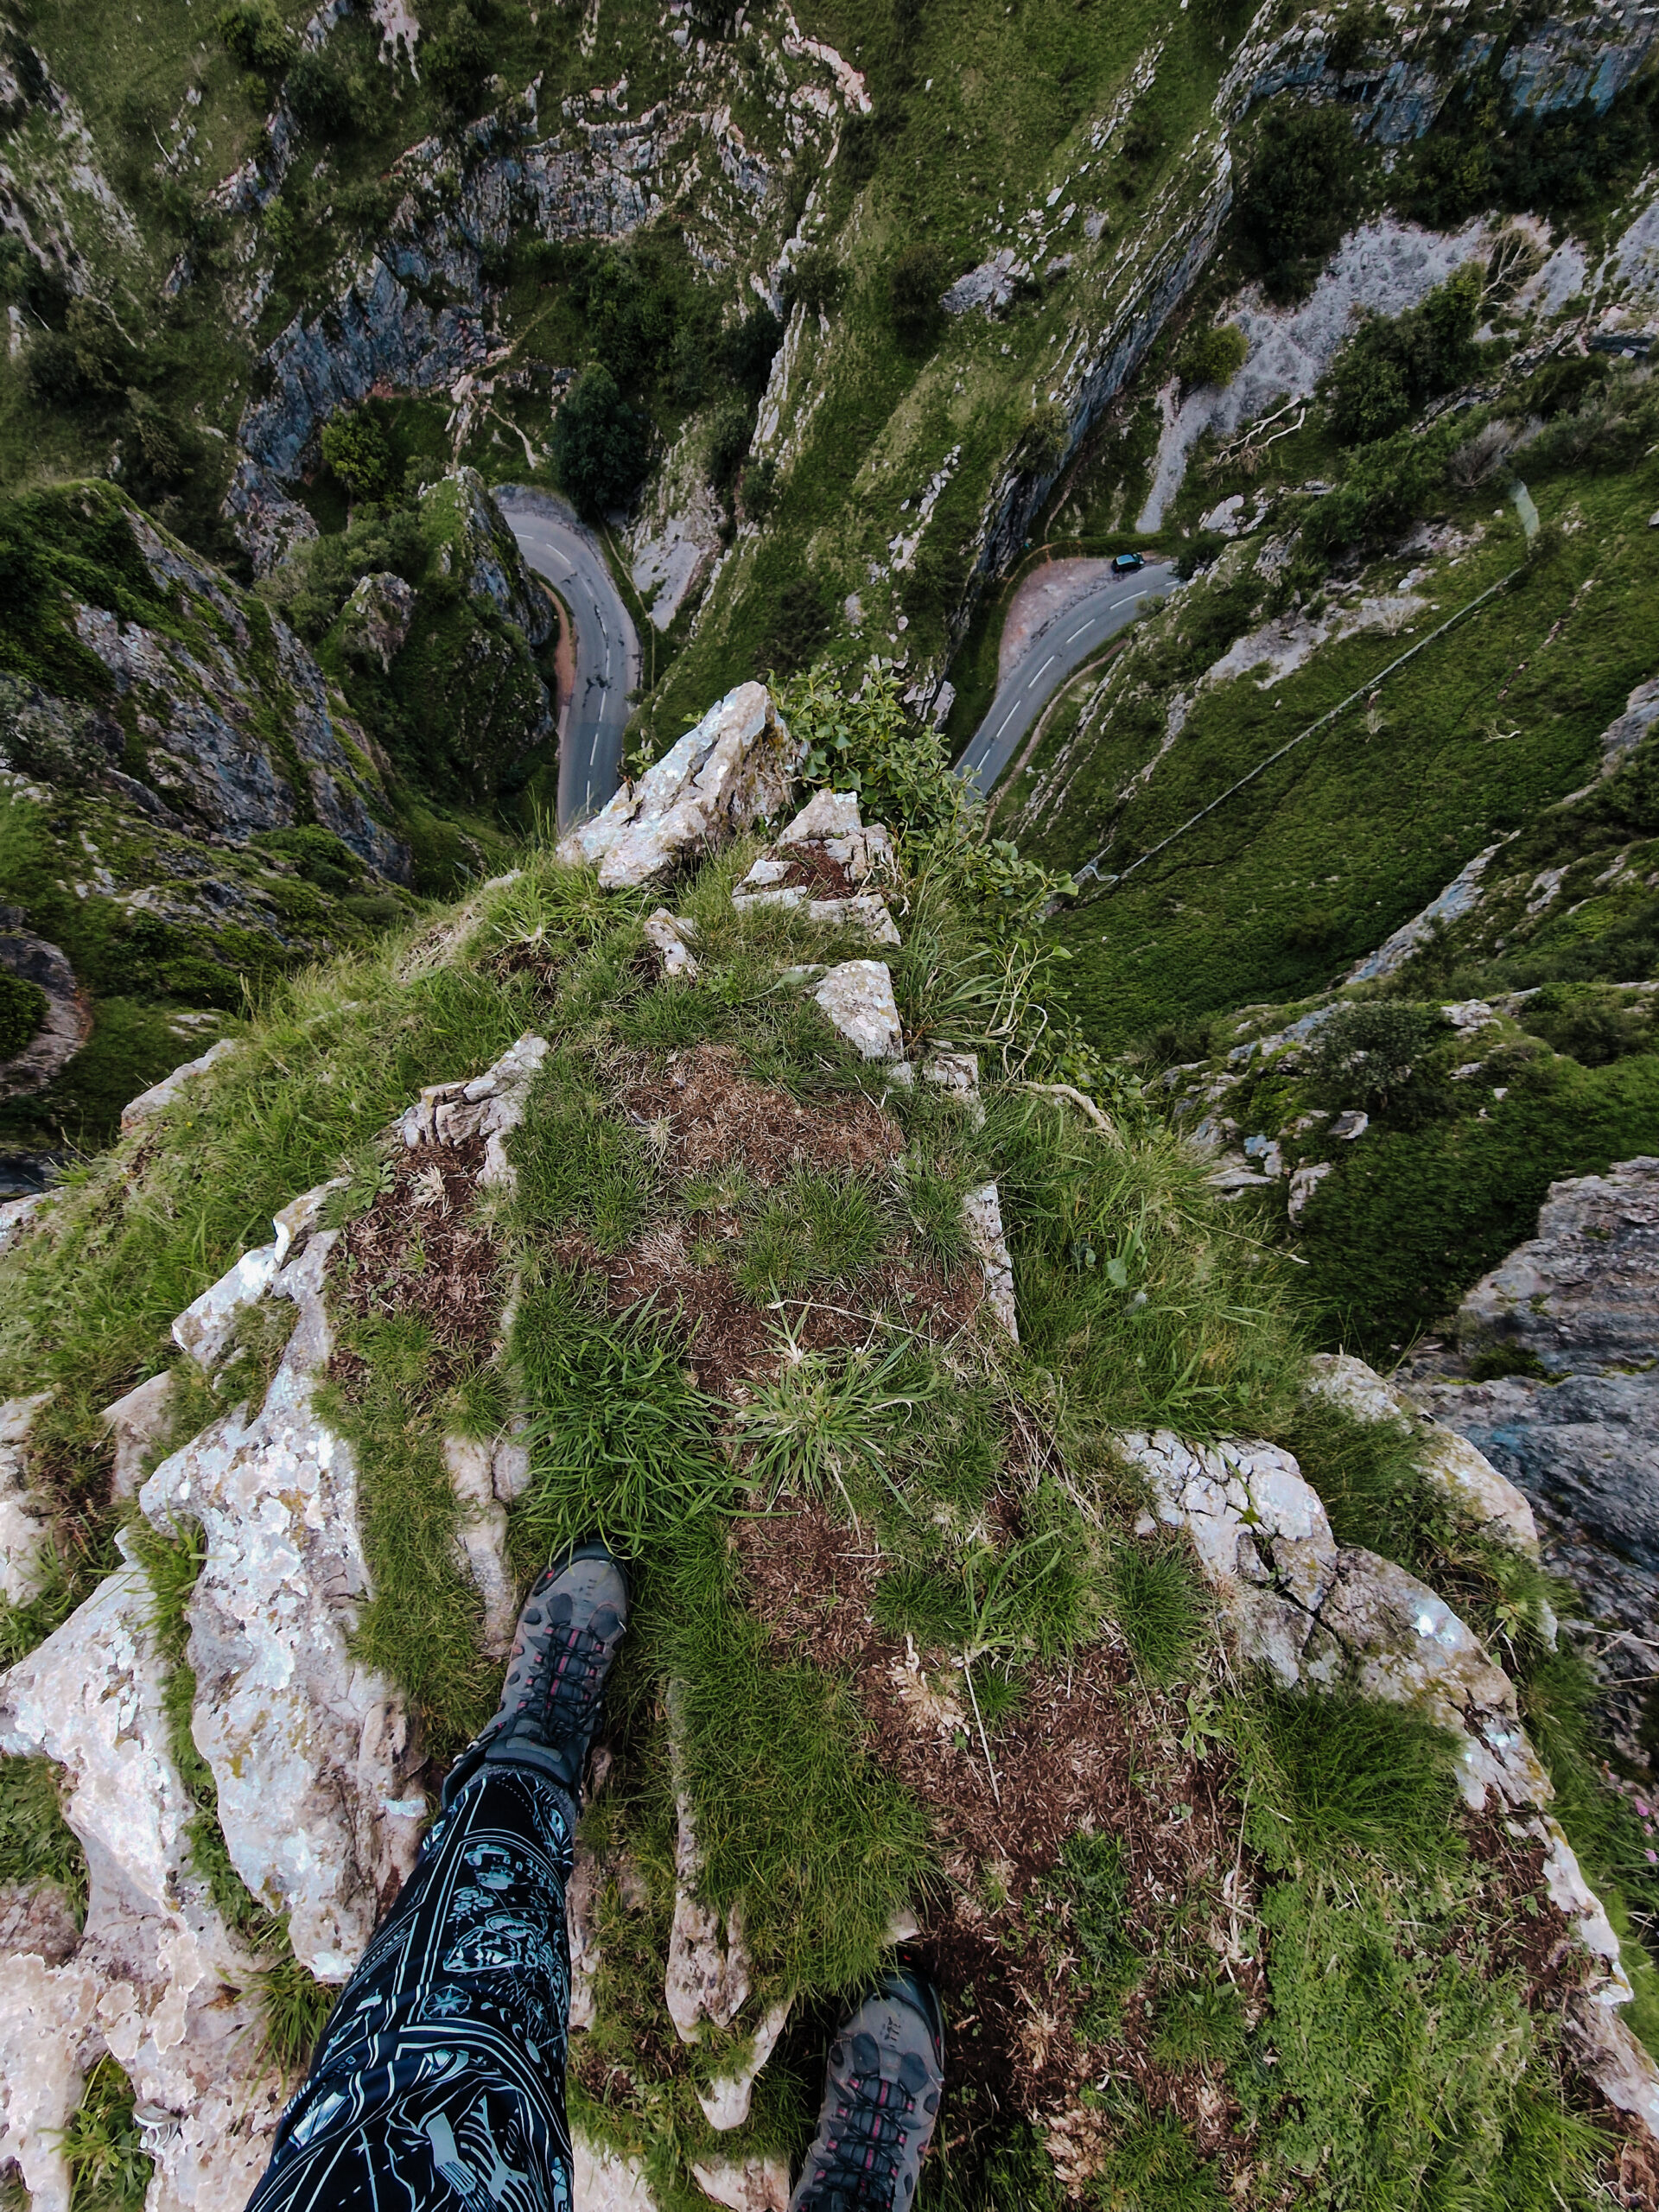
If you want your images to stand out from the rest of the hiking pictures taken in the same location, look for interesting elements close to you. Wildflowers, rocks, a tree root, even your own boots on the trail.
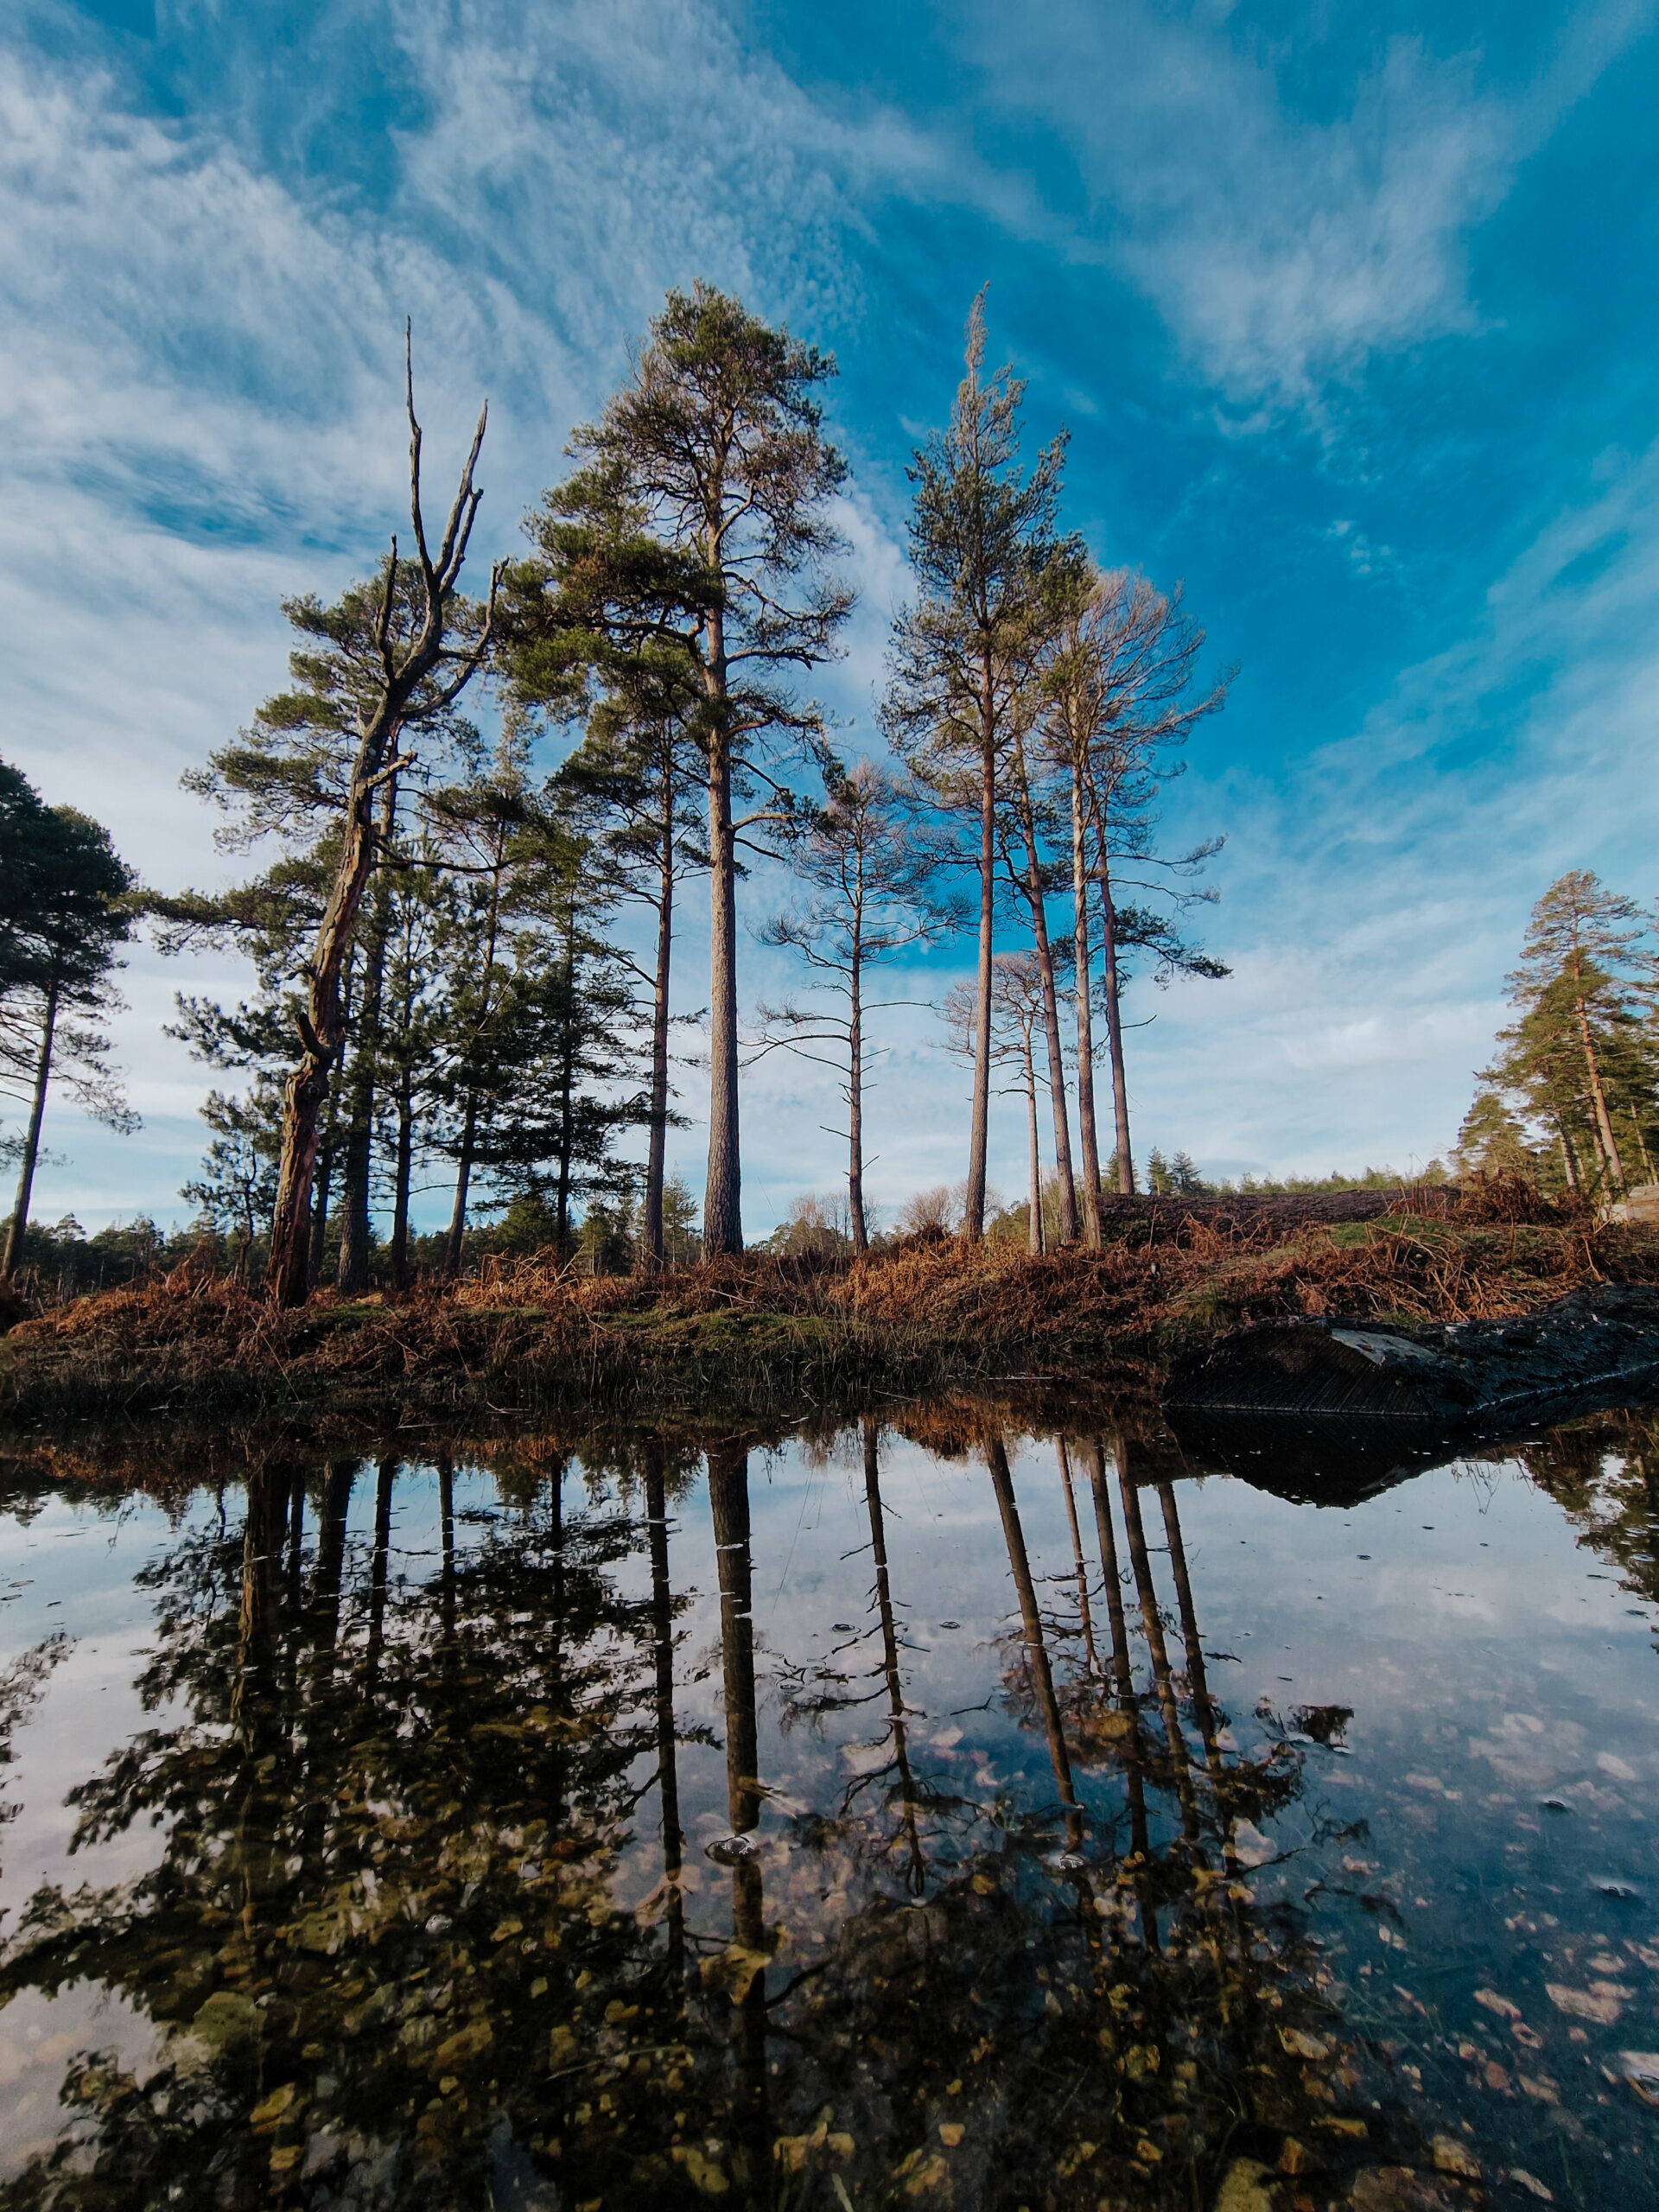
Get low and include these elements in the bottom third of your frame, and your landscapes will have a lot more depth.
Add People for Scale in Your Hiking Photography
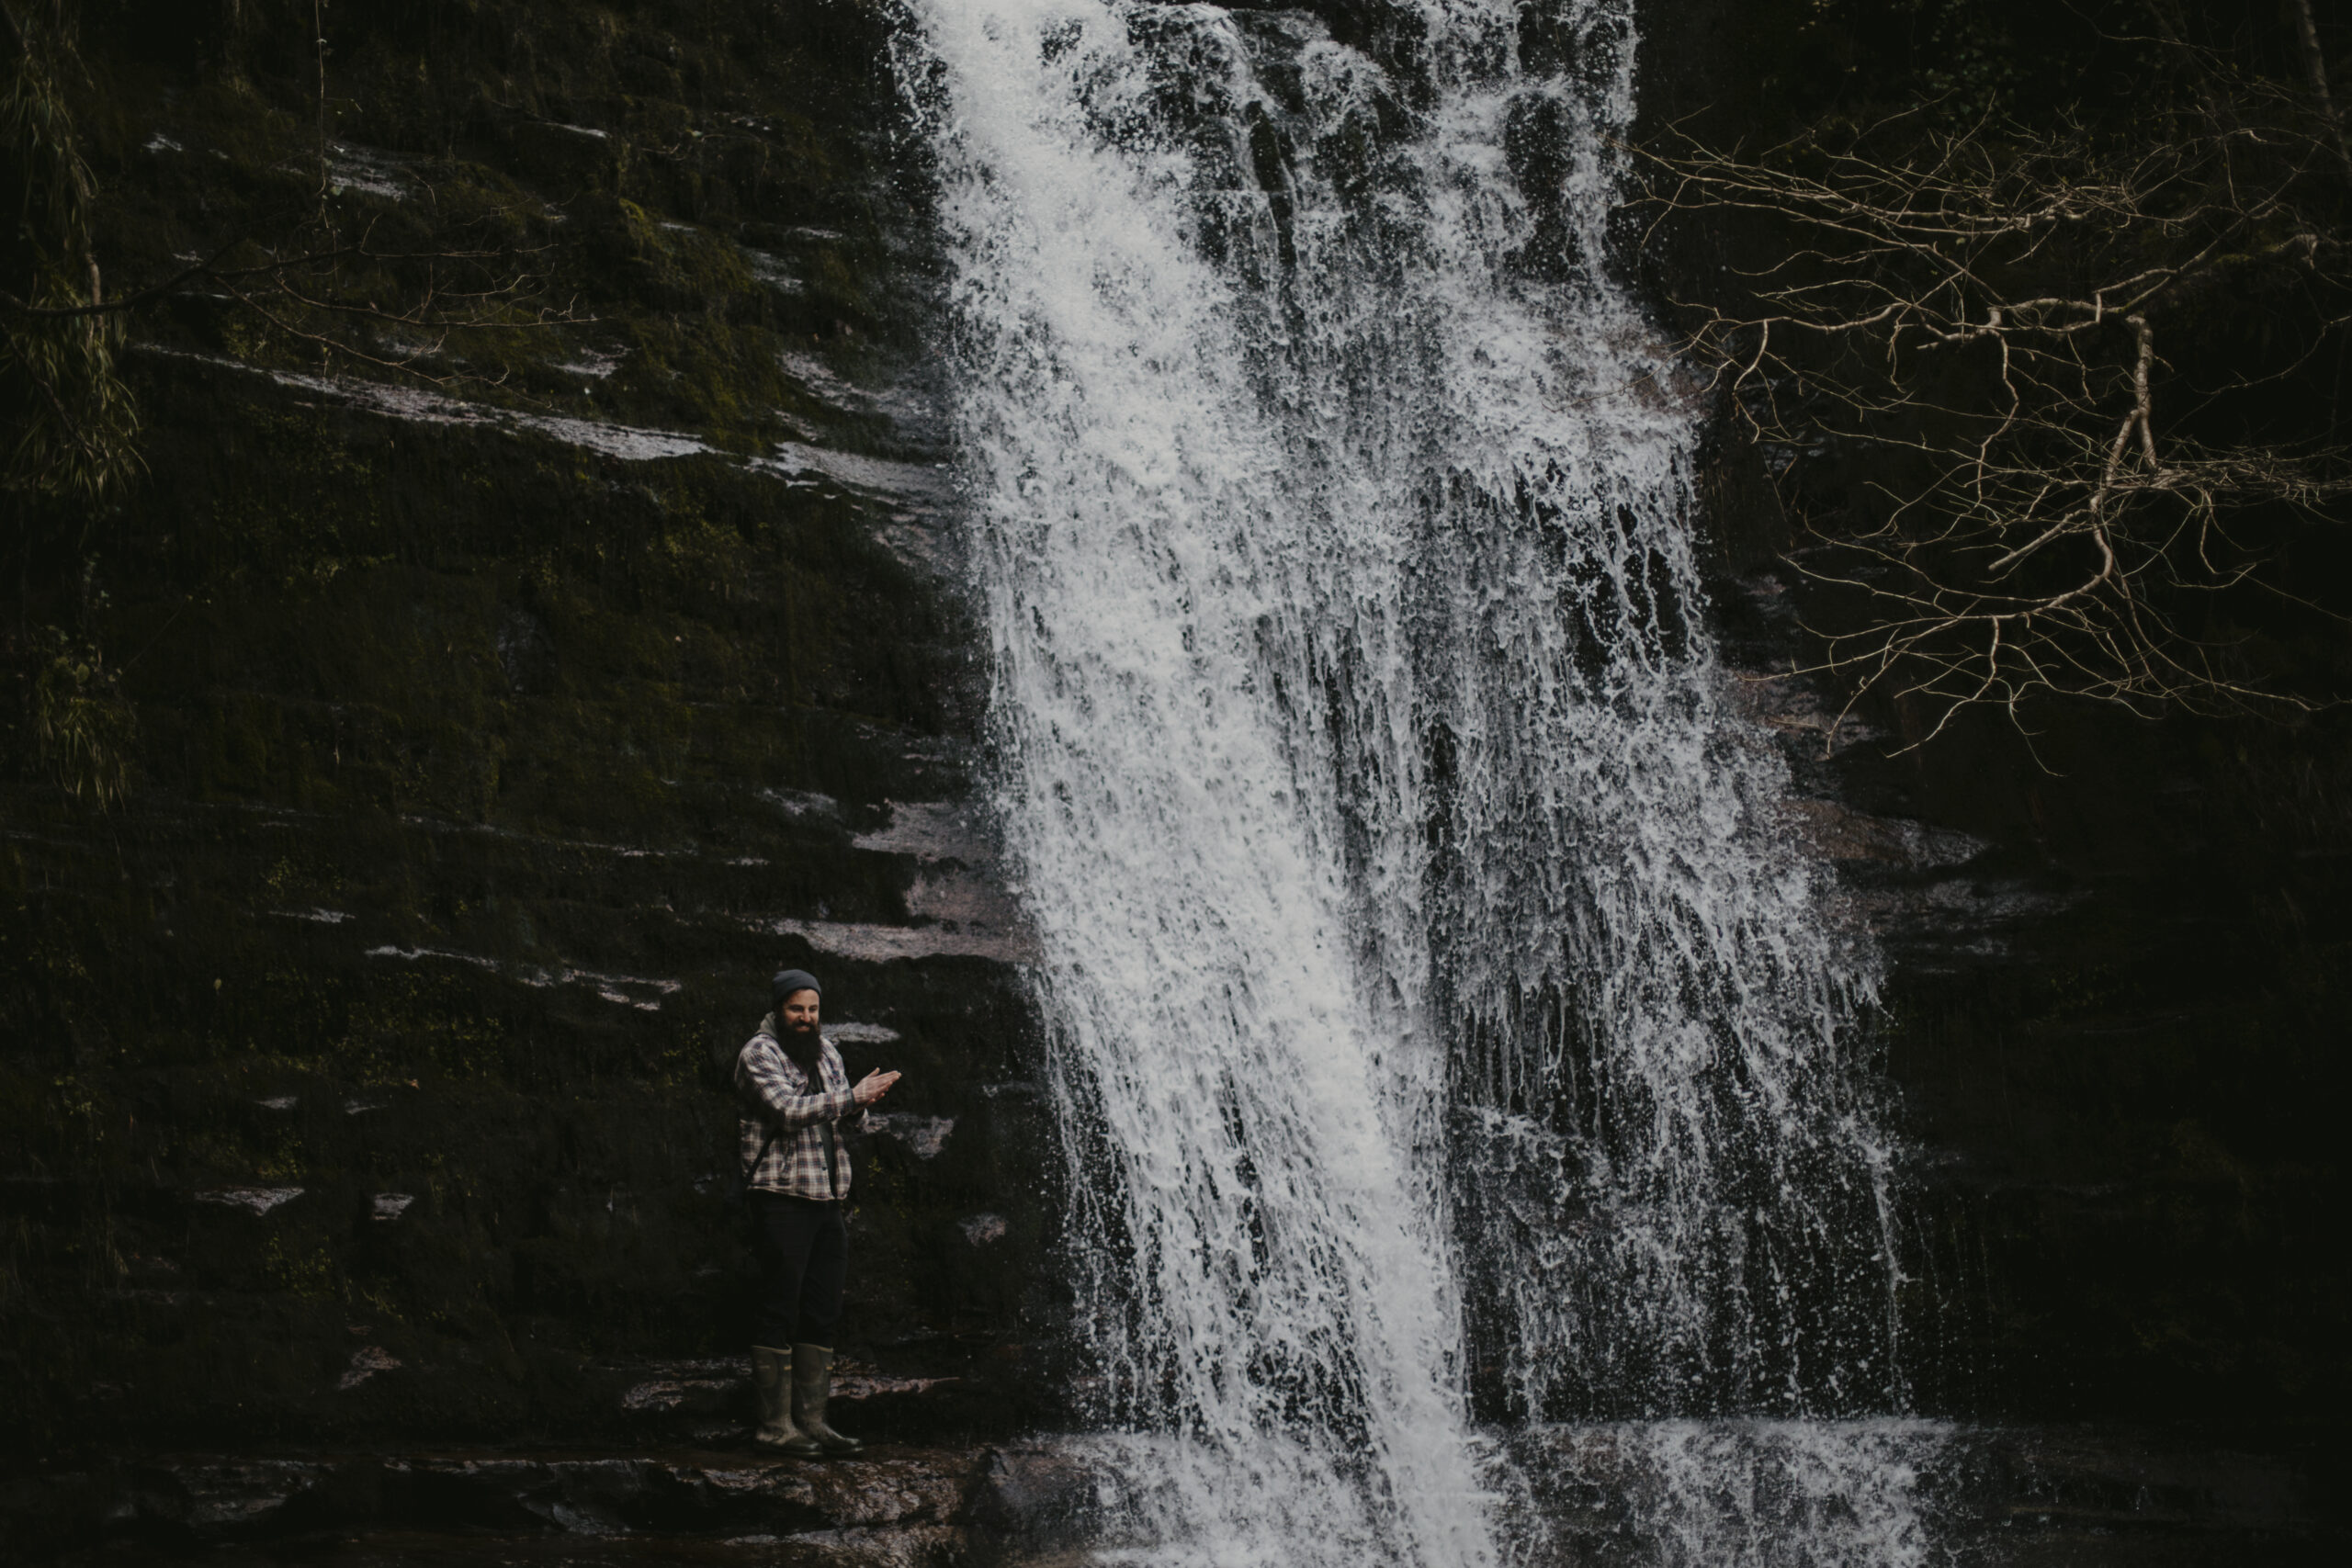
Mountains don’t look quite as massive in hiking photos without something to compare them to.
Our brains need more context.
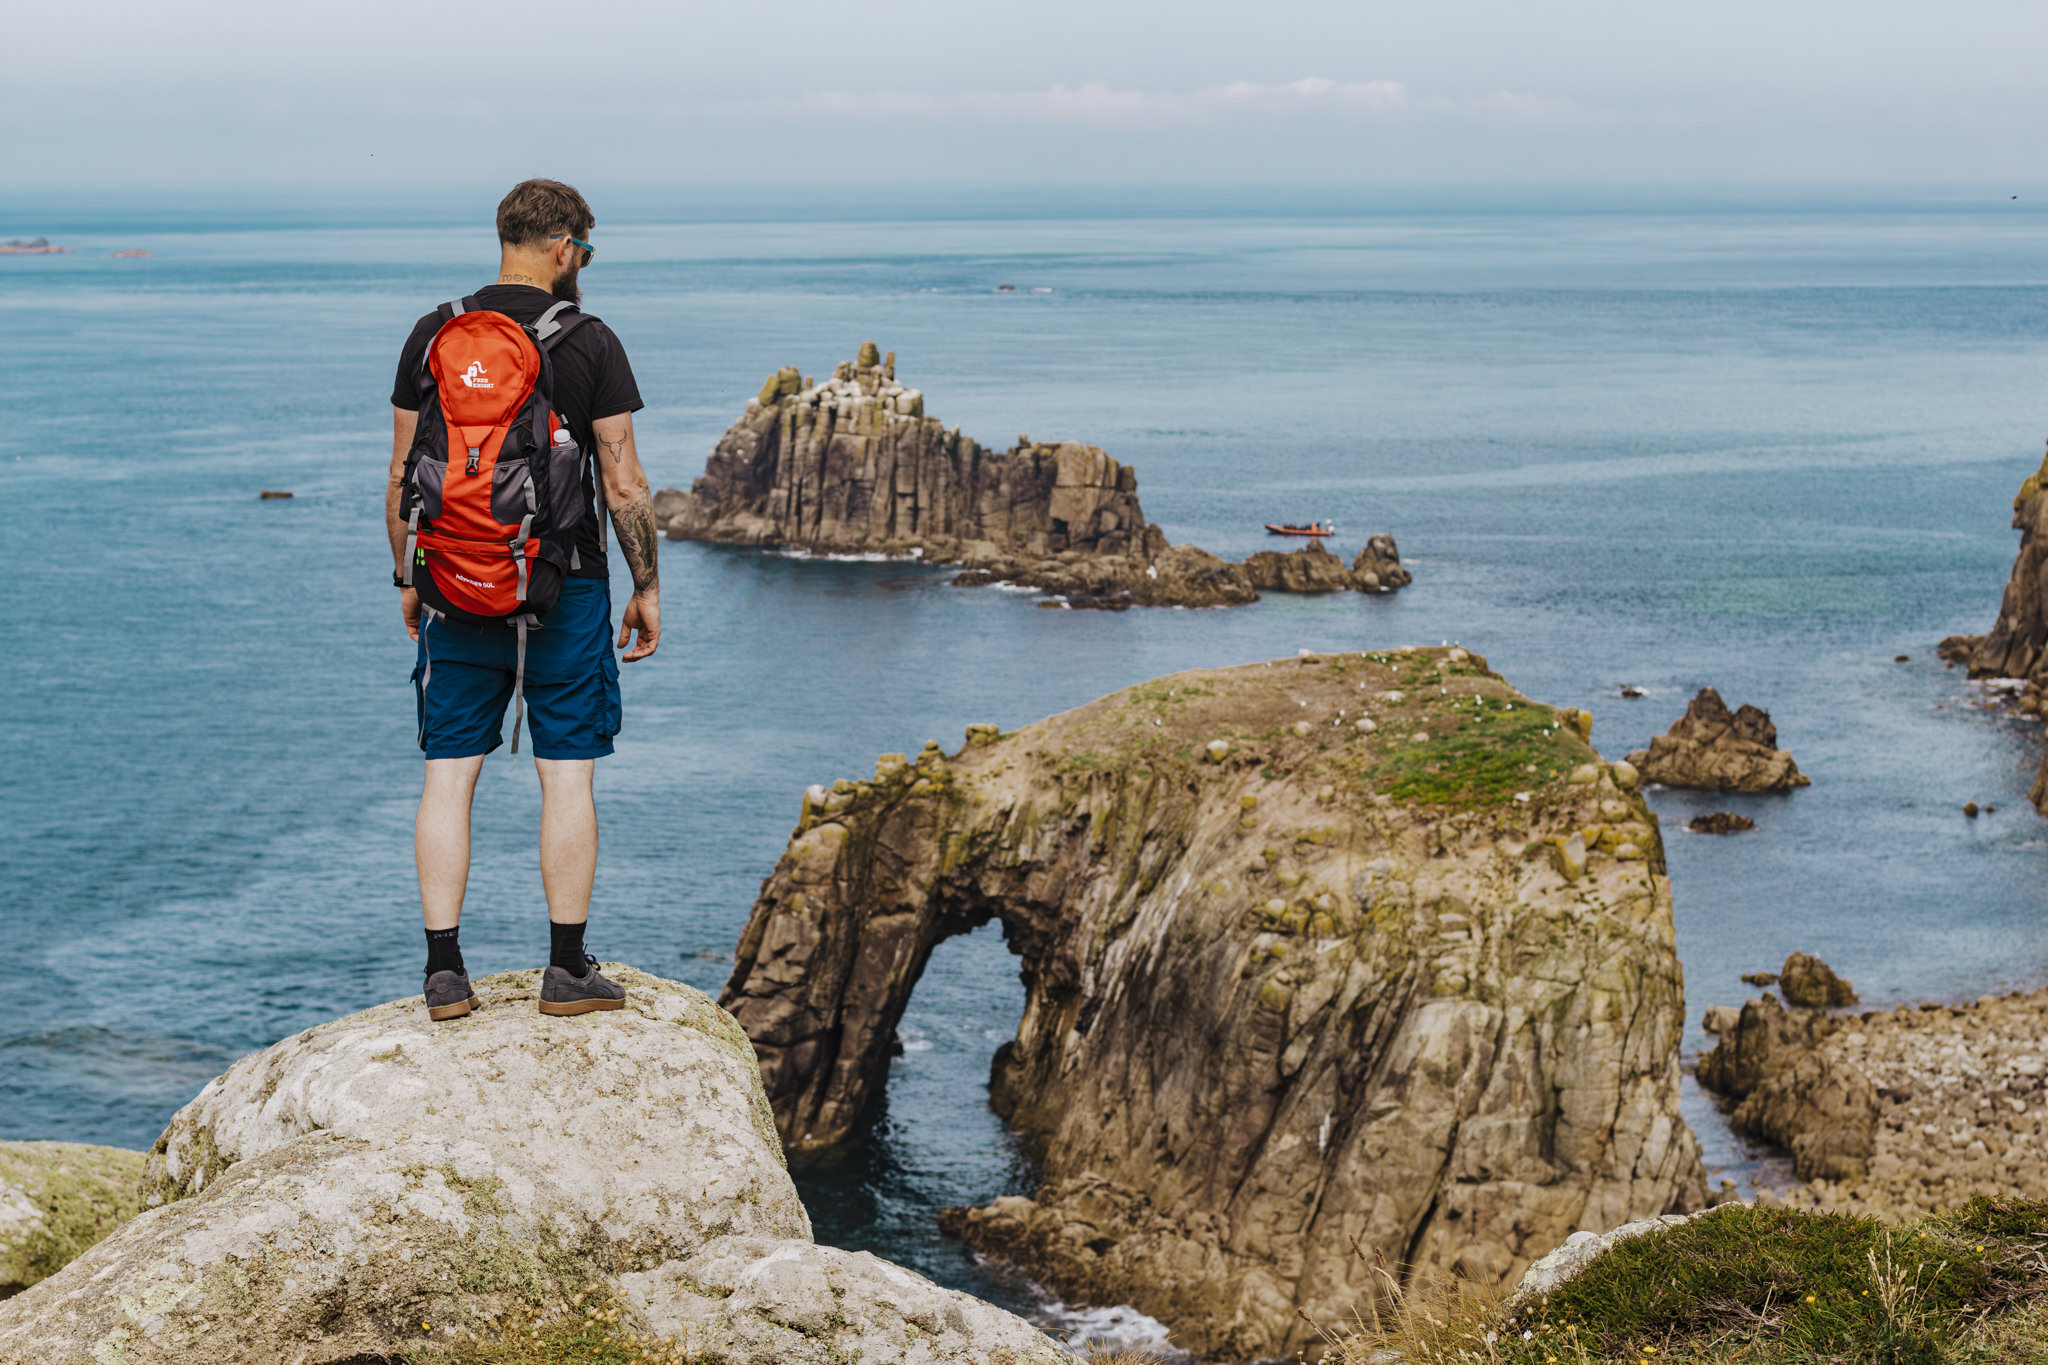
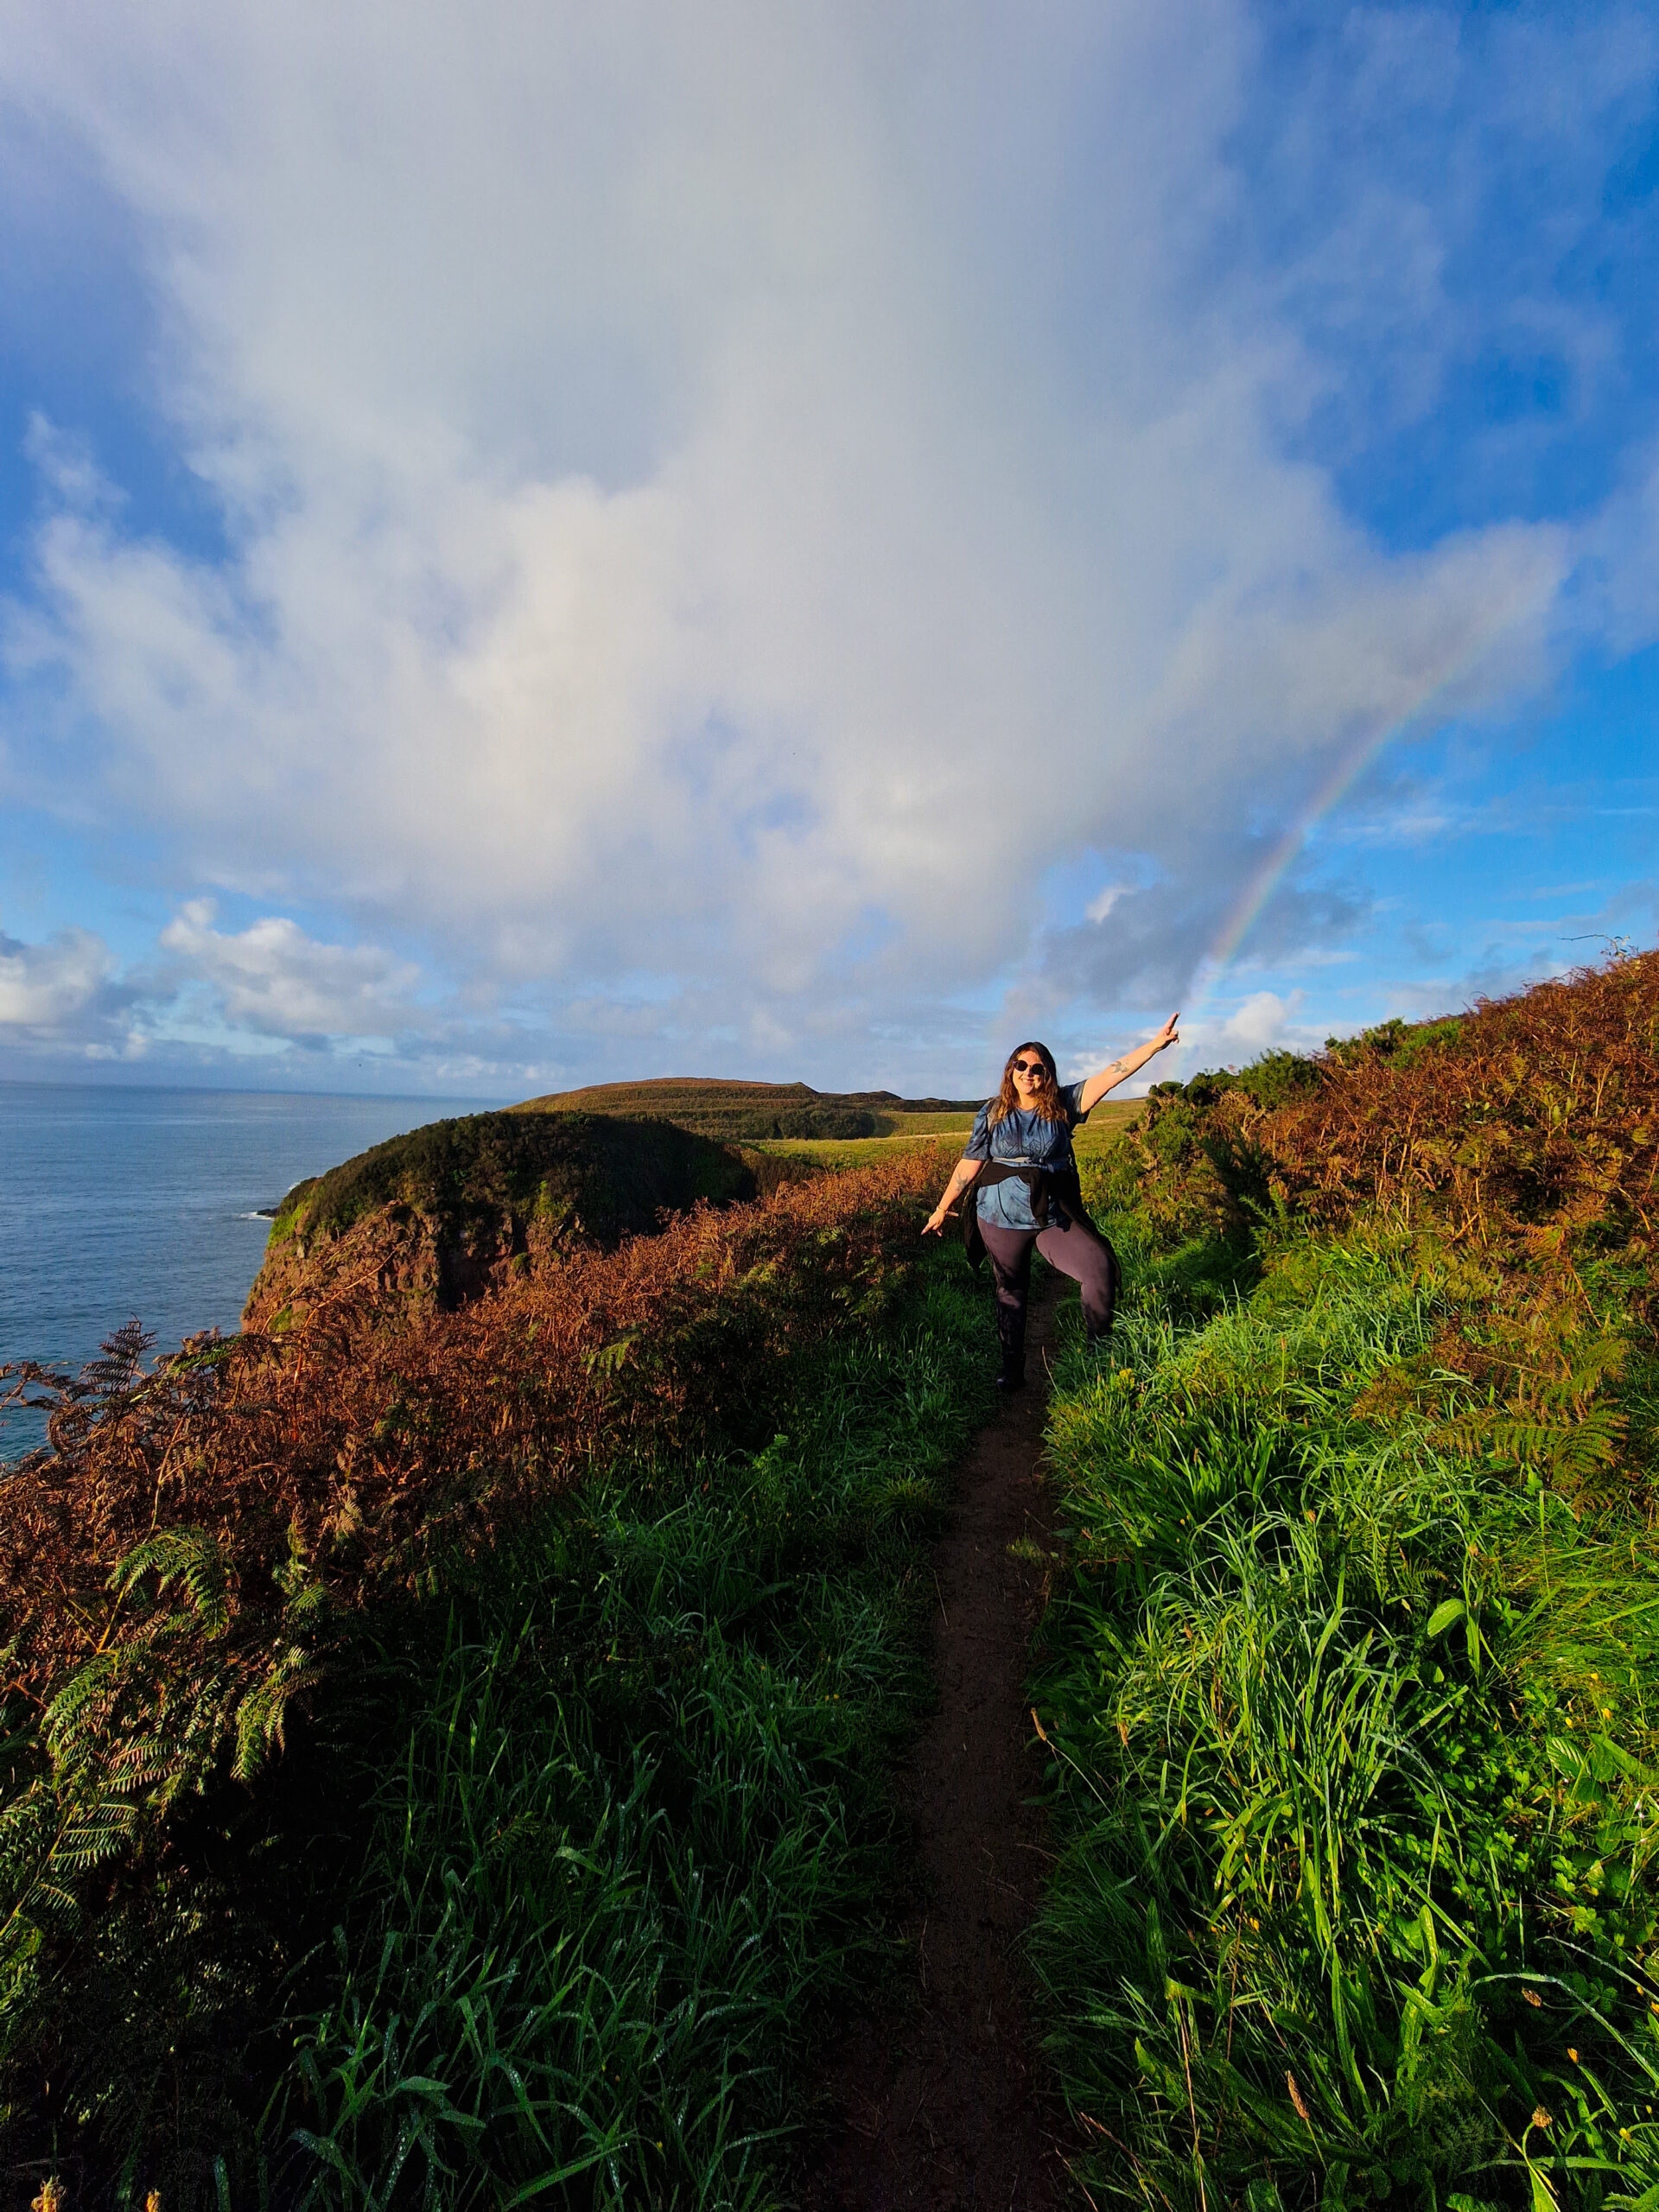
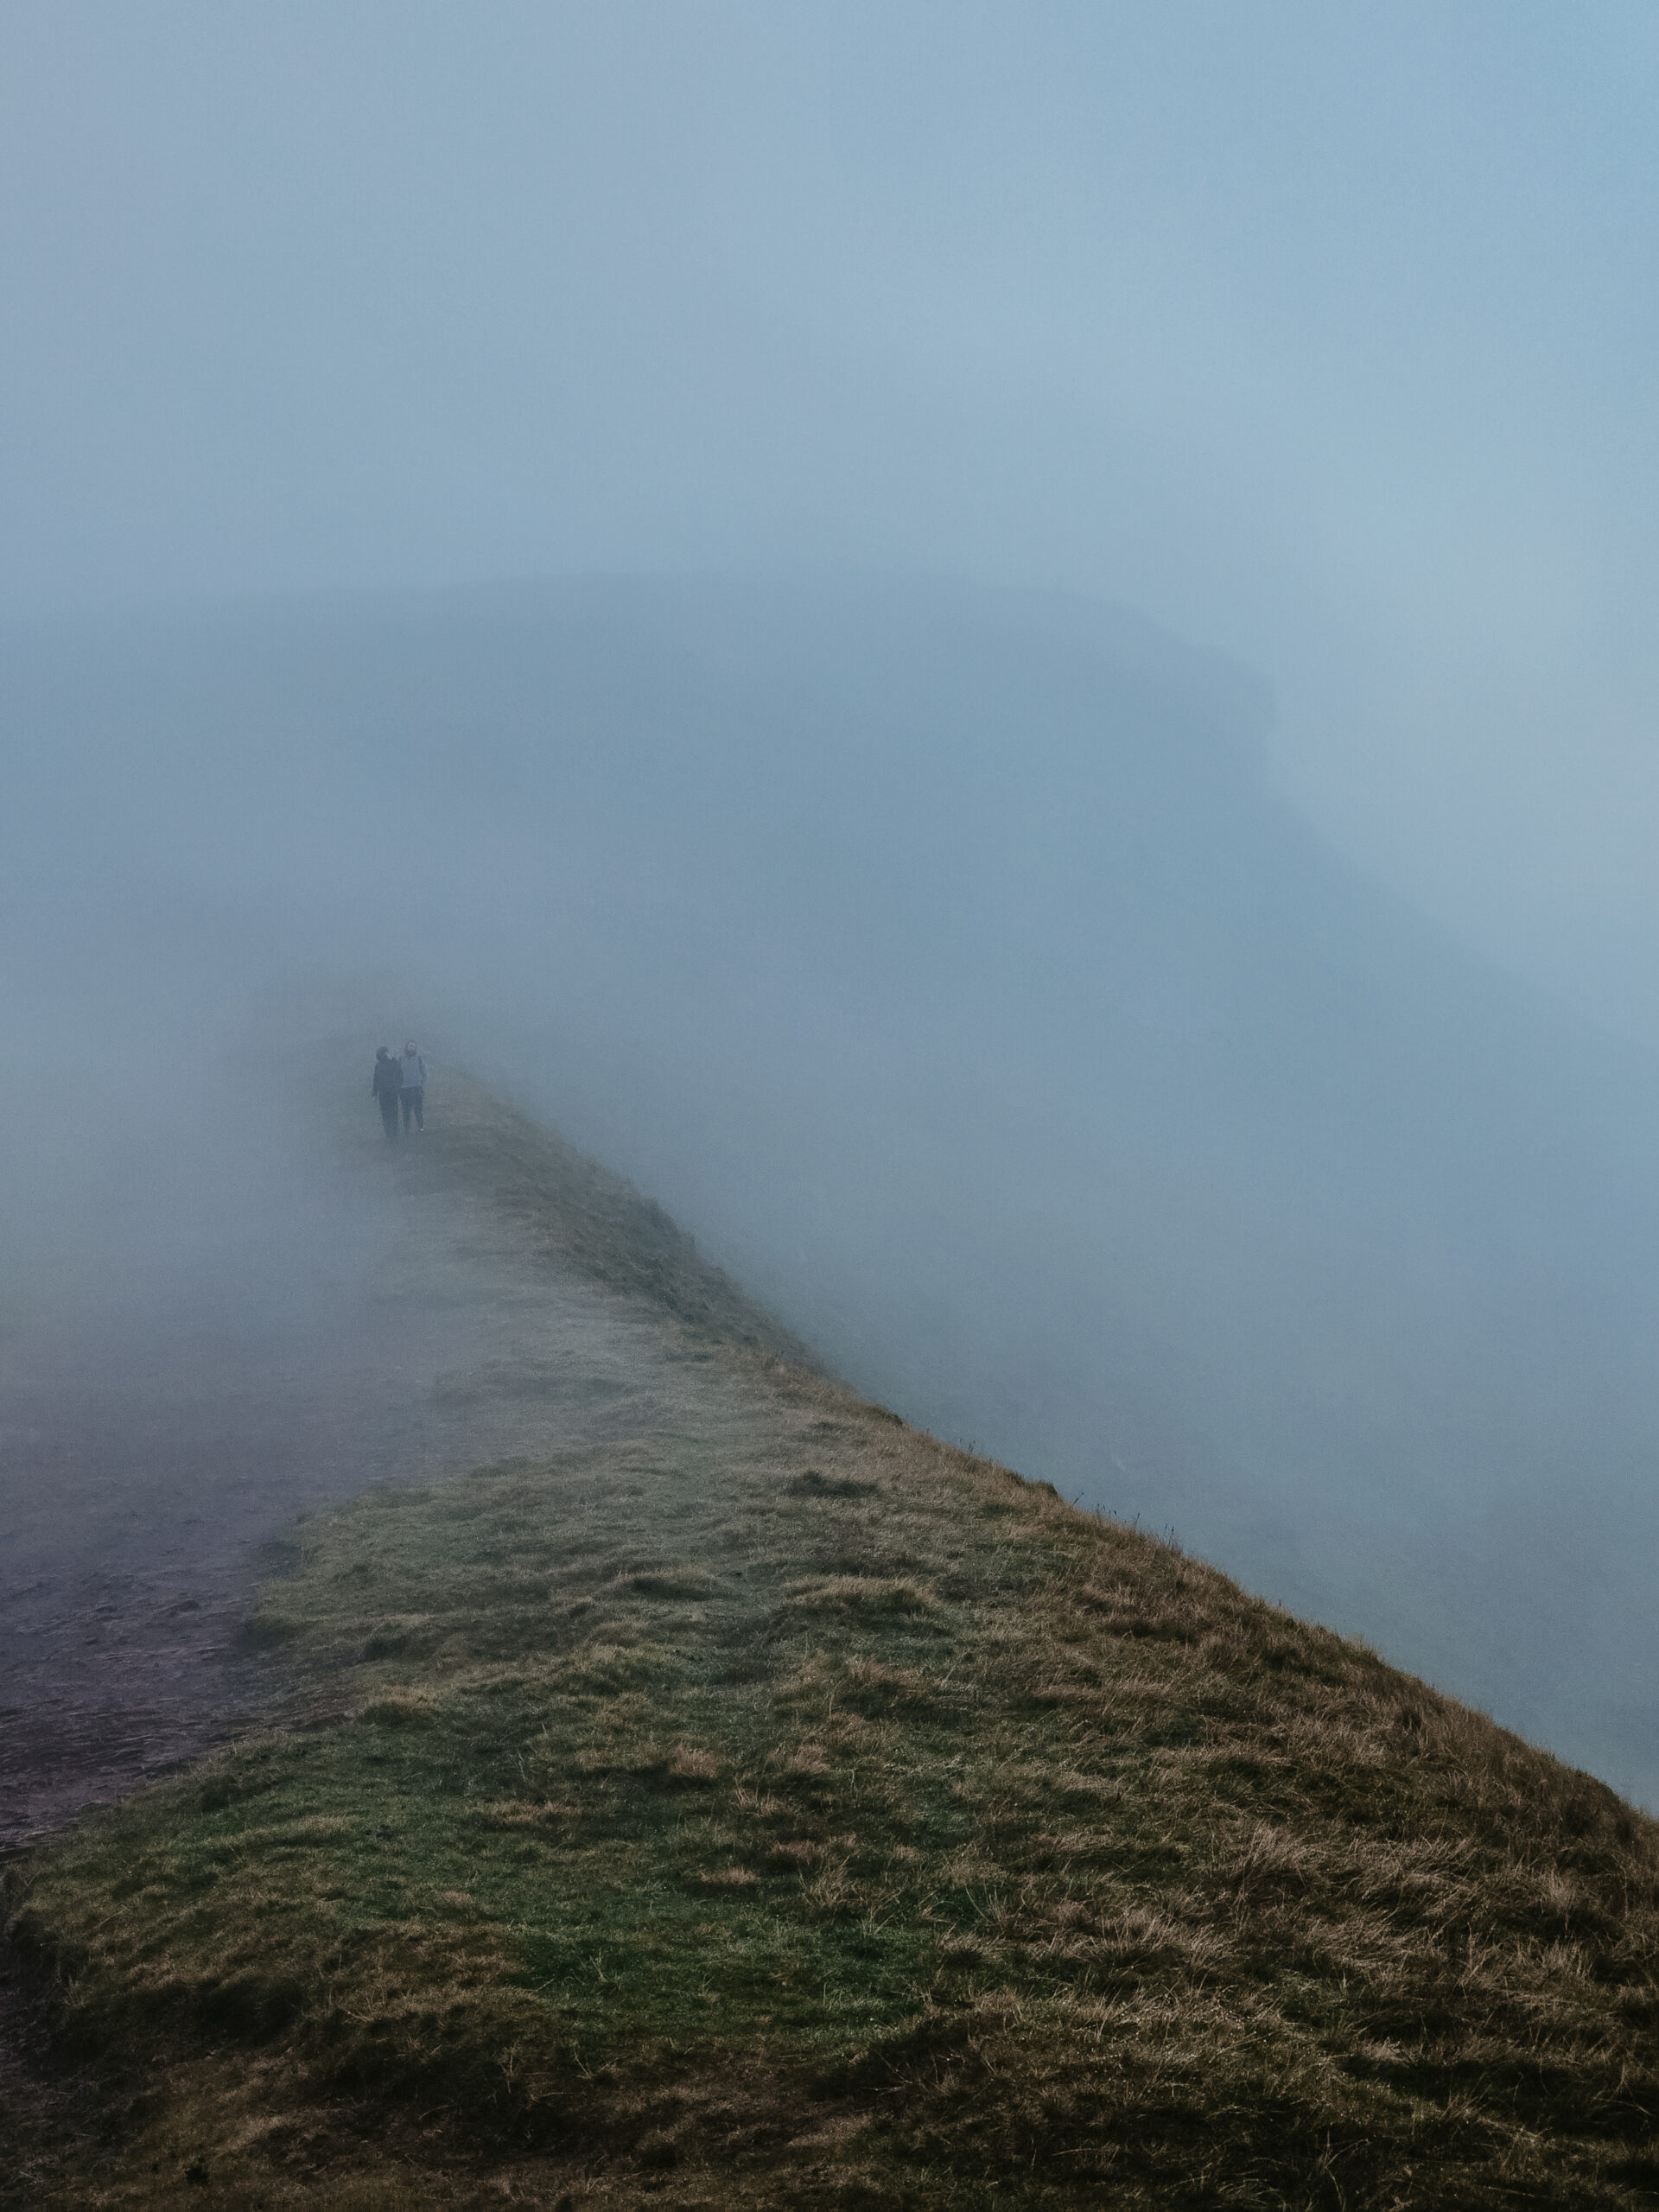
Put a person in the frame, whether they’re standing on a ridge, walking along a trail, or dwarfed by a waterfall, and suddenly anybody who looks at your photo understands just how enormous that landscape really is.
If you’re on a solo adventure, a tripod with a self-timer works perfectly, or you can prop your camera against a rock and run into position. You can even use animals for scale if you see any wildlife on your hike.
Still not sure how composition works? Pop one of your hiking photos into the Free Composition Checker Tool for a quick insight.
Best Lighting for Hiking Photography
You can nail your composition perfectly, but if the light isn’t great, your hiking photos can be a bit lacklustre.
Golden hour is the magic window that photographers bang on about constantly, but for good reason. During the hour after/before sunrise and sunset, the light turns warm and directional.
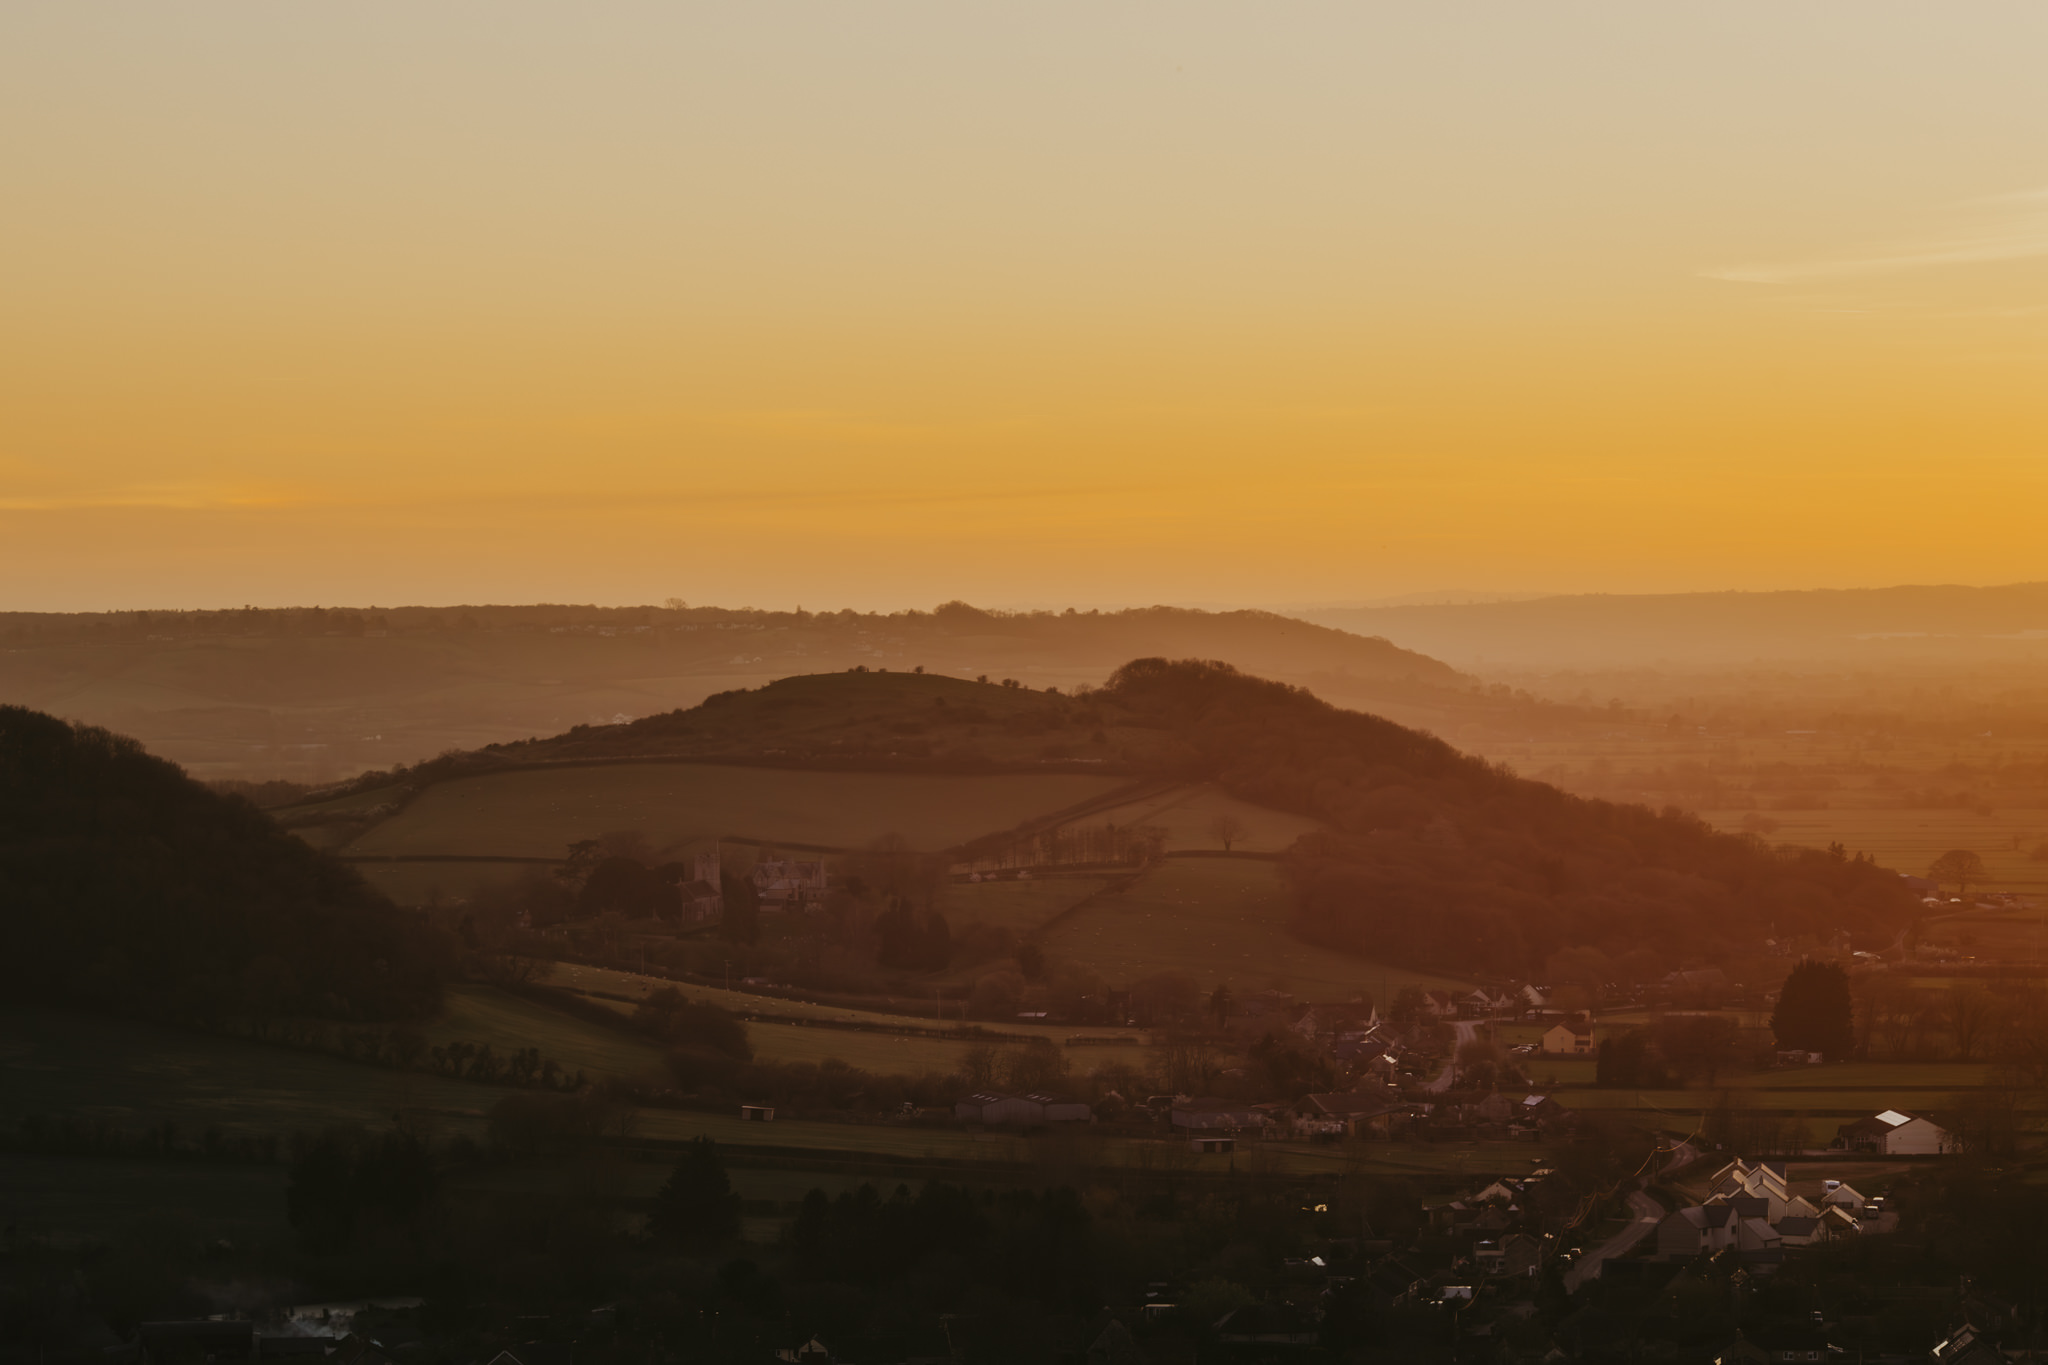
First light is also gorgeous, and one of my favourites, as the pastel colours in the sky add a great background, but the light is also lovely and soft.
It does mean setting an alarm that makes you question your life choices, but the photos will be epic, and you won’t have to share your hike with as many people.
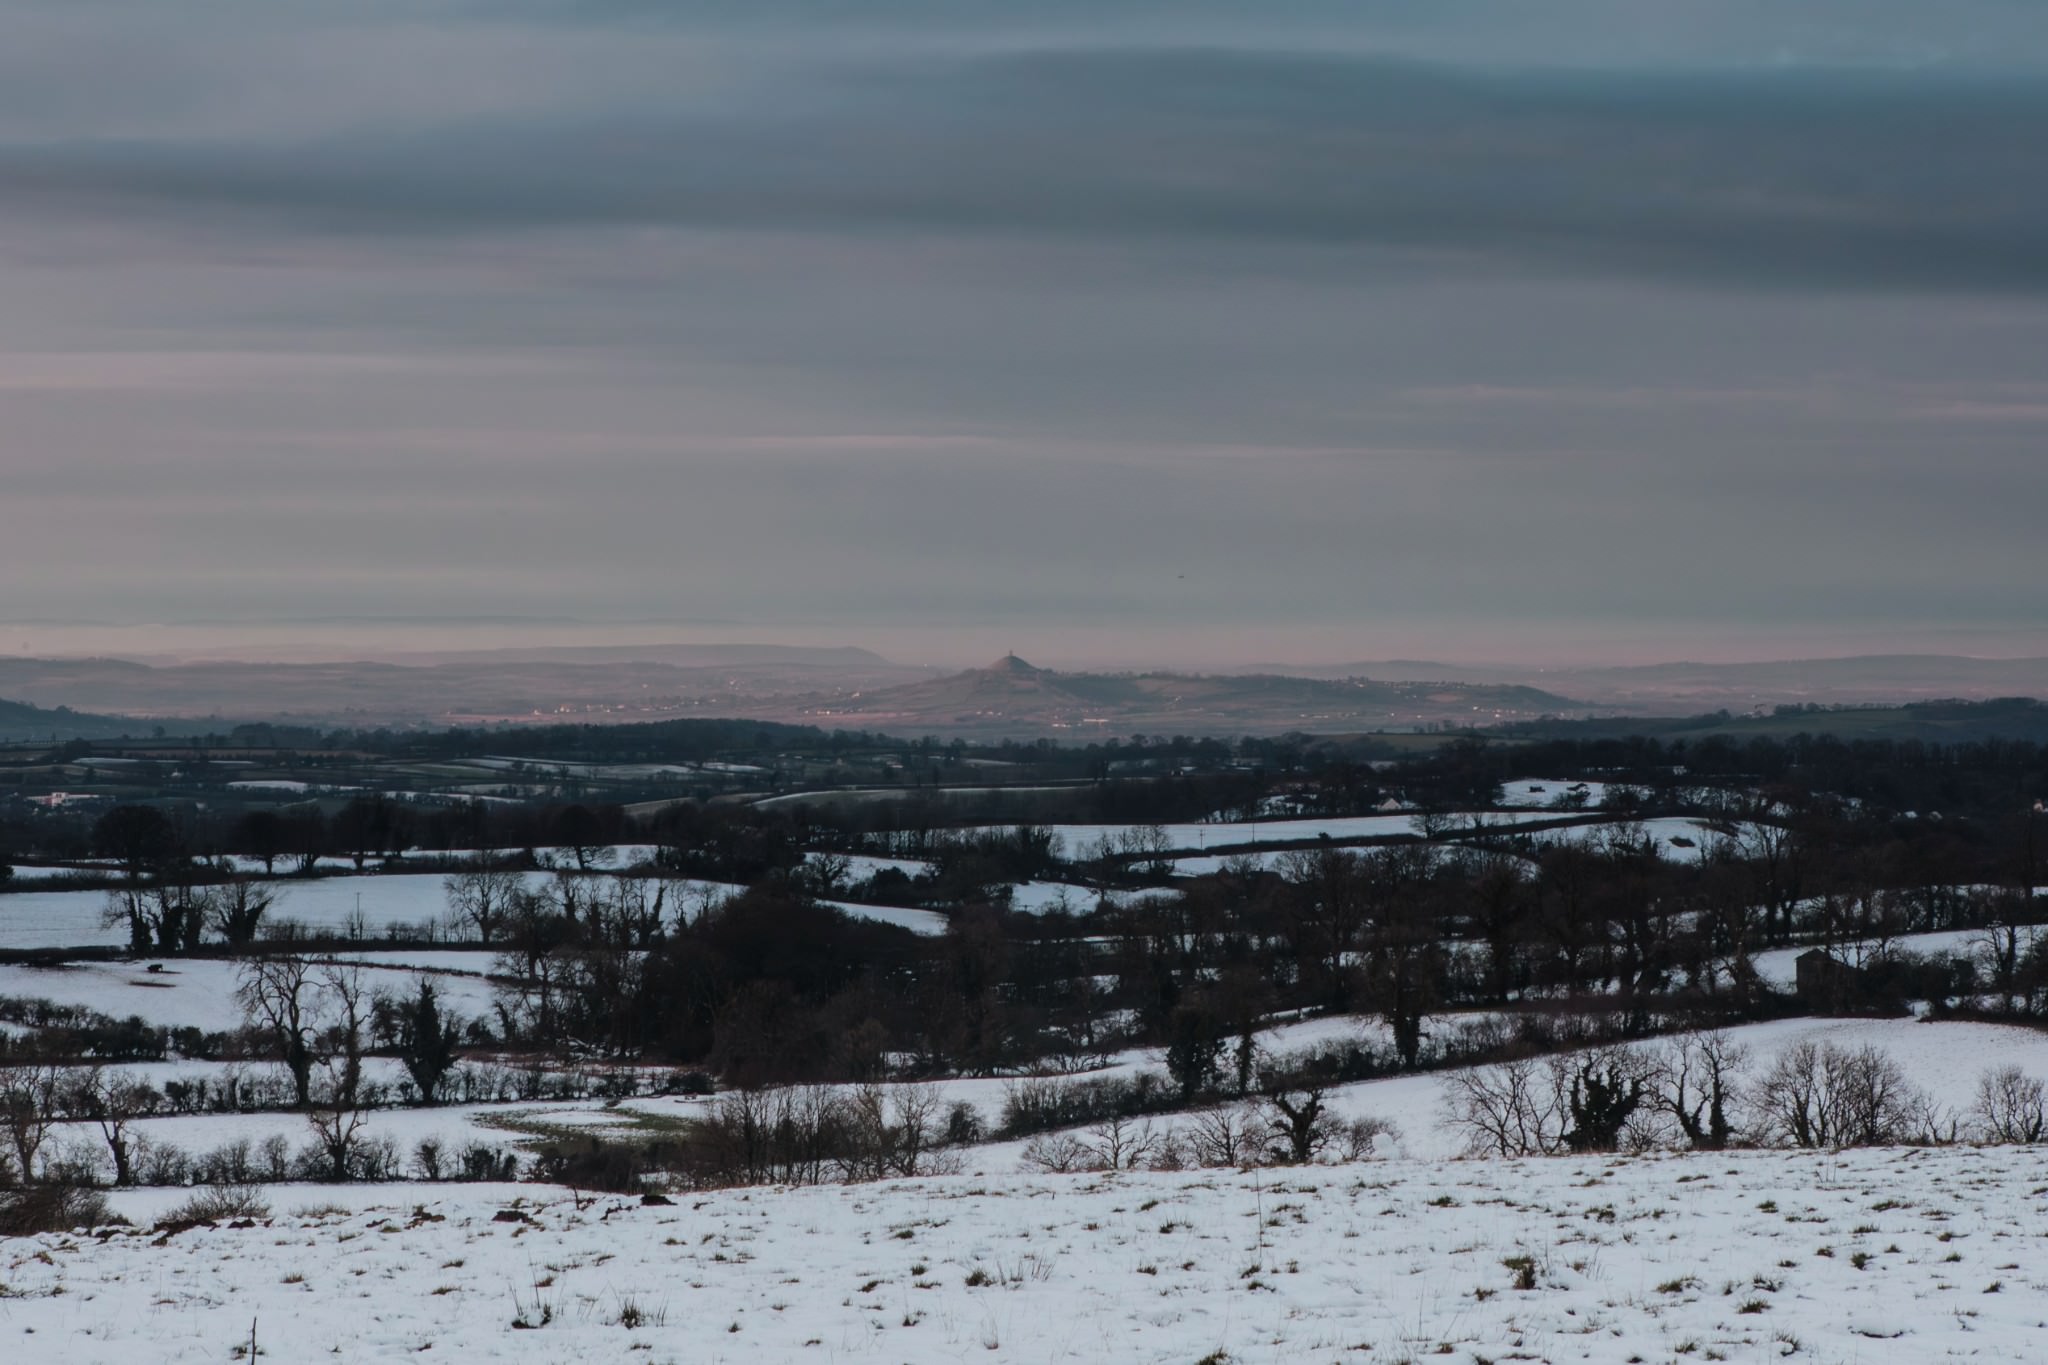
That said, you can’t always choose what time of day to go, especially if it’s a group hike.
You sometimes have to learn to use the light you have and let it guide the style of photos you take on the day.
Overcast weather can be just as good for hiking photos, as the clouds create even, flattering light that’s perfect for waterfalls, woodland, and detail shots.
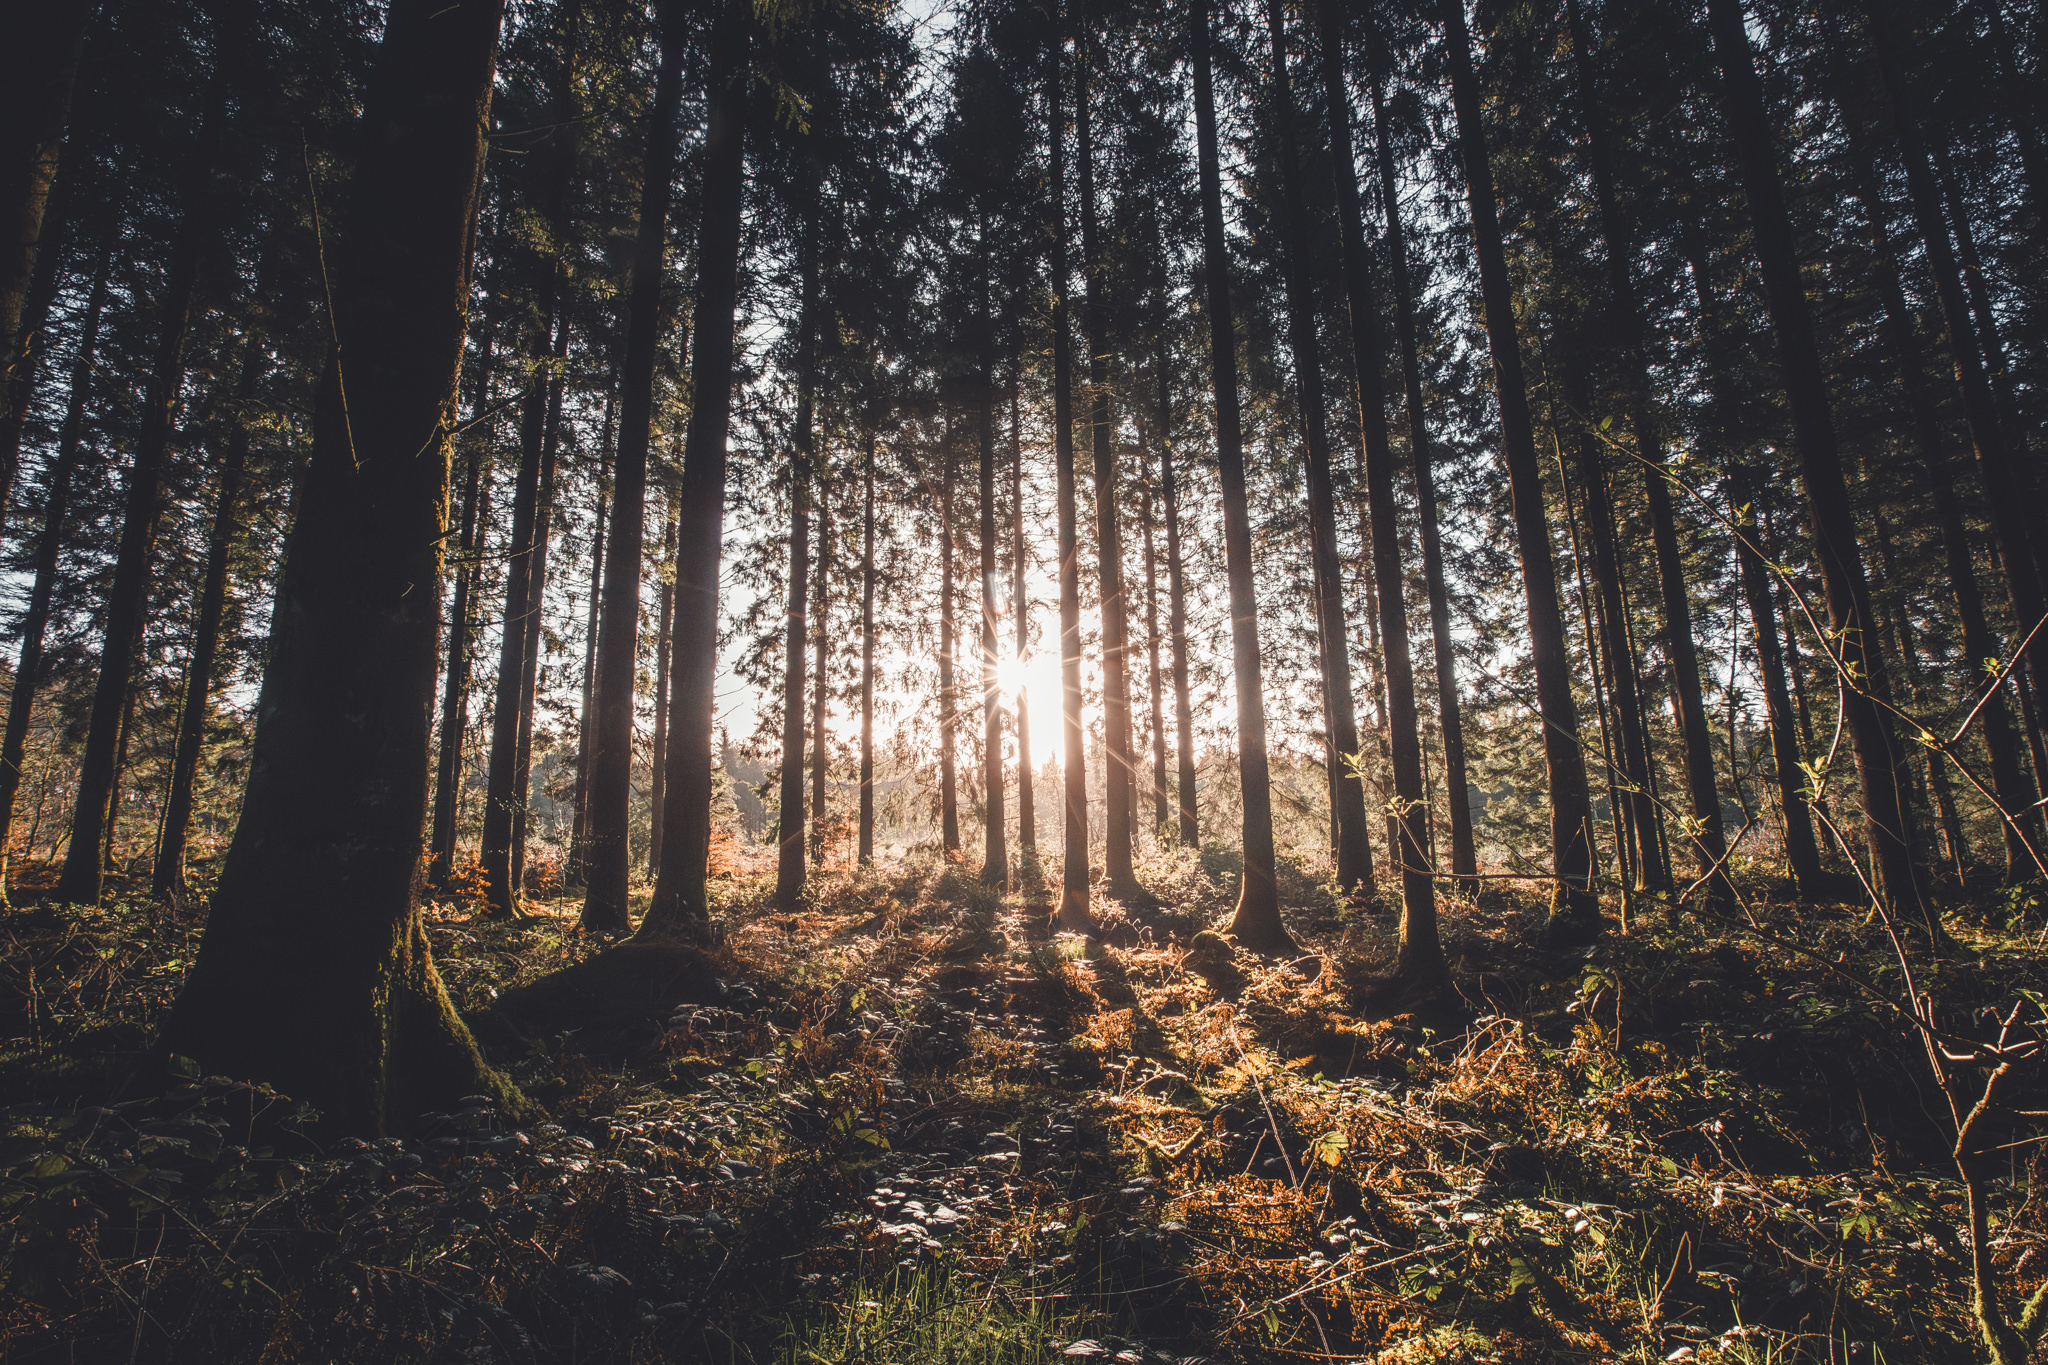
Bright sunshine filtering through trees can be pretty awesome, too.
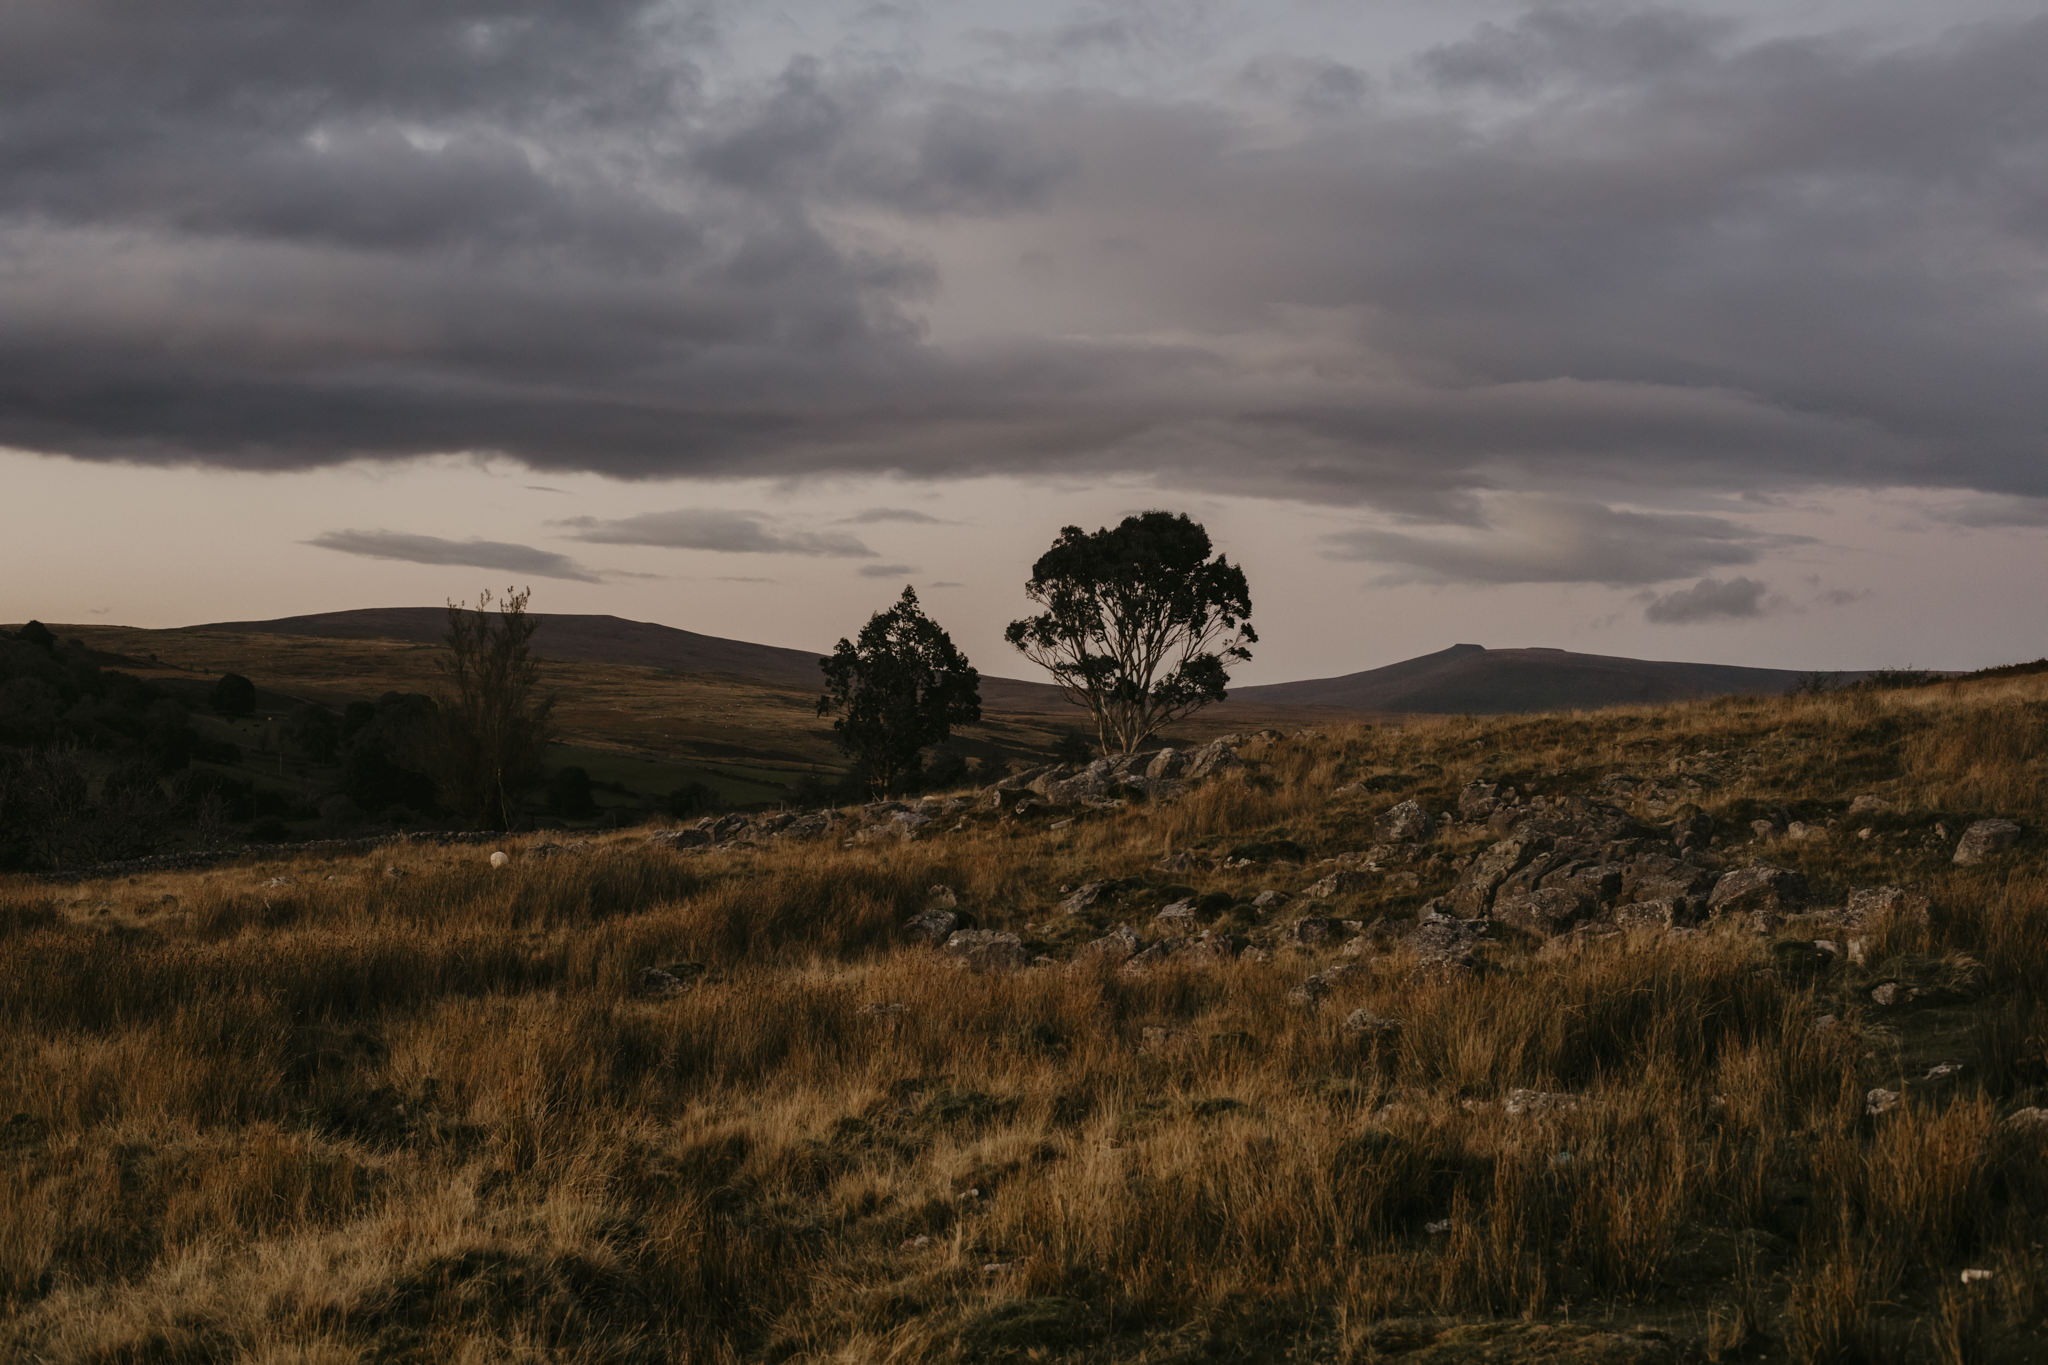
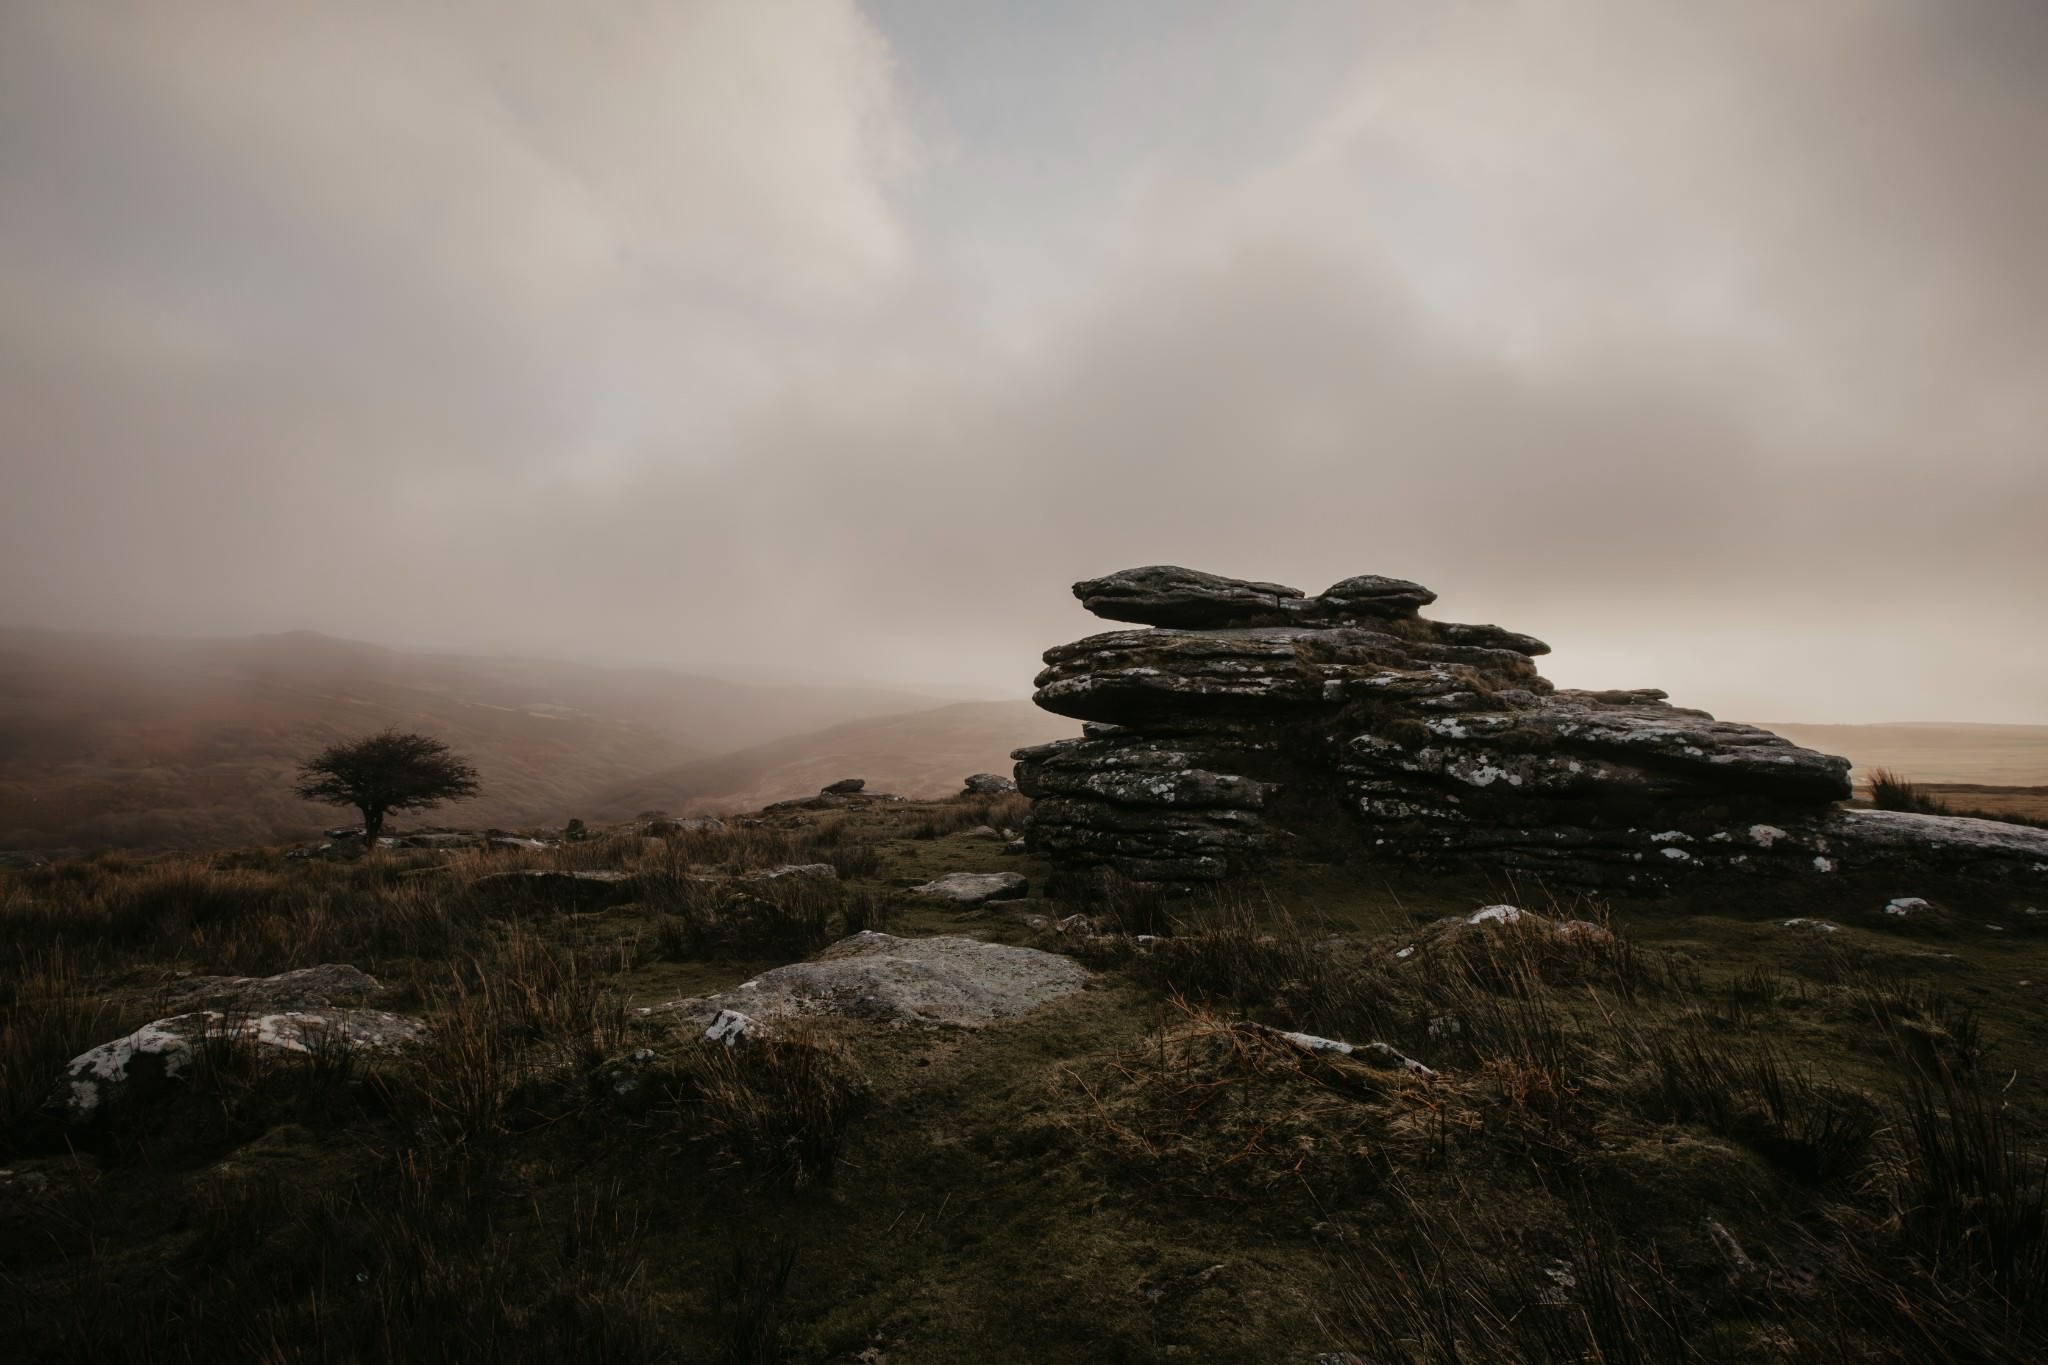
And dramatic weather can create some really memorable moody shots.
Just make sure that you protect your camera gear. A rain cover or even a plastic bag with a hole cut for the lens should do the trick!

How to Plan Your Hiking Photography
The best hiking photos rarely happen by accident. A bit of planning makes the difference between stumbling across a decent shot and positioning yourself in exactly the right spot at the right time.
I personally use PhotoPills alongside OS Maps to plan my shots, and this combination has completely changed my success rate.
PhotoPills shows you exactly where and when the sun and moon will rise or set from any location, so you can visualise how the light will fall across the landscape before you even leave the house.
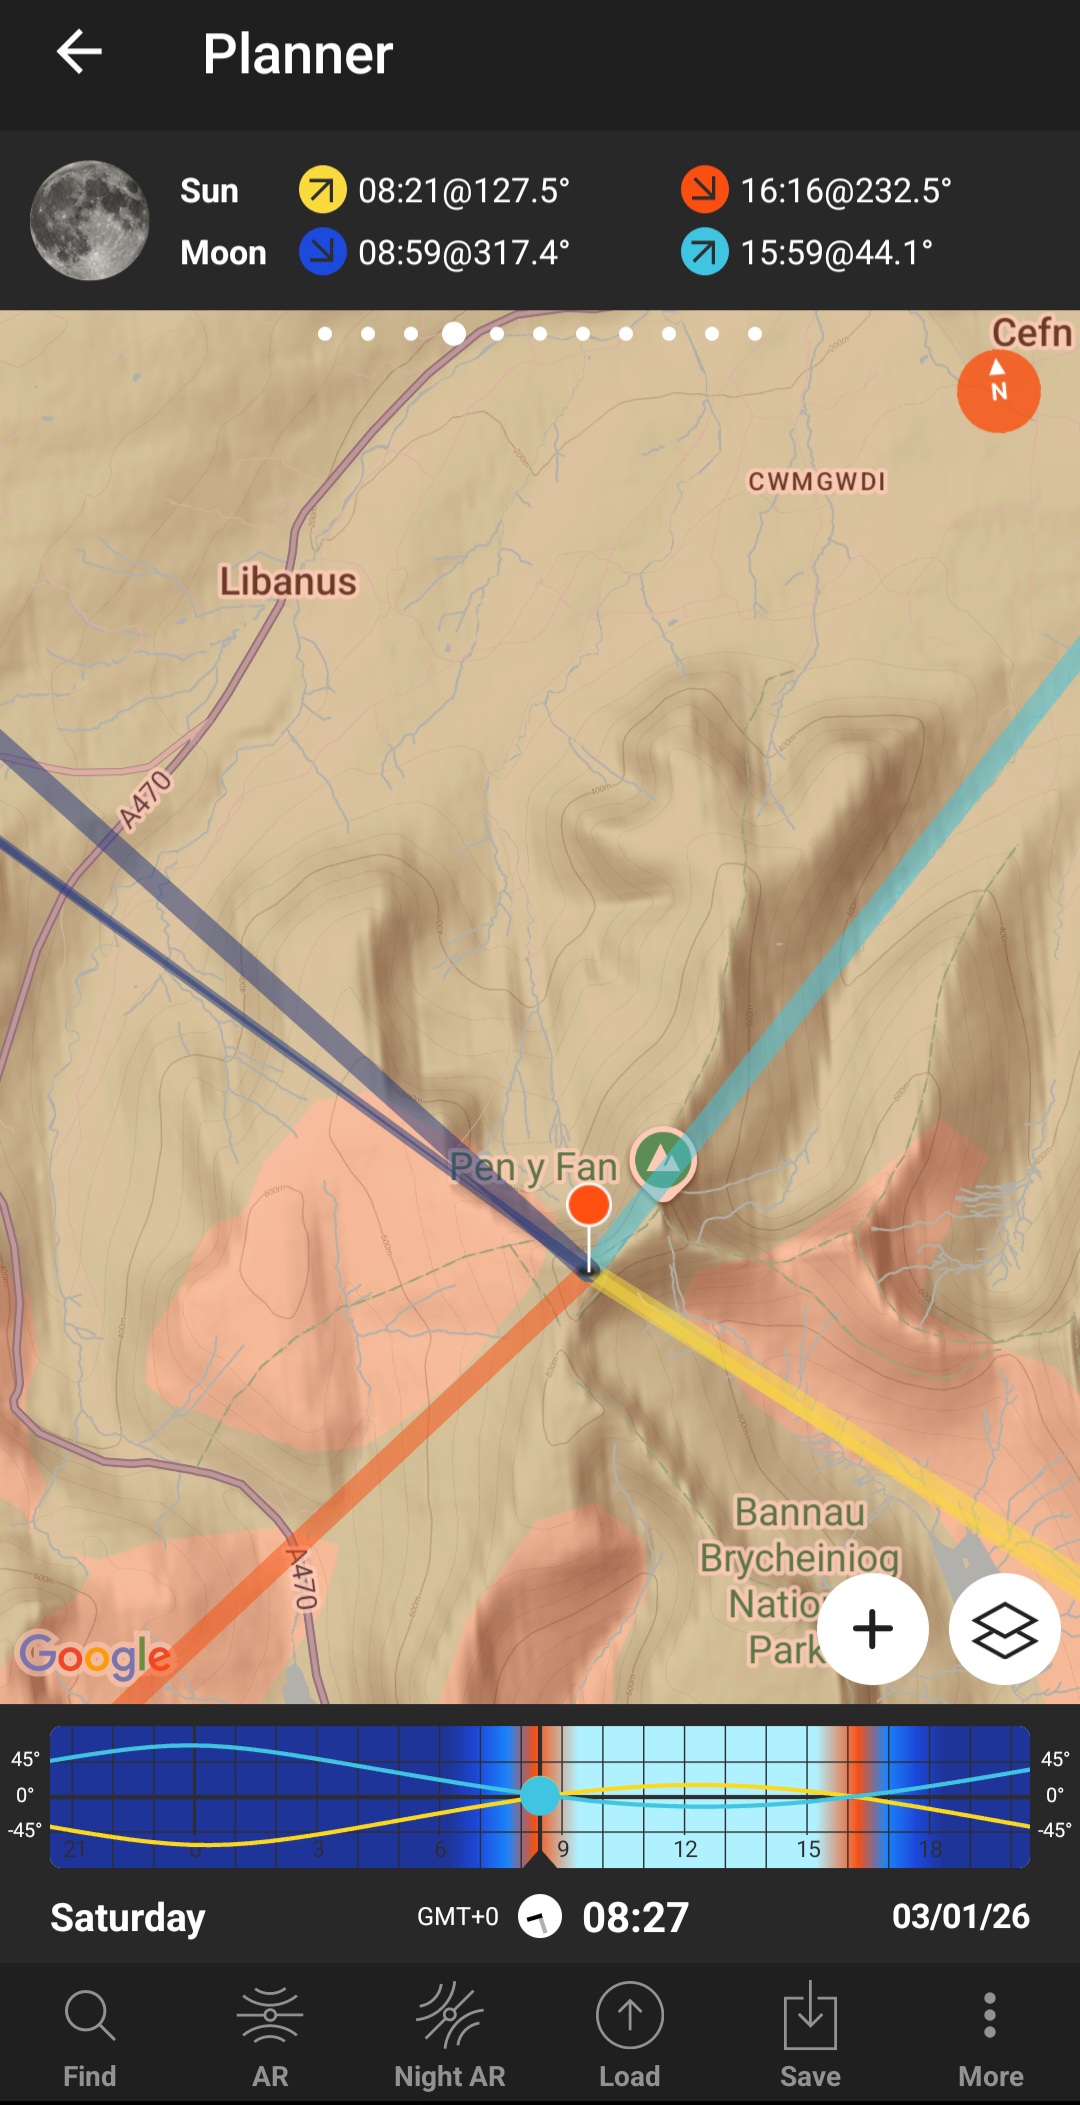
You can combine this with OS Maps to find the best viewpoints, work out your route, and estimate how long you’ll need to reach your chosen spot before the good light arrives.
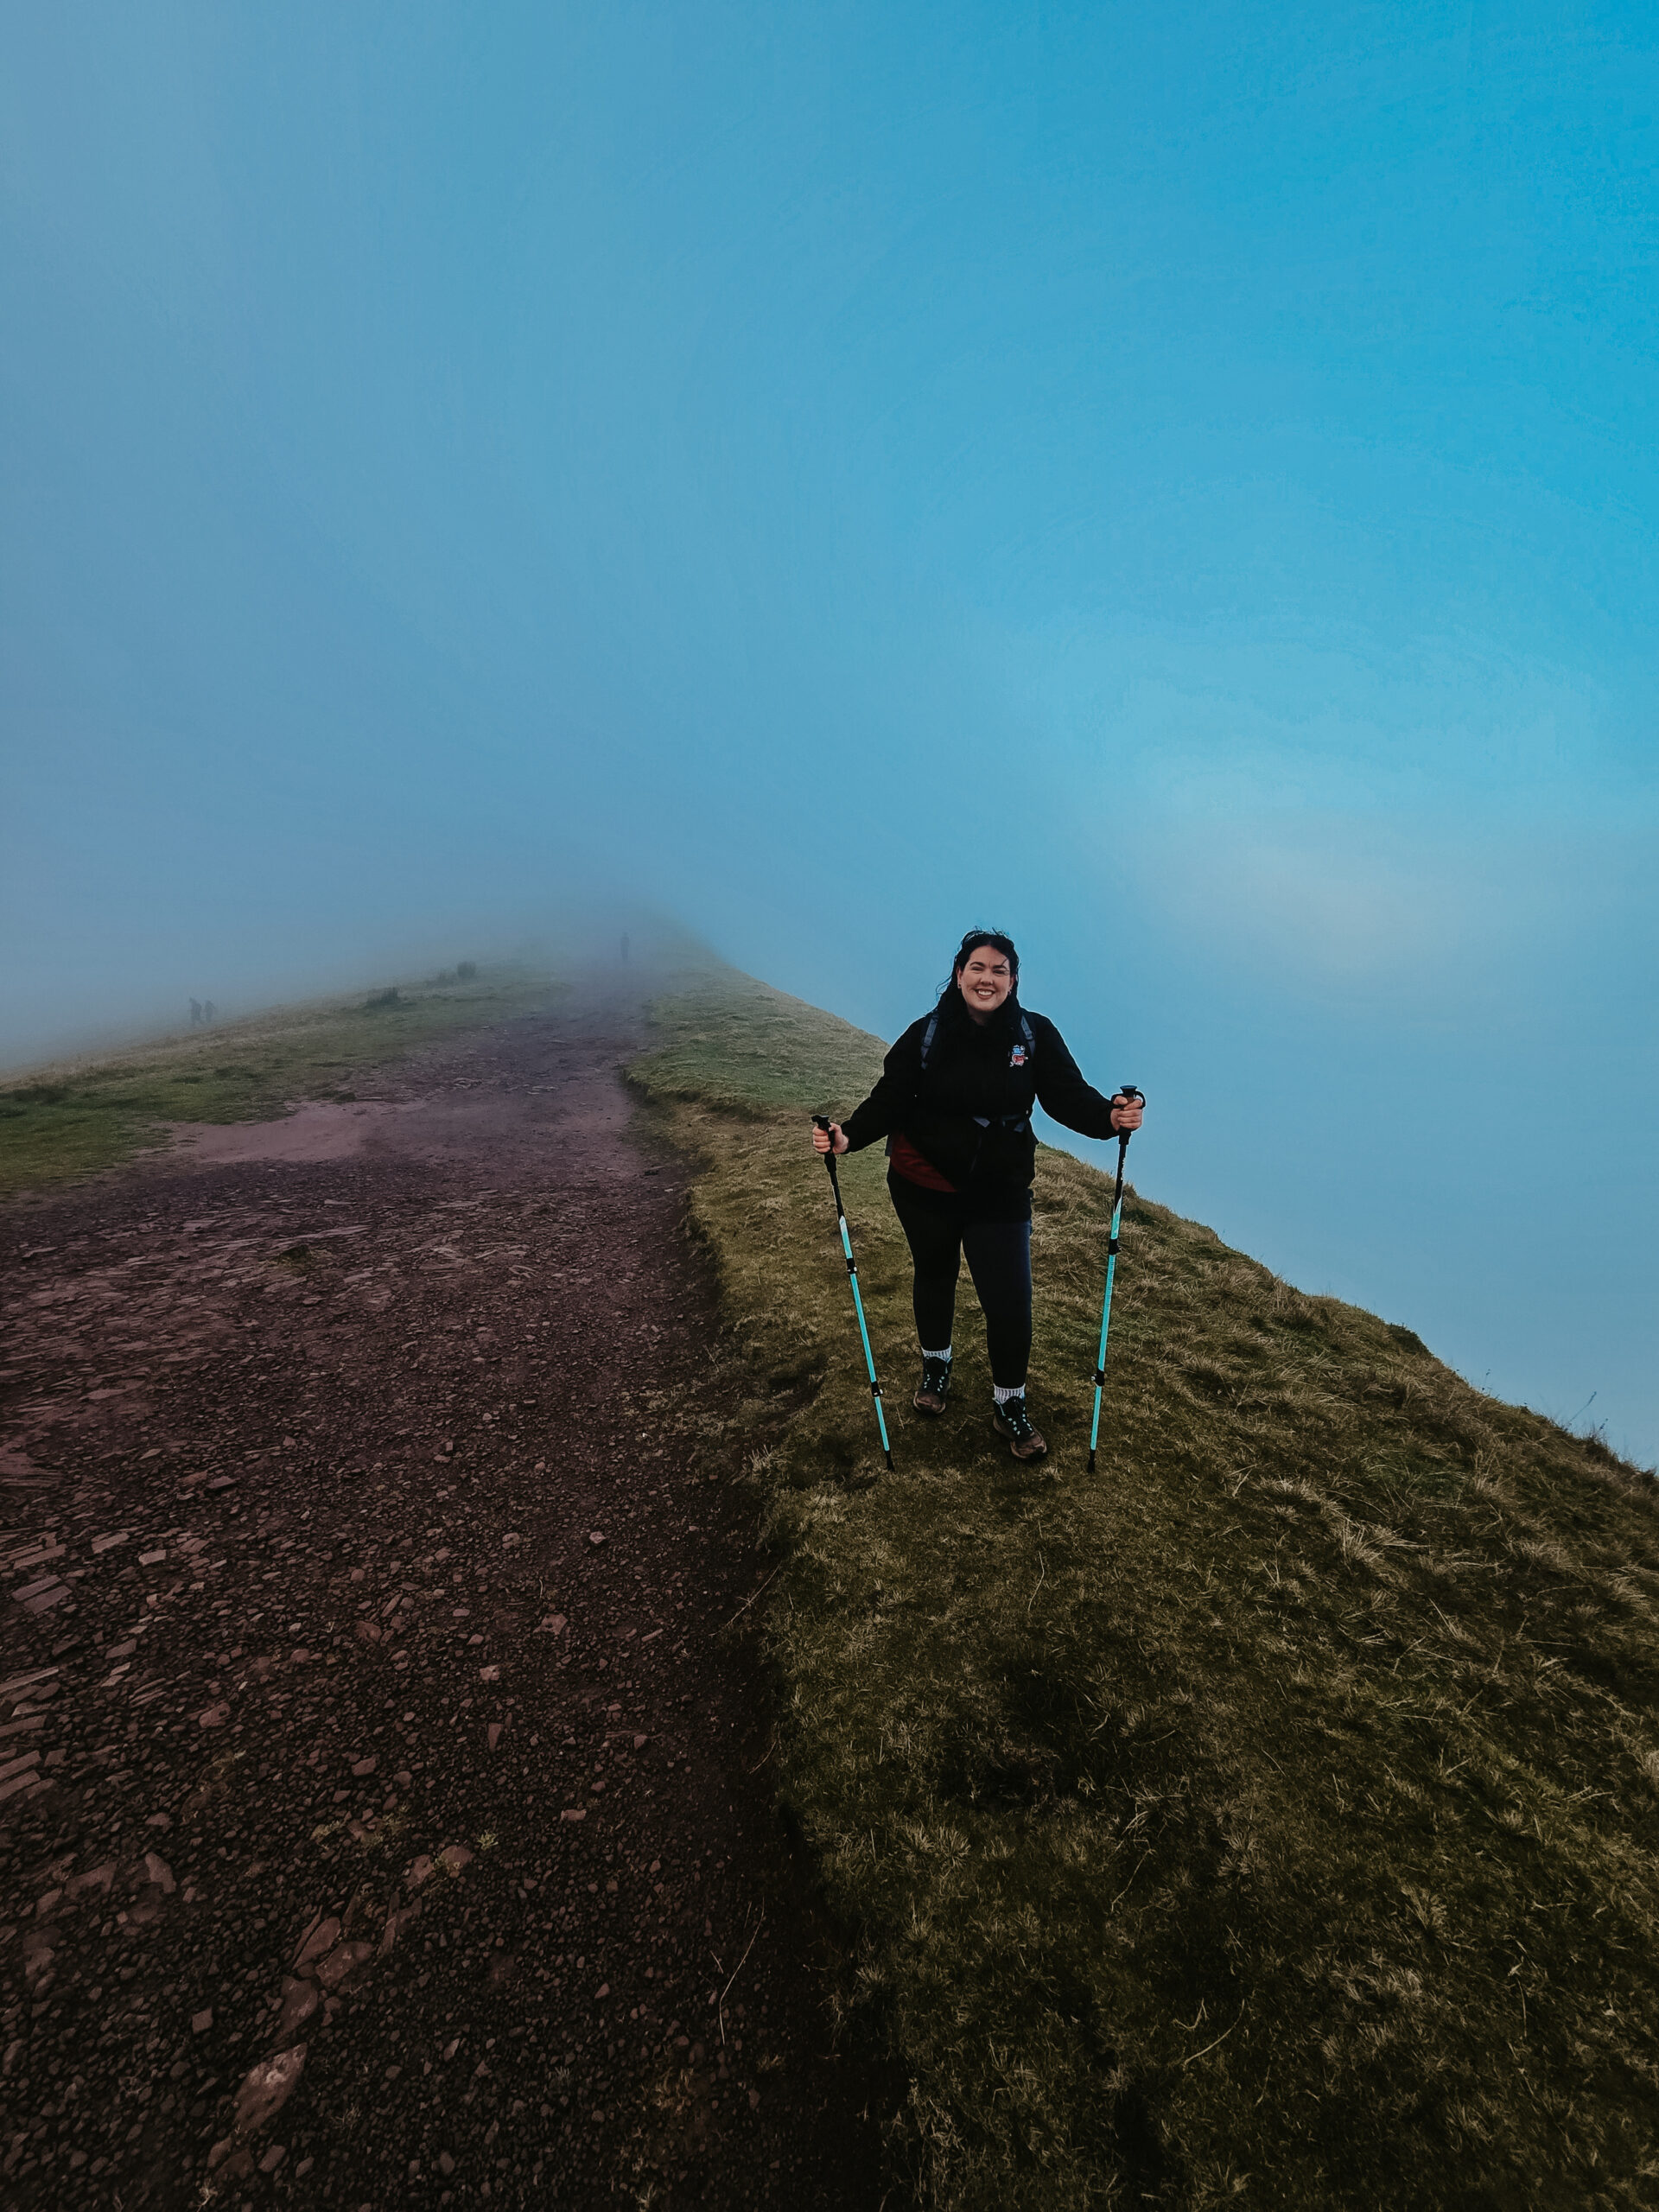
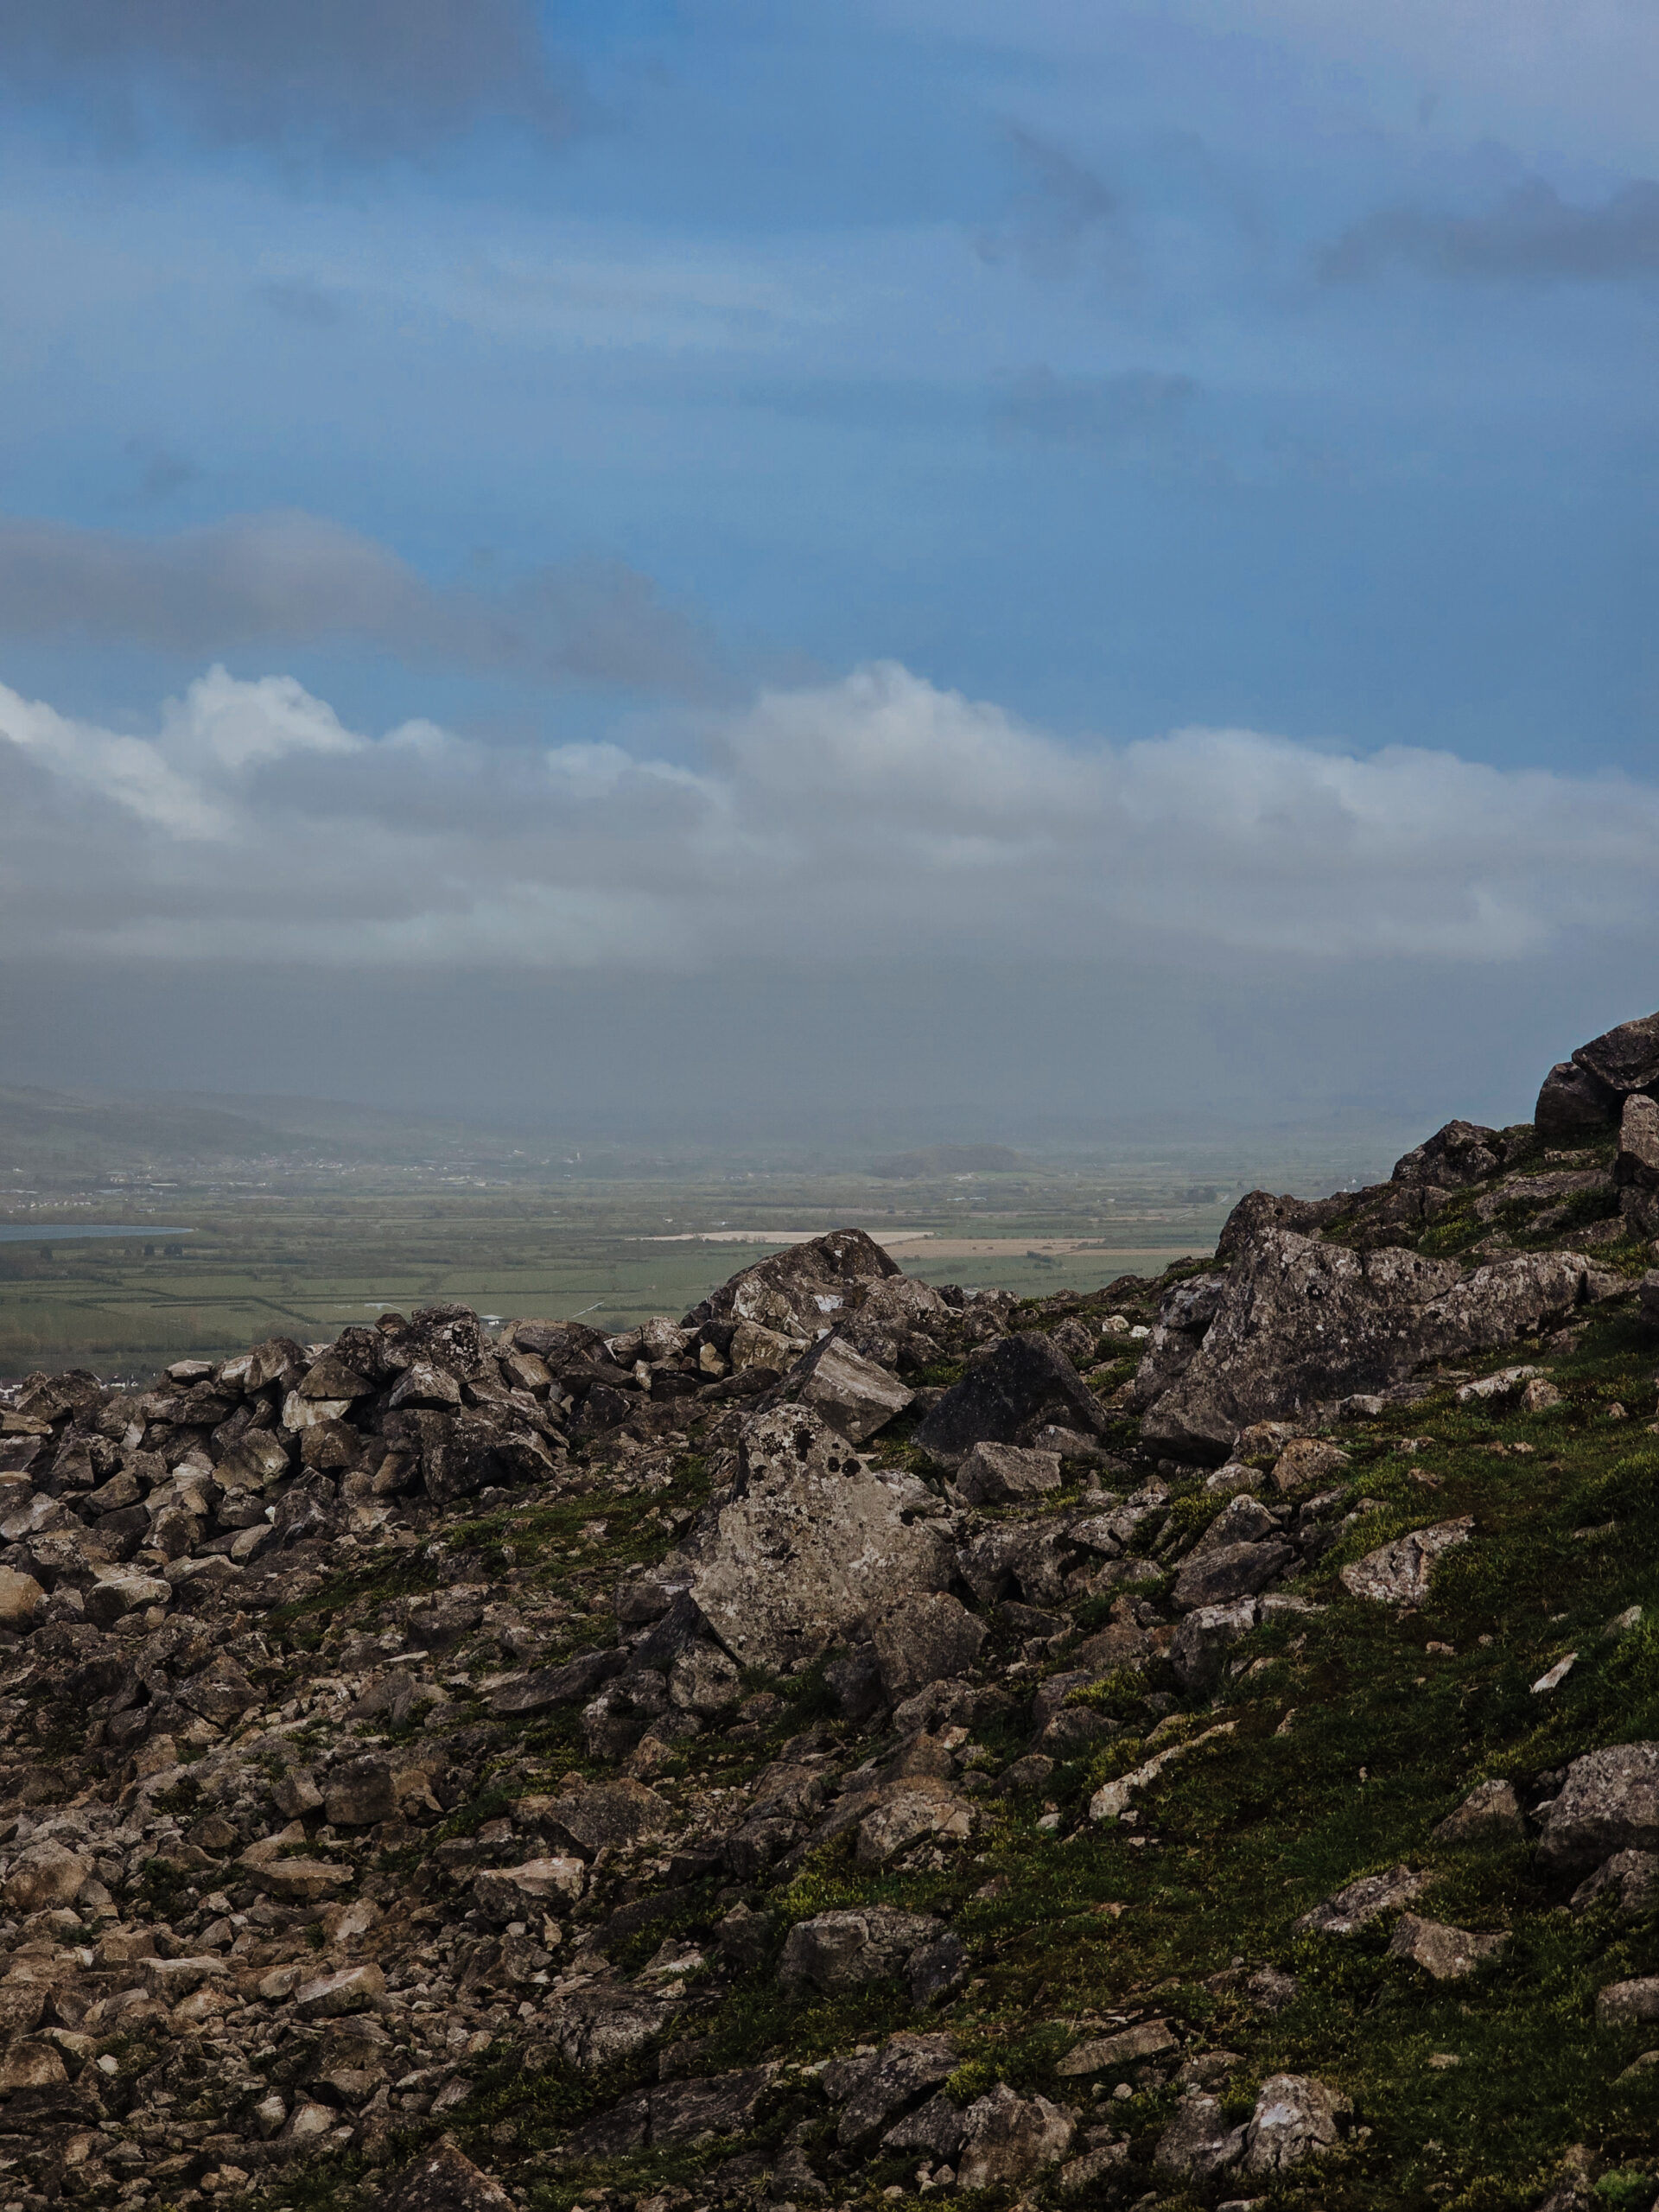
Check the weather forecast before you head out, but don’t automatically cancel because rain is predicted. As long as the weather is safe, you can shoot in it. Cloud inversions, approaching storms, and misty mornings often produce far more interesting photos than a blue sky.
Camera Settings for Hiking Photos
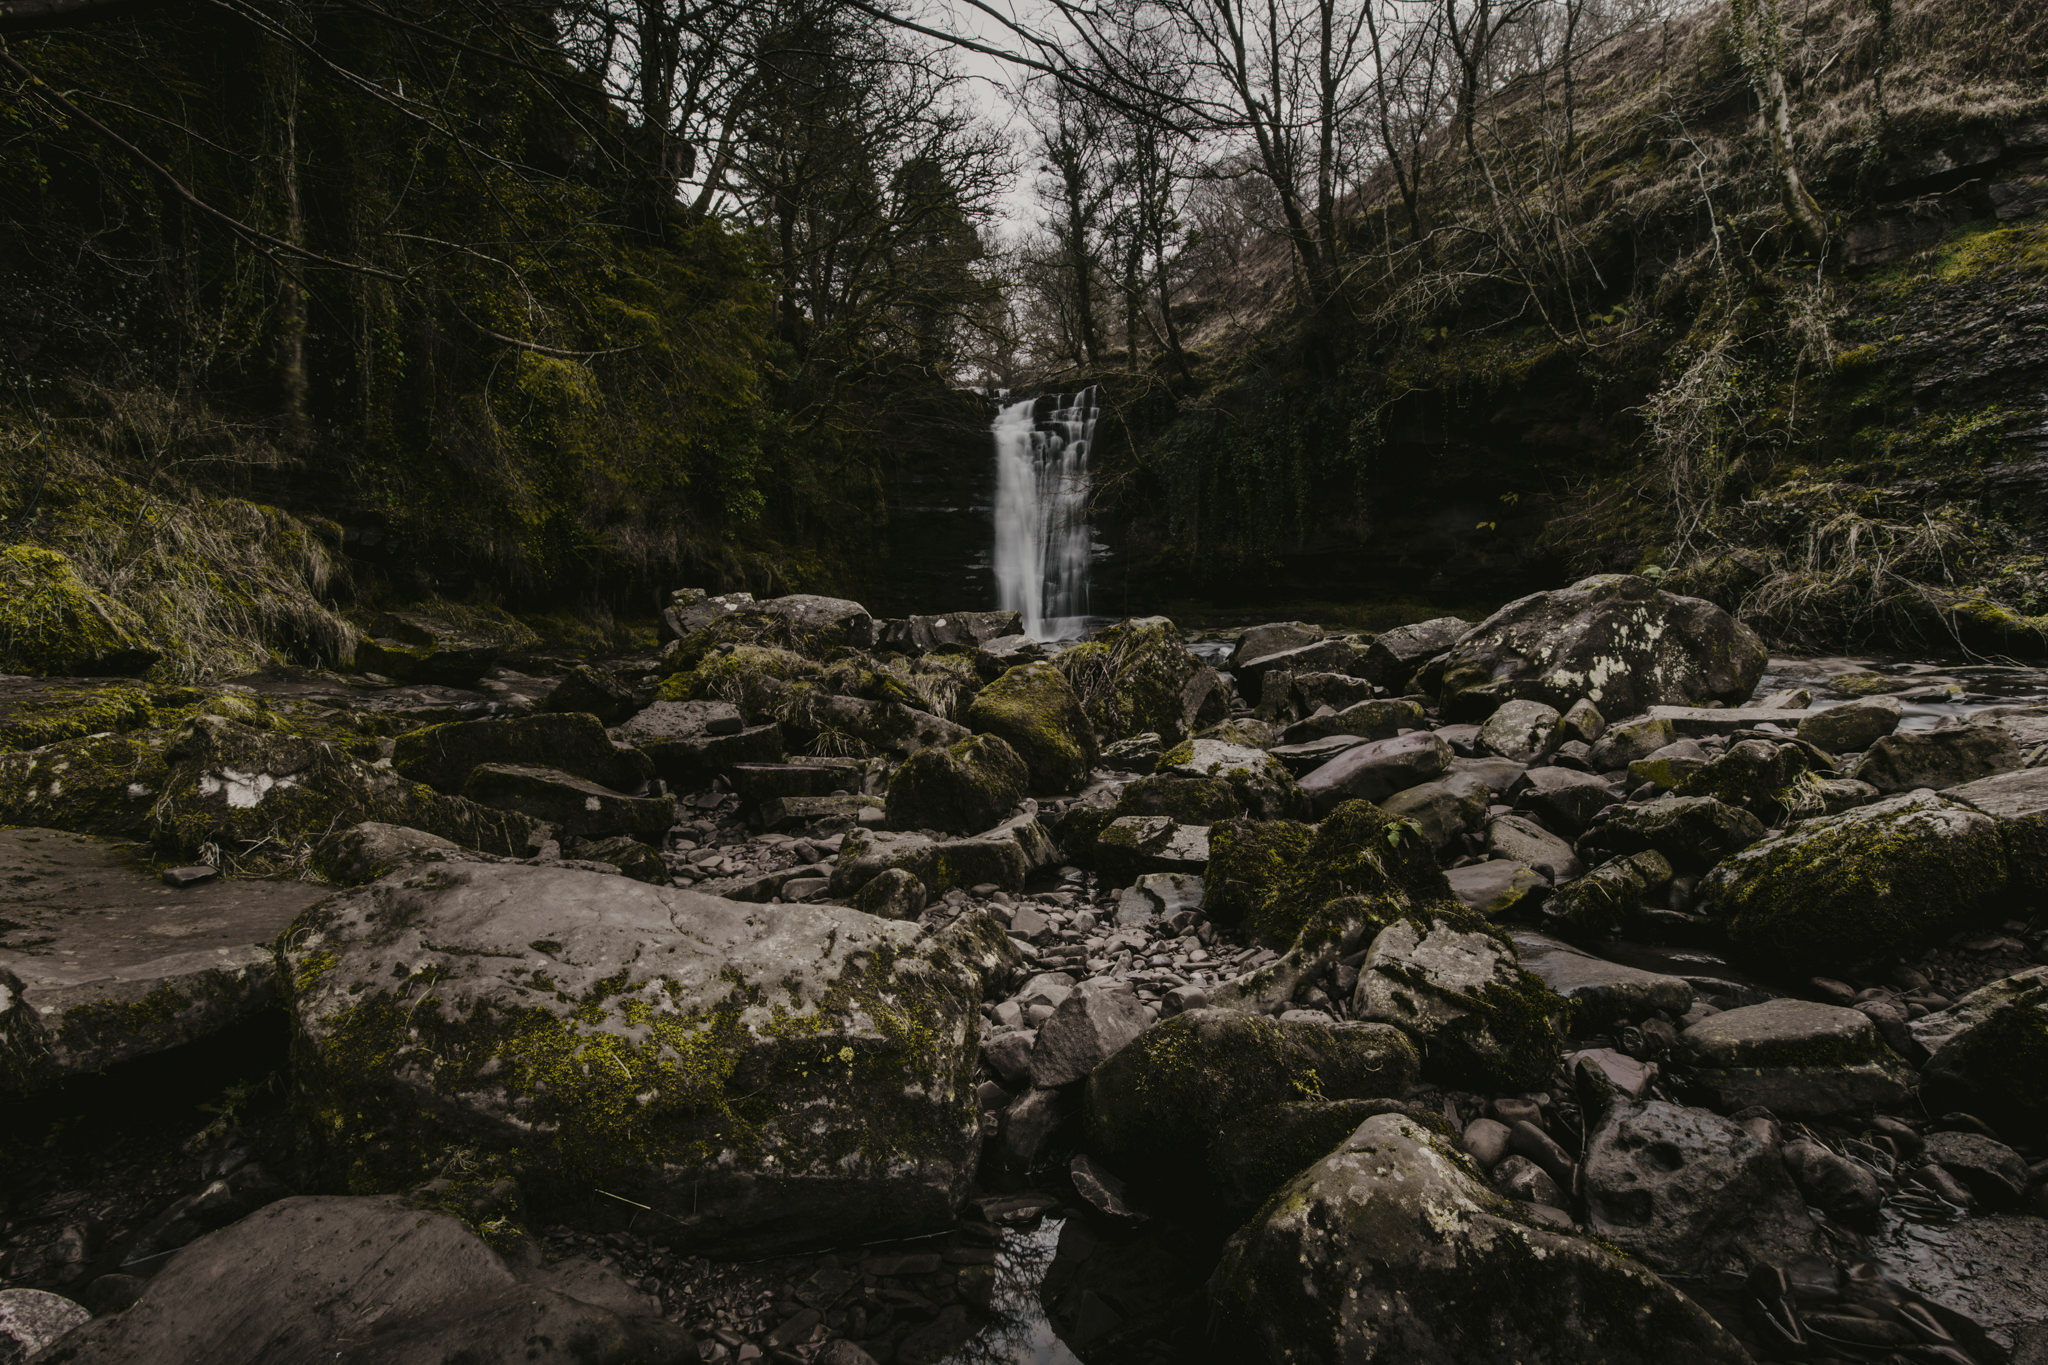
If you’re using a DSLR or Mirrorless camera, understanding a few key settings will make a huge difference.
For landscapes, set your aperture somewhere between f/8 and f/11 for a larger depth of field. This range hits the optical sweet spot on most lenses, giving you sharp detail from the foreground right through to distant mountains or hills.
Keep your ISO at the camera’s base setting (usually 100 or 200) for the cleanest possible images, and only bump it up when you genuinely need it in low light.
When you’re shooting handheld, use a shutter speed at least as fast as your focal length. So if you’re using a 50mm lens, shoot at 1/50s or faster. Using a 200mm telephoto? You’ll want 1/200s or quicker to avoid camera shake.
For that silky, flowing water effect you see in waterfall photos, you’ll need a tripod and much slower shutter speeds, somewhere around 1/4s to 2 seconds, depending on how fast the water is moving.
These are just some basic guidelines, but if you want a more comprehensive guide to settings, then take a look at these photography basics for beginners, where I break the settings down step-by-step.
Best Gear for Hiking Photography
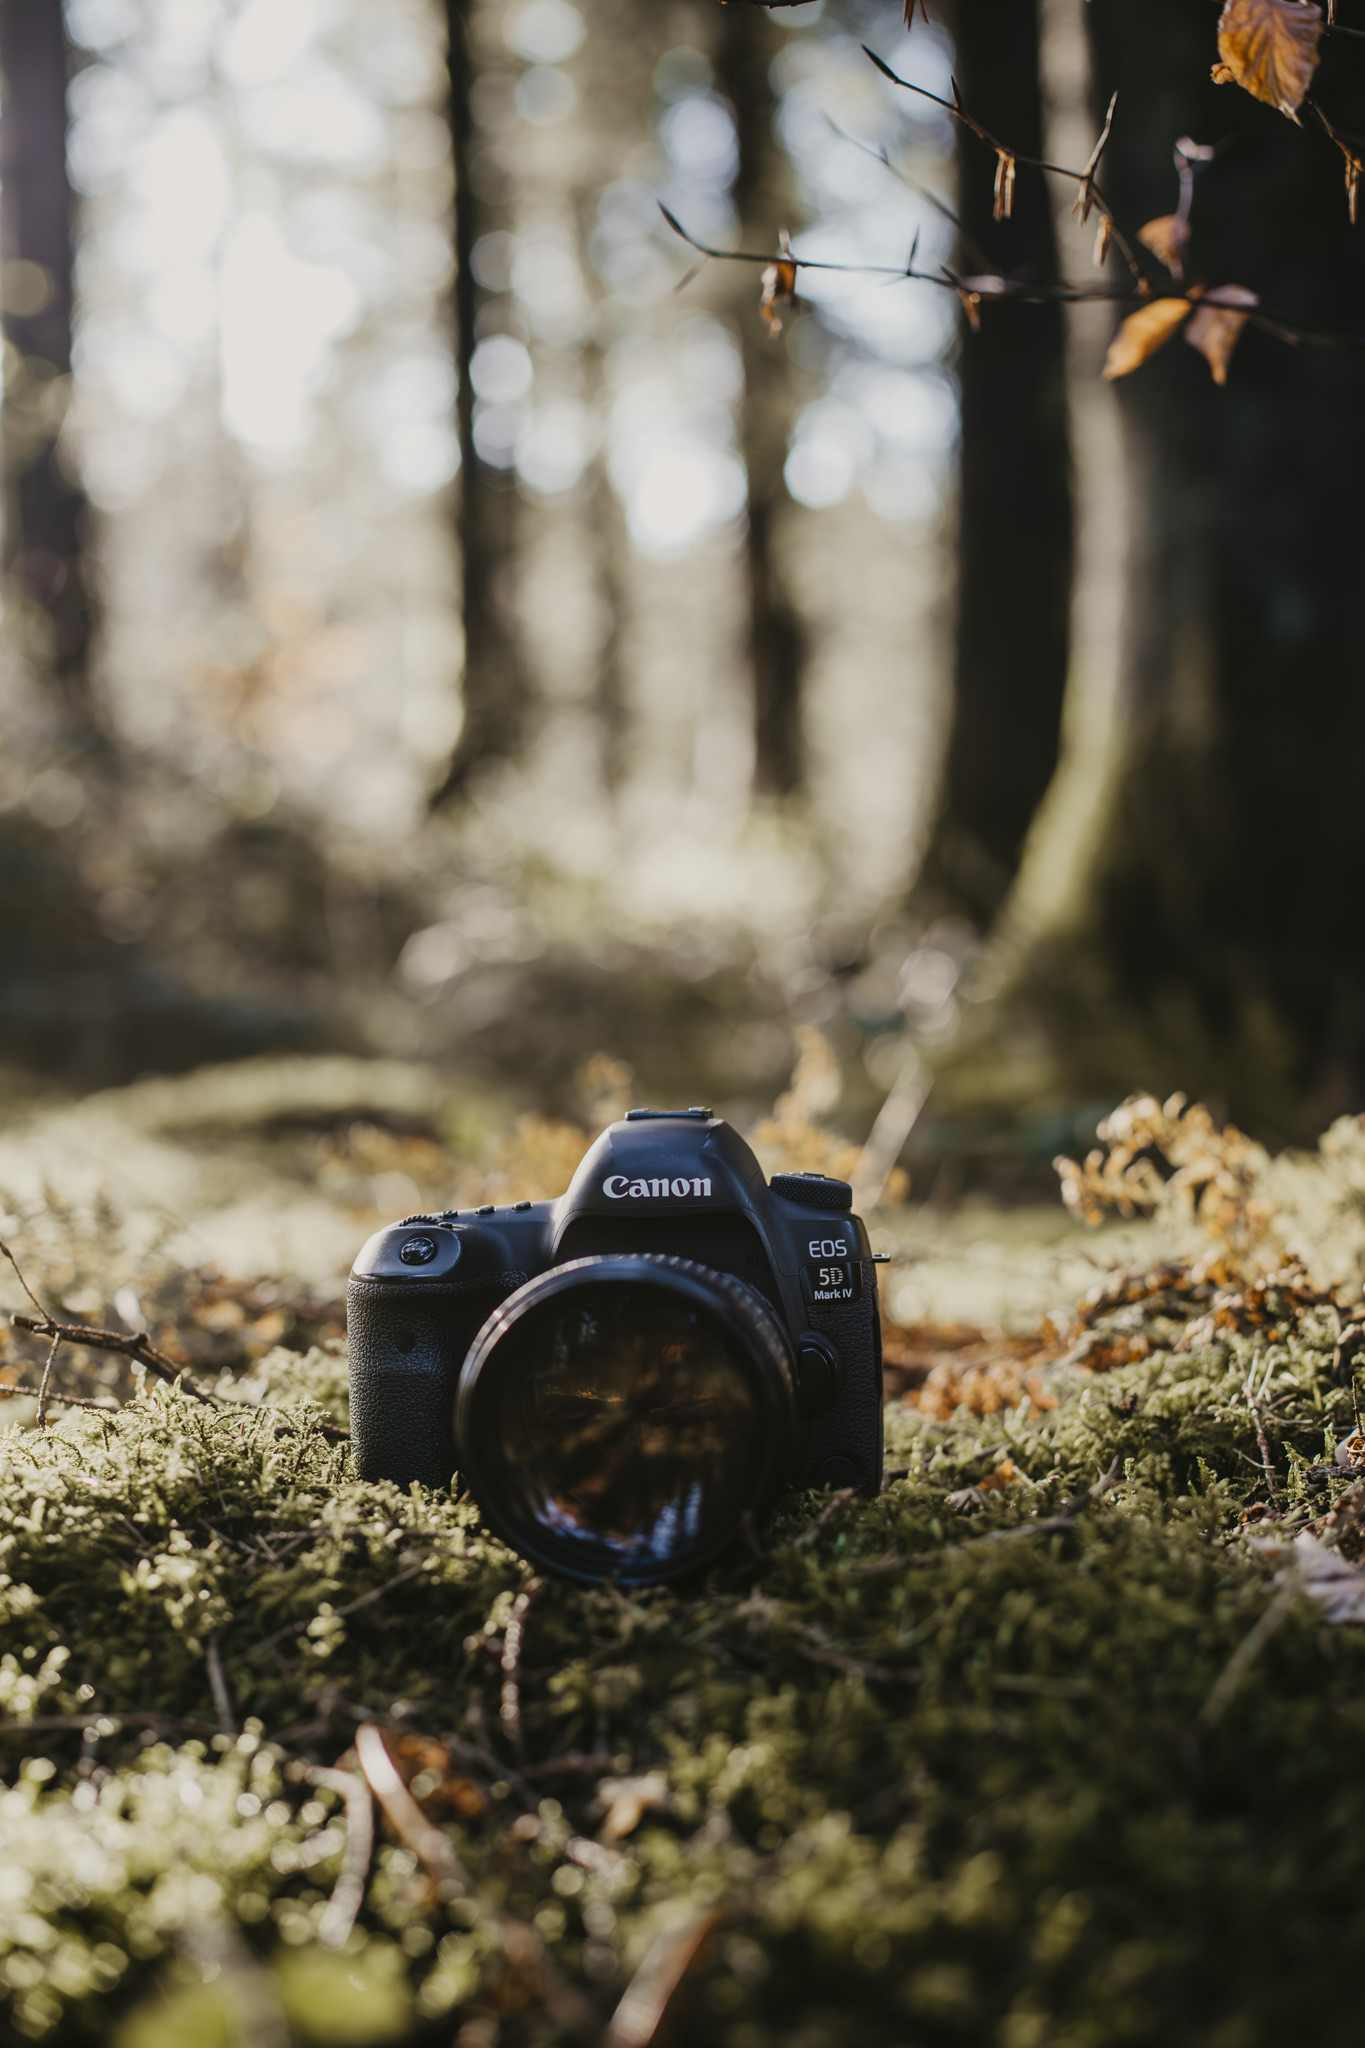
The best camera for hiking photography really depends on how much you’re willing to carry.
If you do want a dedicated camera and lens, mirrorless options are worth looking at. They offer the same image quality as traditional DSLRs but in lighter, more compact bodies that won’t destroy your shoulders on a long day out.
Whatever camera you choose, the most important thing is keeping it accessible, because if it takes two minutes to dig your camera out of your bag, you will miss a lot of good photos.
I would highly recommend a clip for your backpack strap with a quick release.
Pack spare batteries (cold weather drains them frighteningly fast if you’re out in winter or going up mountains), at least one spare memory card, and a lens cloth for dealing with condensation/dust.
A lightweight tripod is worth the extra weight if you’re planning any waterfall photography or want to get self-portraits.
A polarising filter works a treat for reducing glare on water and deepening blue skies, and an ND filter is useful for bright days.
What you should skip is the heavy stuff that’ll slow you down. Stick to just one or two lenses (I usually carry a wide angle and a telephoto lens), despite how tempting it is to take all the specialist gear.
How to Photograph Yourself on a Hike
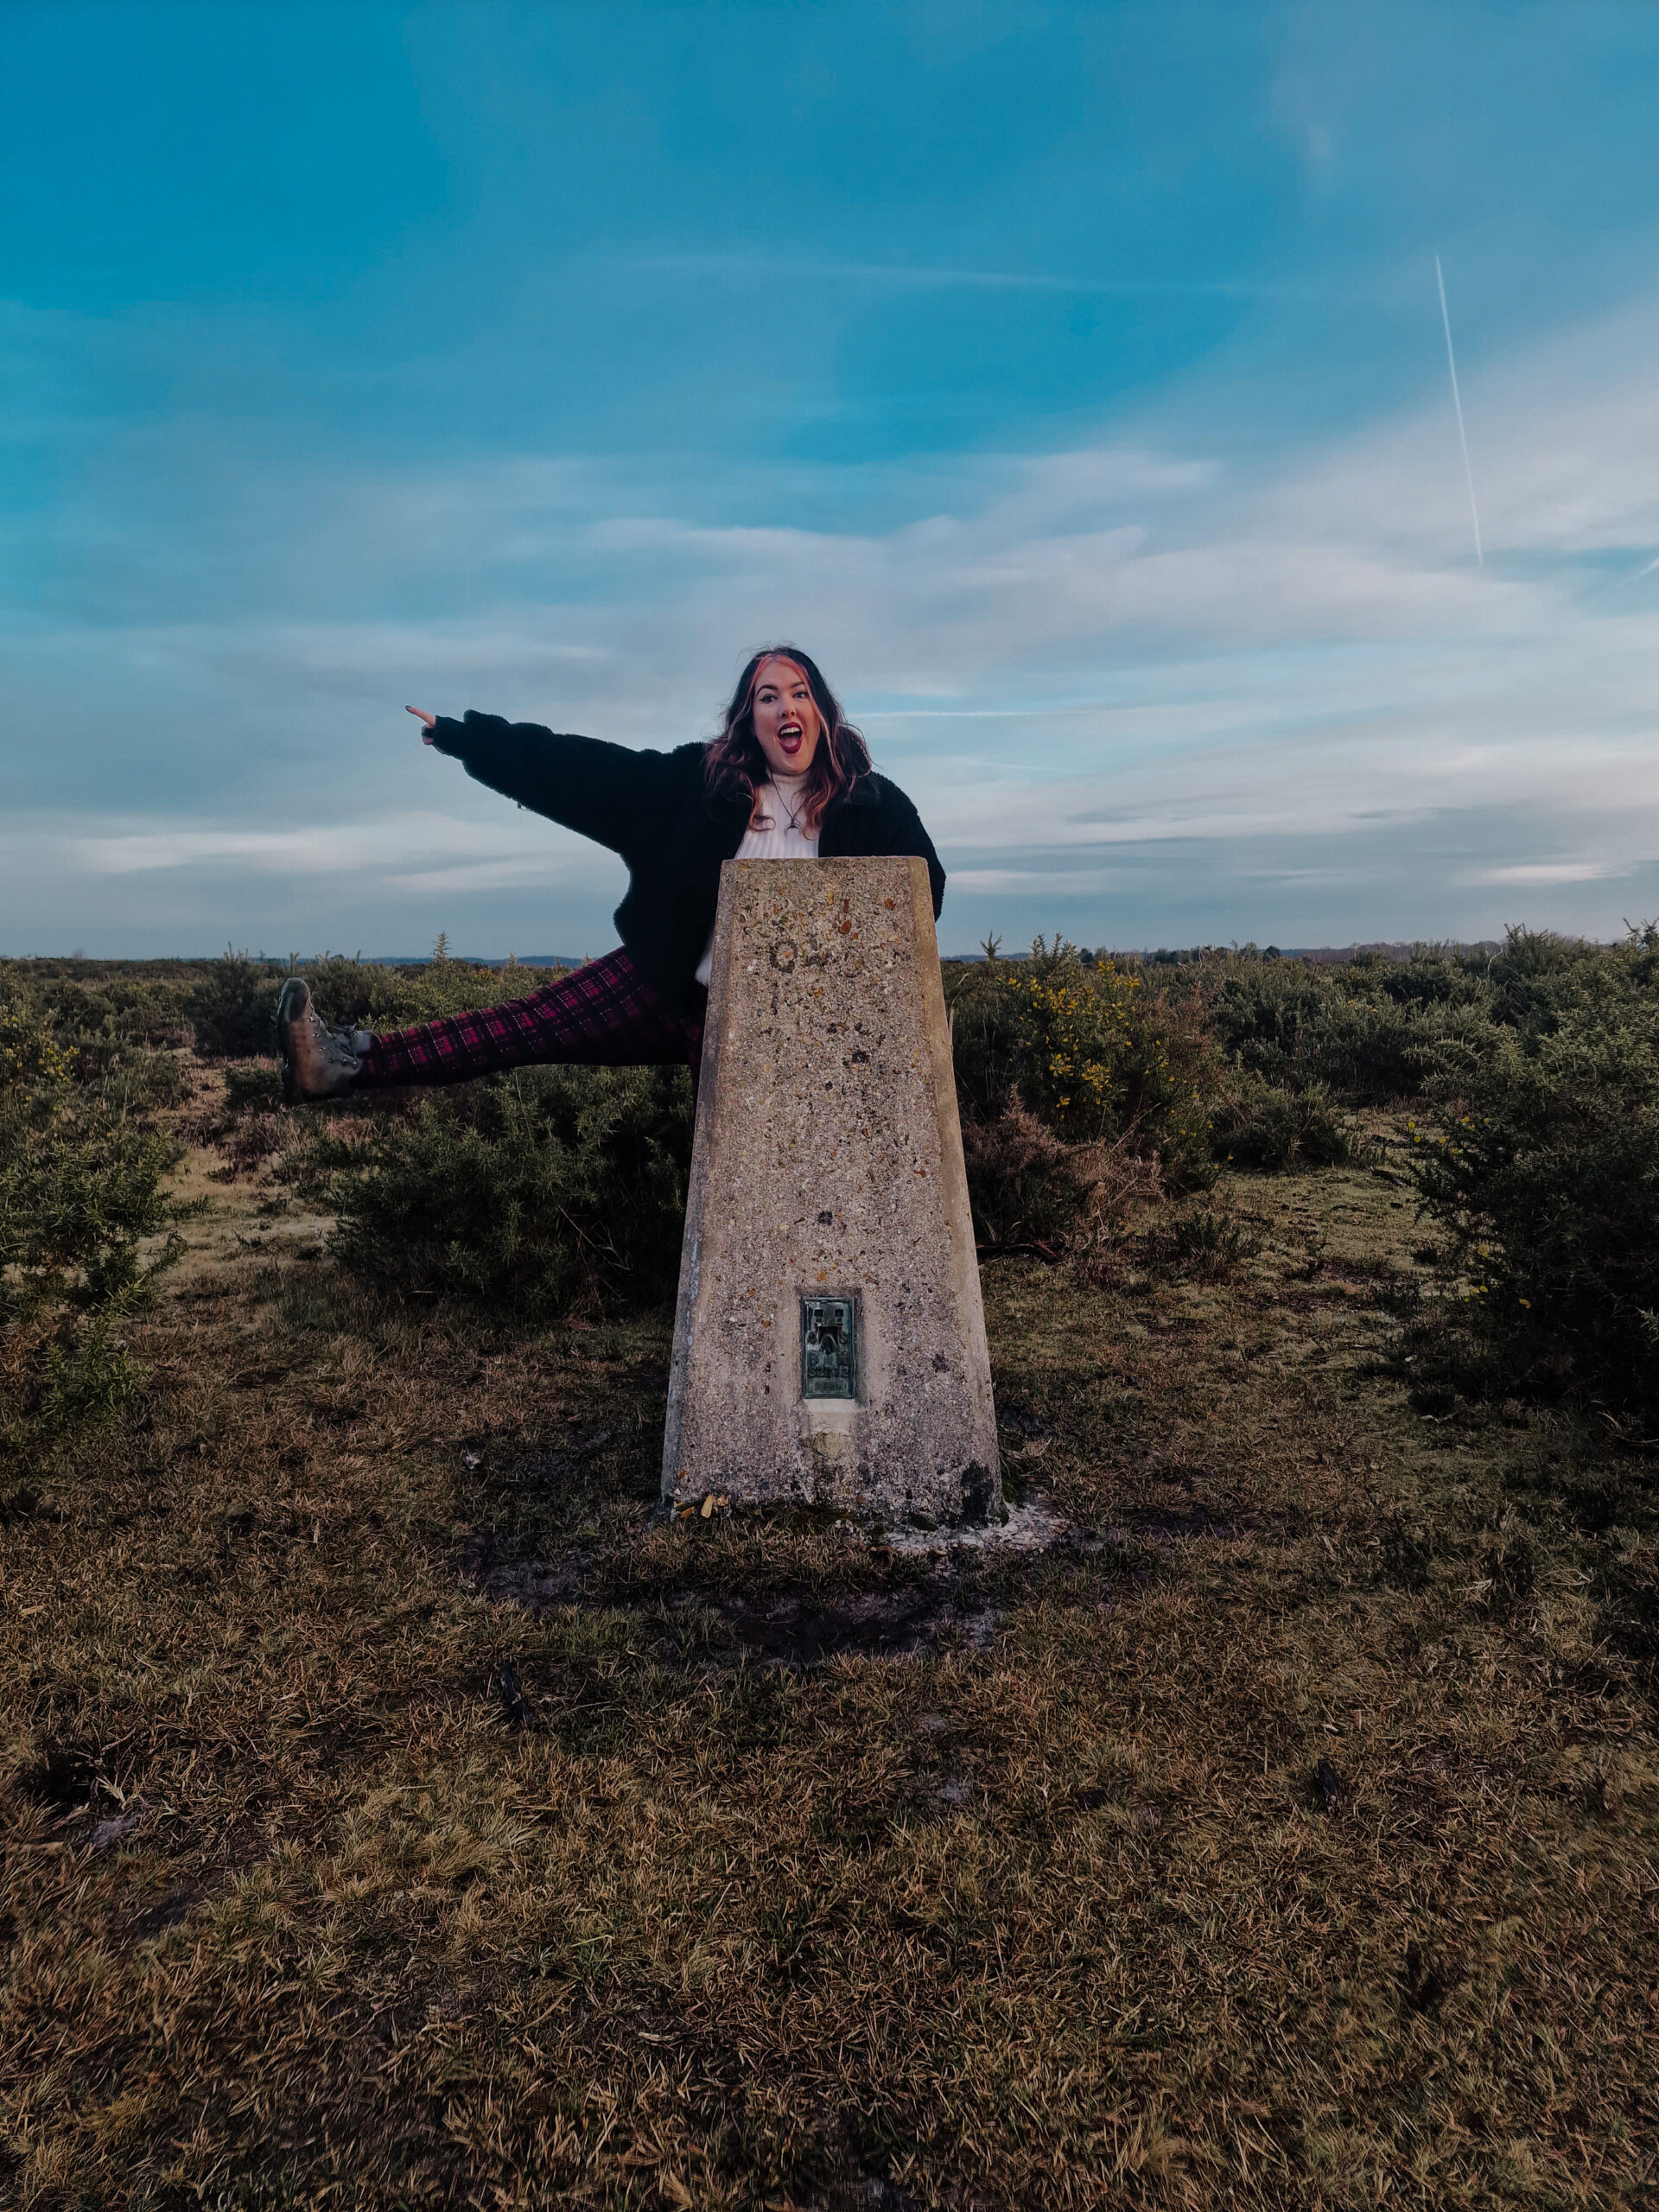
Just because you’re going solo doesn’t mean you have to miss out on taking photos of yourself on your adventures. There are several ways to make it work.
The classic approach is setting up a tripod, composing your shot, and using the 10-second timer to run into position, but a wireless remote makes this much easier since you can trigger the camera without sprinting back and forth.
If you’re using your phone, a phone tripod that doubles up as a selfie stick is absolutely brilliant, as they typically come with a remote included and are pretty inexpensive.
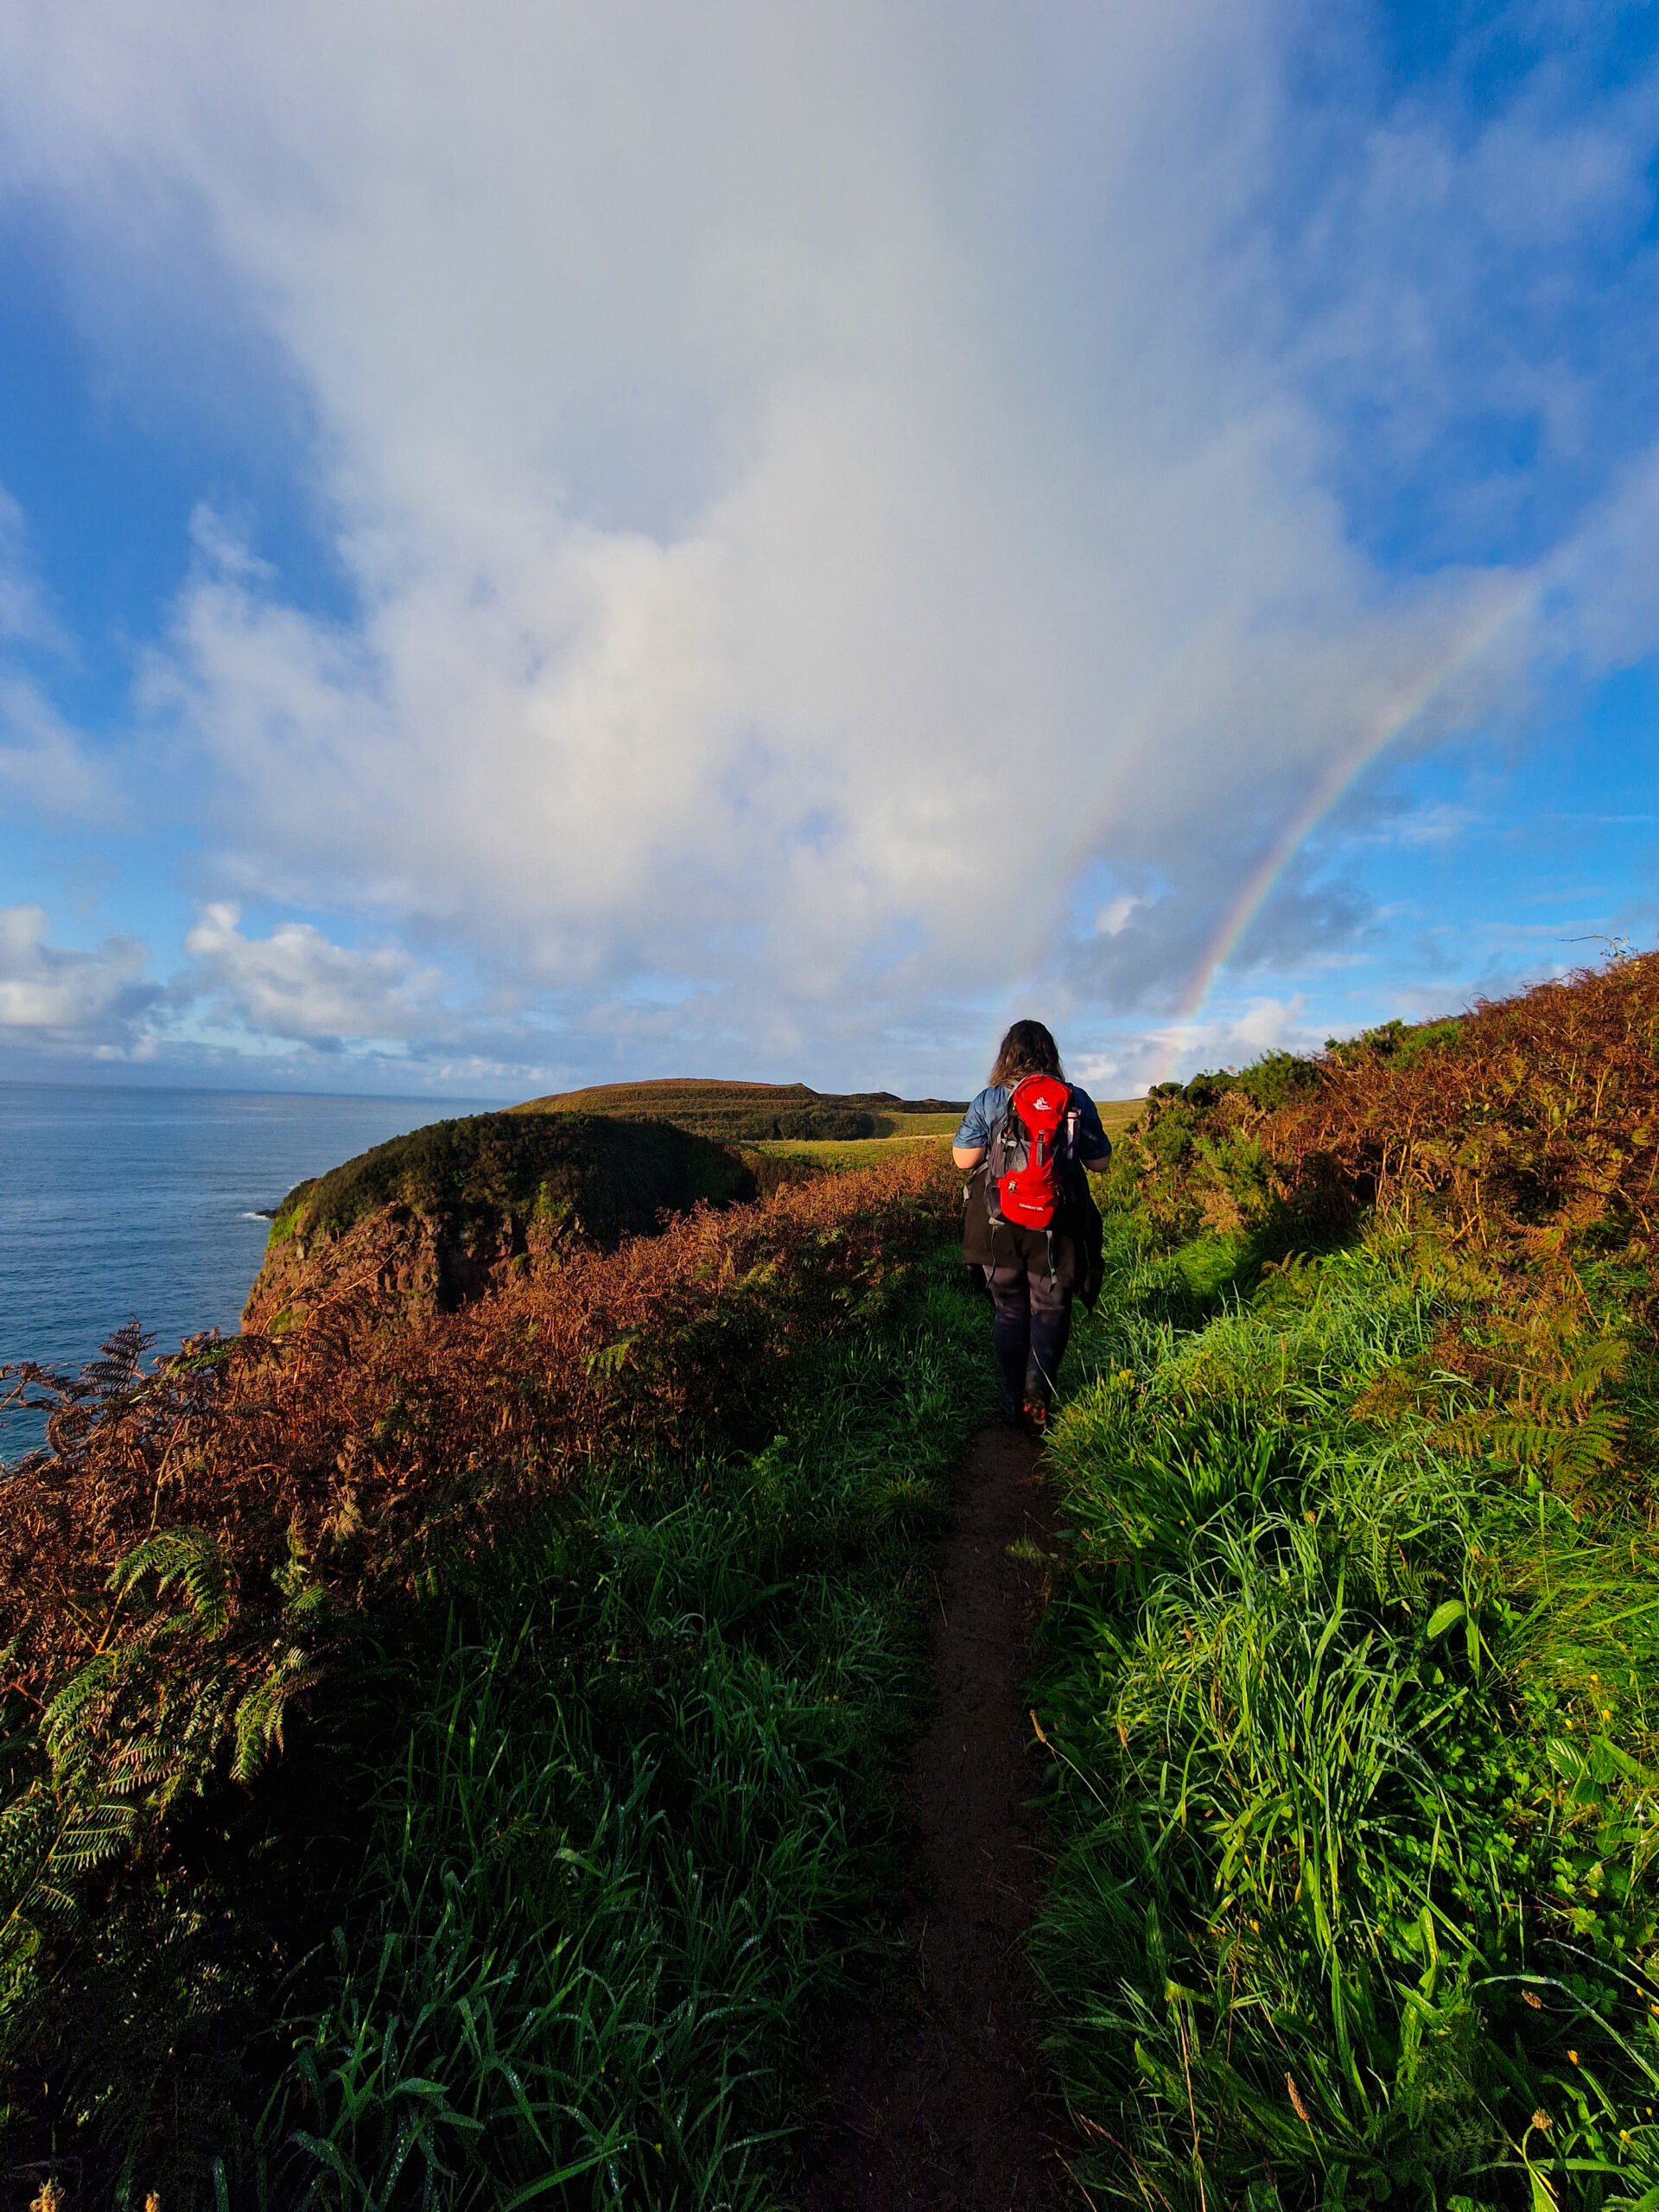
As for posing without looking like a complete lemon, the trick is to avoid standing stiffly and staring at the lens.
Look or walk away from the camera toward the view. Sit or stand on an interesting rock. Keep moving and pressing your remote to capture yourself mid-action.
How to Take Good Hiking Photos on Your Phone
Not everyone wants to (or can) carry a camera up a mountain. The good news is that your smartphone can take pretty good hiking photos once you learn how to use it properly.
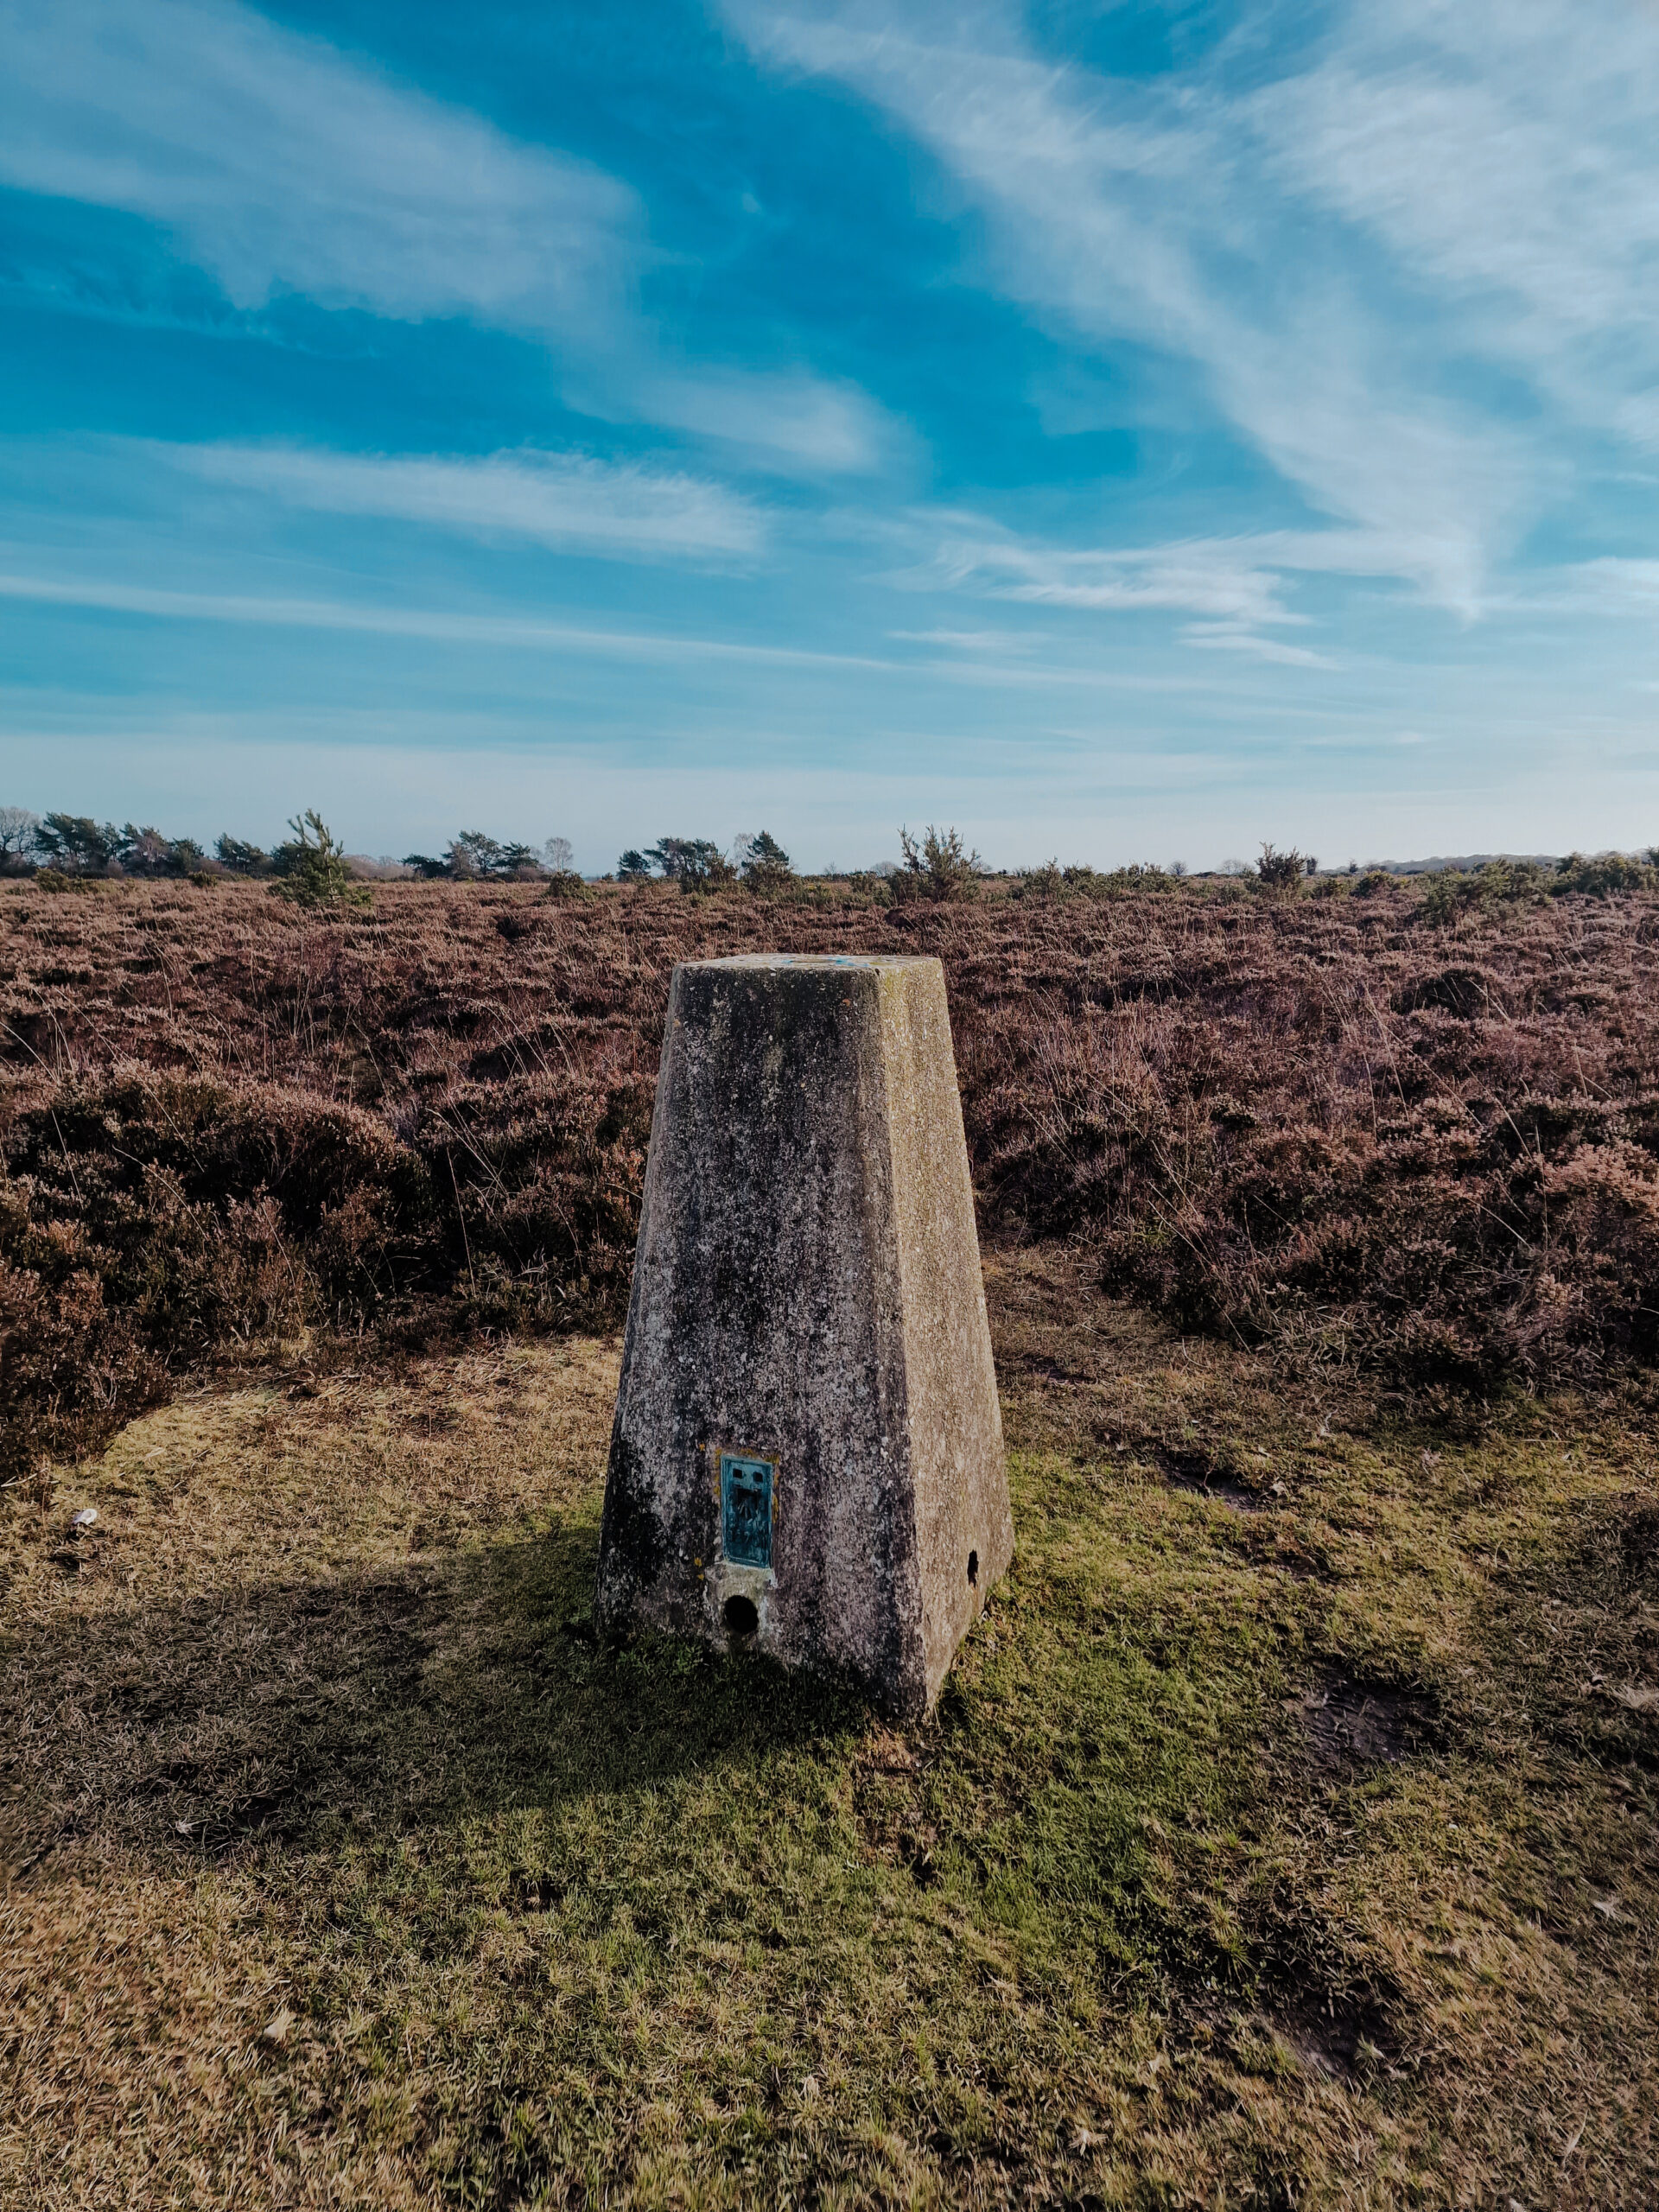
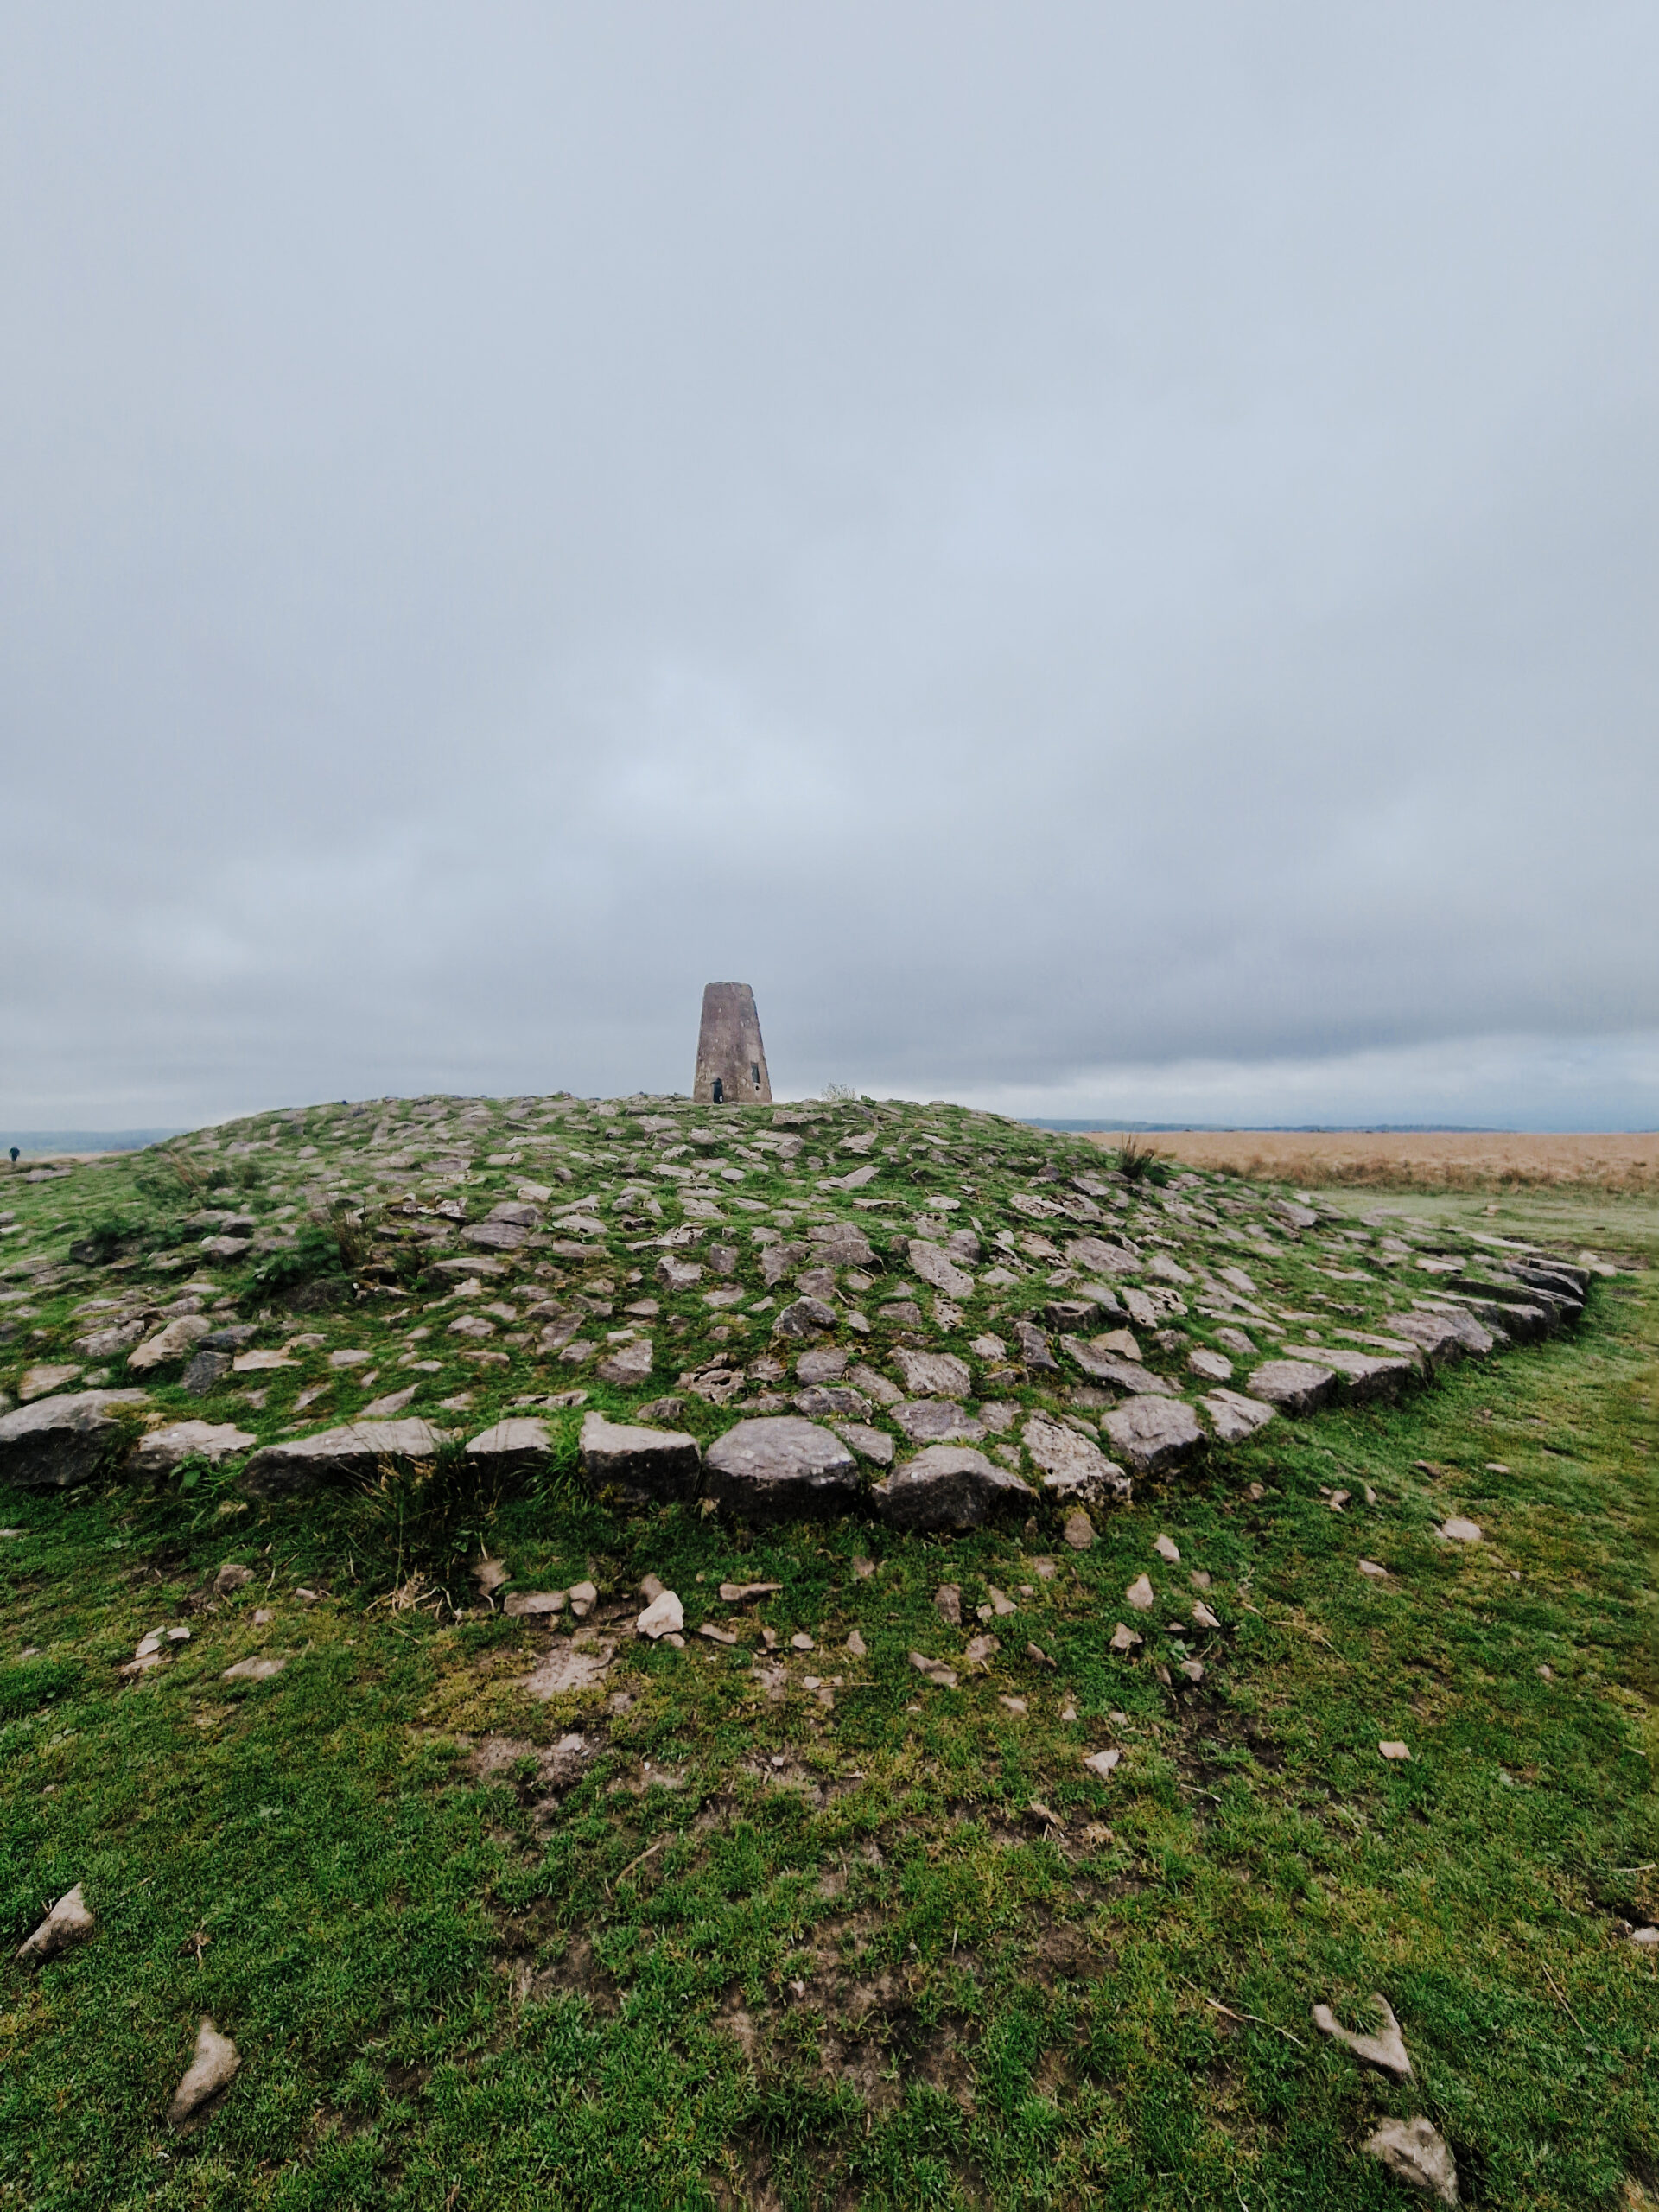
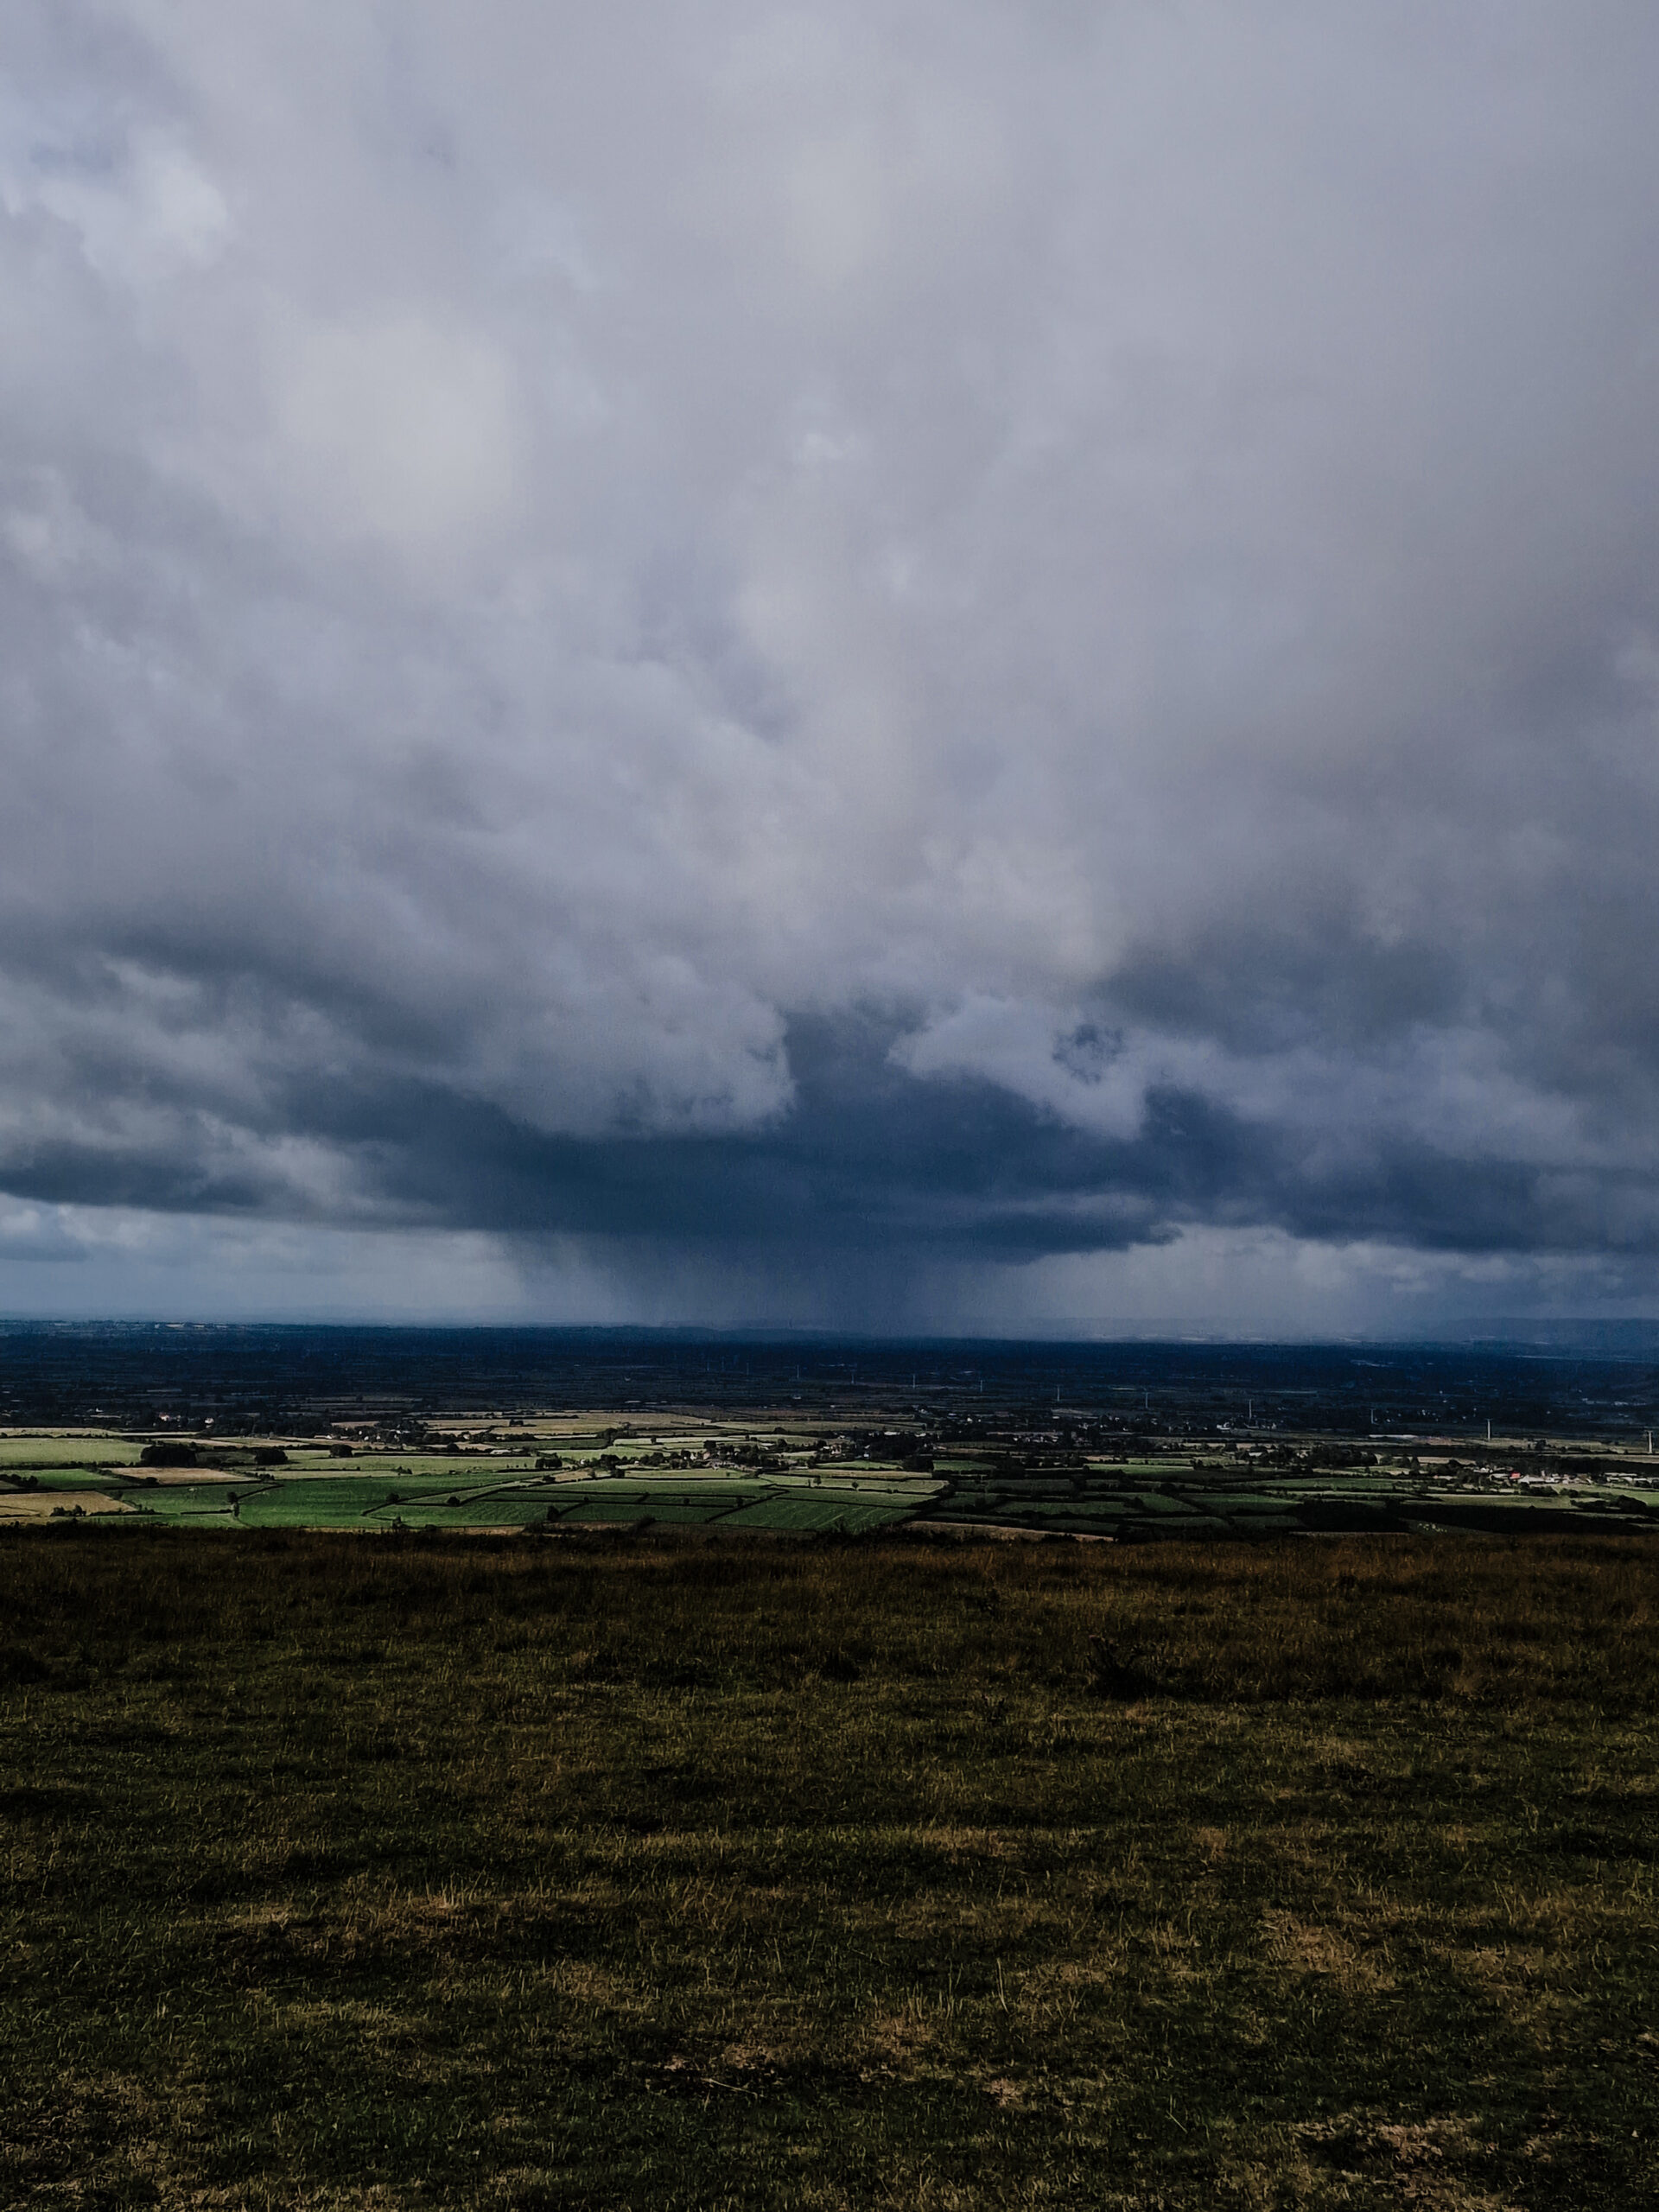
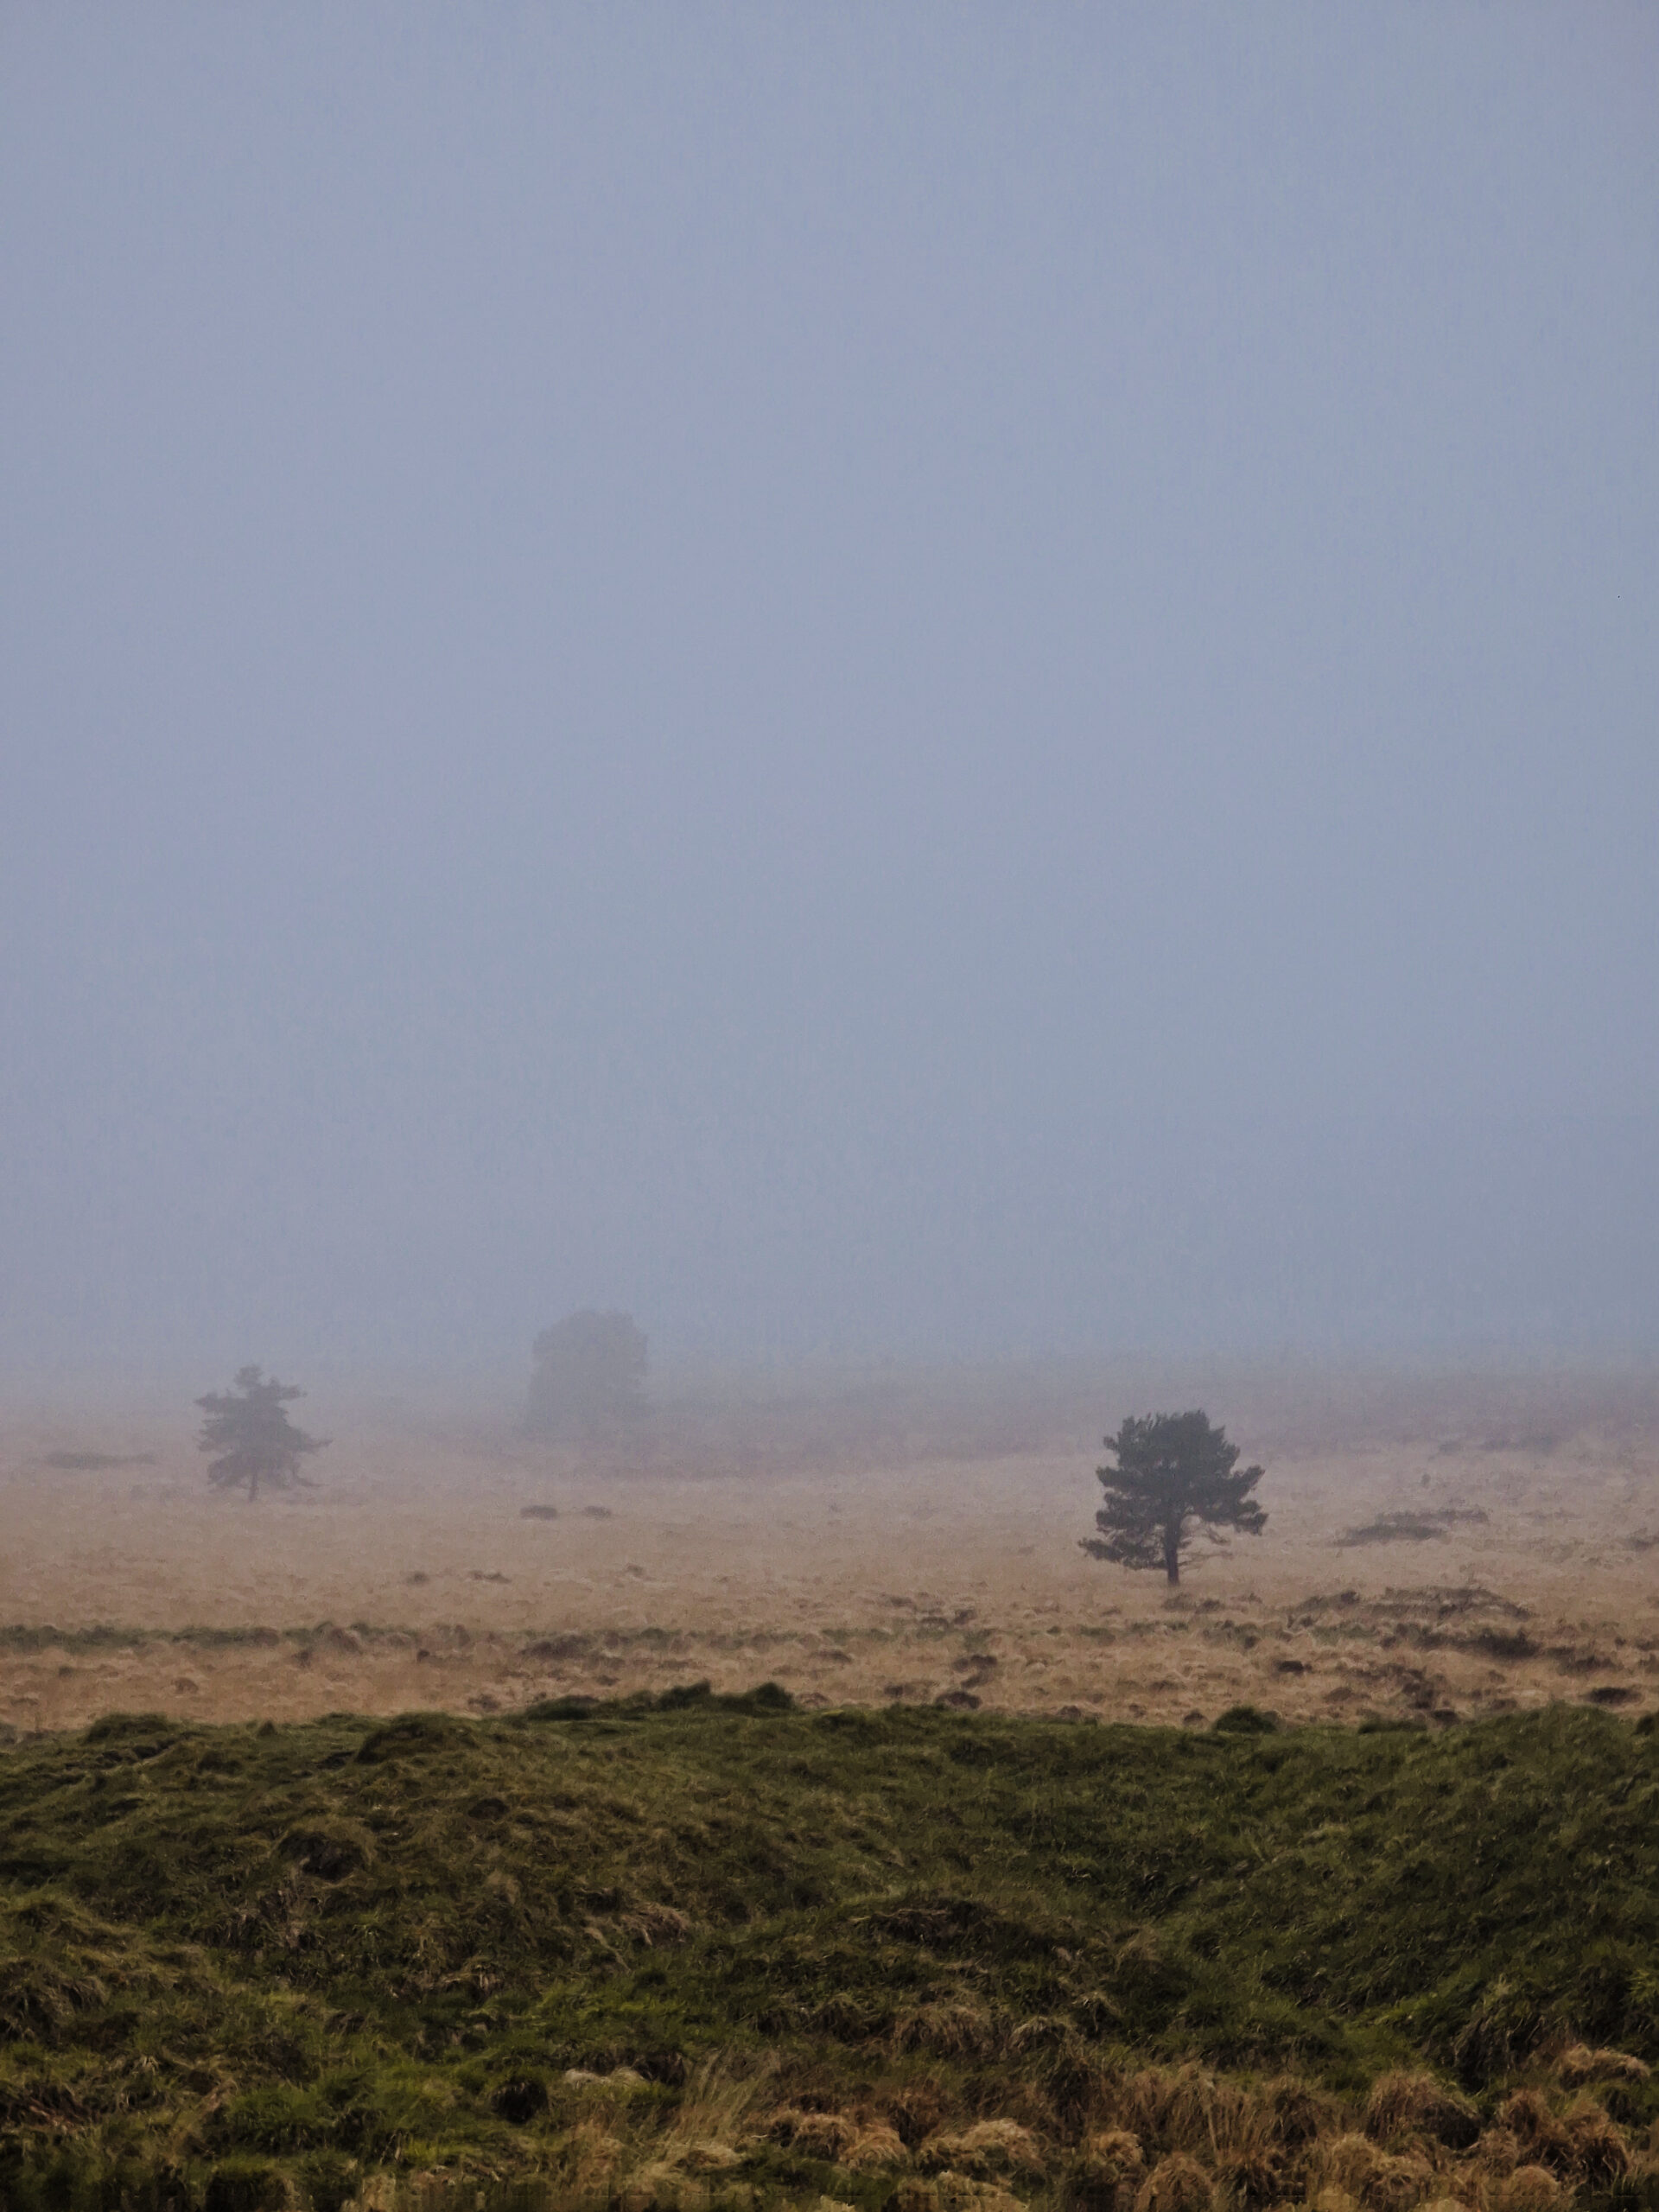
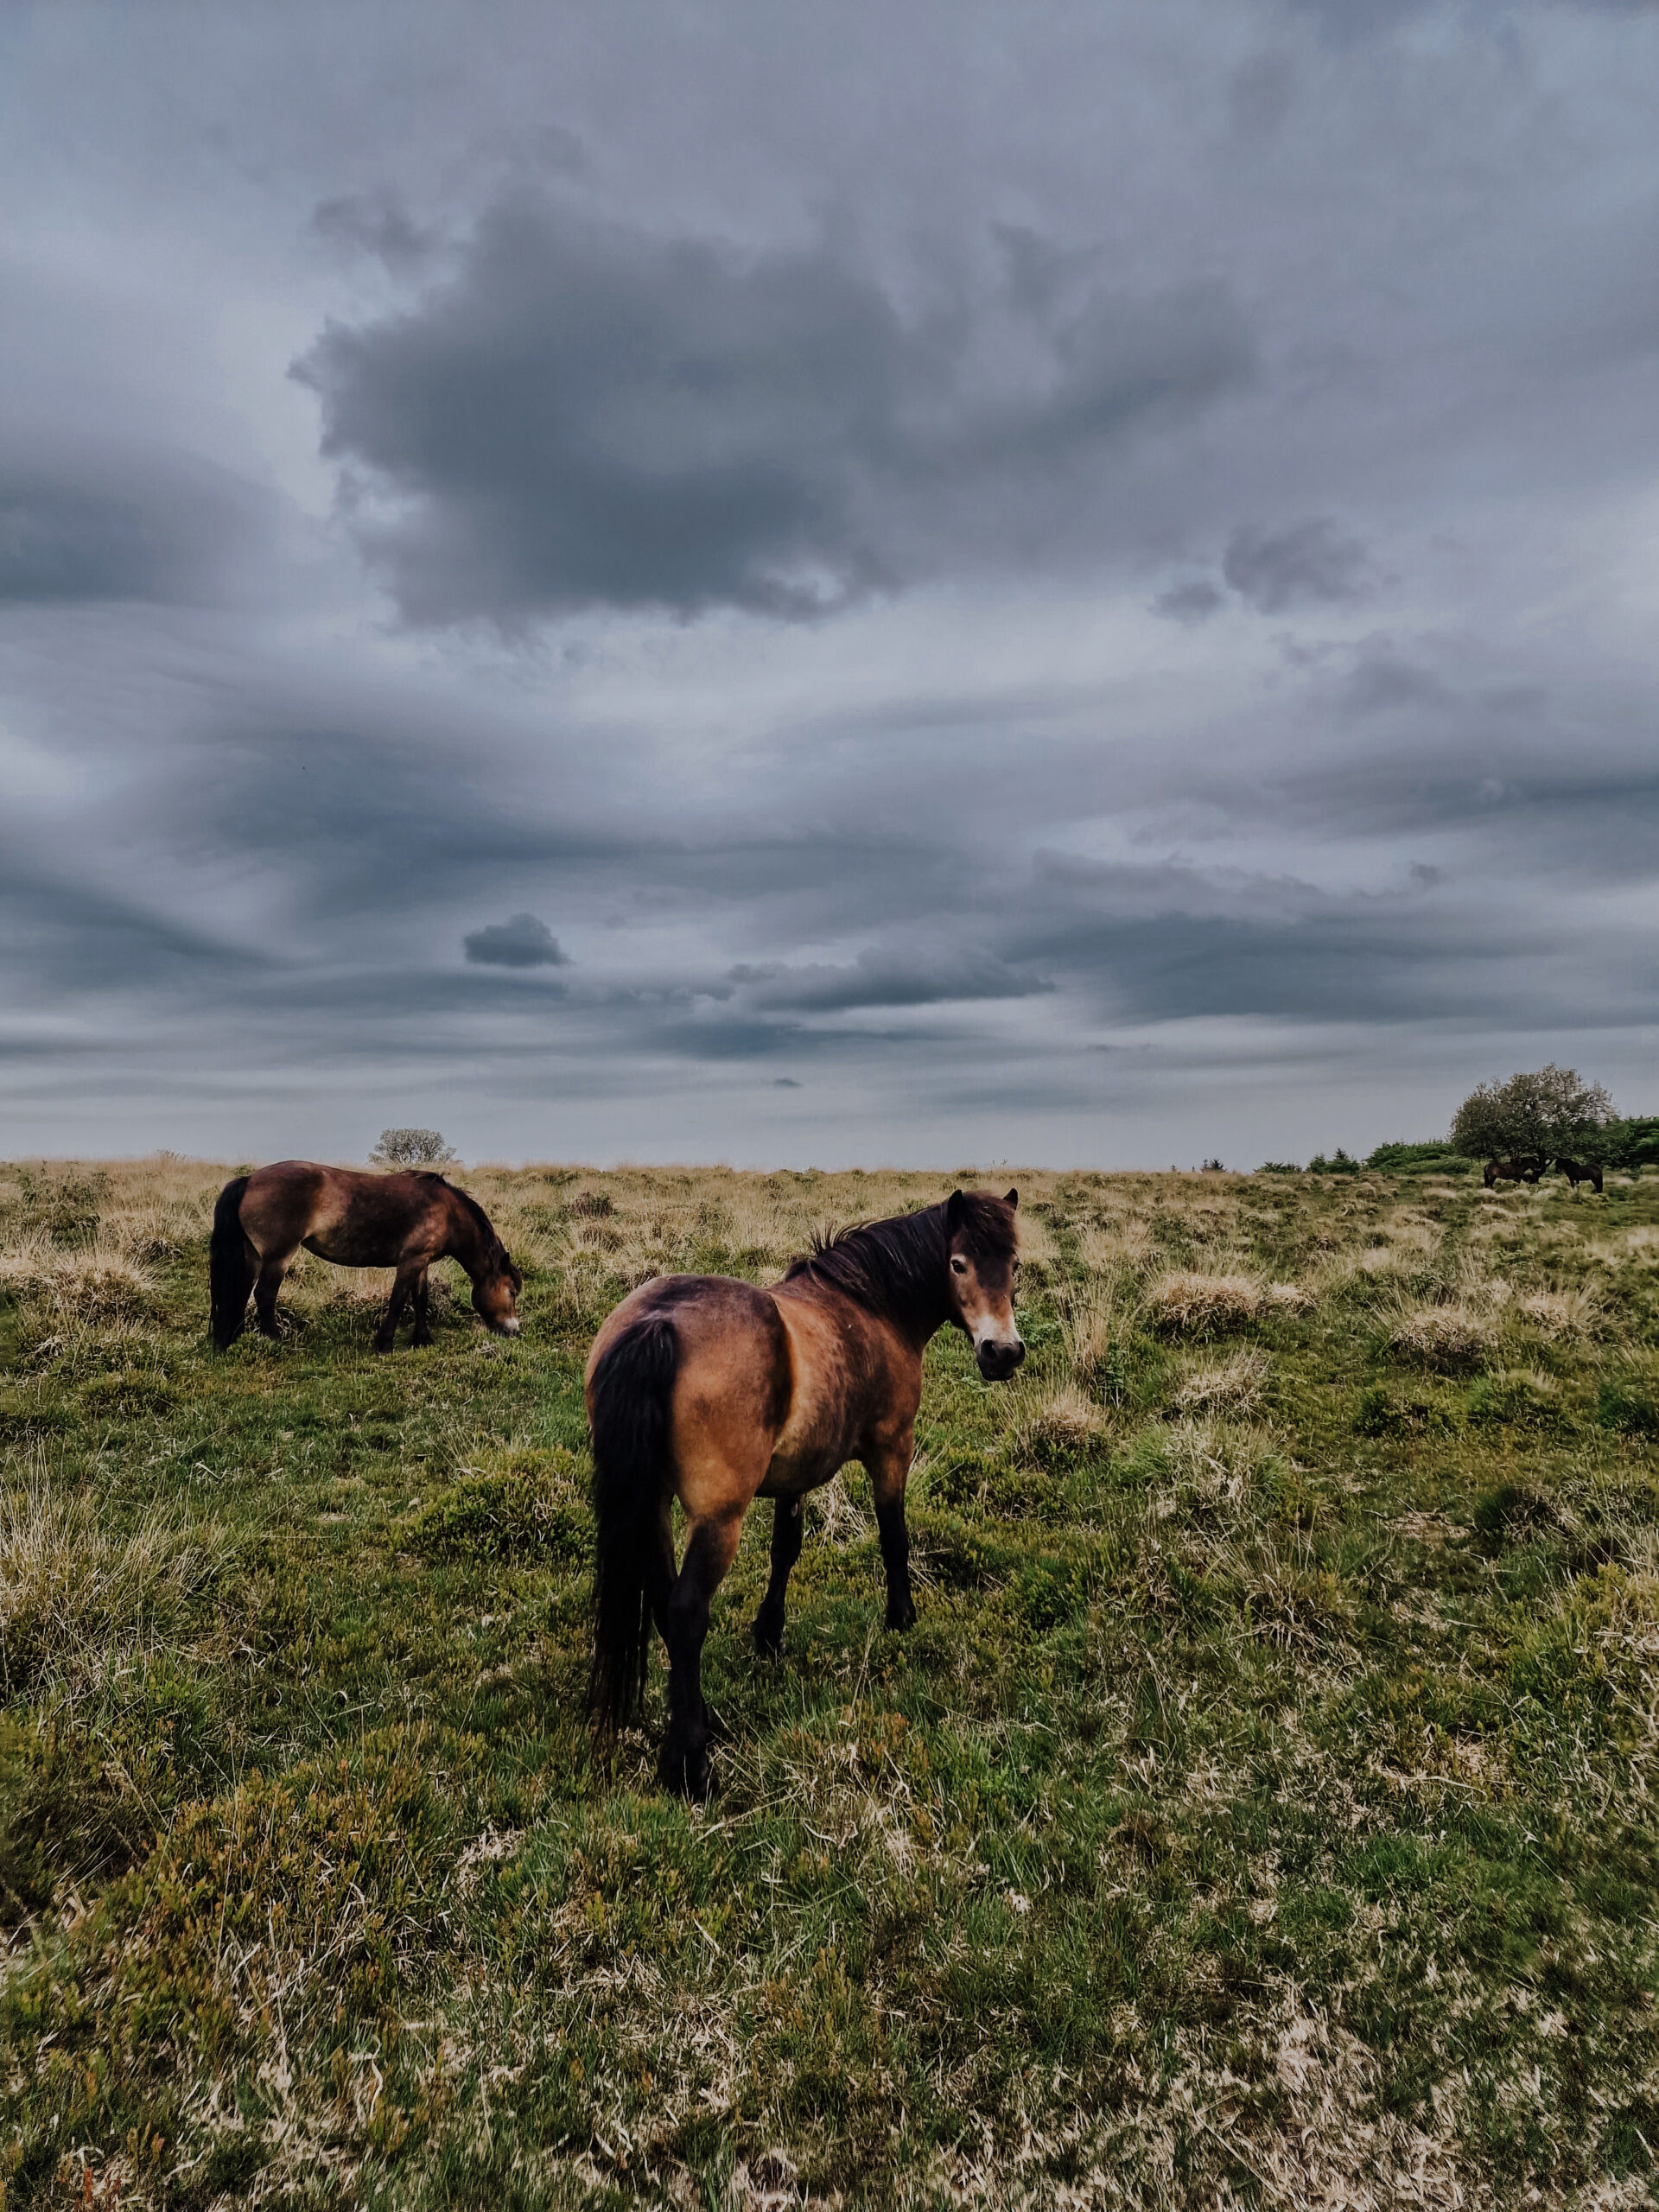
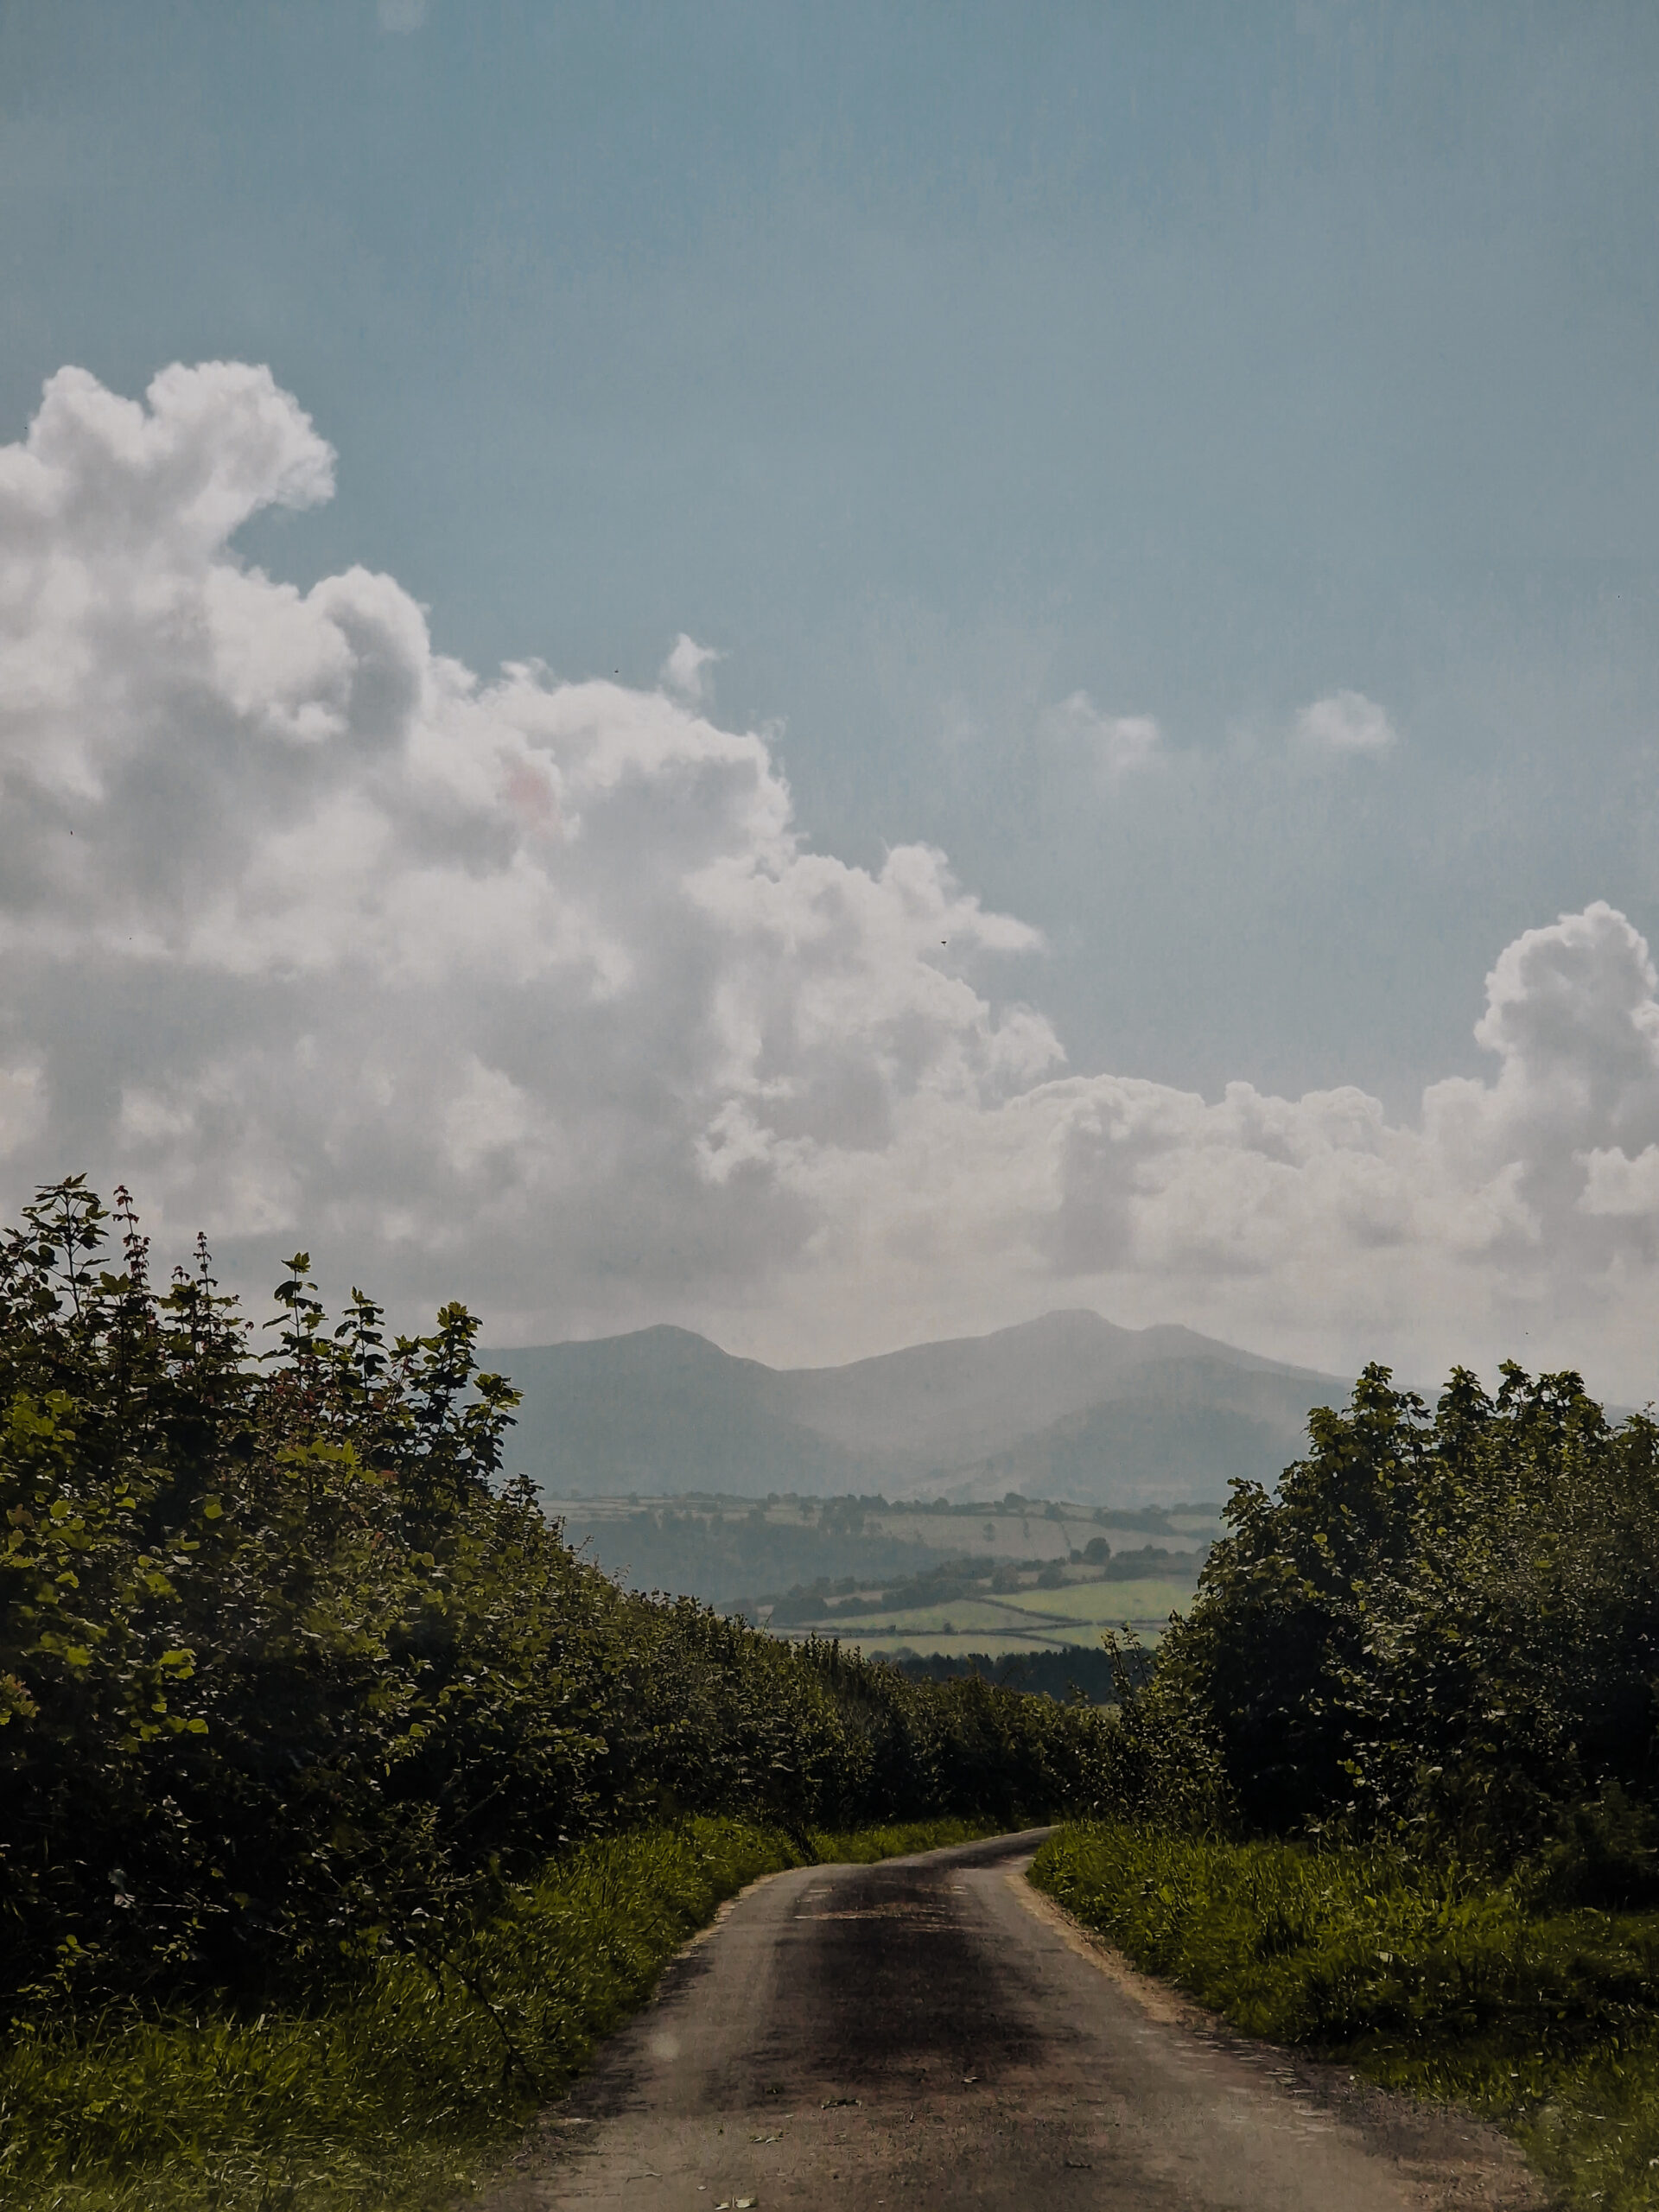
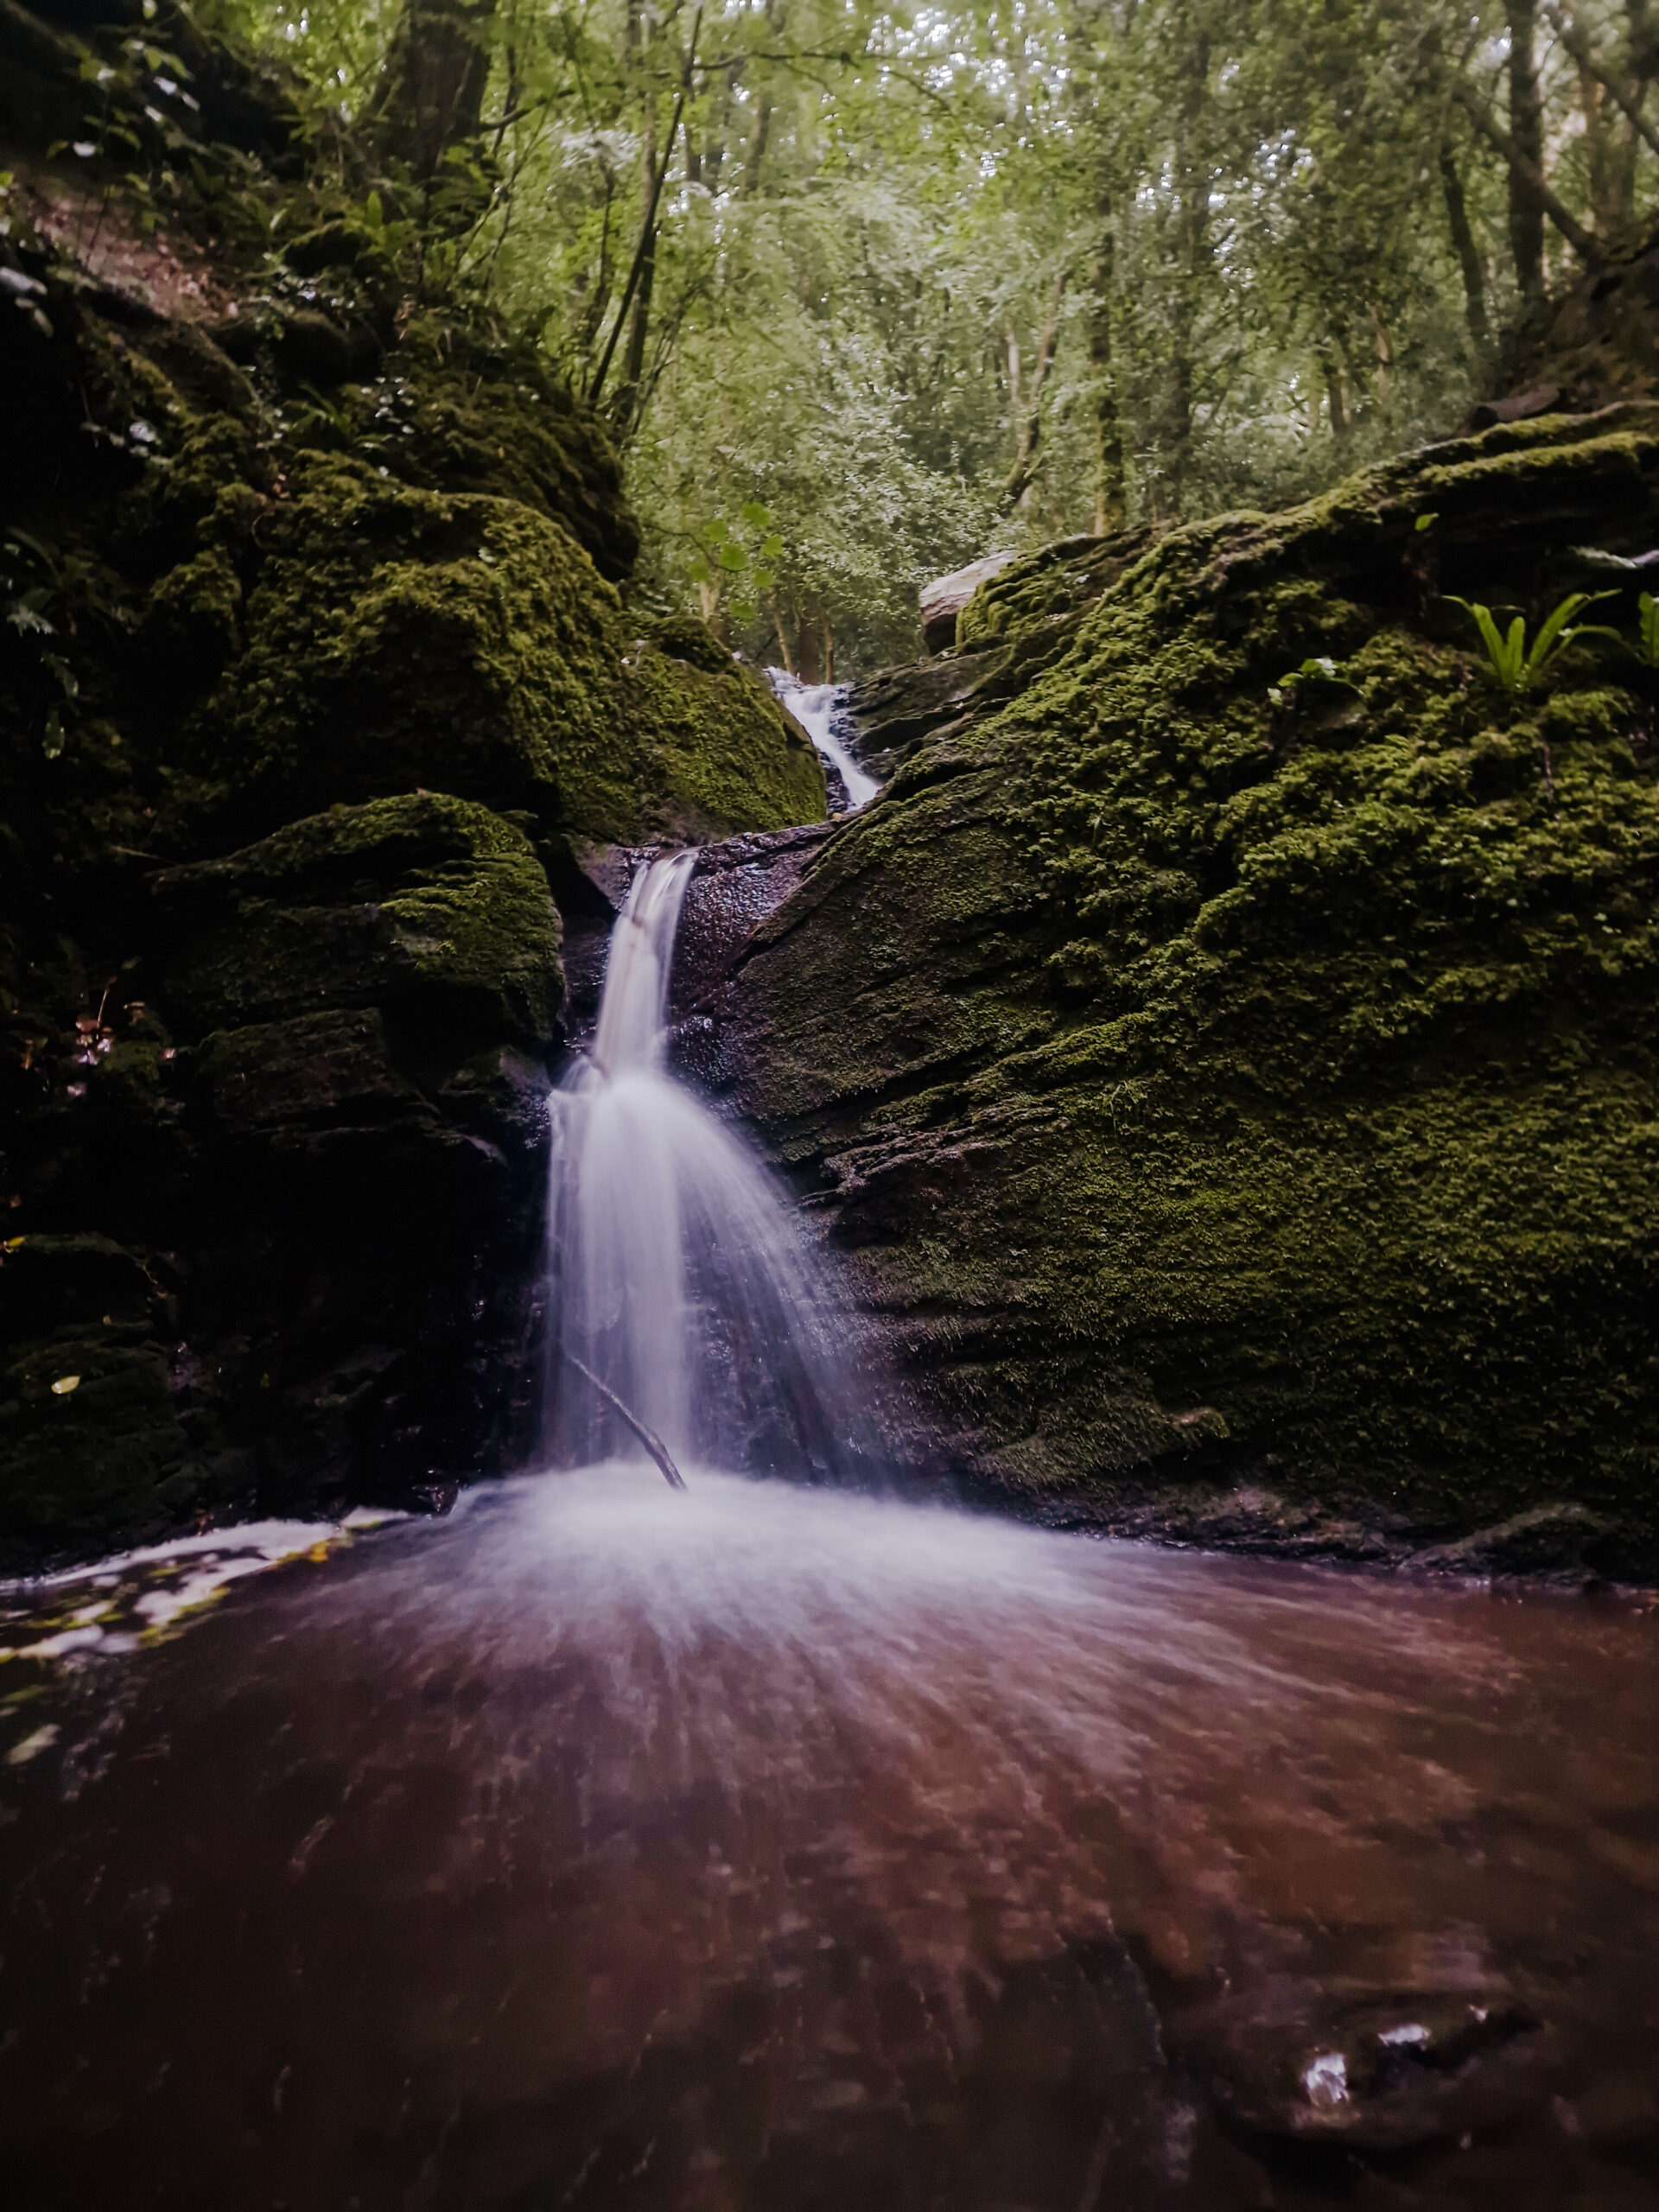

Master Your Phone Camera
Before you download any apps, take some time to understand what your phone’s built-in camera can already do.
Tap the screen where your subject is, and your phone will focus on that point AND adjust the exposure for it.
For more control, press and hold on your subject until you see “AE/AF Lock” or the little padlock symbol appear on screen.
Now you can move your phone to recompose the shot without the camera constantly readjusting its settings.
See that little sun icon that appears after you tap to focus? Drag it up or down to brighten or darken your image manually.
Use the Right Lens
Modern phones come with multiple lenses, and each one does something different. Use them intentionally rather than just sticking with the default.
Your main lens (1x) gives you the sharpest, most reliable results for general shooting.
The ultra-wide option (0.5x) is brilliant for capturing big landscapes or fitting more into tight spaces, but be aware that it can distort the edges of your frame and make distant mountains look smaller than they appeared to your eyes.
Telephoto options (2x, 3x, 5x, etc.) compress the image, making distant subjects appear larger and closer, which is perfect for picking out details in the landscape or photographing wildlife without disturbing it.
Hiking Photography Tips for Your Phone
- Always give your phone lenses a good clean as you go. Dust or mist can make the pictures come out soft.
- Use burst mode for anything involving movement by holding down the shutter button, then pick the best frame afterwards.
- Digital zoom doesn’t give you the best quality, so if you CAN move closer to your subject, go for that option instead.
- Keep your phone warm in cold weather; batteries drain alarmingly fast when it gets cold, so store your phone in an inside pocket close to your body between shots.
- To get more dramatic shots with foreground interest, set the camera to a wide-angle lens and turn it upside down. Put your phone’s top closer to the ground to get a really good landscape photo. It’s just easier than crouching or lying on the floor.
Photography Tips For Hikers: Final Thoughts
Taking good hiking photos comes down to composing your shots thoughtfully and working with the camera you have – even if that is your phone.
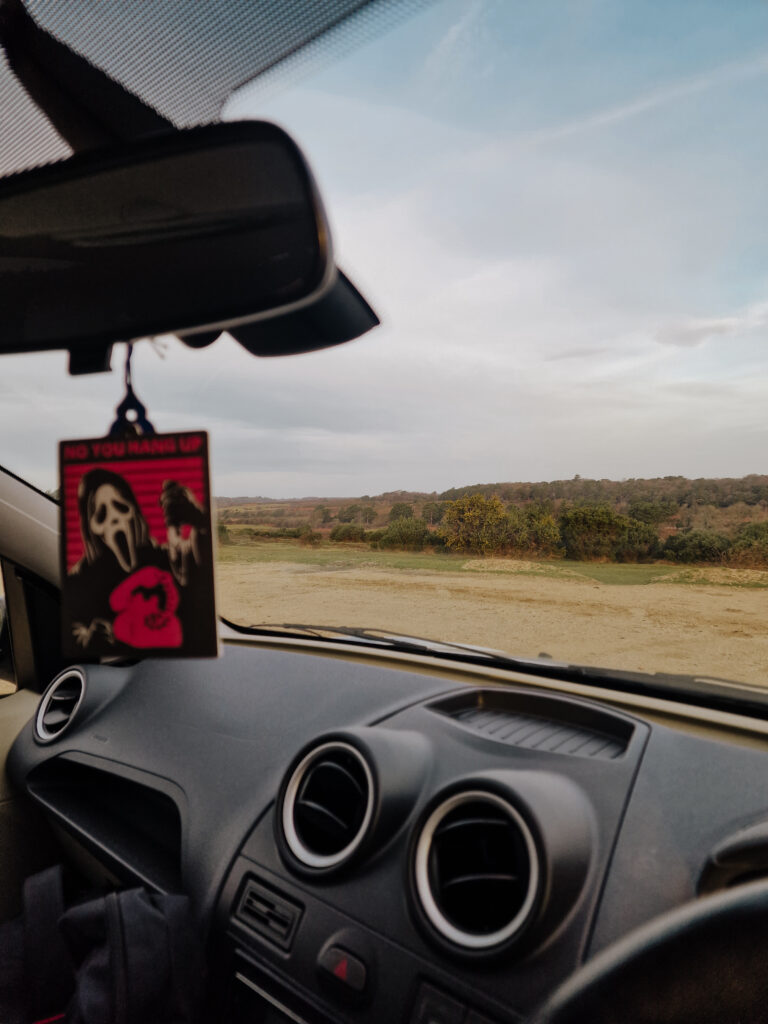
And don’t forget the best hiking pic of all time… the picture from inside your car when you’ve finished!