I’m back again to teach you the basics of photography, and “What is aperture?” is one of the most common questions I get.
While each part of the exposure triangle is crucial to exposing the perfect photo, aperture has a unique role, as it both controls the light coming through the lens and how much of the image is in focus.
Understanding aperture was my turning point for learning how to take more professional-looking photos back in the day. It was the very first setting that I taught myself after developing the “photographer’s eye”.
So let’s break it down in a way that’s both practical and enjoyable.
Even if you’ve only just picked up your first camera, by the end of this post you’ll have a solid grasp on how to use aperture to its full potential.
What Is Aperture in Photography?
Think of the aperture as the camera’s “eye”.
It’s the opening inside your lens that controls how much light enters the camera and hits the sensor or film.
When you change the size of this opening, you affect both the brightness of your image and how much of the image is in focus.
In short, aperture is for:
Light: Controlling how much light hits the camera sensor.
Depth of field: Affecting how much of the photo is in focus.
How Does Aperture Work?
Understanding F-Stop Numbers
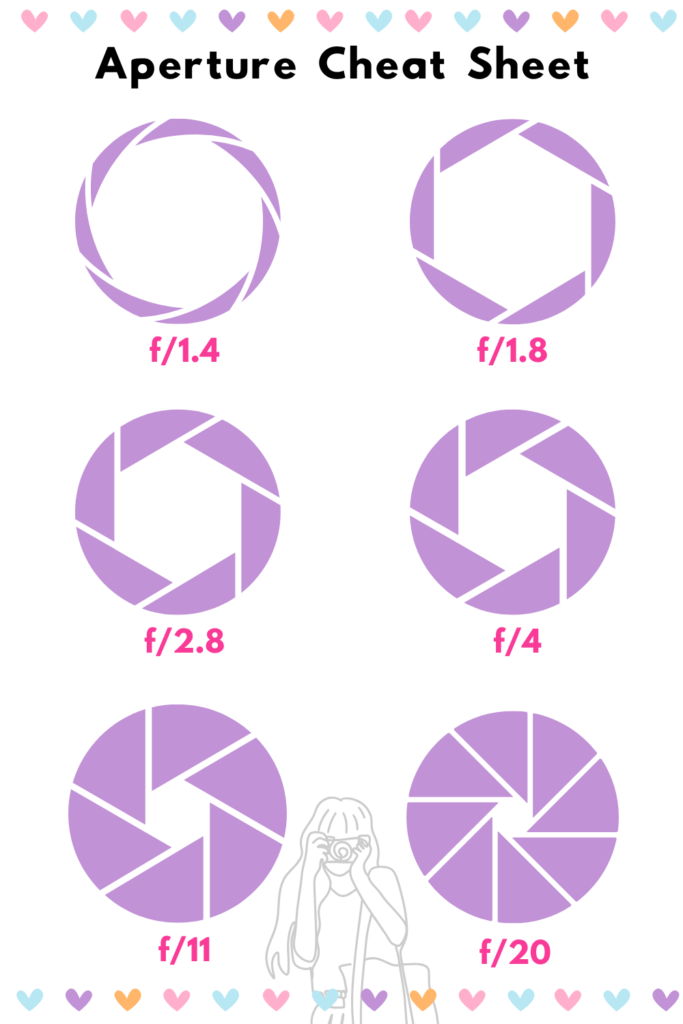
This is where things get a little confusing. The f-stops (also written as f/numbers) are the numbers you see on your camera when adjusting your aperture.
These numbers, look like f/1.8, f/4, f/11, etc. This might look complicated, but they’re actually pretty straightforward once you understand their logic.
Here’s what to remember:
Smaller f-stop number = bigger aperture opening (e.g., f/1.8 lets in a lot of light but less will be in focus)
Larger f-stop number = smaller aperture opening (e.g., f/16 lets in much less light but more will be in focus).
Essentially, the lower the f-stop number, the more light gets into the camera and less will be in focus. For instance, a lens set at f/2.8 will let in far more light than a lens set at f/16.
It’s important to note that f-stop numbers are inversely proportional to the aperture size, which means smaller numbers mean more light, and higher numbers mean less light. This might feel backward, but just remember: small number, big opening; big number, small opening.
What Does Aperture Do to Your Photos
Aperture controls how wide your lens opens, letting in more or less light and changing how much of your image is in focus.
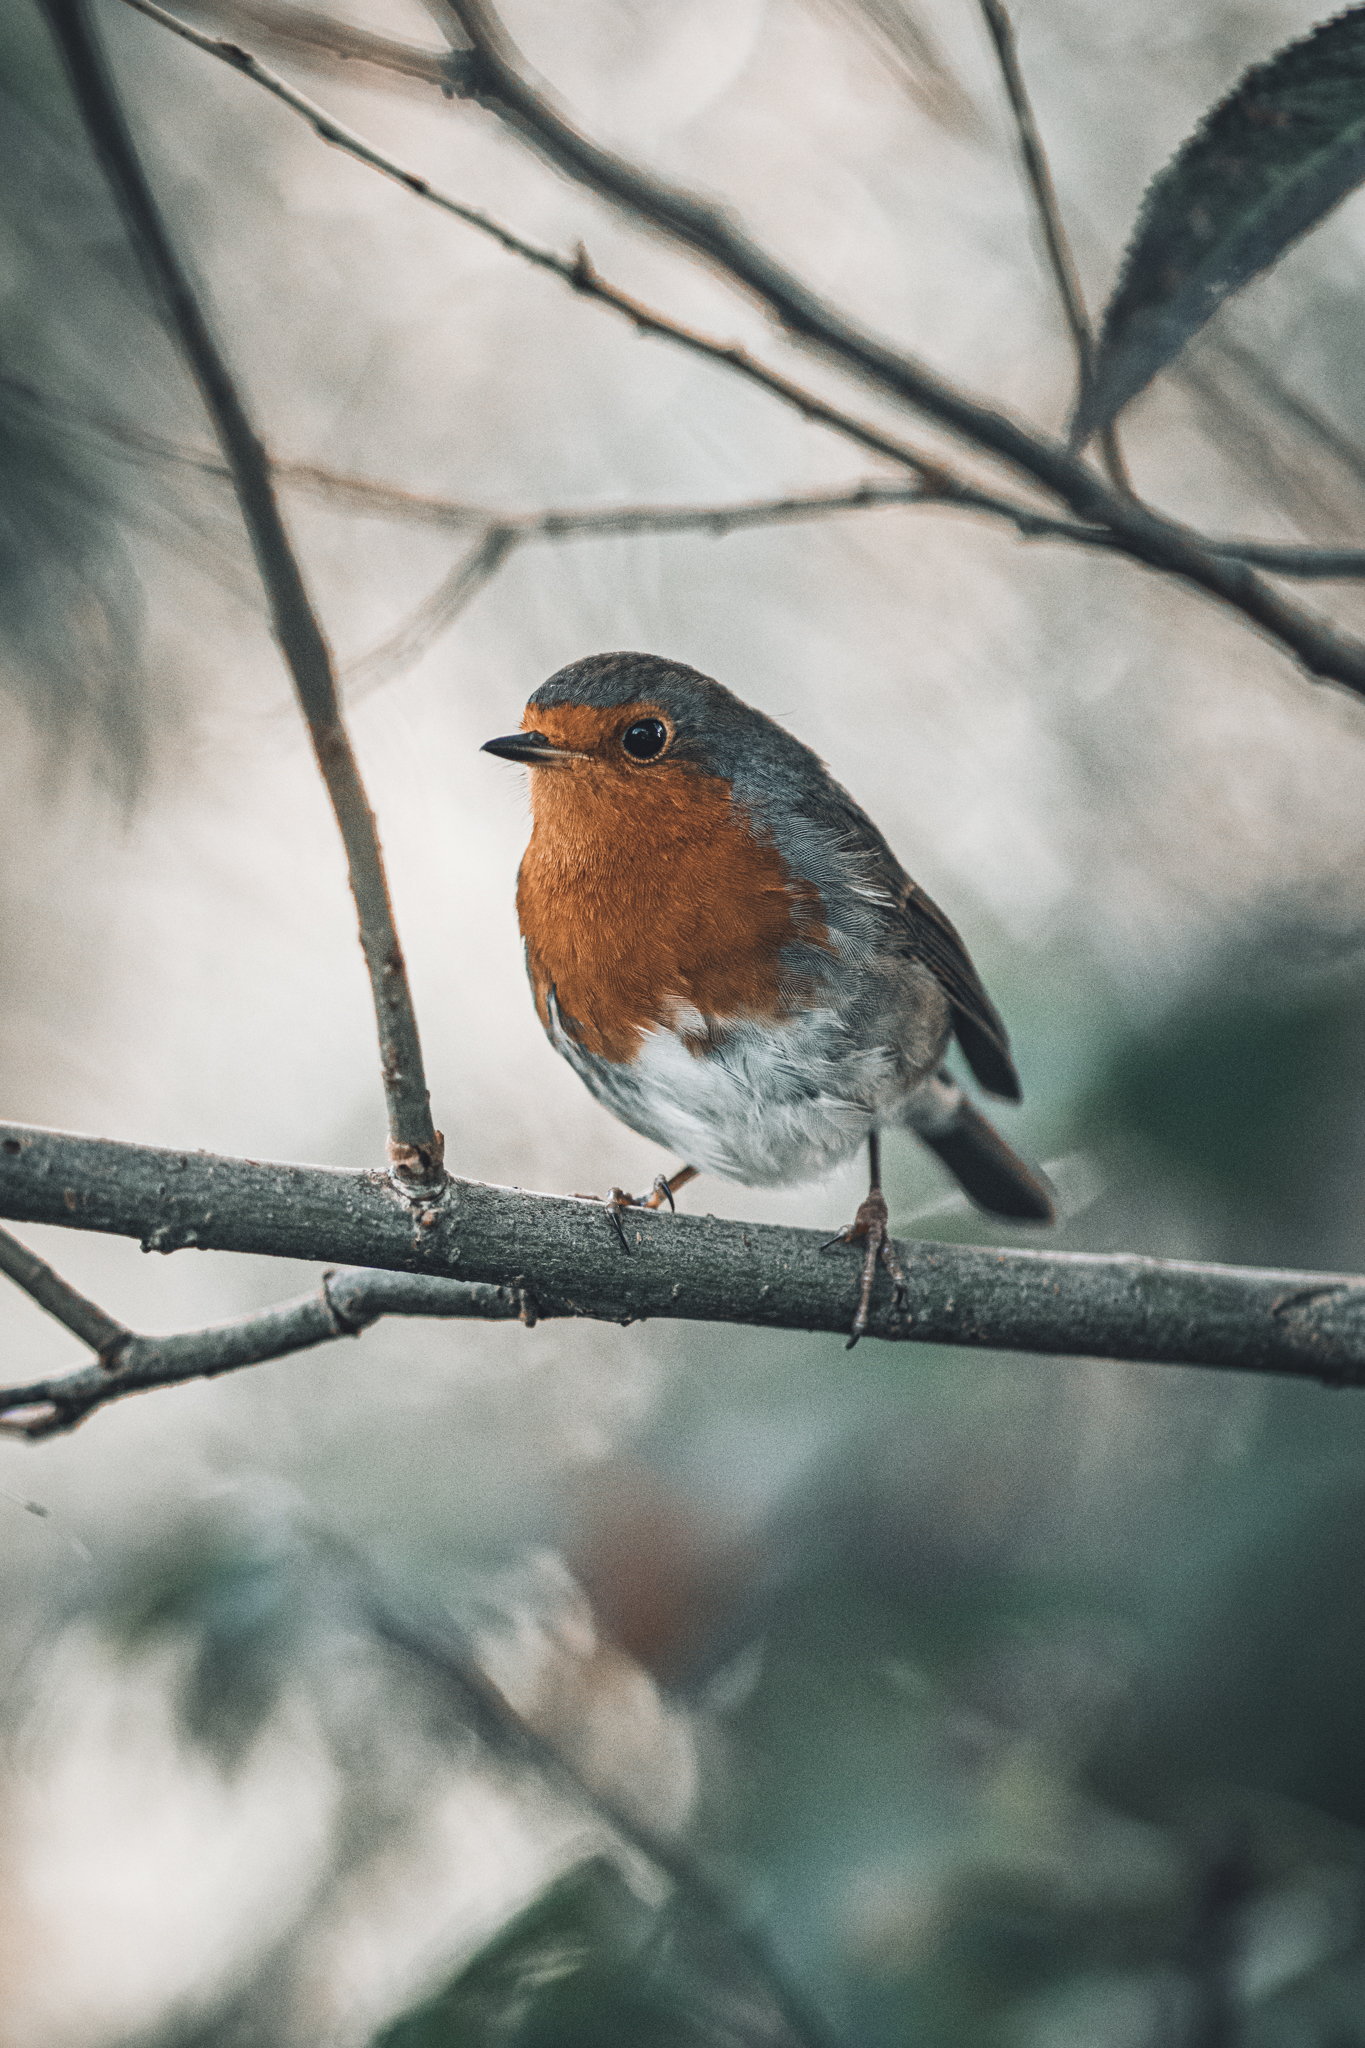
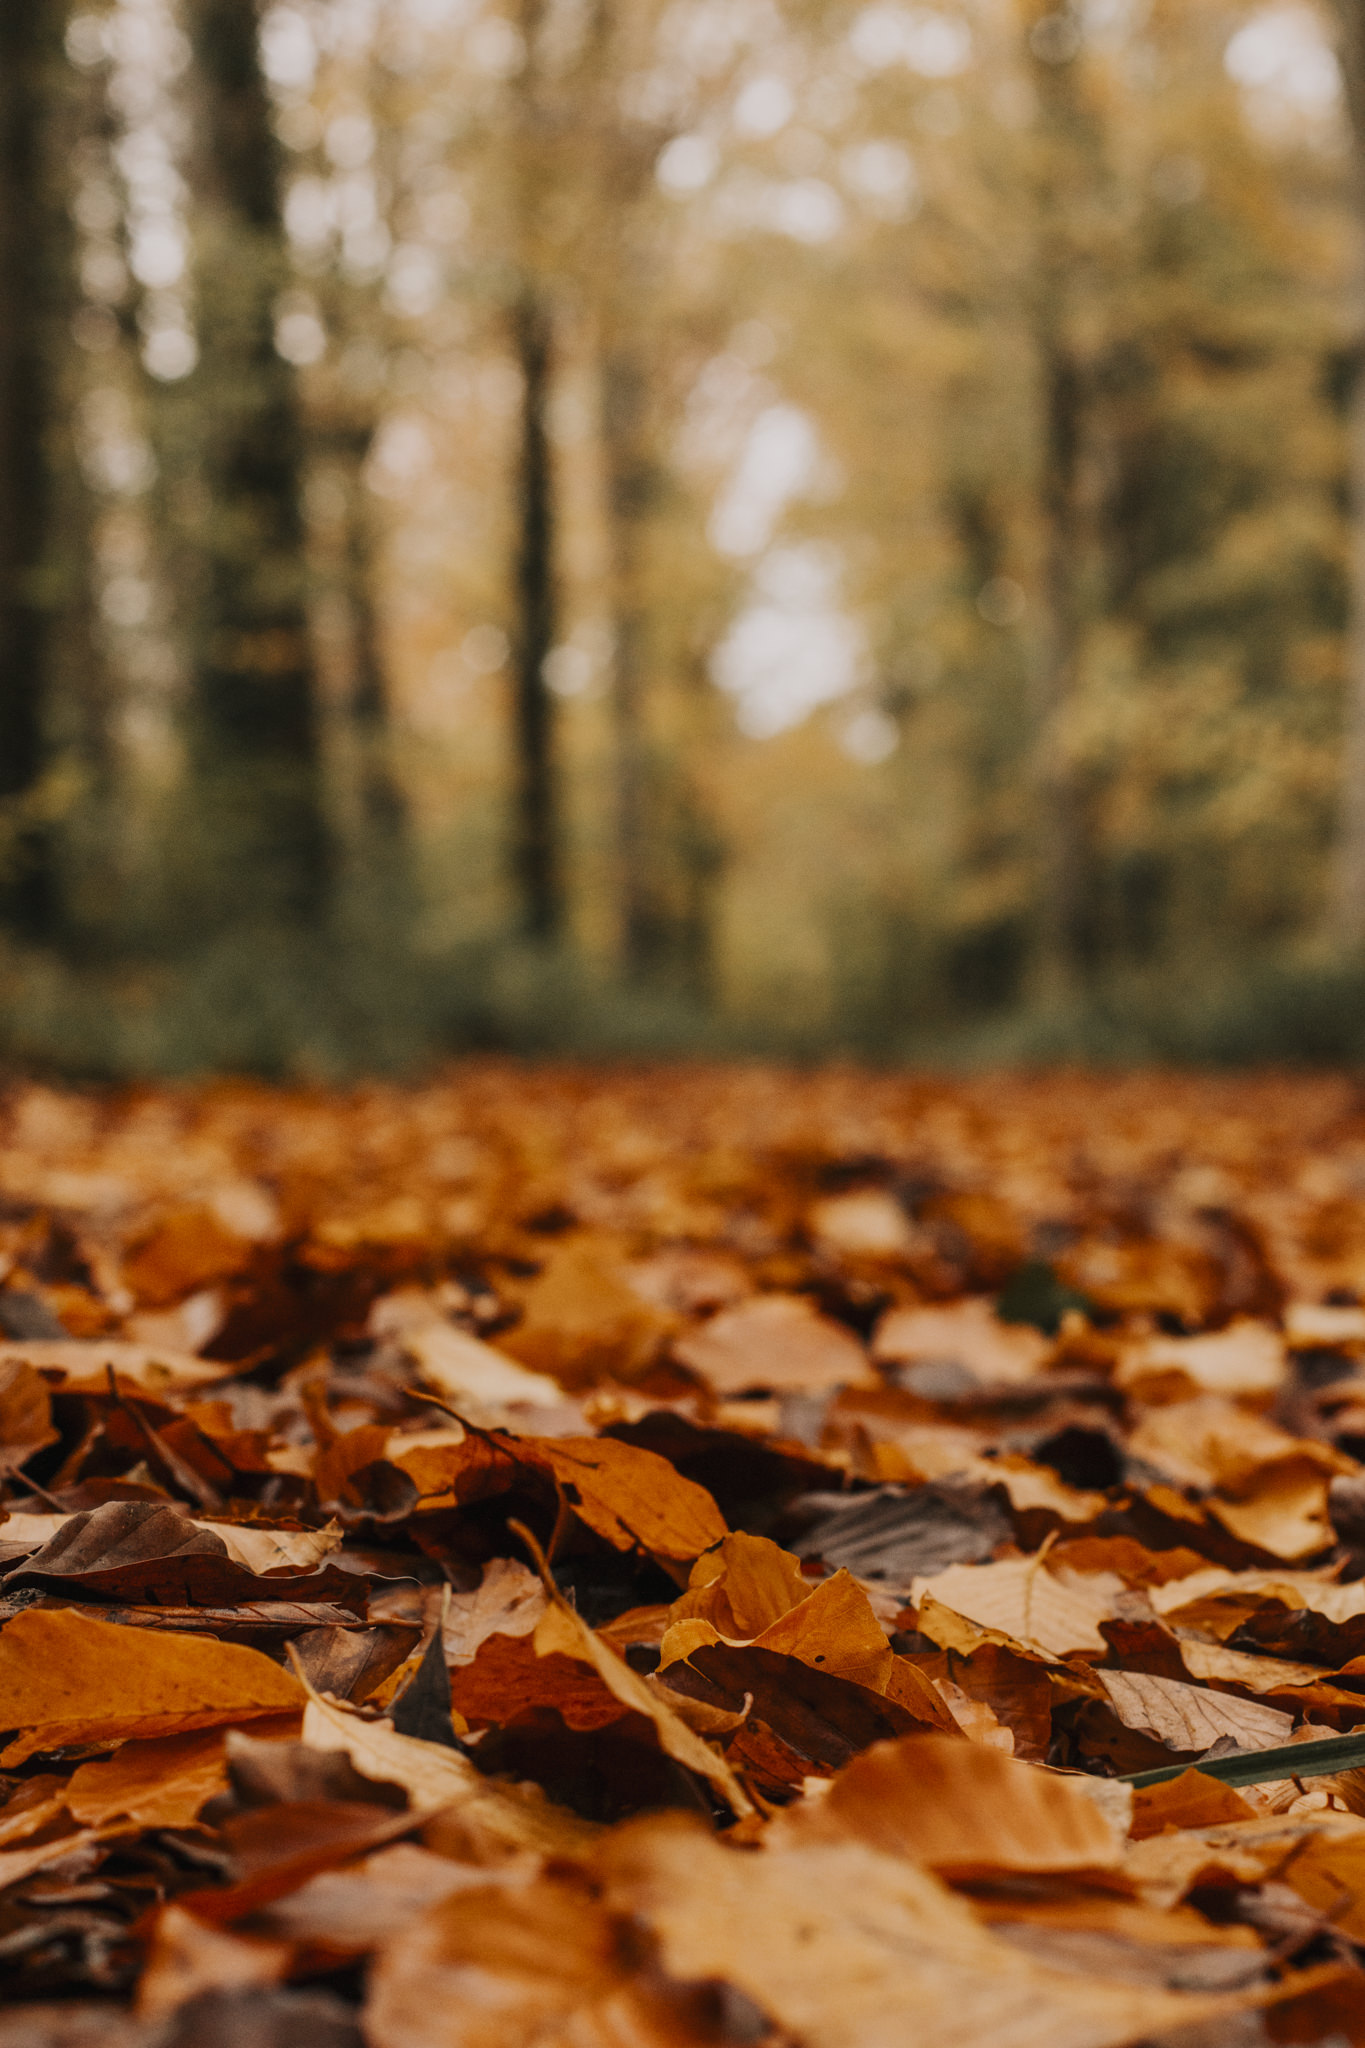
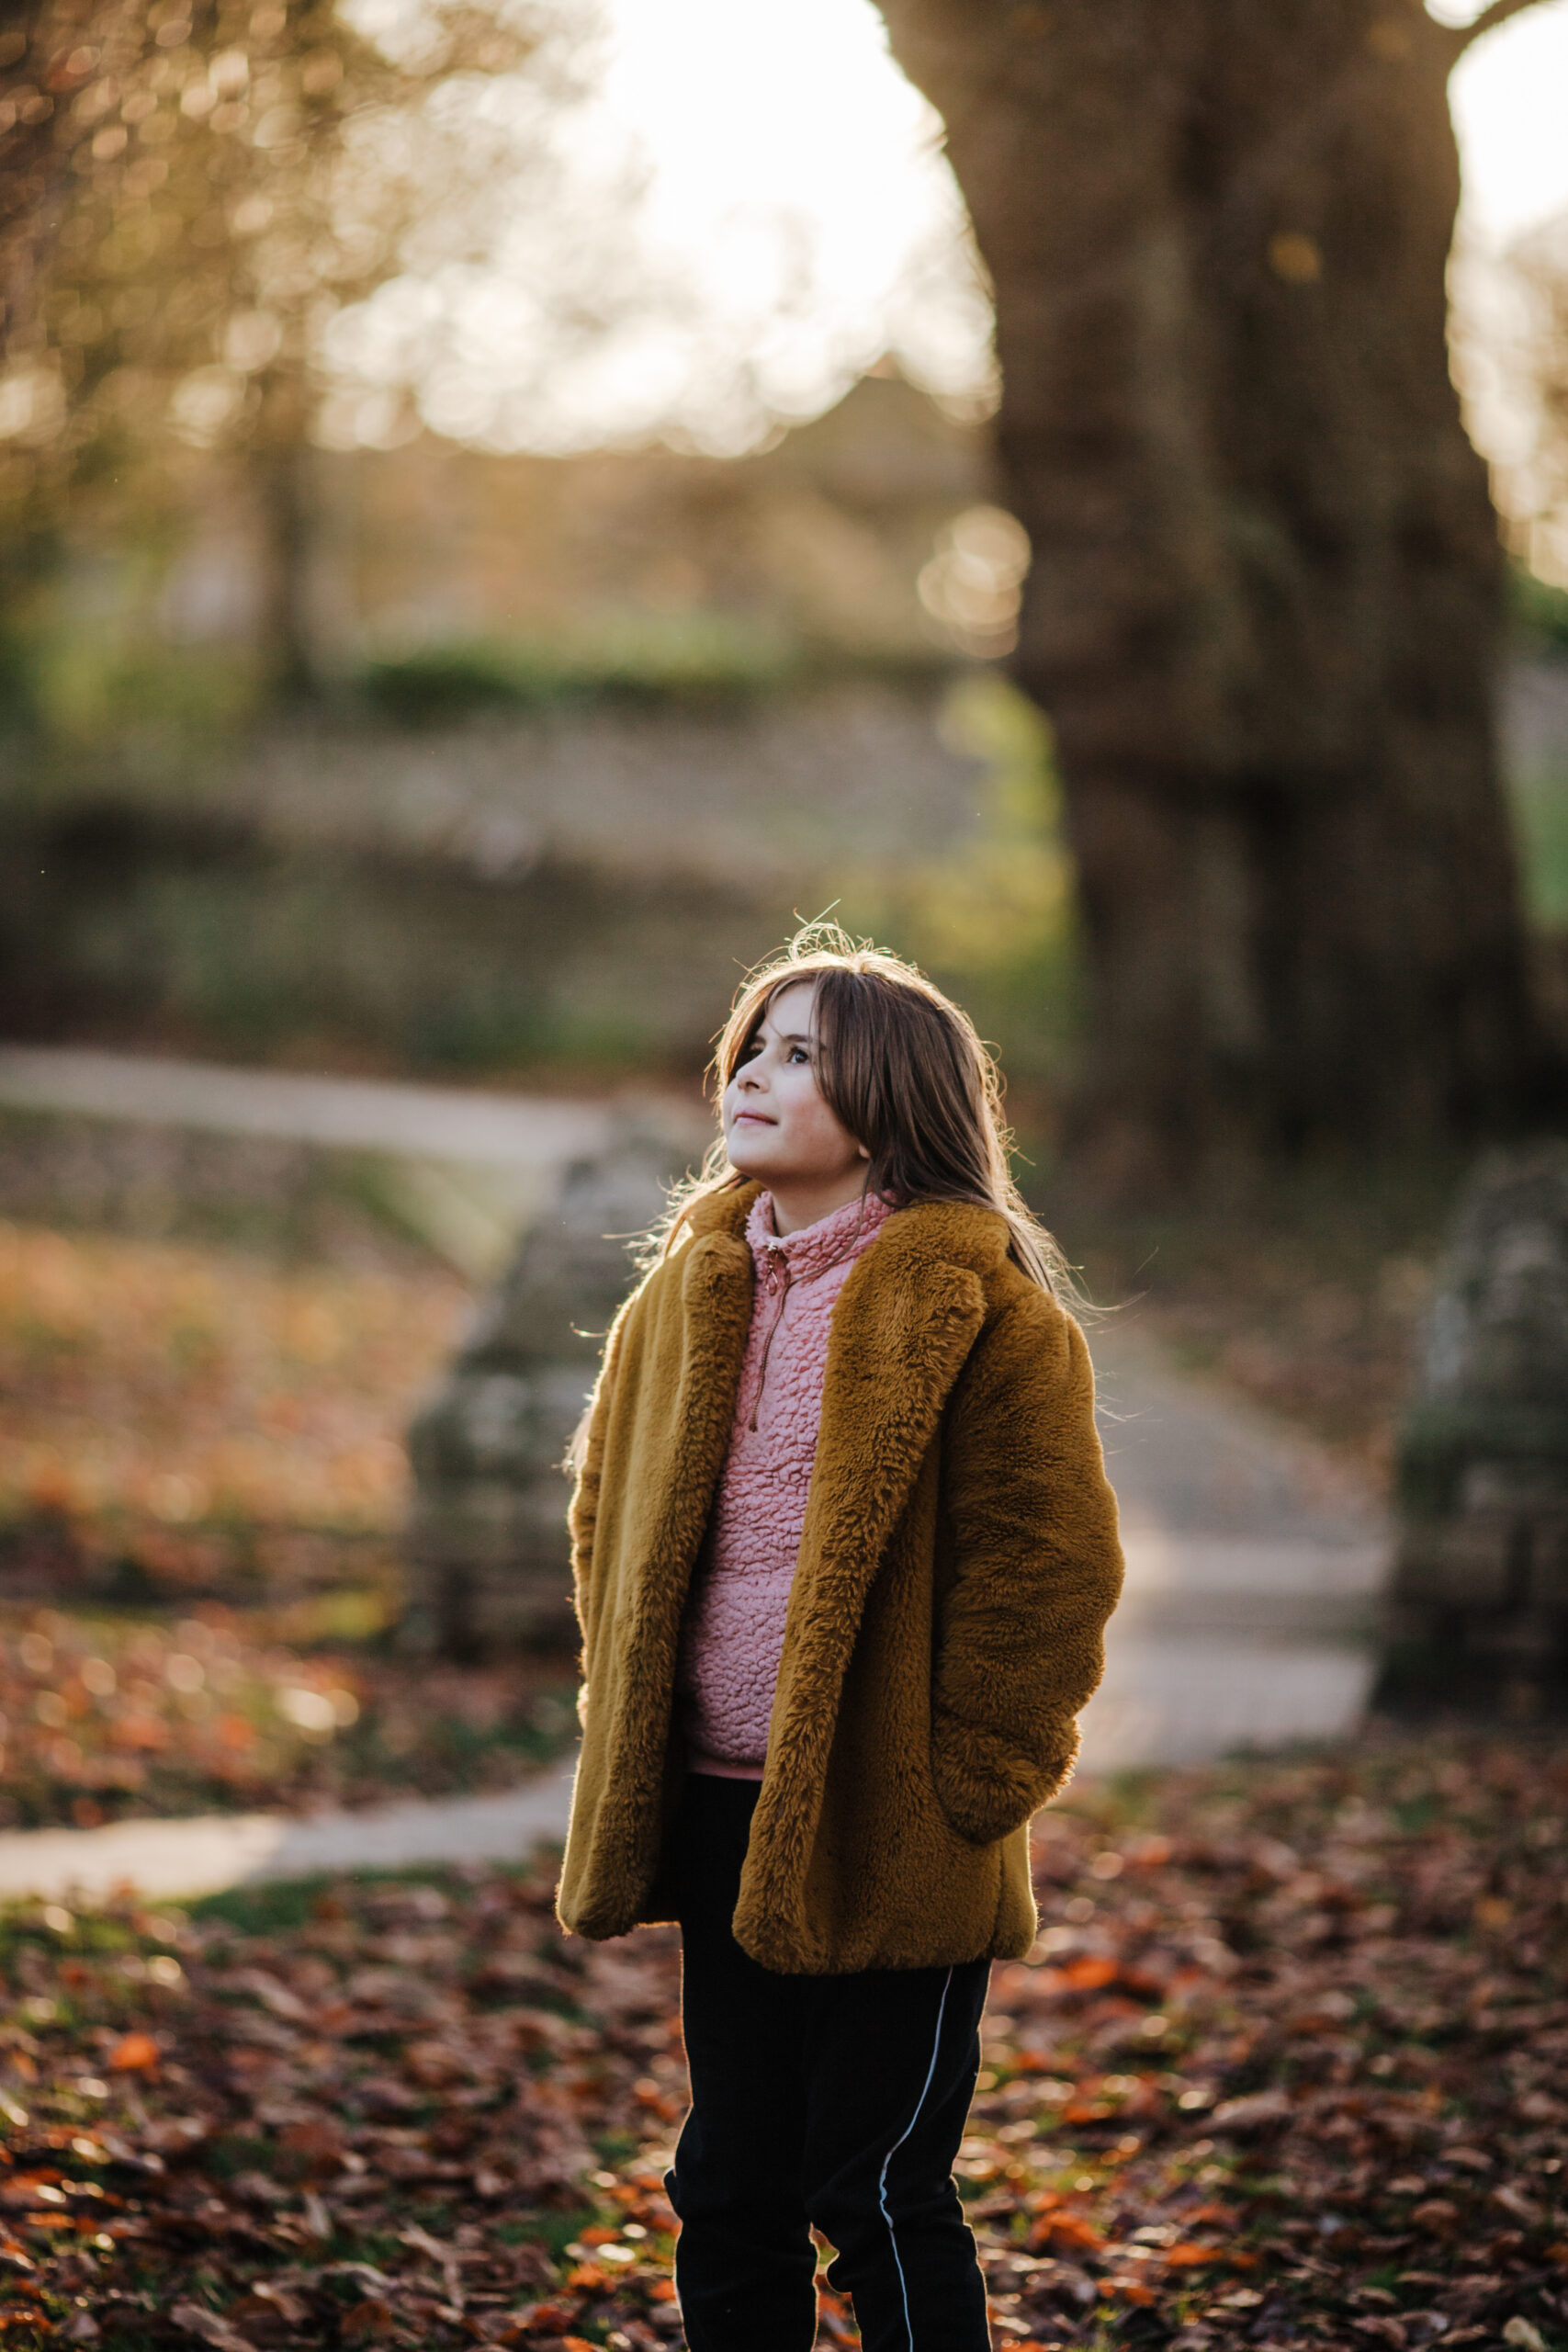
A wide aperture (like f/1.8) blurs the background, making your subject stand out sharply in the foreground. A narrow aperture (like f/11) keeps more of the scene in focus, which is ideal for landscapes and group shots.
In essence, your choice of aperture shapes the look and feel of each photo by balancing light and depth of field.
Depth of Field
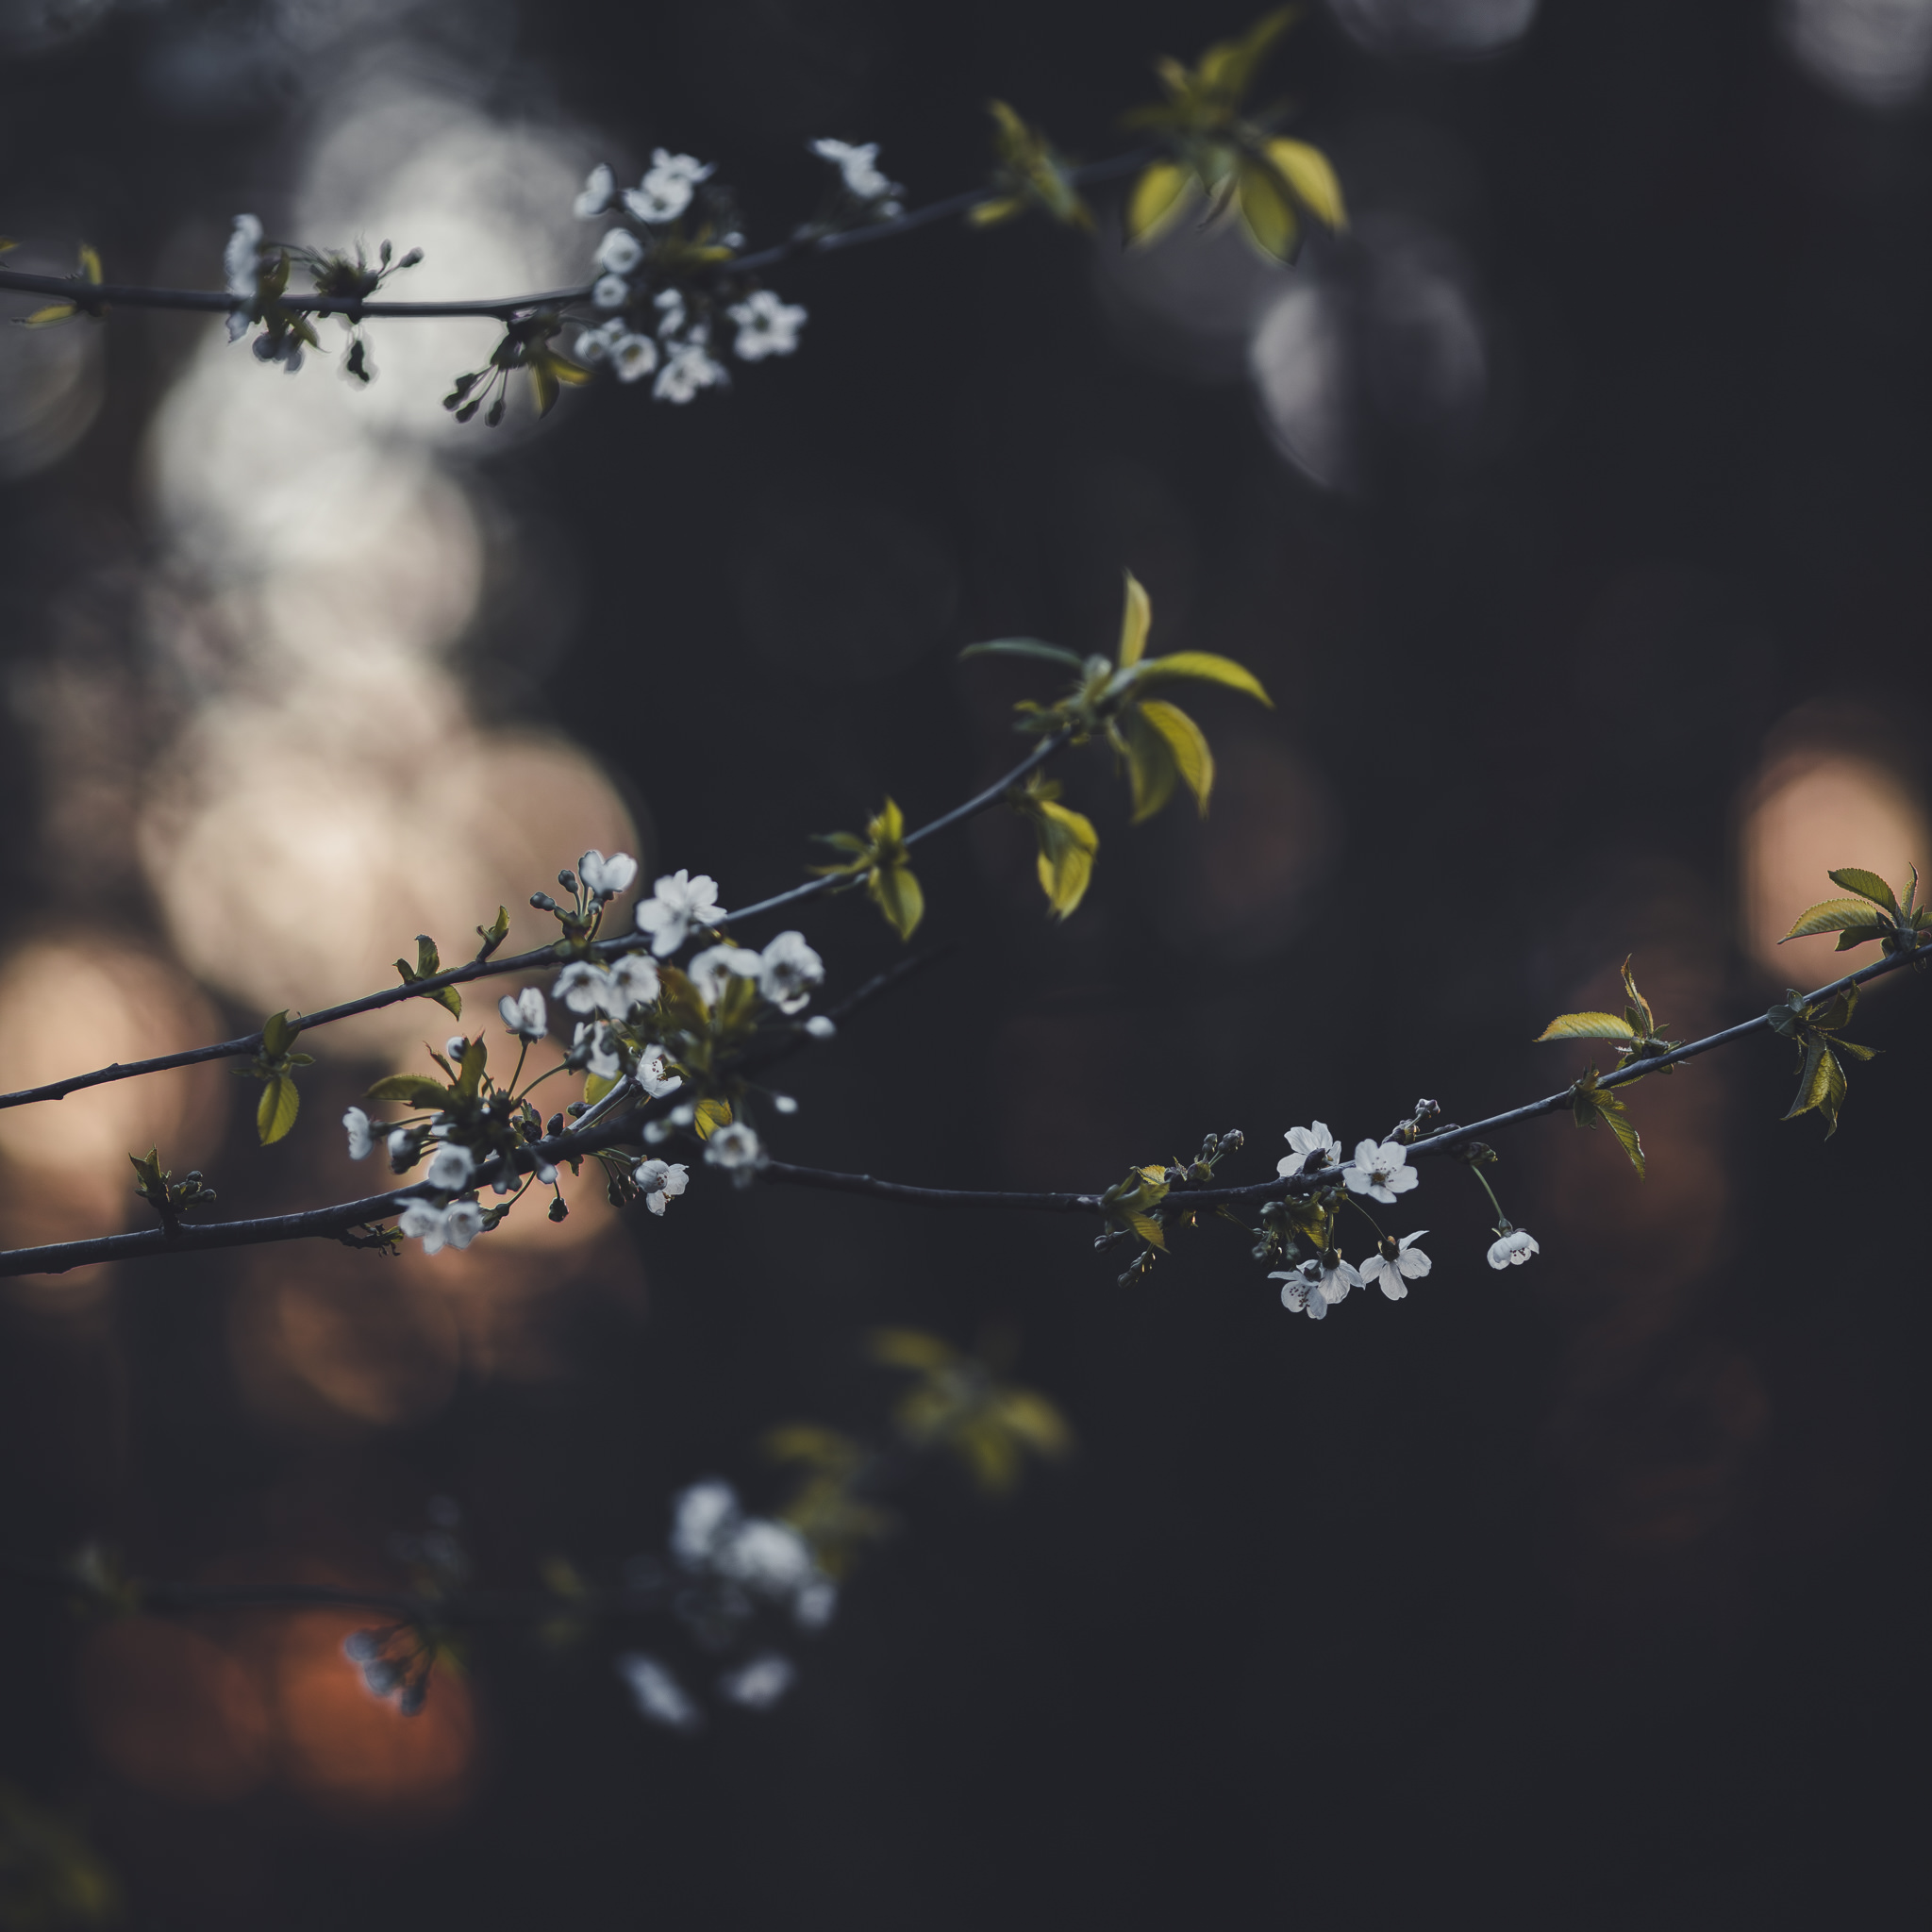
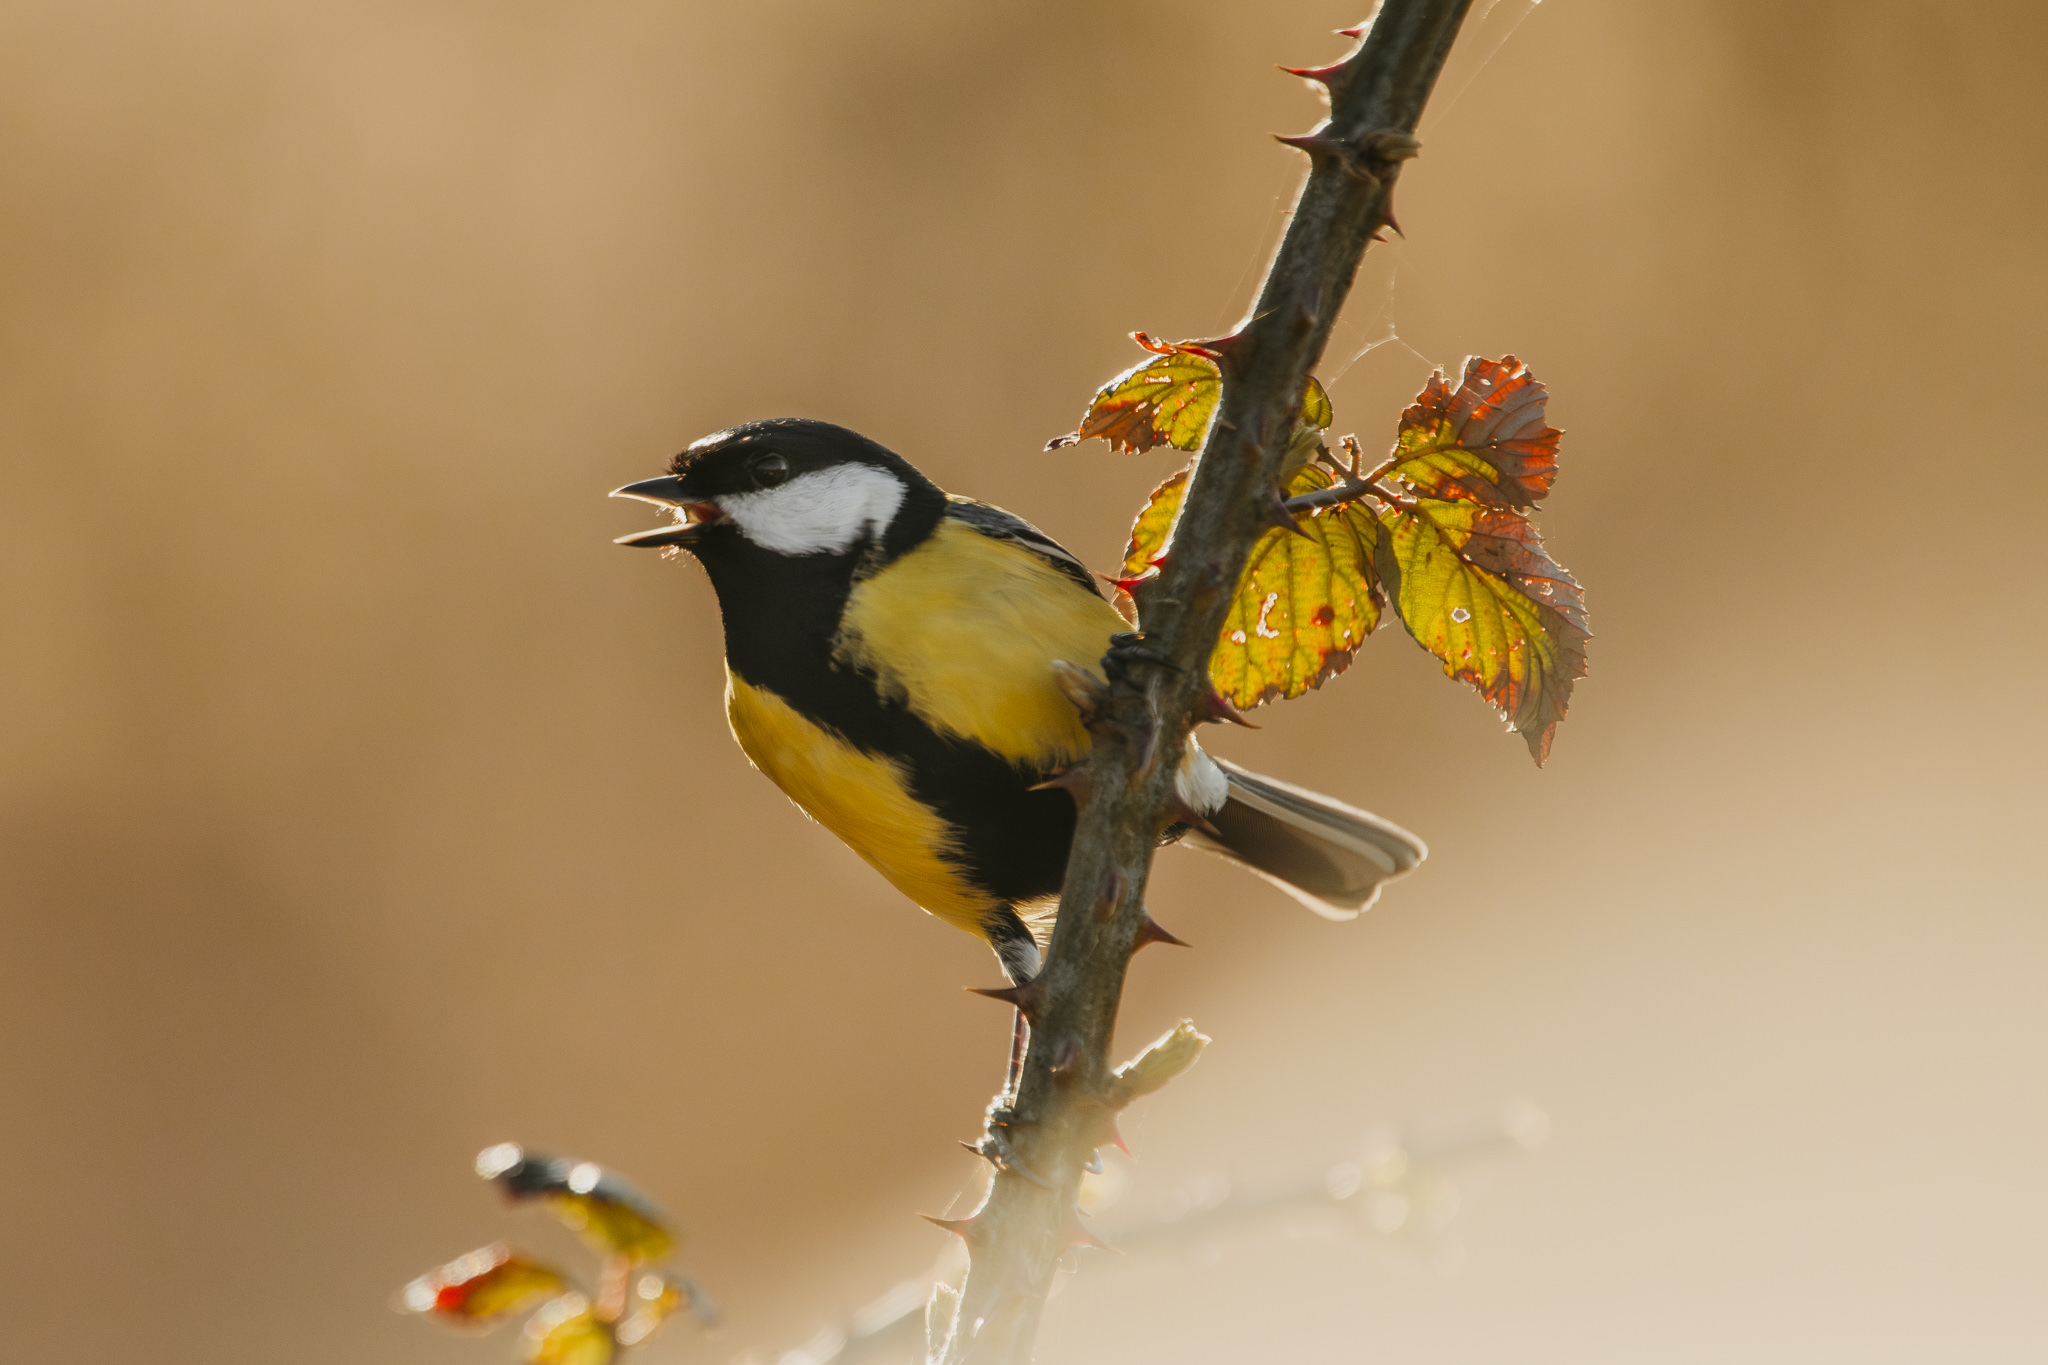
Depth of field (DoF) is simply the area in your photo that appears sharp and in focus. With a shallow depth of field, you get that beautiful blurred background effect (known as bokeh), which helps make your subject pop out against a soft backdrop.
In contrast, a large depth of field keeps everything from foreground to background sharp, making it great for landscapes.
Here’s how aperture affects depth of field:
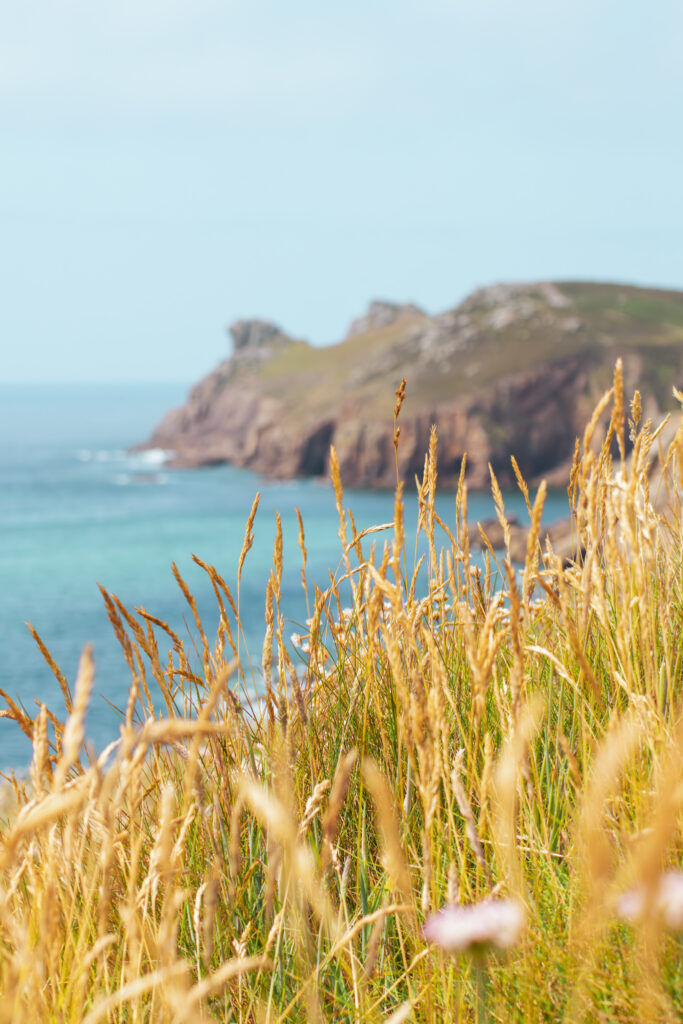
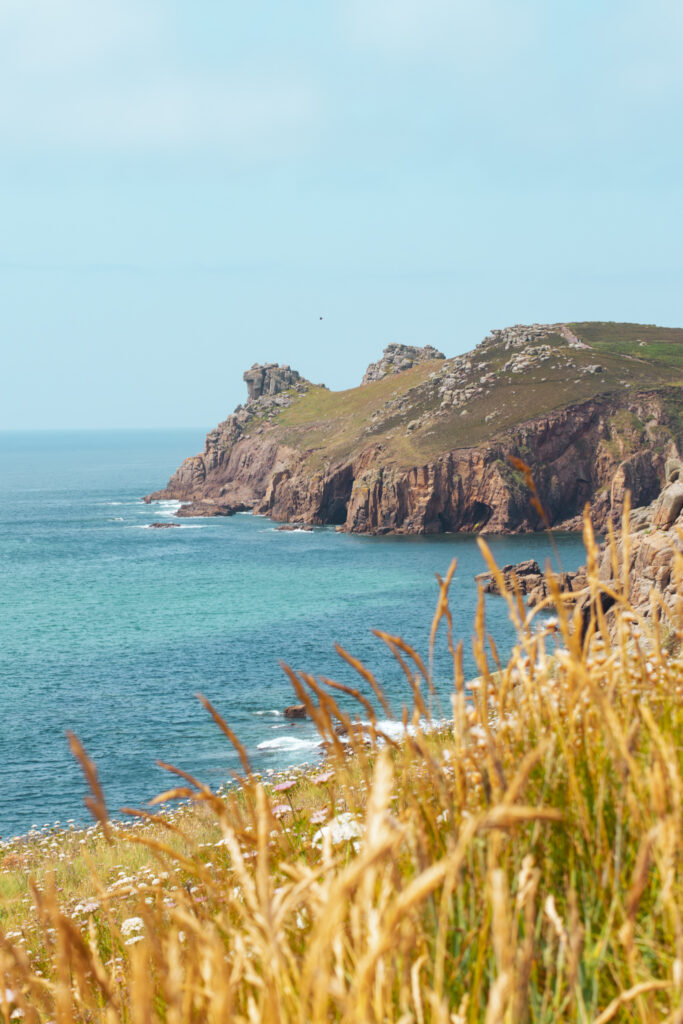
- Wide Aperture (f/1.4 to f/2.8): Shallow depth of field. Perfect for portraits where you want the subject isolated against a soft, creamy background.
- Narrow Aperture (f/8 to f/16): Deep depth of field. Ideal for landscapes and group shots where you want everything in the frame to be sharp.
How to Choose the Right Aperture Setting
Choosing the right aperture depends on what you’re photographing and the kind of look you want. Here’s a quick guide:
- Portraits: Use a wider aperture (f/1.8 – f/4) to blur the background and isolate your subject.
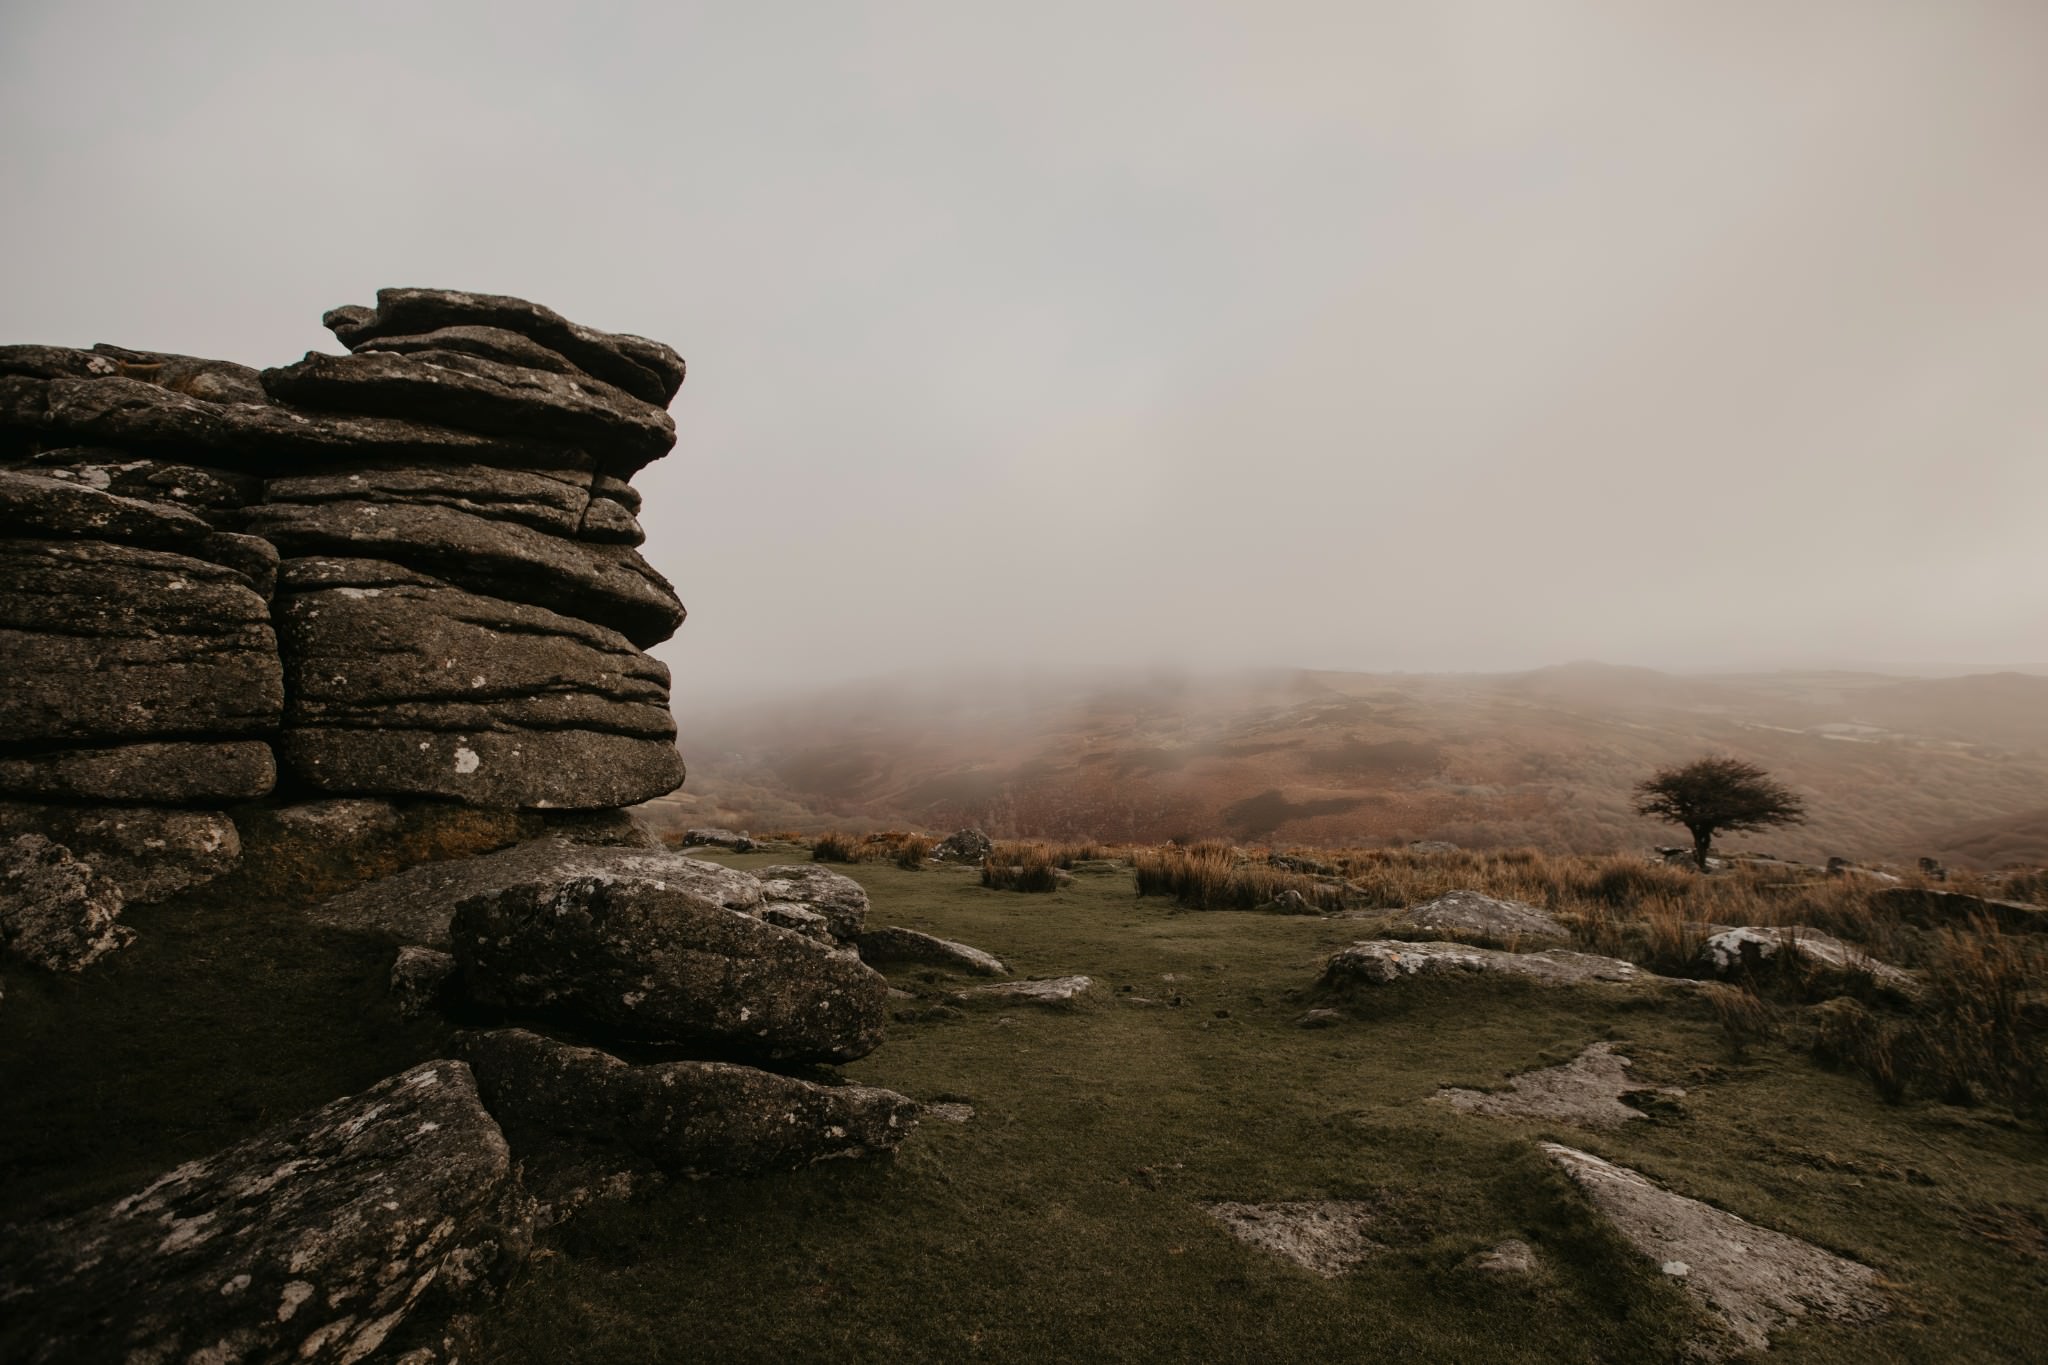
- Landscapes: Opt for a narrow aperture (f/8 – f/16) to keep both the foreground and background sharp.
- Low-Light: A wide aperture (f/1.4 – f/2.8) helps brighten the image without cranking up the ISO and risking noise.
- Action Shots: While a fast shutter speed is key, a moderate aperture (f/4 – f/5.6) can give you the right balance of depth and light.
- Macro: If you’re using a dedicated macro lens, you will already have a shallow depth of field, so you’ll need a smaller aperture (f/8+) to keep your subject in focus.
- Group photos: I typically shoot wedding group photos at around f/5.6 – f/8, depending on how big the group is and how many rows of people there are. You want all faces in focus.
This isn’t a hard-and-fast rule, but these guidelines can help you start thinking about how aperture is used.
Aperture Priority Mode vs. Manual Mode
If you’re still getting comfortable with aperture, Aperture Priority Mode (A or Av) on your camera is an excellent place to start.
It’s how I learnt to use this setting before moving on to manual mode.
In this mode, you choose the aperture, and the camera adjusts the shutter speed automatically. This lets you experiment with depth of field without having to worry about exposure balance.
Once you feel ready to dive deeper, Manual Mode (M) gives you full control. You set the aperture, shutter speed, and ISO, balancing all three for precise creative control.
Manual mode is fantastic if you’re ready to take the reins, but don’t rush into it. Mastering Aperture Priority is a great way to ease into manual control without feeling overwhelmed.
Creative Tips for Using Aperture Like a Pro
Aperture isn’t just a technical setting – it’s a powerful artistic tool. Here are a few creative ways to experiment with aperture:
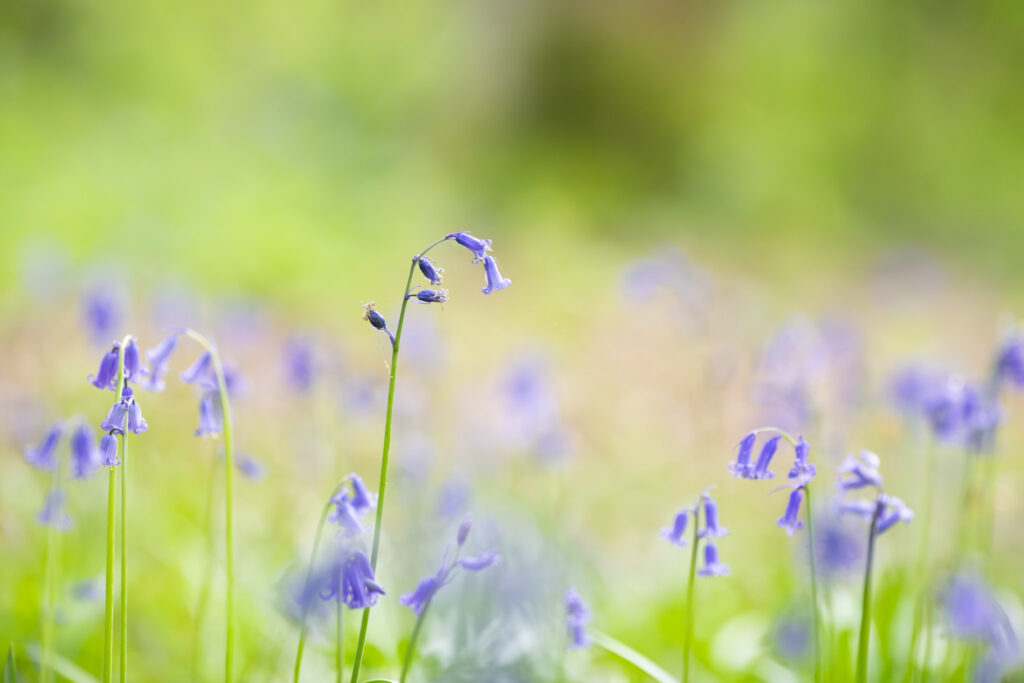
- Create Dreamy Backgrounds: Use a wide aperture (low f-stop) with a telephoto lens to capture close-up shots with a soft background. This especially works well with portraits.
- Layer Depth in Landscapes: Try a mid-range aperture like f/8 to keep most elements in focus, but still allow for a subtle background blur.
- Add a Sense of Scale: In architectural photography, use a narrow aperture (like f/11 or f/16) to capture intricate details from foreground to background, enhancing the sense of scale.
- Experiment with Foreground Elements: Use a wide aperture to blur foreground elements, such as leaves or branches, which can frame your subject beautifully.
Common Aperture Mistakes and How to Avoid Them
Learning aperture can involve some trial and error, so don’t worry if you make these common mistakes at first:
Always Shooting Wide Open:
Sometimes, photographers open the aperture too wide (like f/1.2) for every picture just because they can. I’ve been there myself. If you spend money on the kind of glass that lets you shoot wide open, there’s a temptation to shoot wide open constantly, but not every picture is suitable for a wide aperture.
Misjudging Light Levels:
A wide aperture lets in a lot of light, which can lead to overexposure, especially in bright conditions. Remember to watch your exposure meter or consider using ND filters in very bright settings.
Lack of Sharpness in Group Photos:
Using a wide aperture in a group photo can leave some people out of focus. Try a narrower aperture (like f/5.6 or higher) to keep everyone sharp.
Conclusion: What is Aperture in Photography?
Aperture is one of the most essential settings in photography, and once you understand it, it can transform your work. It affects the depth of field in your image (how much is in focus) and how your image is exposed.
By now, you should have a good idea of how to make it work for you, and hopefully, you feel inspired to play around with it!
Try switching your aperture, observe the changes in depth of field, and experiment with how it affects the overall look of your image.
If you want to learn more about photography settings, check out the complete step-by-step photography guide for beginners, or grab the Camera Settings Playbook and get some setting formulas you can put straight into your camera.