It’s pretty overwhelming, trying to learn the basics of photography. Especially when you hear more experienced photographers throwing around photography terms that you’ve never heard before.
It’s like learning a whole new language. Which can be daunting, especially if you’re having to do a Google search every time new photography terms pops up.
To make this as simple as possible, I’ve made a list of photography terms that you should learn. I’ve tried to make the explanations as easy as I can to understand. Because it’s annoying as hell when you’re trying read up about a word and the explanation is even more confusing!
(This post contains affiliate links – click here to read my full disclosure policy.)
What are photography terms?
Photography terms are the building blocks of understanding how to capture stunning images. From aperture and ISO to shutter speed and dynamic range, these concepts help photographers control light, focus, and composition. Learning terms like bokeh for blurred backgrounds or bracketing for multiple exposures can elevate your skills and creativity. As a beginner, mastering photography jargon allows you to fully utilise your camera and cuts out the overwhelm.
Photography Terms Explained
So let me cut through the photographer jargon to save you hours of research. Here’s 40+ Photography Terms Explained For Beginners…
Action
In photography terms, an Action is an automated editing workflow within Photoshop.
You can record some of the editing you do on a photo and save that workflow as a ‘Photoshop Action’. Then you can apply that Action to other photos in one simple click!
Some photographers sell their Photoshop Actions to make life easier for you. Such as these 220 Professional Photoshop Actions By Lou & Marks.
Aperture
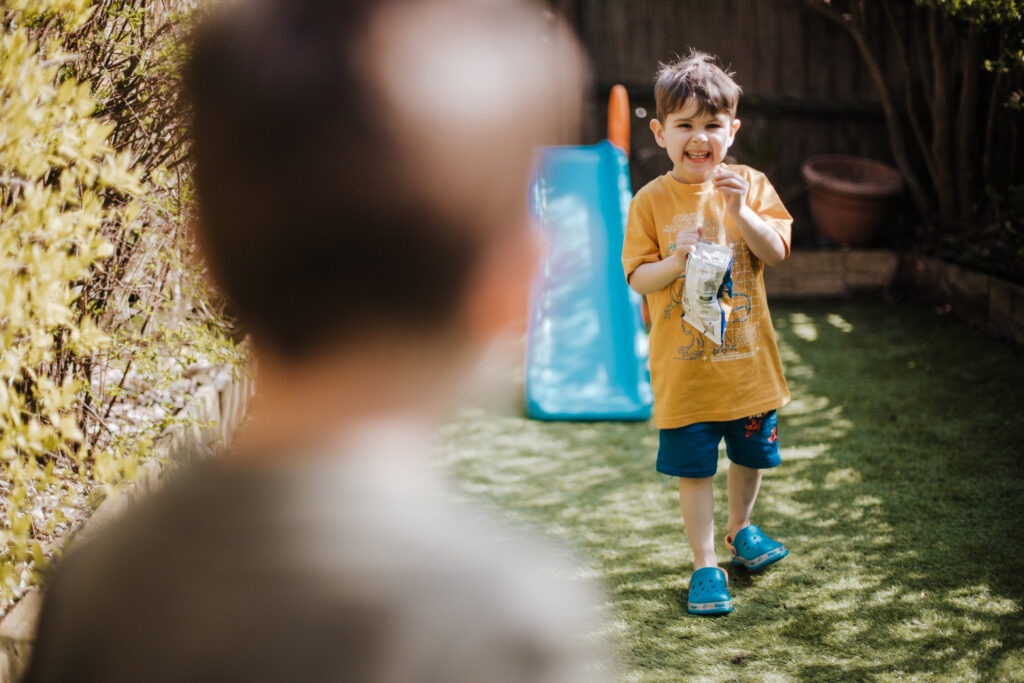
An aperture is the opening in your camera lens. It controls how much light is able to enter the camera and how much of your image will be in focus.
The smaller the aperture the less light comes through the lens. But the more of your image will be in focus.
The wider the aperture the more light comes through the lens. But the less of your image will be in focus.
You know those portraits that have a blurry background but the person is tack sharp? Well that’s because the photographer has used a wide aperture. Their settings are letting lots of light in but not as much of the image is in focus.
(See Depth Of Field and F-Stop for more photography terms relating to Apertures)

Aspect Ratio
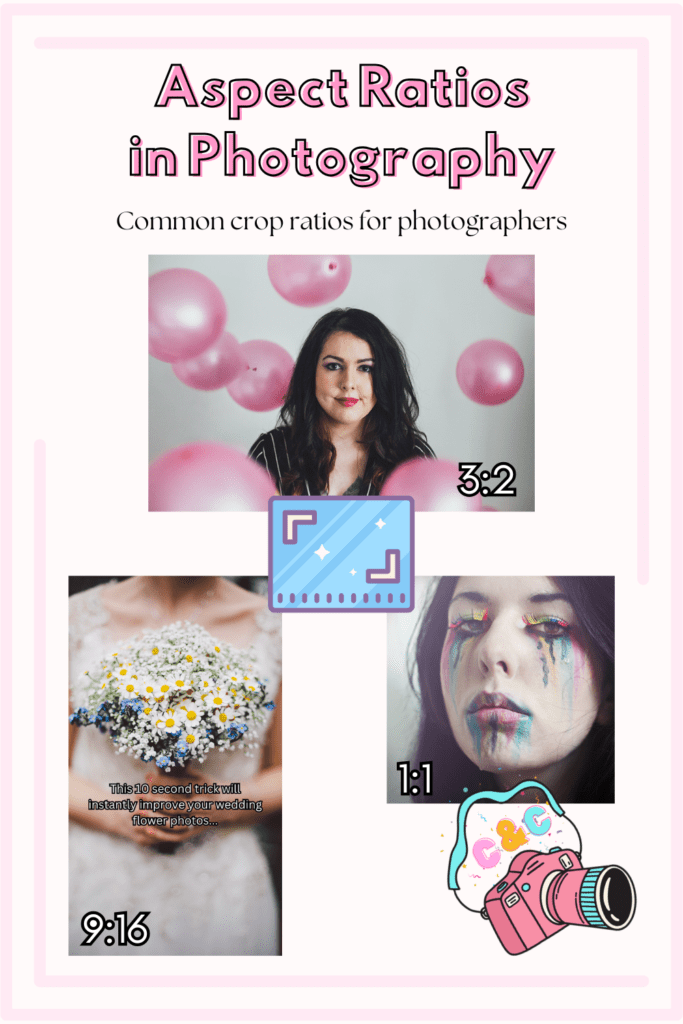
The aspect ratio of a photograph is the proportional difference between the width and height.
One of the most common aspect ratios is 3:2 which is the standard for 35mm film cameras and a lot of digital SLR cameras.
Another common aspect ratio is 1:1 which is a square format which was popular on Instagram until very recently.
You’ll most likely need to learn aspect ratio when cropping your images. It is useful to know for printing and composition as well.
PHOTOGRAPHY TERMS: ASPECT RATIO CHEAT SHEET
Av
Av mode is Aperture Priority mode on certain cameras.
In this mode you can select your aperture and the camera will automatically figure out your other settings.
Av mode is helpful when you are learning how to use a professional camera but you’re not quite ready for Manual settings yet.
A lot of pro photographers even use Av mode. Especially when doing a job where light and scenery is changing quickly such as weddings and events.
Bokeh
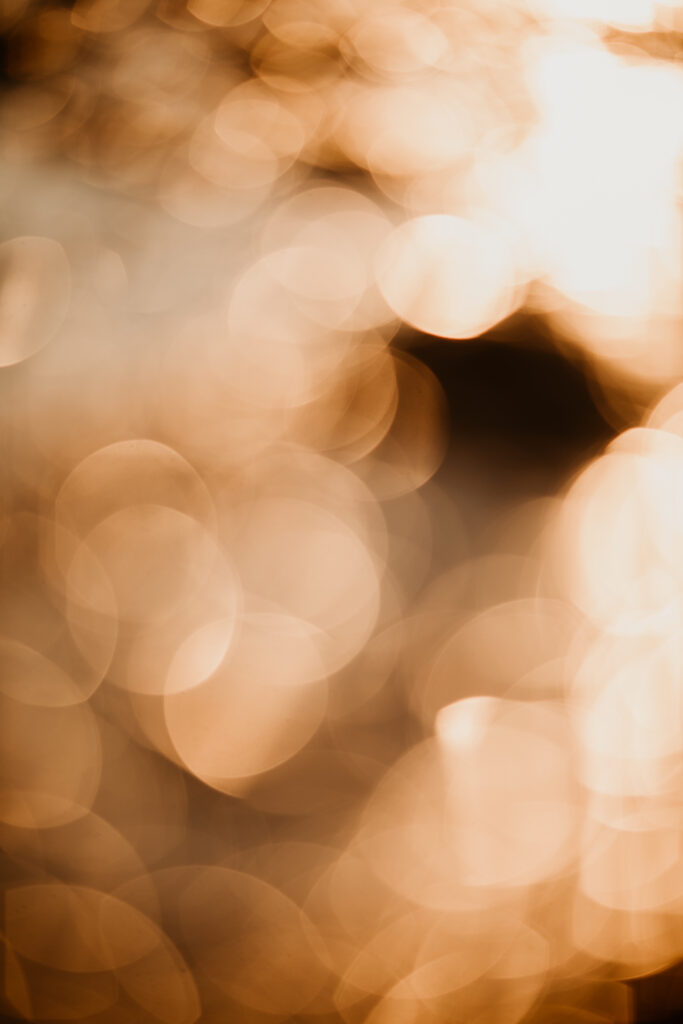
Bokeh (pronounced BOH-keh or BOH-kay) comes from the Japanese word “boke,” which means “blur” or “haze.”
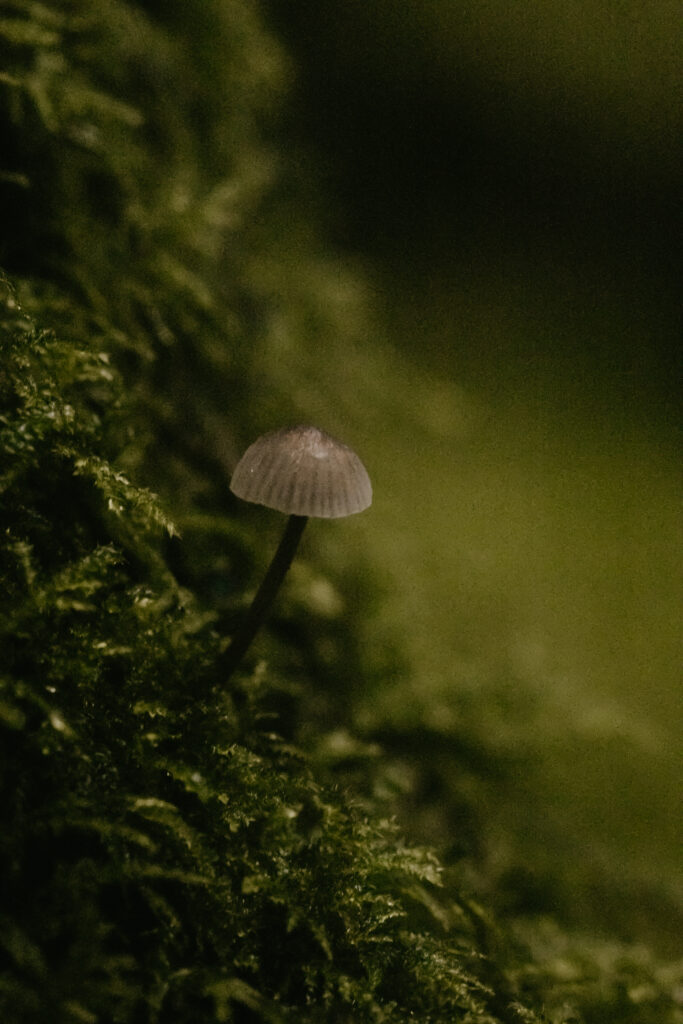
In photography, bokeh refers to the aesthetic quality of the out-of-focus areas in a photograph. It’s not just about blur; it’s about how that blur looks and feels.
A lot of people use the term “bokeh effect” when talking about those blurry spots of light in the background.
Bulb
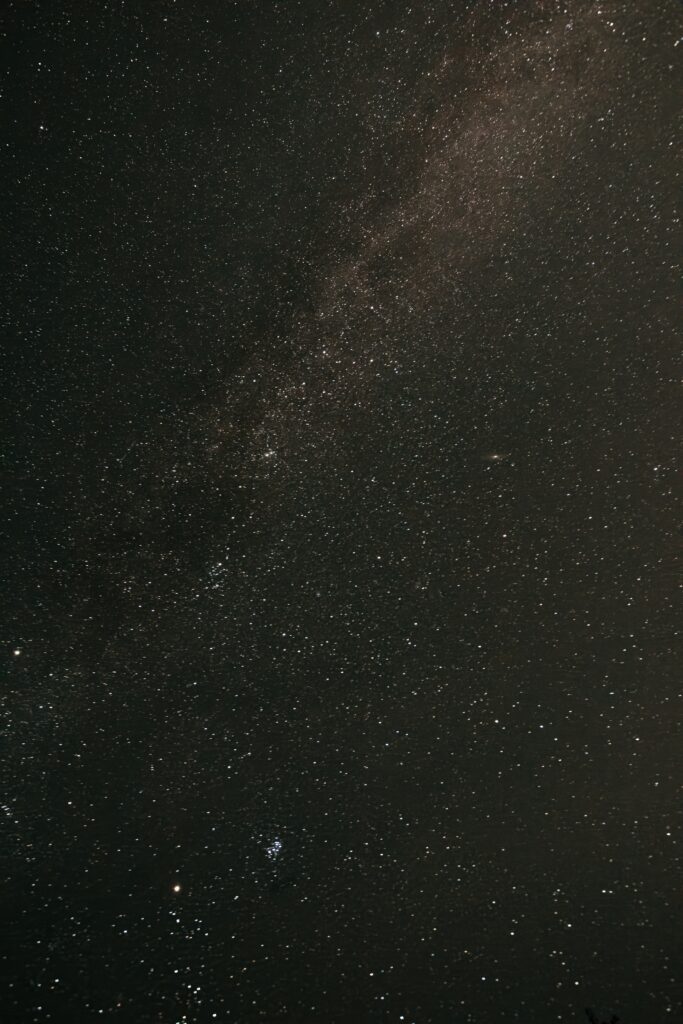
Bulb mode is a setting that allows you to keep the shutter open for as long as your pressing the shutter button. It only finishes taking the picture once you’ve let go of the button.
This setting is ideal for night photography as it allows you to take photos for much longer than the usual 30-second shutter speed. This extended exposure lets significantly more light enter your camera.
Bracketing
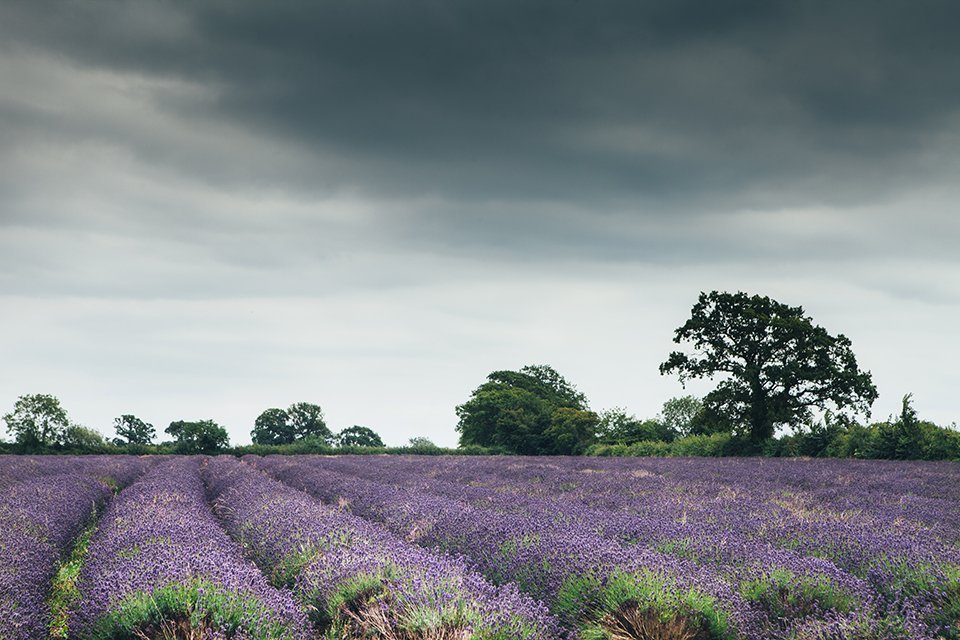
In photography, bracketing is a technique where you capture multiple shots of the same subject using different settings. These images can then be combined to create a photo with enhanced dynamic range and detail.
For instance, exposure bracketing involves taking several photos of the same scene with varying exposure levels.
Later, you edit these images together to ensure every part of the scene is perfectly exposed. This method is especially helpful when a subject has areas of extreme brightness and deep shadows, making it difficult to achieve a balanced exposure in a single shot.
Composition
Composition in photography terms is the way in which all the elements are arranged in your image.
My advice would be to learn the art of composition before learning anything else. Because this is how you set your images apart from the rest. This is how a photographer takes a great picture with any camera.
Once you have good composition skills, you start to see photography opportunities wherever you go. You can see several photo possibilities in just one scene.
Learn the basics of photography composition here.
Crop Sensor
A crop-frame camera, or crop sensor, features a smaller sensor compared to a full-frame camera (like the one below). As a result, images taken with a crop sensor appear more zoomed in when using the same focal length as a full-frame camera.
Because of this smaller sensor size, crop sensor cameras are generally more affordable.
Additionally, there are lenses designed specifically for crop-frame cameras. They’re often available at lower prices, though these lenses are not compatible with full-frame models.
An example of a great crop sensor camera is the Canon EOS 7D Mark II
Depth Of Field
Another photography term related to Aperture (and see below as well for F-Stop).
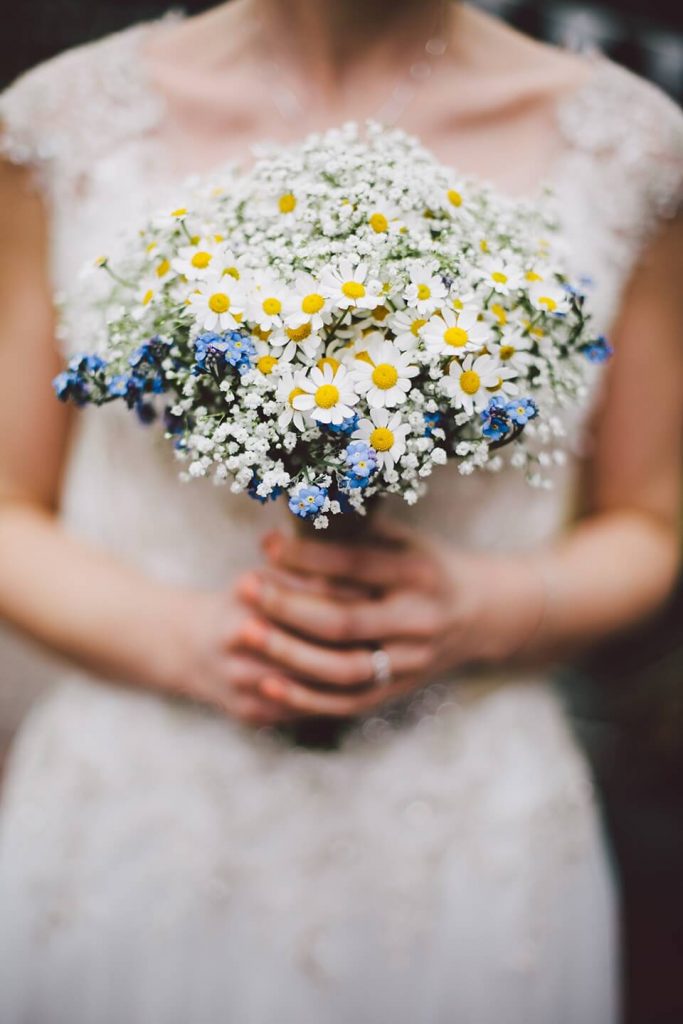
But this time Depth Of Field, or DoF, is in direct relation to the amount of your photograph is in focus.
So if you pick a wide aperture you will get a shallow depth of field because less of your image will be in focus.
If you pick a small aperture then you would have a large depth of field because more of your image will be in focus.
For individual portraits I like to have a shallow depth of field for those dreamy, blurry backgrounds. And for large groups or interiors I like to have a large depth of field so that everything in my picture is sharp and in focus.
DSLR
A DSLR (Digital Single Lens Reflex) is a camera with interchangeable lenses (rather than a fixed lens like on a compact camera). It has an array of manual settings and functions, making it a top choice for lots of professional photographers and advanced hobbyists.
Dynamic Range
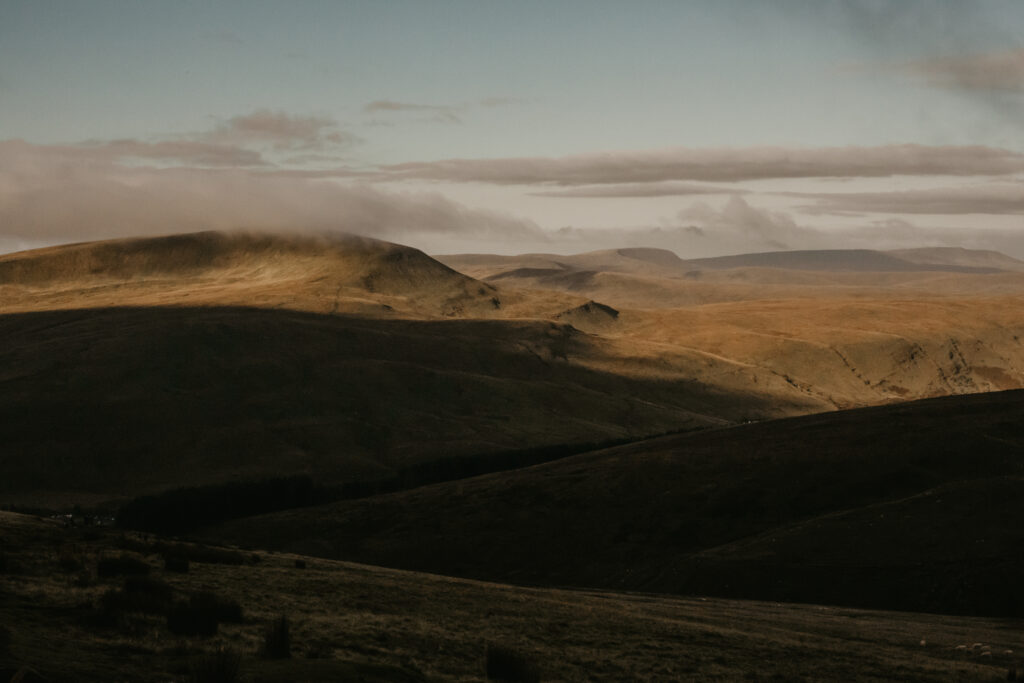
Dynamic range in photography refers to the total amount of light captured in a photograph. It measures how well highlights (the brightest parts) and shadows (the darkest parts) are recorded.
An image with bright highlights and deep shadows has a high dynamic range. In contrast, a photo that is evenly exposed has less dynamic range.
This term often comes up when discussing higher-end cameras. Some cameras offer better dynamic range, meaning they retain more detail in both highlights and shadows.
Exposure
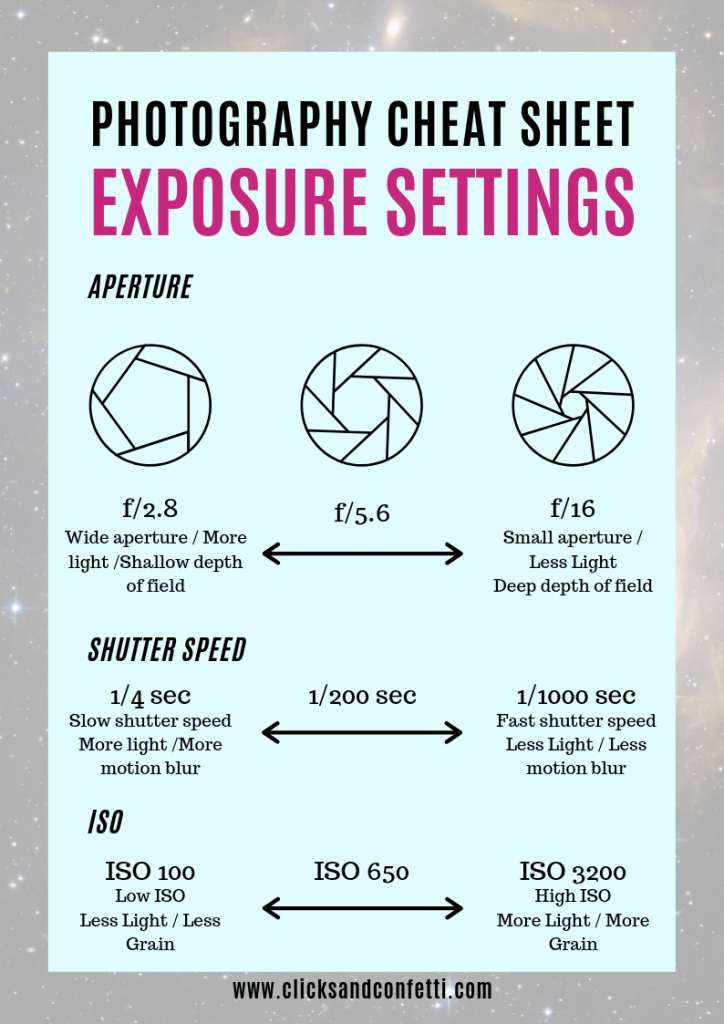
Exposure refers to how bright or dark your image appears. It is determined by the combination of Aperture, Shutter Speed, and ISO, which control the amount of light entering your camera.
To achieve a balanced exposure, you need to select settings that suit your lighting conditions. Ideally, there should be detail in both the highlights and shadows. However, a “perfect” exposure isn’t always the goal. For example, you might intentionally underexpose your image to create dramatic shadows, such as in a silhouette.
PHOTOGRAPHY TERMS: EXPOSURE SETTING CHEAT SHEET
Exposure Compensation
Exposure compensation is a feature in some cameras that you can use to override some of the settings determined by the cameras light meter. This is only available in auto and scene modes where you’re not already picking all of your settings manually.
It helps you to expose your image how you wish. If you feel your camera light meter hasn’t quite got the exposure correctly, or if you want to get creative with your exposure.
Filters
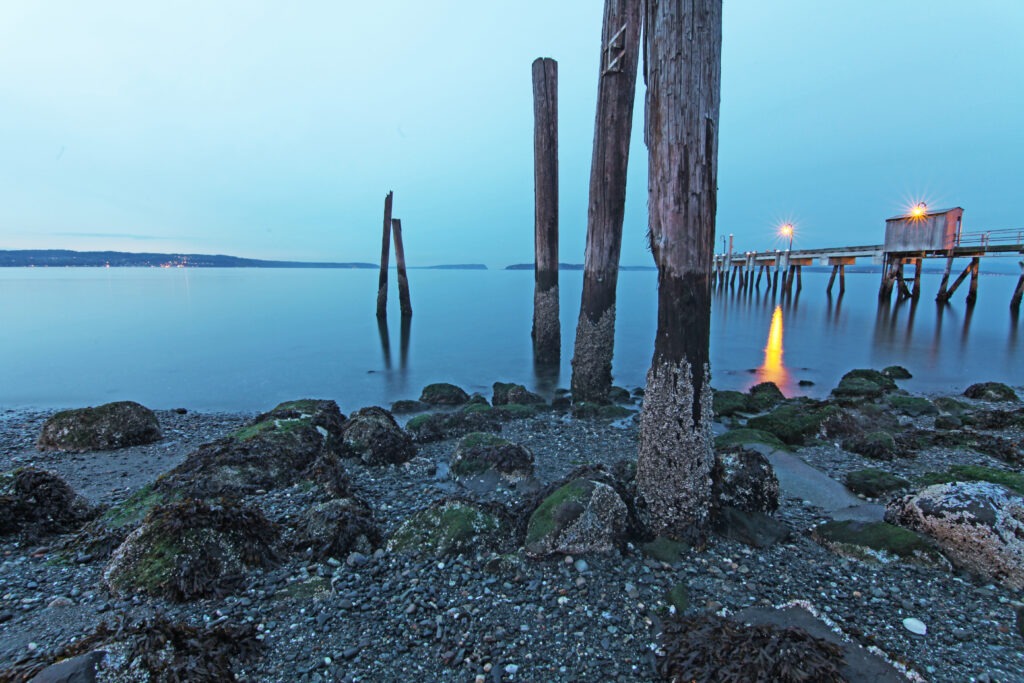
Long before people started using dog ear filters on Snapchat or really bad Instagram filters, photographers have been using actual filters that they manually put on their lenses when taking a photo.
There are all different kinds of filters for different purposes but some of the most common filters are:
- UV filter – a clear filter used to protect the glass on the front of your lens and shouldn’t affect photo quality.
- Neutral Density filter (ND) – a filter that lets less light into your lens, which is especially useful for needing a slow shutter speed on a bright day.
- Graduated Neutral Density filter (GND or ND Grad) – similar to an ND filter but the dark part of the filter which lets less light in is only on one half of the filter, which is useful for making a sky darker on a bright day but keeping the foreground nice and bright for example.
There are also other filters such as close-up/macro, warming, cooling, colours, polarising, special effects and many more.
Focal Length
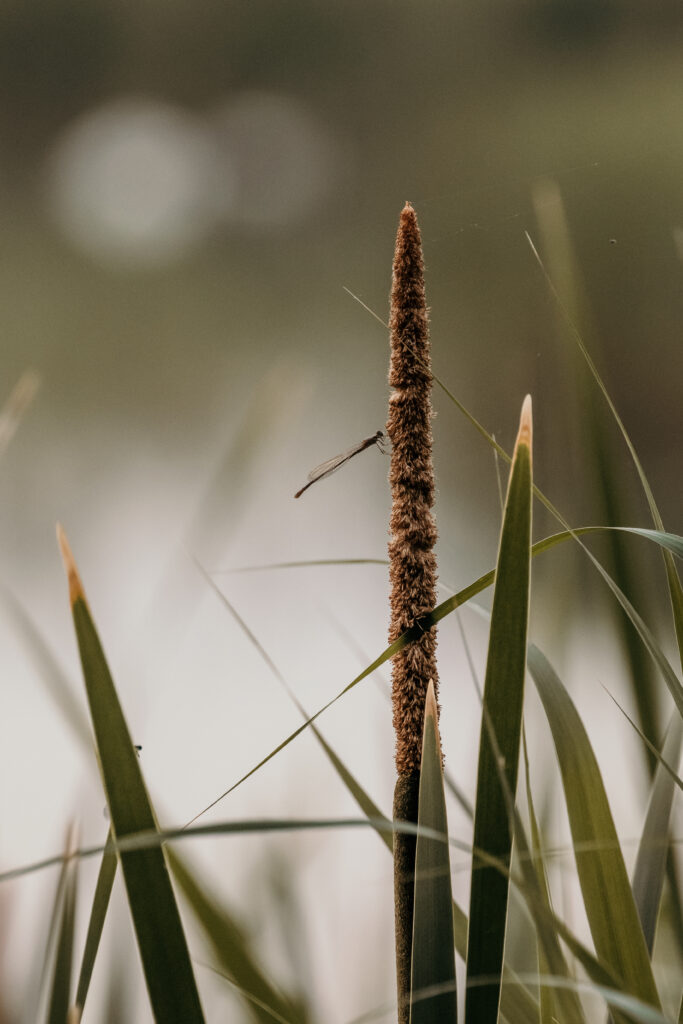
The focal length of your lens is the distance, measured in millimetres, between the optical center of the lens and the sensor of your camera when focused at infinity.
In simple terms, it determines how much of the scene you will capture. For instance, a 16mm lens will produce a wide view and will allow you to capture a lot of the scene. Whereas a 200mm lens will crop or “zoom” into the scene and take an image of something further away.
Focus
The focus refers to the parts of the image which are sharp. With lots of camera lenses you can either manually focus (where you twist part your lens by hand) or you can auto focus (where you half press down on the shutter until your subject is in focus and then fully press the shutter).
F-Stop
This is the measurement of your Aperture.
So remember how I said the smaller your aperture the less light comes in and the wider your aperture is the more light comes in?
Well, this is measured by numbers called an f-stop.
This is where it gets a bit confusing when you are just starting out because the small apertures (that let less light in where more of your image is in focus) have a larger number f-stop such as f/22, f/11 and the wider/bigger apertures (that let more light in where less of your image is in focus) have a smaller number f-stop such as f/2.8, f/1.4.
So the smaller the aperture the larger the number, the wider the aperture the smaller the number.
- The less light you want to let into the camera, the larger the number you need.
- The more light you want to let into the camera, the smaller the number you need.
- The more of your image you want to have in focus, the larger the number you need.
- The less of your image you want to have in focus, the smaller the number you need.
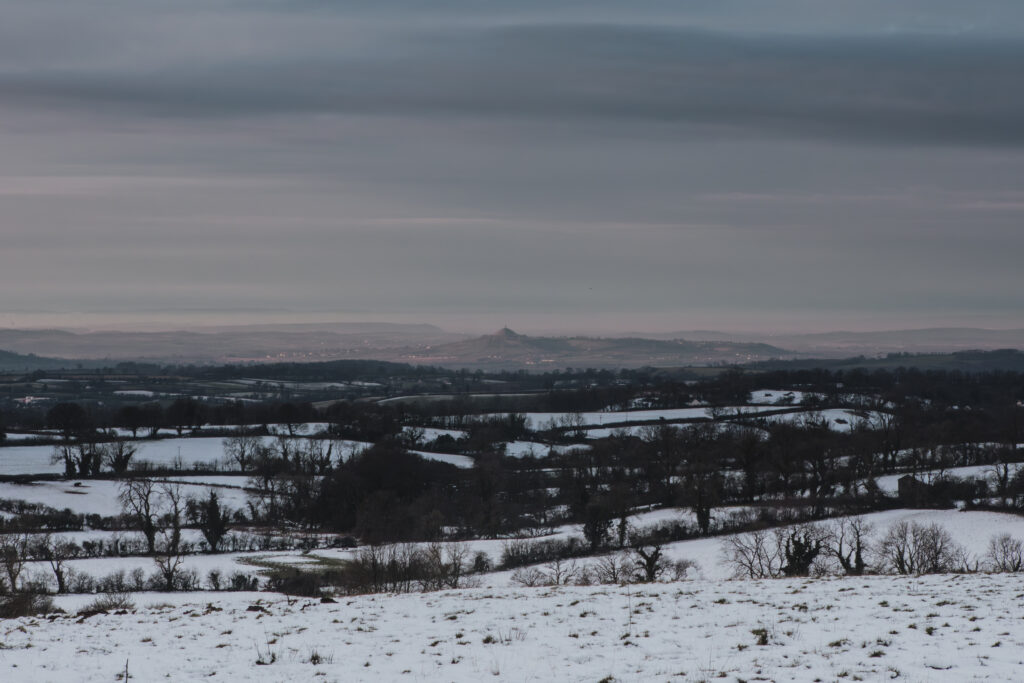
For example, a landscape photographer who wants to take a picture of a mountain range will want as much of the image in focus as possible. So they’ll maybe use an f-stop of around f/22. A portrait photographer who wants to take a picture of one person and wants the background to be soft and blurry might shoot an f-stop of f/1.4.
Medium f-stops like f/5.6 are good for when you still want a bit of a blurry background but you have more in the foreground to focus on such as a small group of people.
Full Frame
I mentioned full frame cameras briefly above where I discussed crop sensor cameras. Unlike a crop sensor, a full frame camera has a sensor similar to the standard 35mm film cameras. Focal lengths on full frame cameras will be more true, while they will look more zoomed in on crop sensor cameras.
HDR
HDR in photography terms stands for High Dynamic Range. Remember we talked about dynamic range and bracketing? Well HDR is a technique that uses bracketing (to expose for the highlights, shadows and the middle ground exposure) and then blends the image together to create a dynamic image with lots of detail.
Hightlights
These are the brightest parts of your image. An “overblown” highlight means that the highlights in your image have no detail and are far too bright.
Histogram
A histogram is a graph tool that shows you the exposure/tonal distribution of pixels in your image, from the darkest to the brightest.
This is the tool you need for checking for any overblown highlights and details lost in shadows.
Hot Shoe Mount
This is the mount on top of your camera where you can attach your flashgun, video light and other compatible tools.
ISO
ISO stands for International Organization for Standards. However, that detail isn’t really important, and you’ll likely never need to know it.
What matters is how ISO affects your photography.
The ISO setting on your camera controls the sensitivity of your sensor to light.
A lower ISO number makes your sensor less sensitive to light, which works well in bright settings. It also keeps your images cleaner, with less grain.
A higher ISO number increases sensitivity to light, which is ideal for darker environments. However, this can add more grain to your photos.
Higher-end cameras perform better in low-light situations. They offer higher ISO settings while maintaining better quality with less grain.
As a wedding photographer, I’ve always invested in cameras that excel in low-light conditions. This has been essential for shooting in dark venues.
Kelvin
Kelvin is a unit in which white balance is measured by (See below for white balance).
Macro
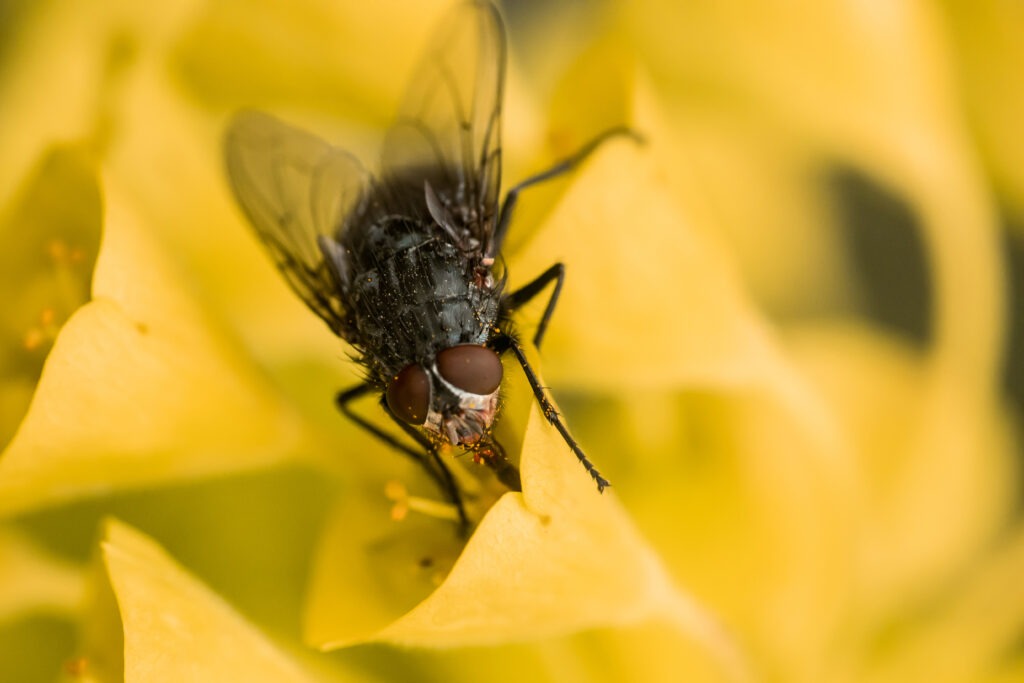
Macro photography refers to close-up images that are either life size or greater. Special macro lenses, filters and extensions are typically used to achieve macro photography. As standard lenses aren’t able to focus while super close up to a subject.
Macro photography is usually used for photos of insects, flowers and small details like snowflakes etc.
Noise
When we talk about digital noise in photography, we don’t mean yet “another one” of DJ Khaled’s shite songs. We are talking about the distortions which present as small coloured specks in your photographs.
This usually happens in lower light situations and looks like grain as mentioned above in the definition of ISO.
It can sometimes occur when taking an underexposed image and trying to brighten it up in editing software.
Preset
Similar to Photoshop Actions, Presets are automated workflow settings for Lightroom.
Presets like these 450 Lightroom Presets help save you hours of editing time.
Prime Lens
The term prime lens is typically the name for a lens with a fixed focal length. Rather than a lens that zooms in and out.
The apertures in a prime lens can usually go much wider than that of a zoom lens. Making them ideal for creating bright images with creamy soft backgrounds or for lower light situations.
There are a lot of professionals who prefer using only primes instead of a couple of do-it-all zoom lenses as the quality tends to be a lot better.
The first prime lens I ever used was the Canon EF 50mm f/1.8. In fact a lot of beginner photographers go for this lens as the value for money is incredible. It’s a super cheap lens but produces amazing results. Especially for portraits and is an ideal first prime lens. You may hear people referring to it as the ‘Nifty Fifty’.
RAW File
A RAW file is the format of an image file from your camera (if you choose to shoot in RAW) that is unprocessed and contains all the data from the image when you captured it.
What this means, is that it stores a lot more information in the file than a JPEG for example, which is more condensed.
RAW files need to be opened in specific software, such as programs like Photoshop and Lightroom and they are the ideal file format to edit from. You have much more freedom to edit with a RAW file. I’d recommend shooting in RAW and the converting your edited files to JPEG rather than just shooting in JPEG.
Reflector
A reflector is a tool photographers often use to reflect light back onto the subject. Used both in natural light and studio lighting, the reflector is placed opposite a light source to bounce light and is great for portraits, as well as product photography and food photography.
This is the kind of reflector I use (a 5 in 1 collapsible reflector).
Resolution
This refers to the amount of detail in an image. If you hear the term “High Resolution” it is referring to a larger and higher quality image.
Remote Shutter/Cable Release
There are a few tools out there than enable you to take a picture on your camera without physically pushing the shutter.
This is especially helpful if you want to be IN the photo. A self timer isn’t always good enough. Also, if you want to take a photo at a slow shutter speed but don’t want to create any accidental motion blur, this is a great option.
You can get a wireless remote shutter release that works through infrared, such as this one, a wireless remote that works with a transmitter and receiver such as this one, or a cable release that works by plugging the cable into your camera such as this one.
Rule Of Thirds
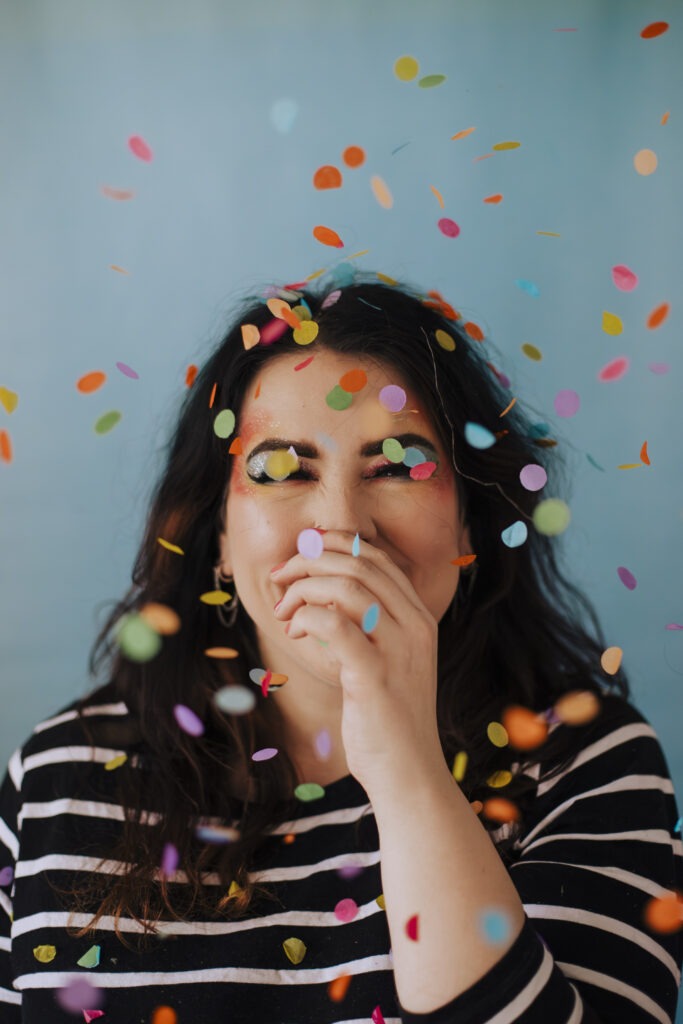
The Rule Of Thirds is popular composition in photography that makes your images more pleasing to the eye.
To compose images with the Rule of Thirds, you need to imagine your image with a grid divided into 9 segments. 3 rows across and 3 columns down. Then position the important parts of your image along the lines of the grid.
Shutter Speed
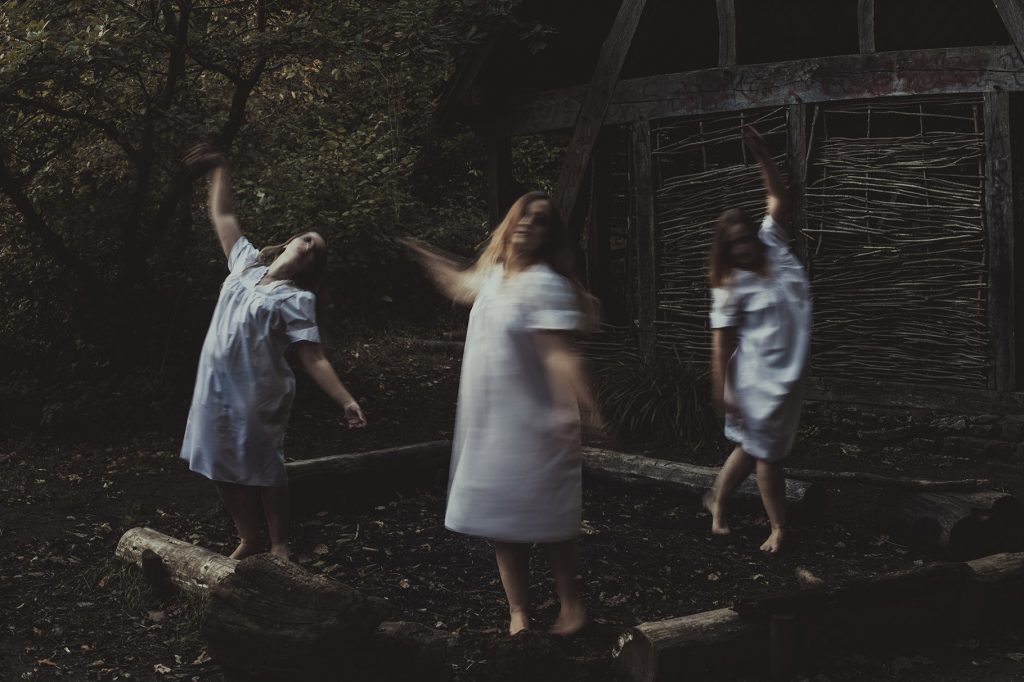
Shutter speed is one of the three main exposure settings alongside aperture and ISO which controls how long your camera shutter is open and dictating how long the light coming through your aperture is hitting the sensor for.
Shutter speed also dictates how sharp or blurry movement is in your images. So for example, if you wanted to capture something really fast moving but wanted it to be sharp, then you’d need a FAST shutter speed such as 1/1000 seconds. If you wanted to capture something moving but wanted the movements to be blurry, then you’d need a SLOW shutter speed such as 1/4 seconds.
Softbox
A softbox is a type of material box that fixes around a studio light or flashgun to soften and diffuse the light such as this Godox 80X80 Softbox.
SOOC
This simply stands for “Straight Out Of Camera” and it means the image hasn’t been edited yet.
Speedlight
Different brands use different spellings but a speedlight or speedlite is essentially a flashgun or flash unit. It either goes on top of your camera or can be triggered remotely and omits a short flash of light when you press the shutter, instead of using continuous lights.
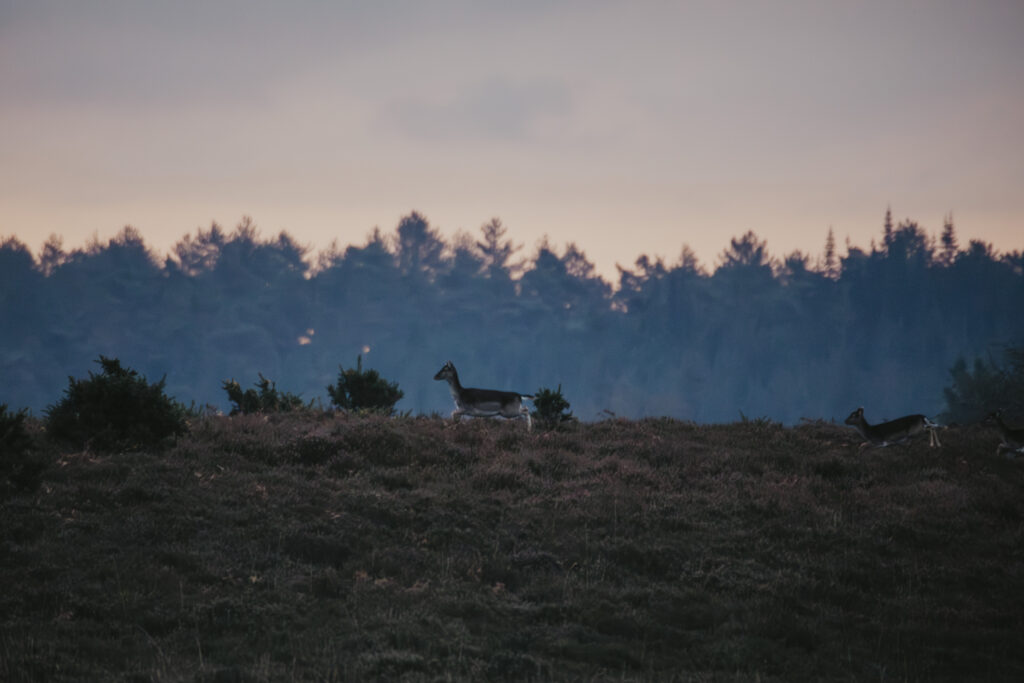
Telephoto
A telephoto lens is a type of lens with a longer focal length that can take images of things that are further away.
Tv
Tv means something completely different in photography terms. On some cameras, the shutter speed priority mode is displayed as ‘tv’ and this just means that similar to aperture priority mode, you can select your shutter speed and let the camera figure out the other settings for you.
Umbrella
And umbrella in photography terms is a type of light fixture (similar to a softbox) that modifies and diffuses the light, spreading it wider than it would go with just a bare flash unit. Umbrellas come in all different sizes and some are shoot-through while others are reflective.
Viewfinder
The viewfinder is the part of your camera that you look through while you’re composing and taking your picture. This is different to an LCD screen and it’s much smaller in size.
White Balance
White balance is the colour temperature (measure by Kelvin – see above) and can be set within the camera by selecting different white balance modes, or setting it up manually.
White balance can also be fine tuned later in editing software which is easier if you shoot in RAW format.
White balance is the reason your images are different colours in different lighting situations such as cloudy, artificial lighting, sunshine etc.
Zoom Lens
A zoom lens is a lens that doesn’t have a fixed focal length but instead has a range of focal lengths such as a wide zoom (11mm-16mm) a standard zoom (24-70mm) or a telephoto zoom (70-300mm).
These kind of lenses are perfect if you need a multi-purpose lens or if you’re just starting out and need to get your head around focal length.
Affordable zoom lenses tend not to have a very wide maximum aperture as fixed focal lengths, so tend to be darker but there are some fantastic zooms with a good maximum aperture out there such as the Canon EF 70-200mm 2.8 III, they are definitely on the pricier side though.
Pin 40+ Photography Terms for later
So there you have it, over 40 photography terms explained for beginners. Are there any photography terms you have heard that you still don’t quite understand? Let me know in the comments!